Looky, looky! Custom sensitive information types with even more customitivity!
So, of course, as soon as I finish up posting a few entries (here and here), we go and release a new UI to help you get it done on your own!
You can do most of the effort of creating a data classification here, although if you want to use any of our built in functions (such as credit card Luhn check), you'll need to export/modify/import, use the sensitive information type package that I created (referenced earlier) or use one of our native DLP classifications.
To get started creating your very first custom sensitive information type (I'm really trying to see how many times I can use the words 'sensitive information type' in a post, so bear with me), log into the Security & Compliance Center and navigate to Classifications | Custom sensitive information types. If it isn't exposed in your interface yet, you can try https://protection.office.com/#/customSensitiveTypes.
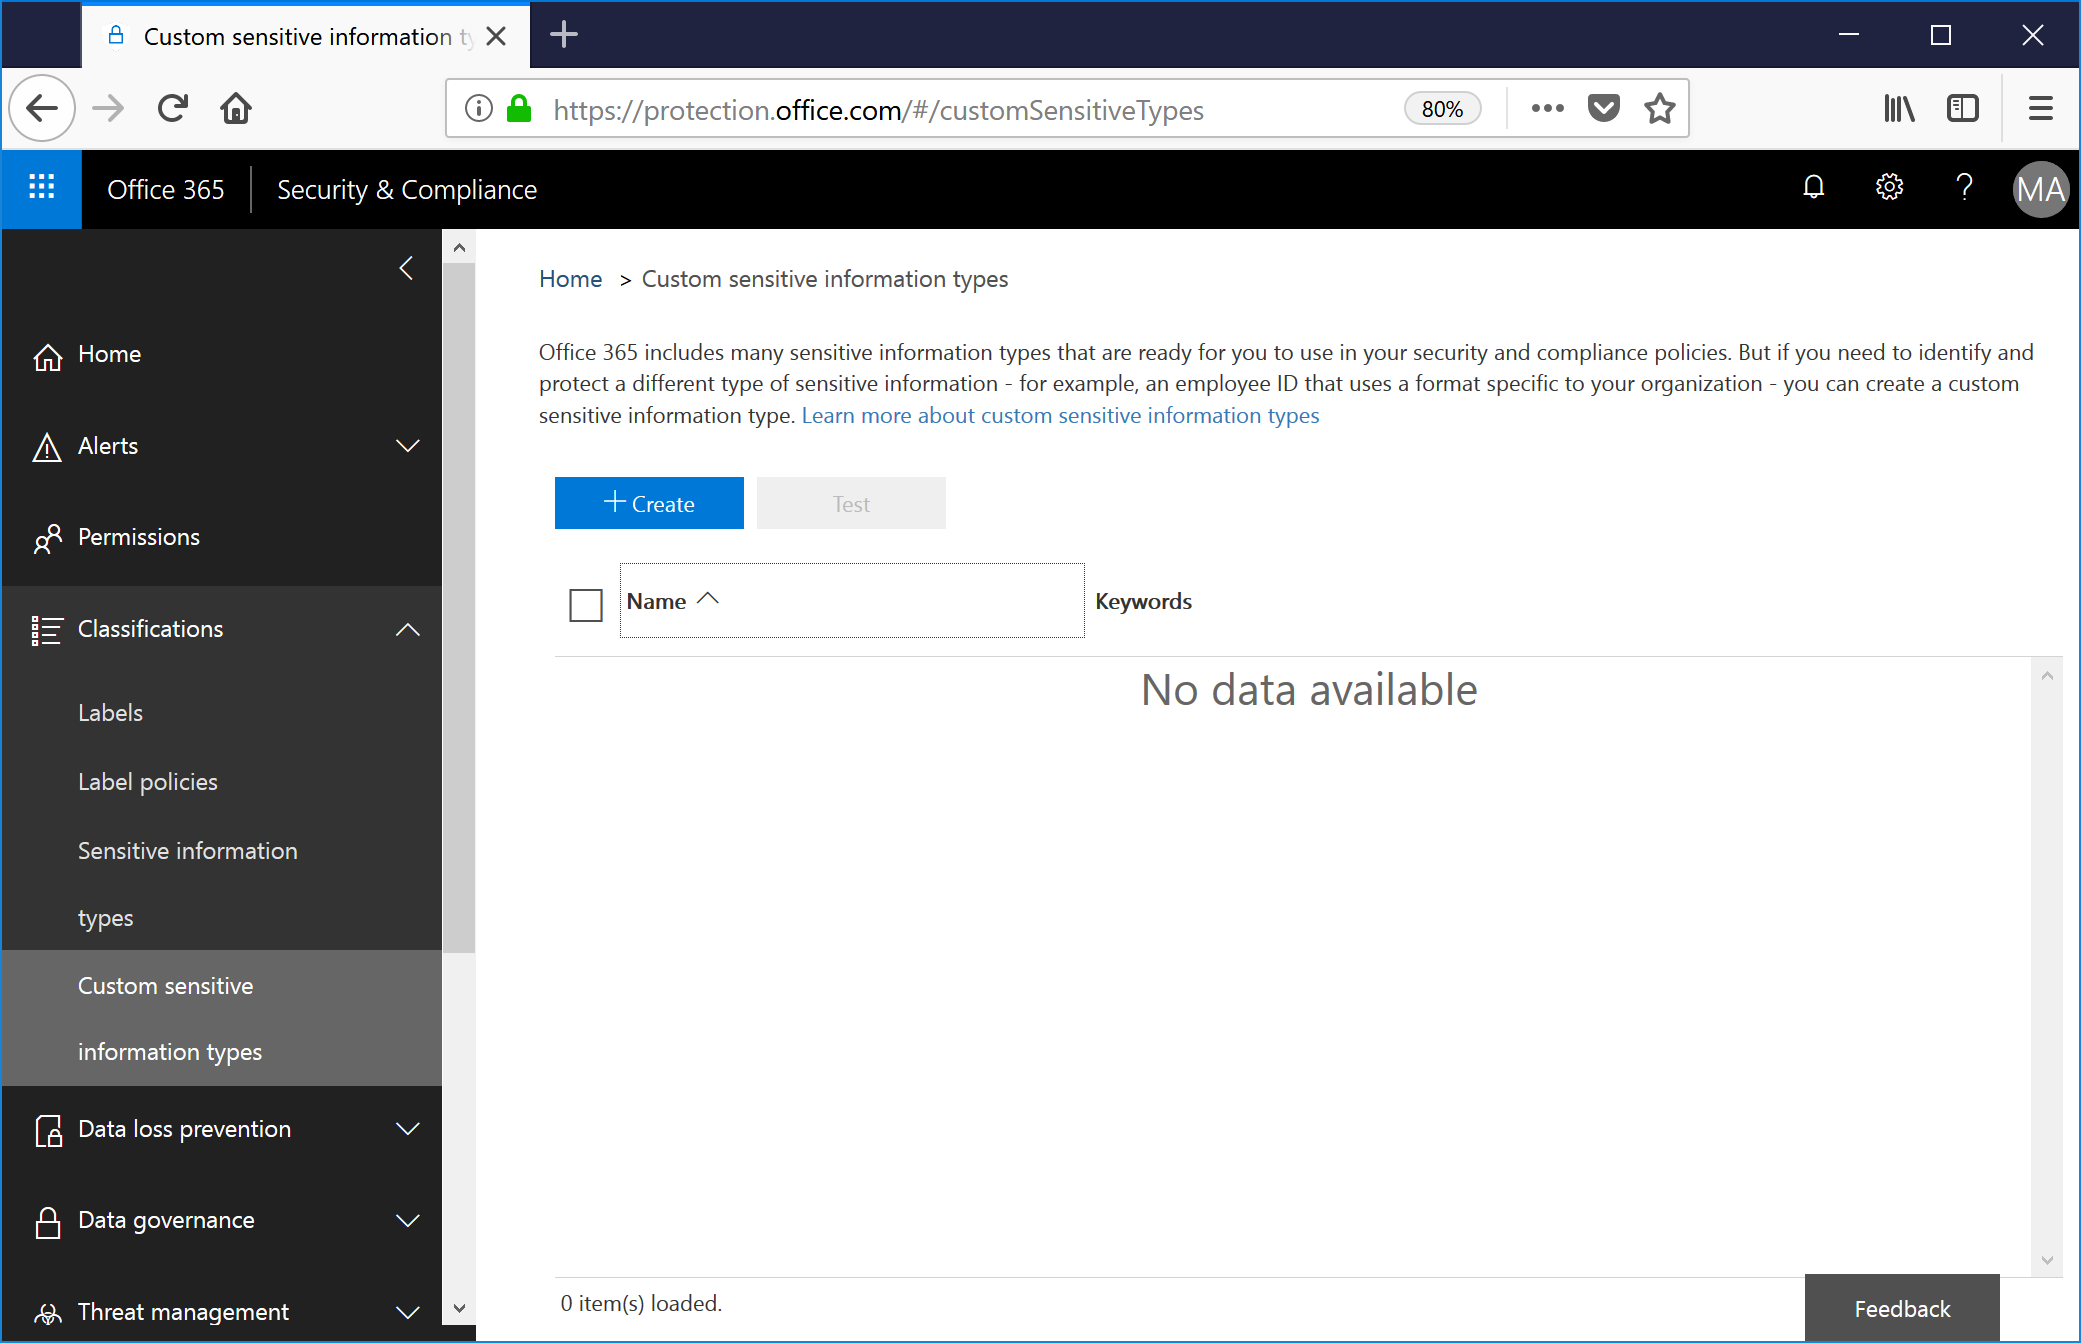
Click + Create.
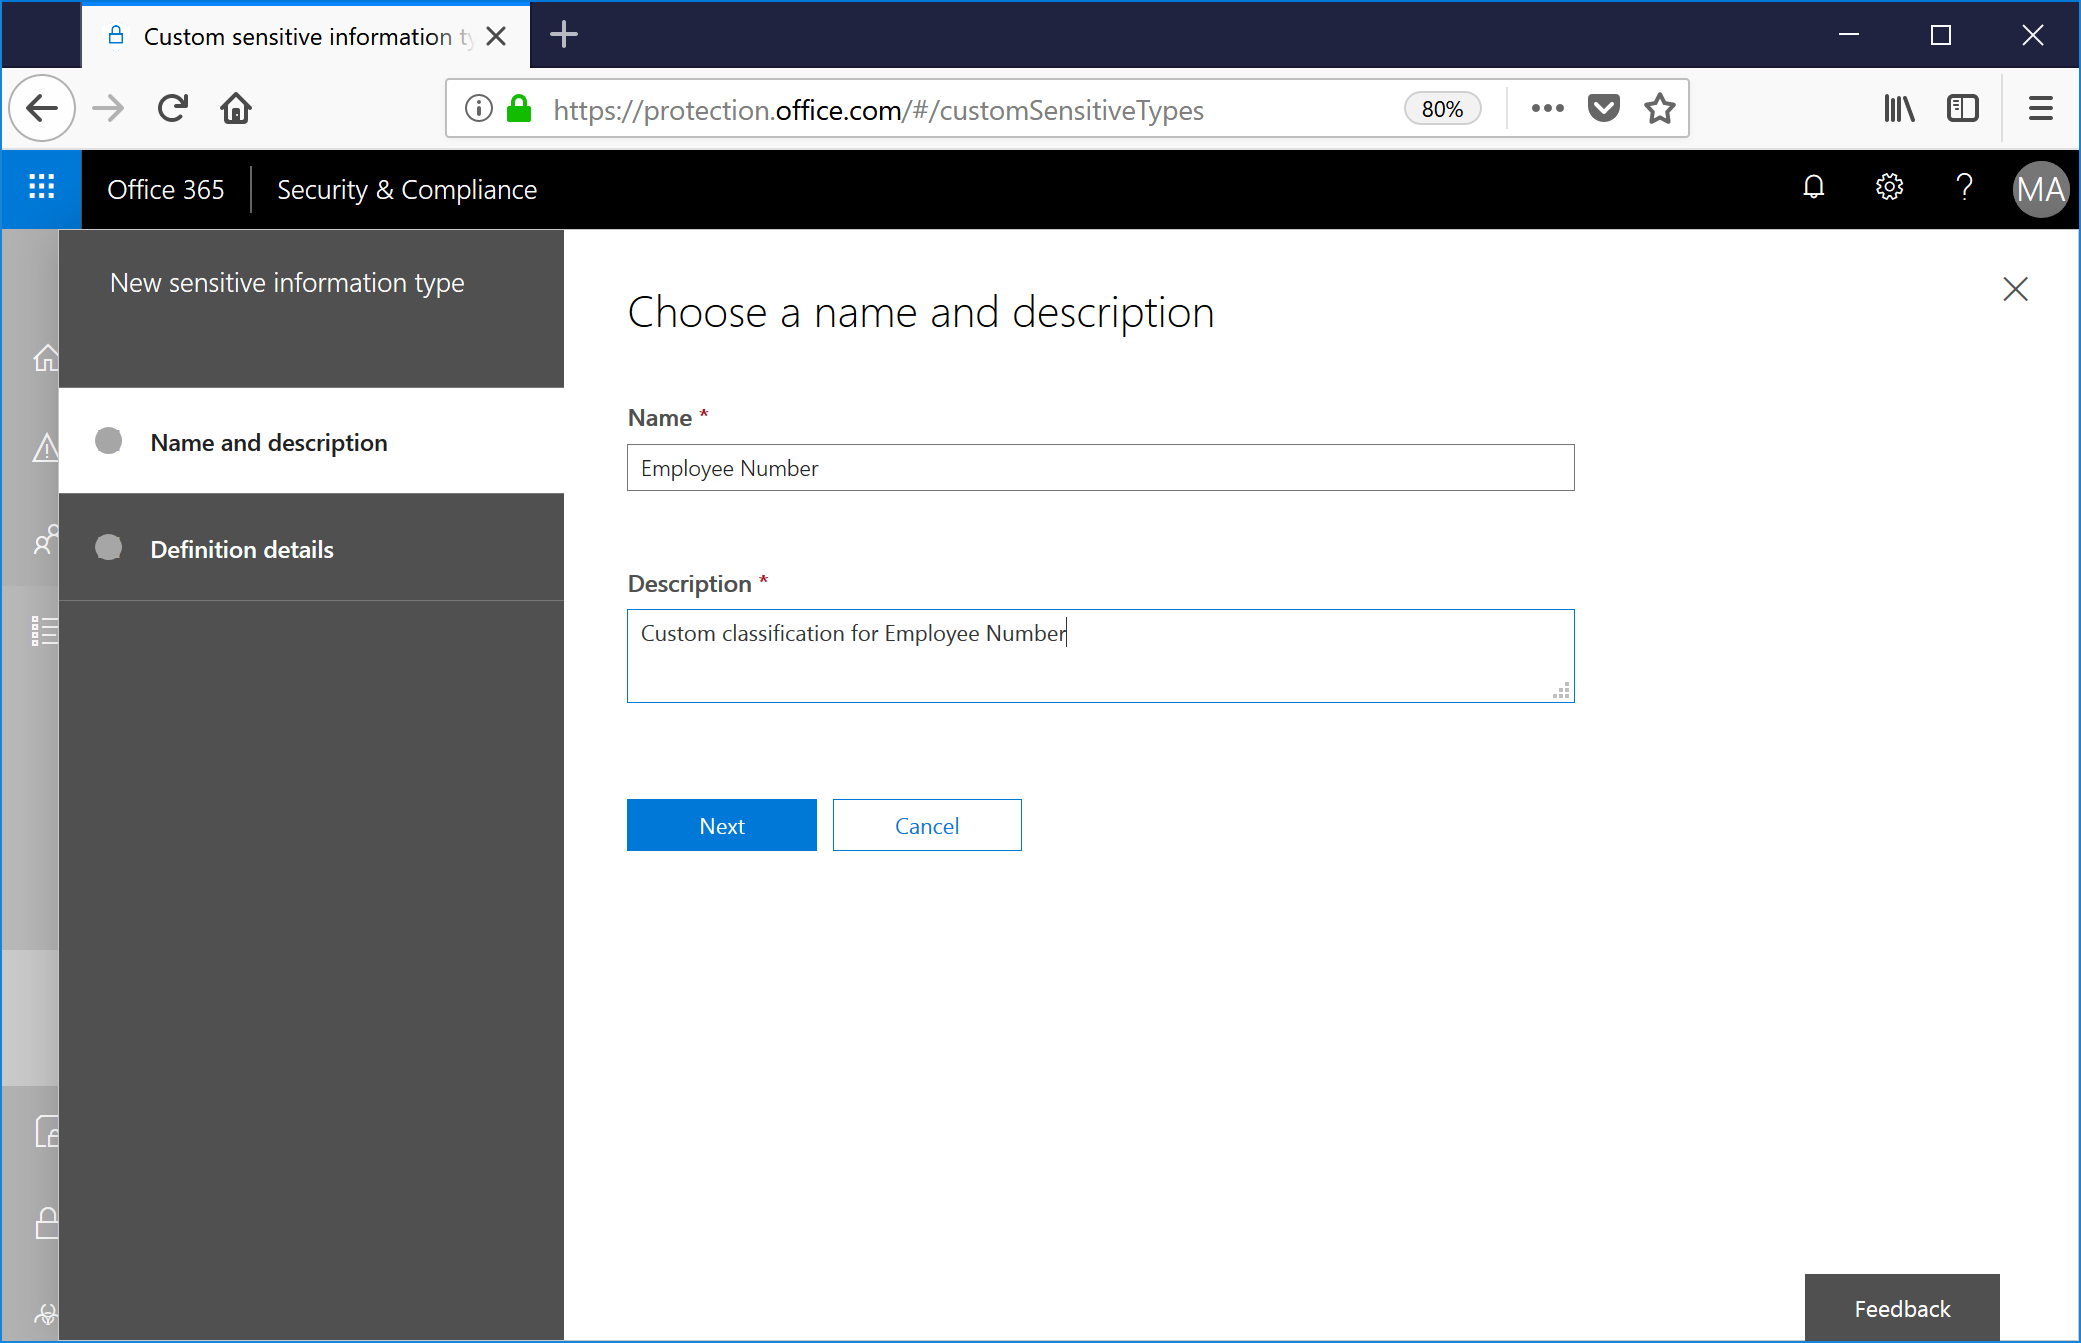
Enter both a Name and Description, as both are required. You'll get an angrygram if you don't do both. Click Next.
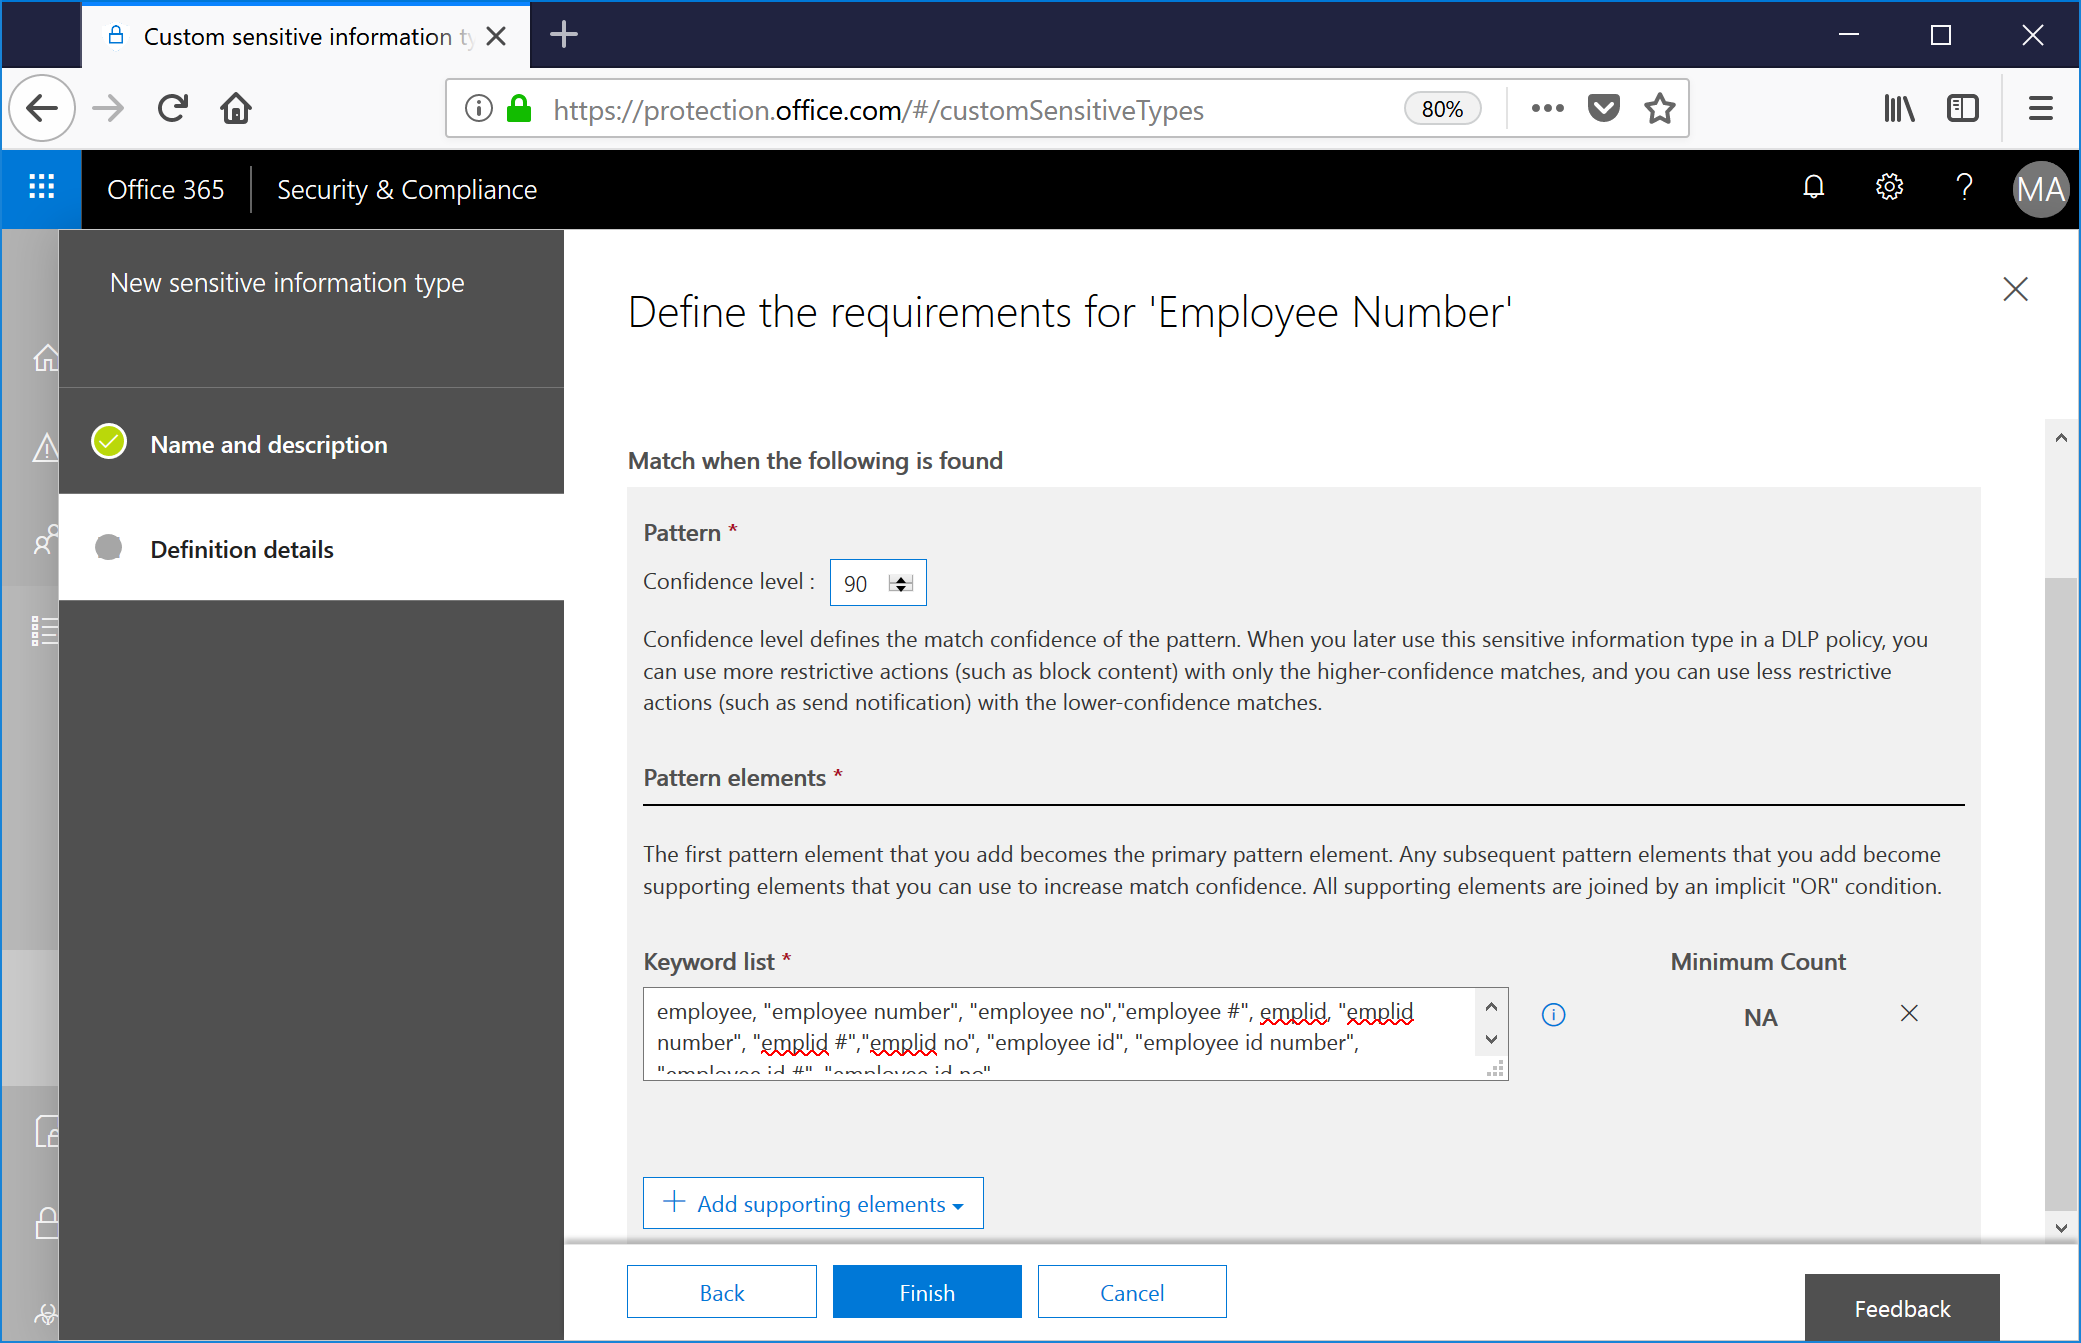
If you previously looked at the XML behind a sensitive information type, some of the verbiage here will be familiar. The core elements we're dealing with are proximity, confidence, and patterns.The idea is that the pattern elements (conditions being keywords or regular expressions) appear in n characters of proximity to give us a confidence that we've matched the type of content we're looking for.For example, if I'm trying to look for an employee number, and my format happens to be 248-555-1212, it's reasonable to assume that this is going to get tripped with nearly every single email that traverses my organization, since that matches a formatted United States phone number and I'm in the great state of Michigan. To reduce the likelihood of false positives, we can do a couple of things:a: If a pattern matches this format by itself, assign a lower confidence level. It may be an employee number, but it may also be a phone number.b: If a pattern matches this format and it's within n characters for words like employee, employee number, employee #, emplid, employee id, employee id number, we'll evaluate it as much more likely to be a match and assign it a higher confidence level.
In the user interface, if we want to put together two data classifications (for example, one that has a lower confidence level matching a 10-digit number and a higher confidence matching one of those keywords in addition to a number), we'll need to create two custom sensitive information types.

I'm going to modify the confidence of this match to 90% and enter the keywords previously mentioned.
Then, click +Add supporting elements, select Regular expression, and enter the expression to match, and then click Save. Since we're matching a series of three digits, possibly a hyphen or space, three more digits, another hyphen or space, and four digits, I'm going to use:
\d{3}(\s|\-)\d{3}(\s|\-)\d{4}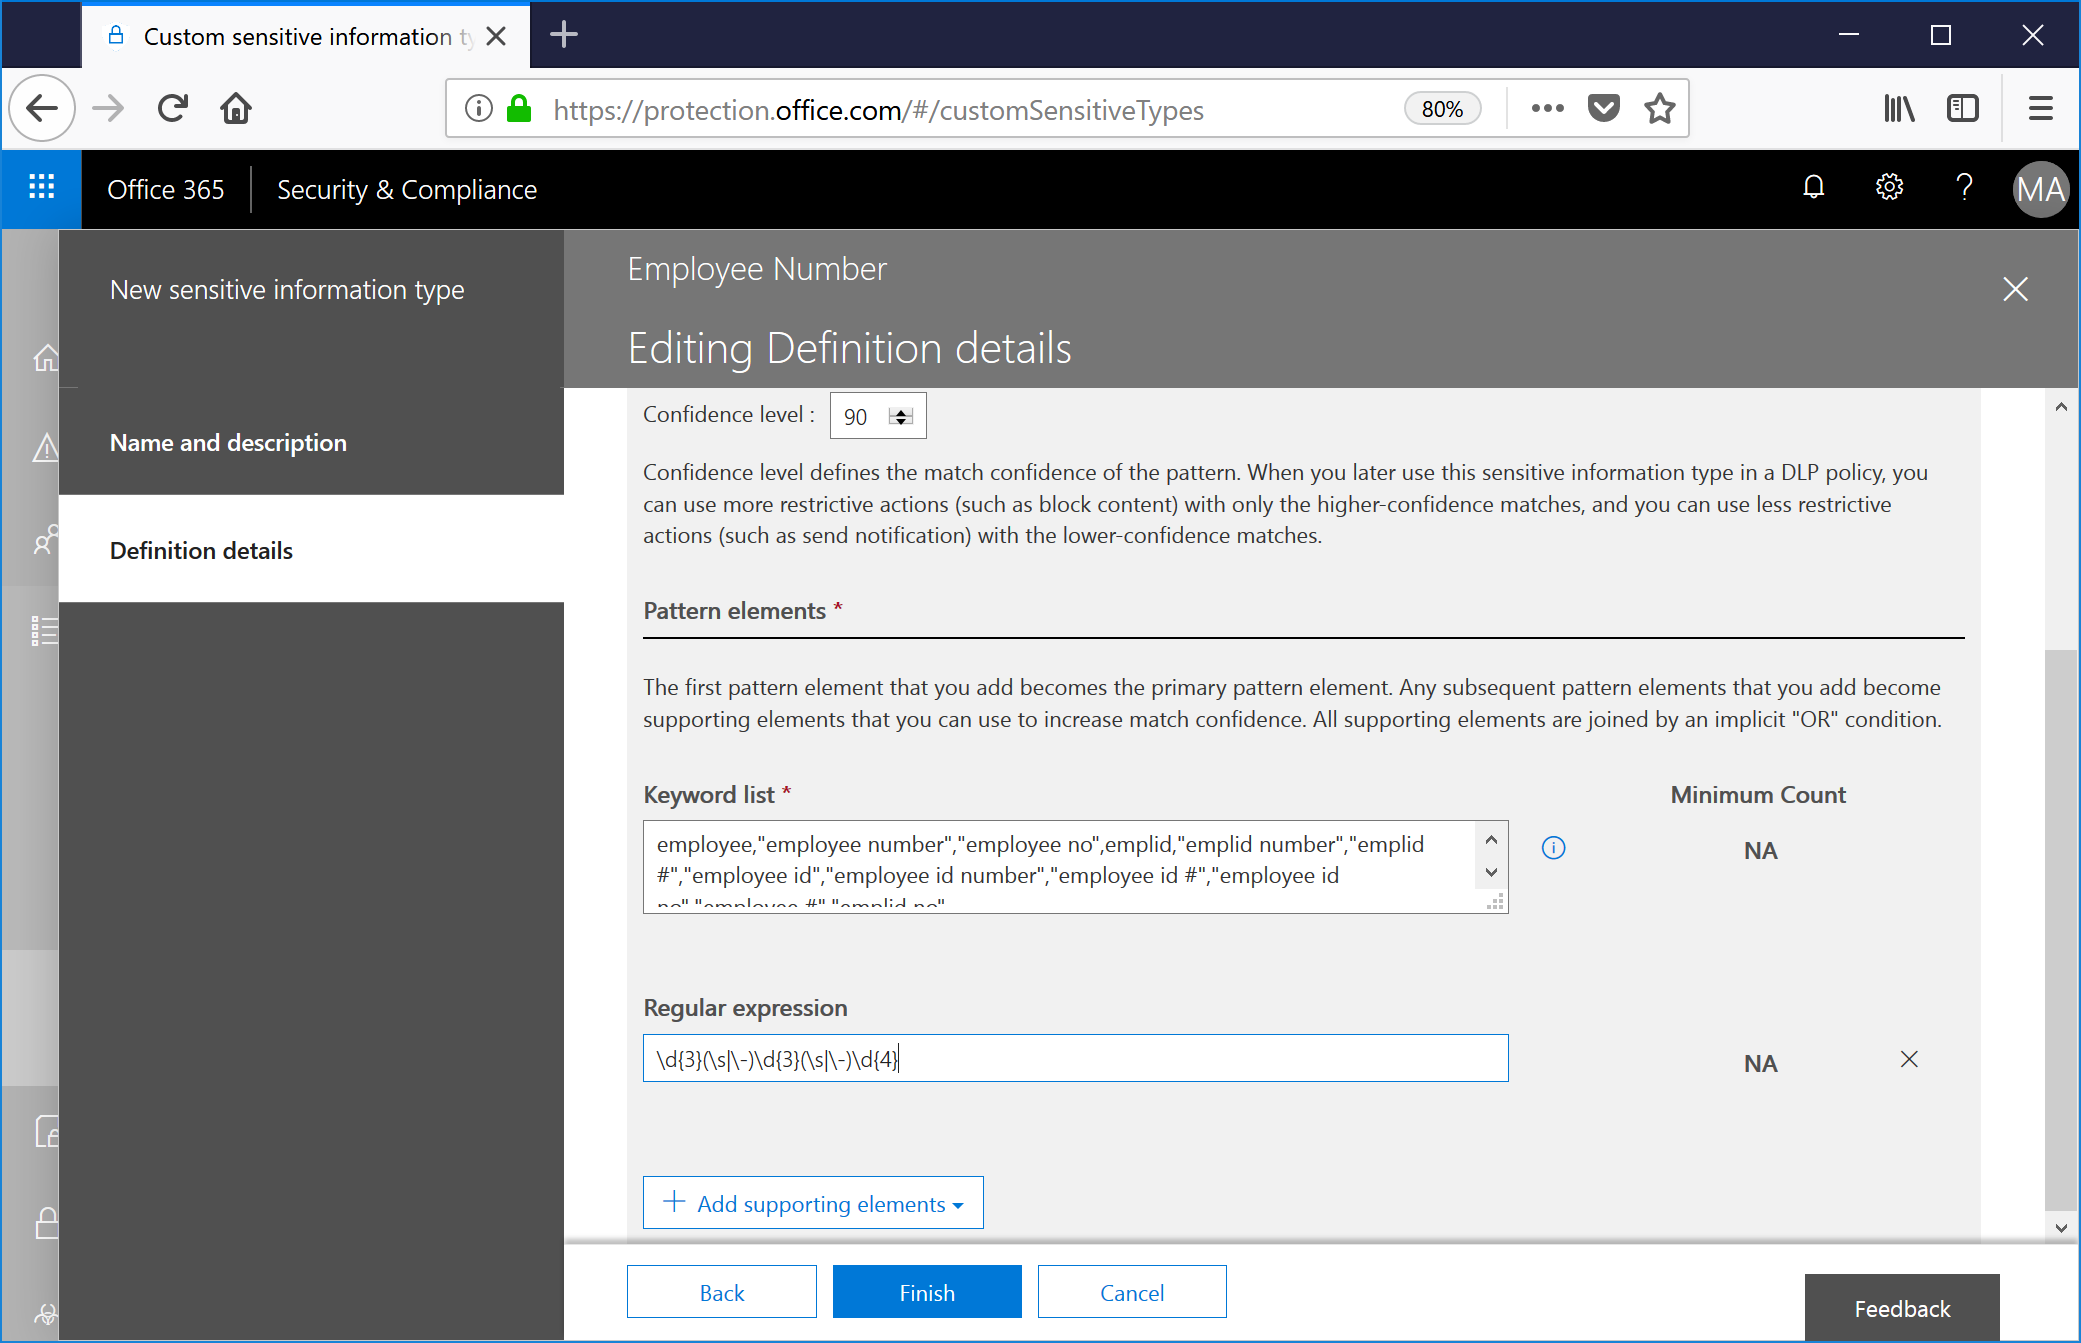
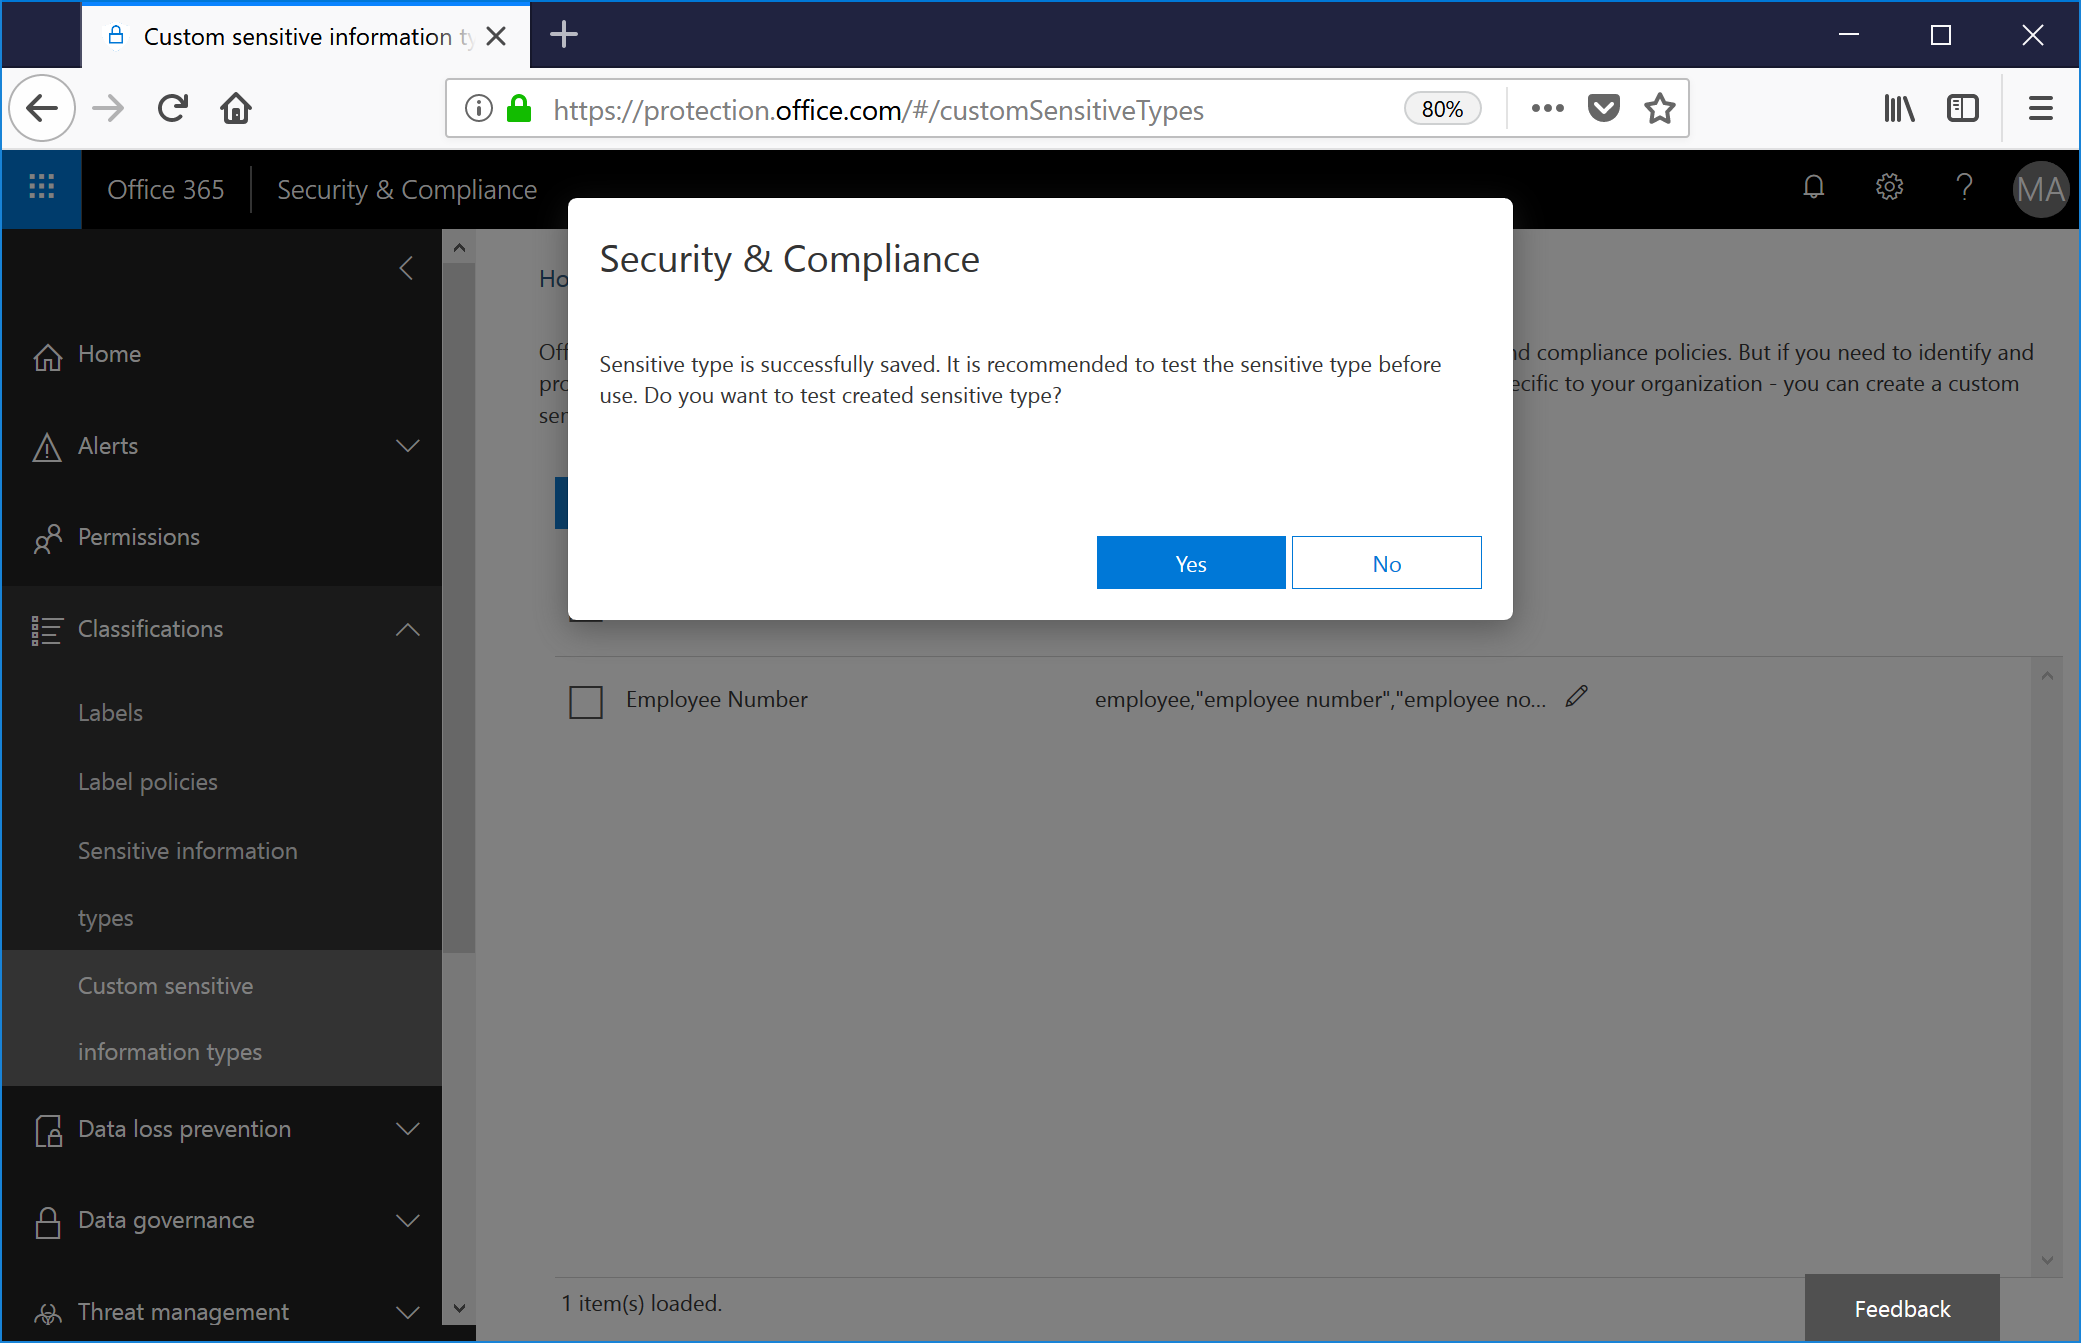
After creating the type, the user interface prompts you to test it. YES, PLEASE. To quote the Russian proverb, "Trust, but verify."
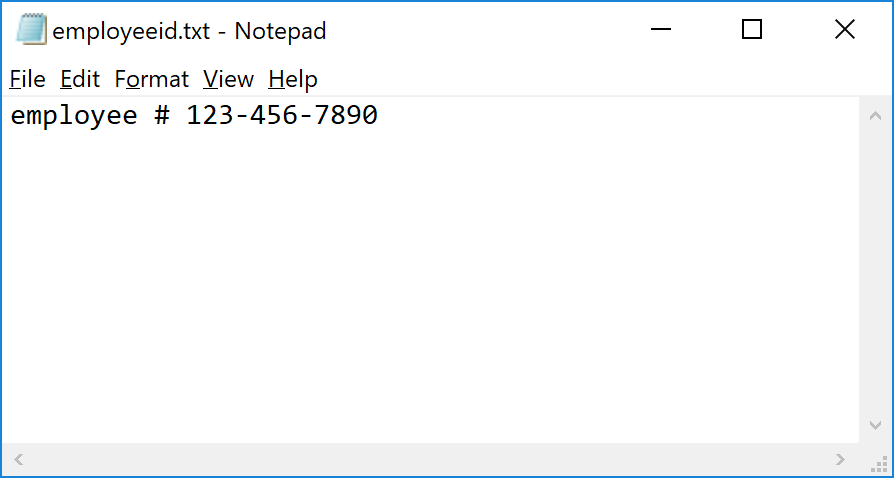
I created a quick document in Notepad with the incredibly descriptive name "employeeid.txt"
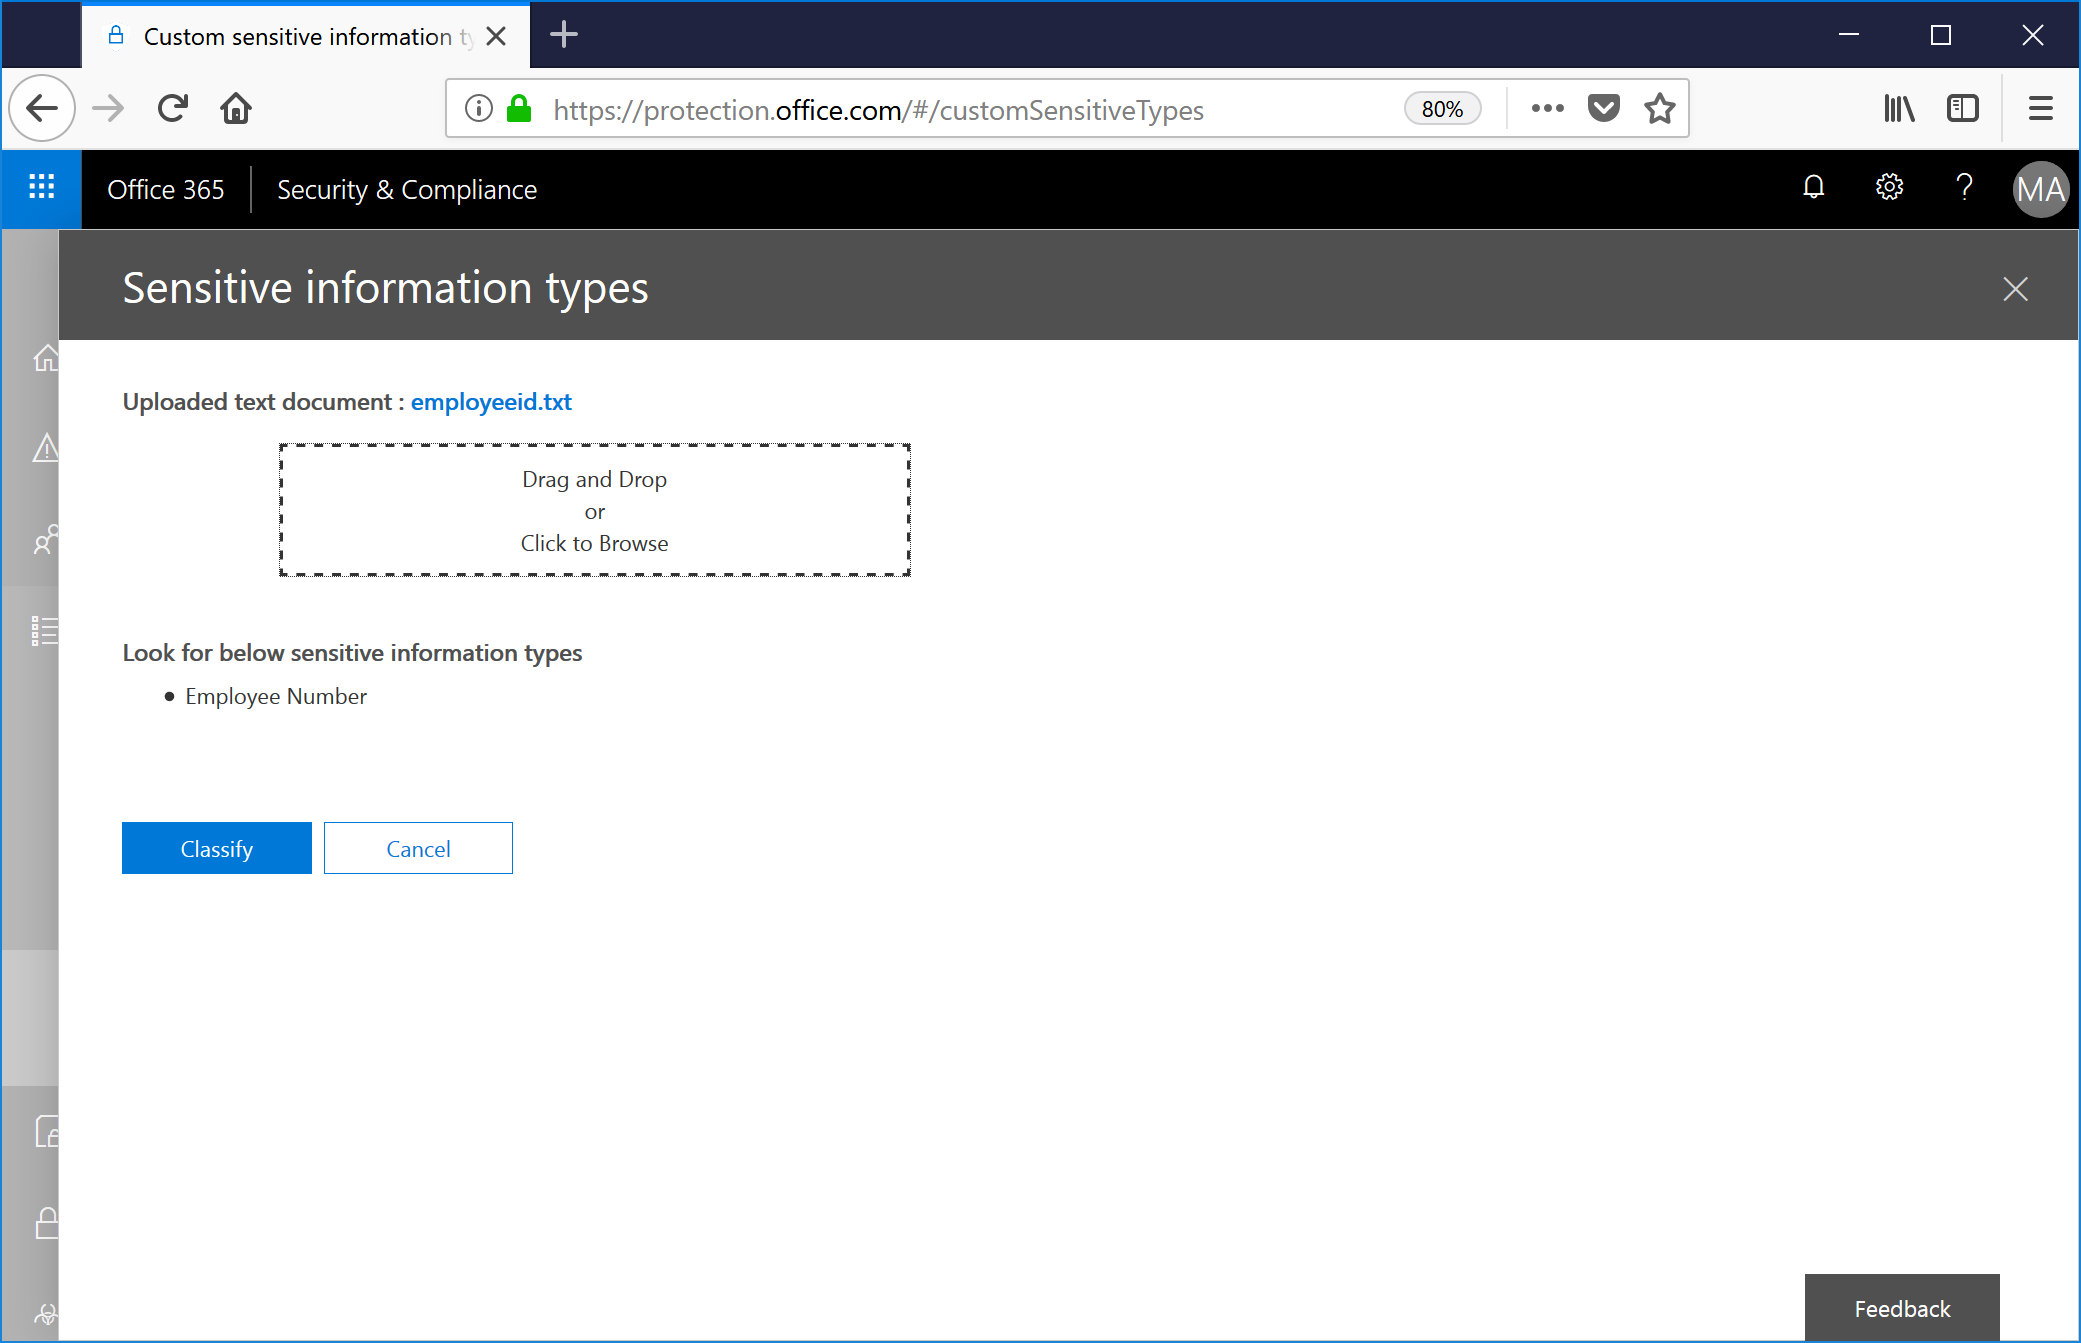
Then, on the test page, I upload the document and then click Classify.
The engine parses and returns a success. Notice that even though I didn't specify "employee #" in my keyword matching, it still matched because the first keyword I had was employee, which, when used with the proximity setting (I had left the default of 300 characters), satisfied the requirement.
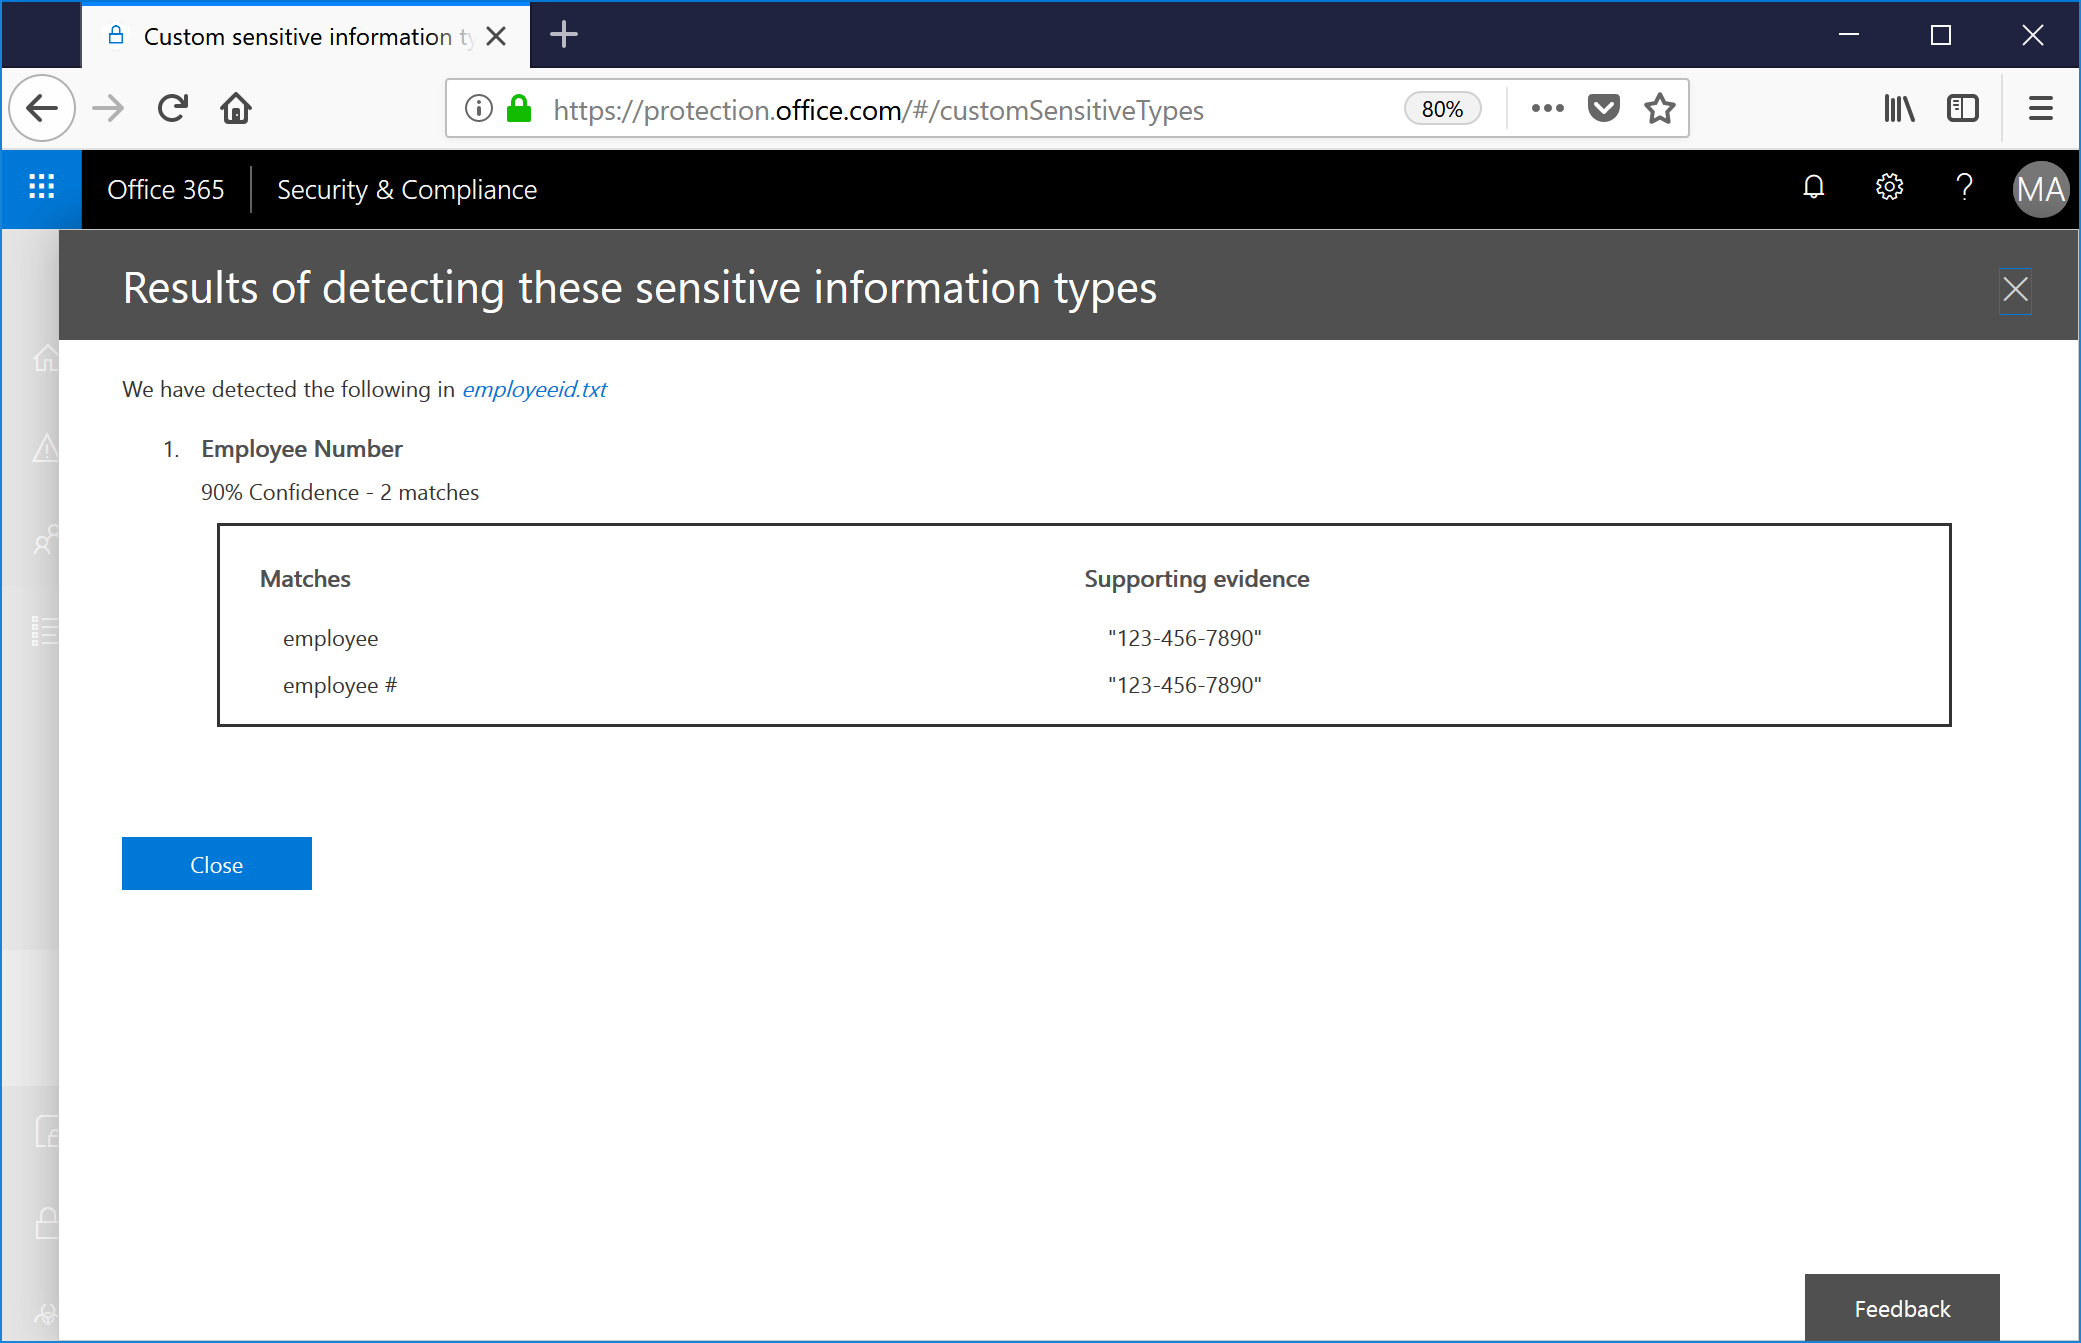
Success!
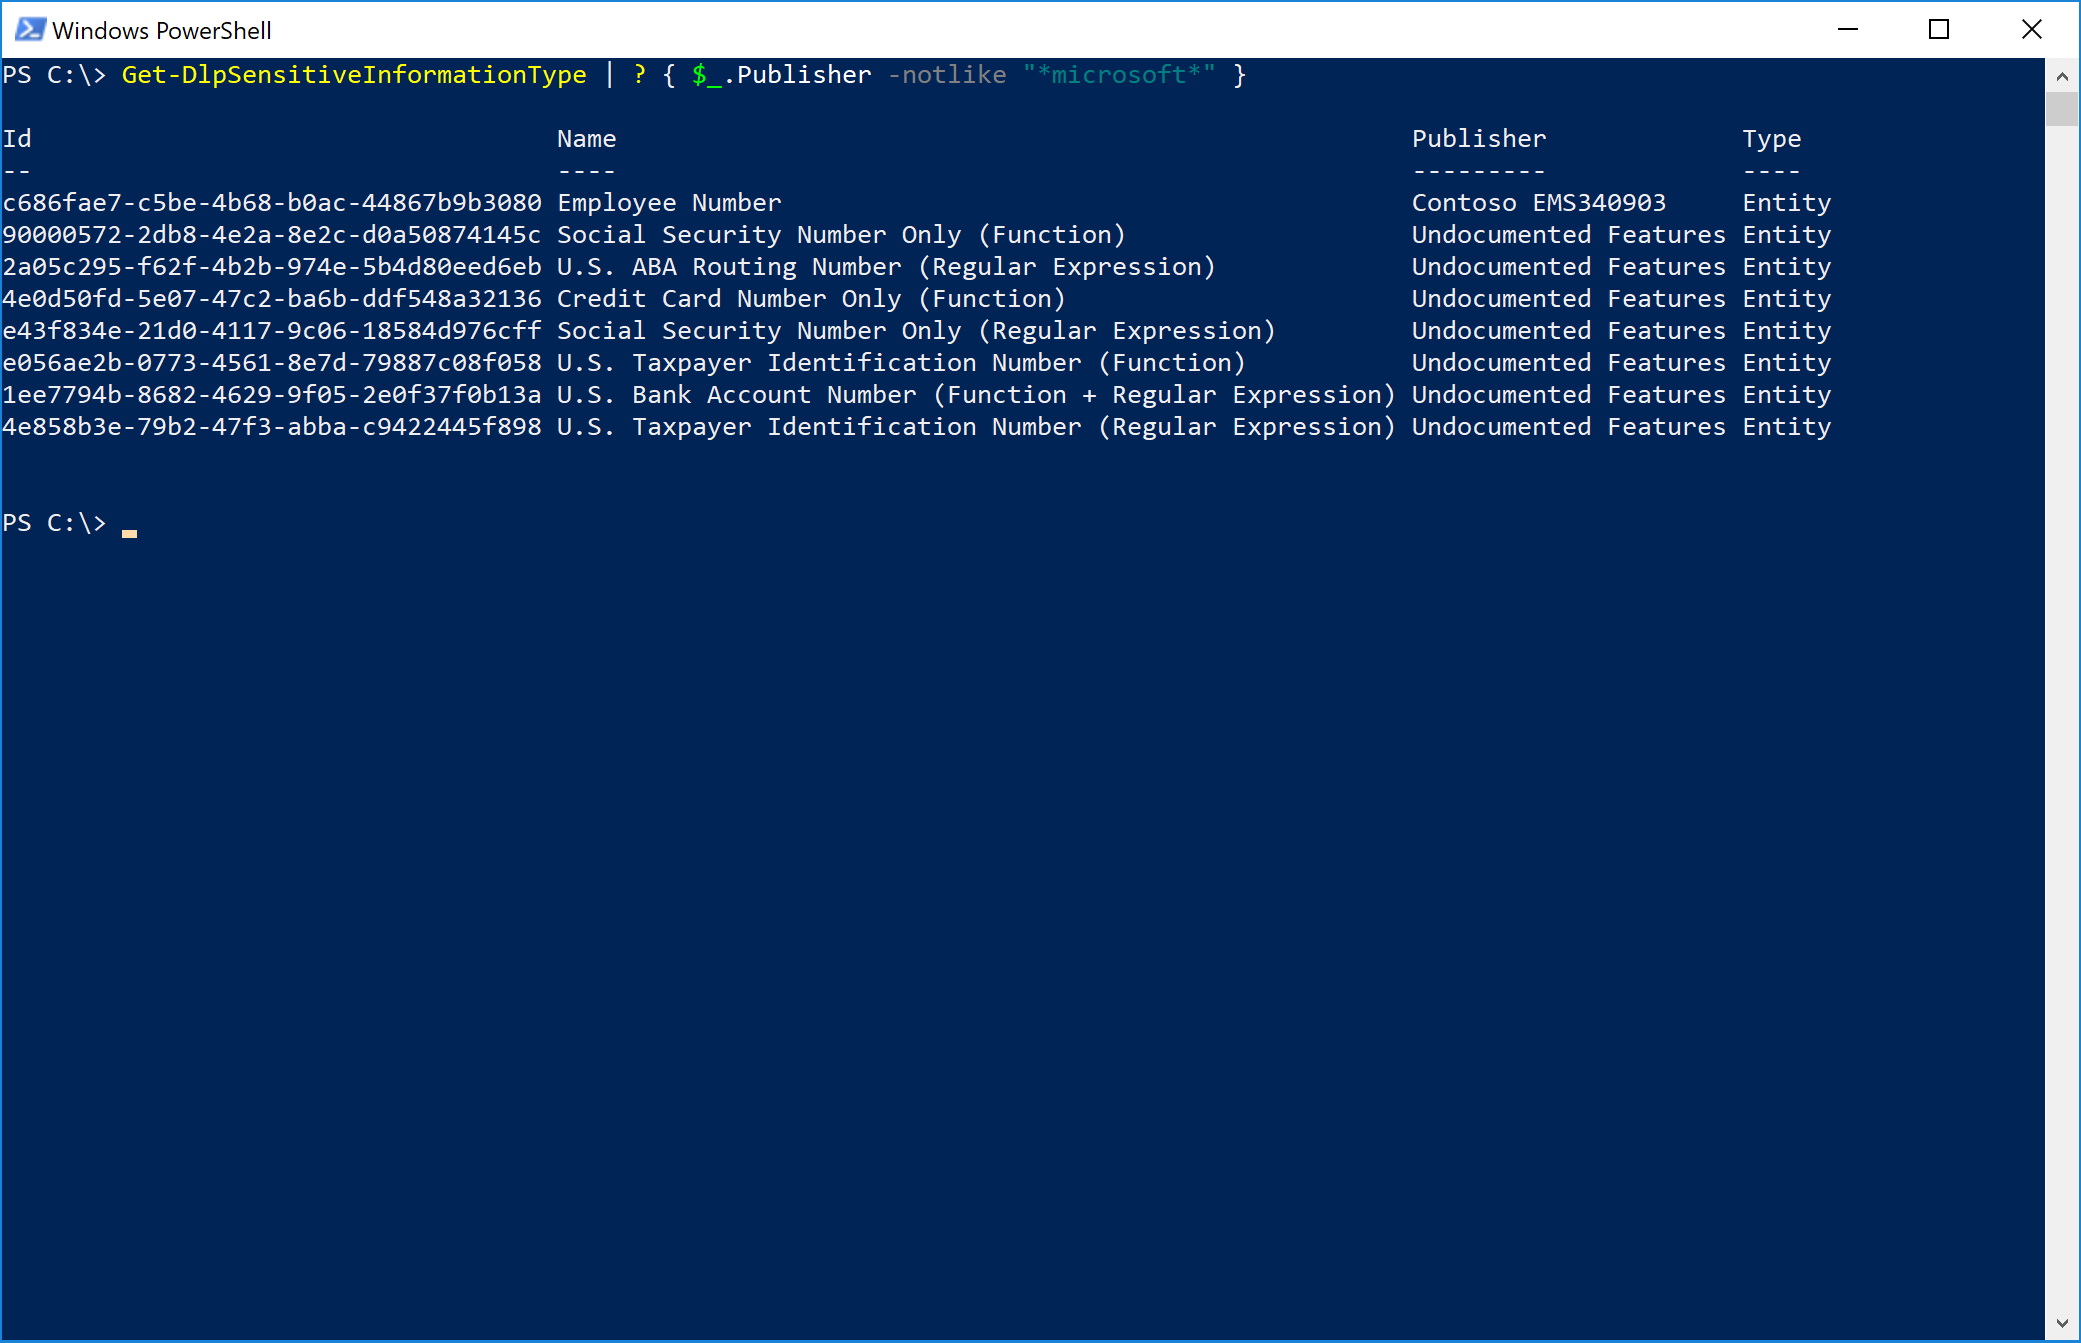
Now, for the bonus round: You can connect to the Security & Compliance Center via PowerShell and, using the Get-DlpSensitiveInformationType, see the custom rule we just created (my tenant's name is Contoso EMS340903, and it's listed as the publisher).
May all your sensitive information types be classified and your regular expressions syntactically sound!