Sensitive Information Types--now with more sensitivity!
UPDATE: The Technet Gallery link for this post has been updated.
So, this is an entry that has been long in the making. I have had several customers over the last few years give feedback about our Data Loss Prevention's (DLP) matching requirements, mostly around how they require too much corroborating evidence (in the form of patterns or keywords) to meet their organization's very restrictive policies.
As a little background, Office 365's DLP uses an array of functions, regular expressions, frequency, and keyword matching to arrive at a result. Many of my customers have very broad breach notification laws regarding personally identifiable information (PII), so they would much rather err on the side of caution with more false positives than let something get through that shouldn't.
For an example of this corroboration, think of a credit card number. If someone is transmitting a credit card number, they might preface it with something like "here's my CC#". If we detect keywords like "credit card" or "CC#" in a 300-character proximity to a number that passes the Luhn check, then Office 365 DLP will trip. But what if someone is sending a spreadsheet of a handful names and numbers with no headers? That may get through the default DLP templates, since the supporting evidence that the templates are looking for (namely, words like "credit card") isn't present.
This is where the problem arises.
To help resolve this issue, I have created a small rule package (which I am already currently expanding due to other customer requests) that customers can deploy to help with this.
First, you need to head over to my TechNet Gallery page or GitHub repo and get the rule package XML file. It's free (as in beer).
Next, you need to connect to the Office 365 Security & Compliance Center PowerShell endpoint:
 $Credential = Get-Credential
$Session = New-PSSession -ConfigurationName Microsoft.Exchange -ConnectionUri https://outlook.office365.com/powershell-liveid/ -Credential $Credential -Authentication Basic -AllowRedirection
Import-PSSession $Session
Connect-MsolService -Credential $Credential
$ComplianceSession = New-PSSession -ConfigurationName Microsoft.Exchange -ConnectionUri https://ps.compliance.protection.outlook.com/powershell-liveid -Credential $Credential -Authentication Basic -AllowRedirection
Import-PSSession $ComplianceSession -AllowClobber
Then, you need to import the rule package using the New-DlpSensitiveInformationTypeRulePackage cmdlet:
New-DlpSensitiveInformationTypeRulePackage -FileData (Get-Content .\UndocumentedFeaturesRulePackage.xml -Encoding Byte)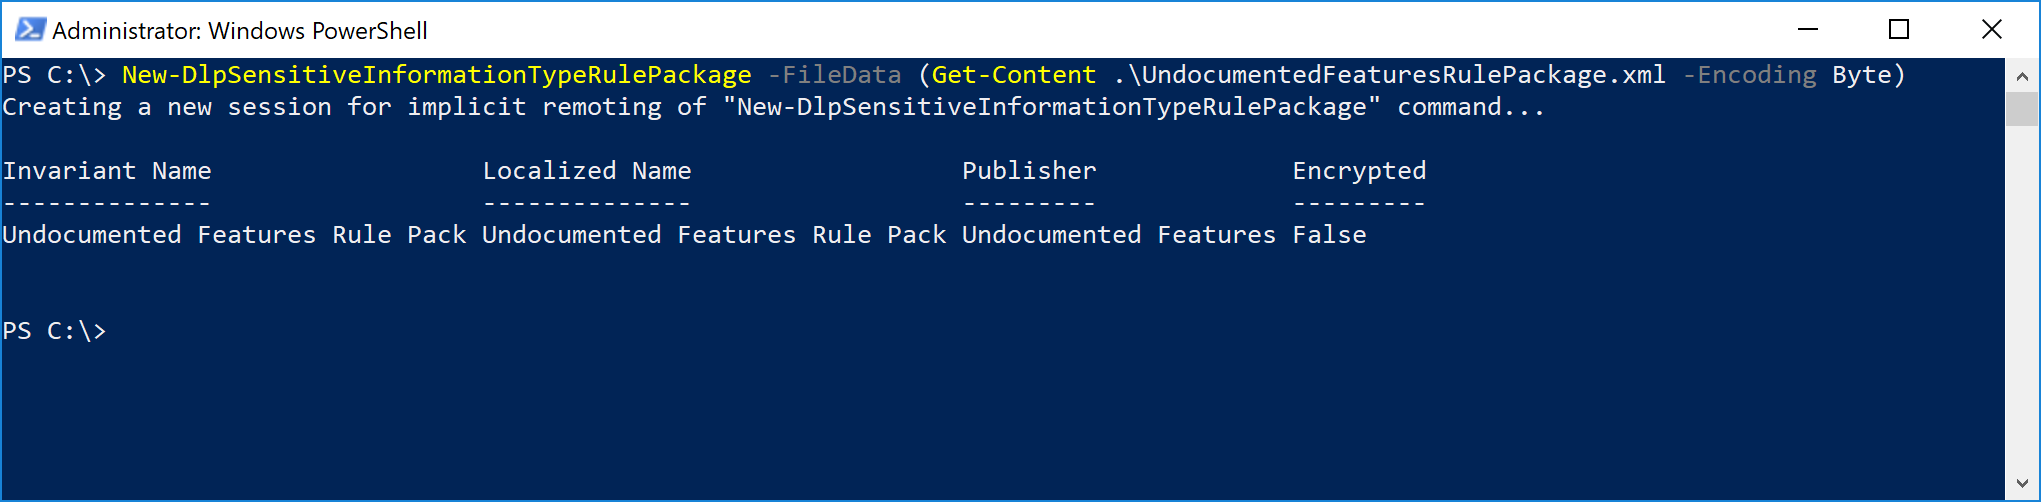
After the rule package has been uploaded, navigate to the Security & Compliance Center and select Data Loss Prevention (https://protection.office.com/#/datalossprevention).
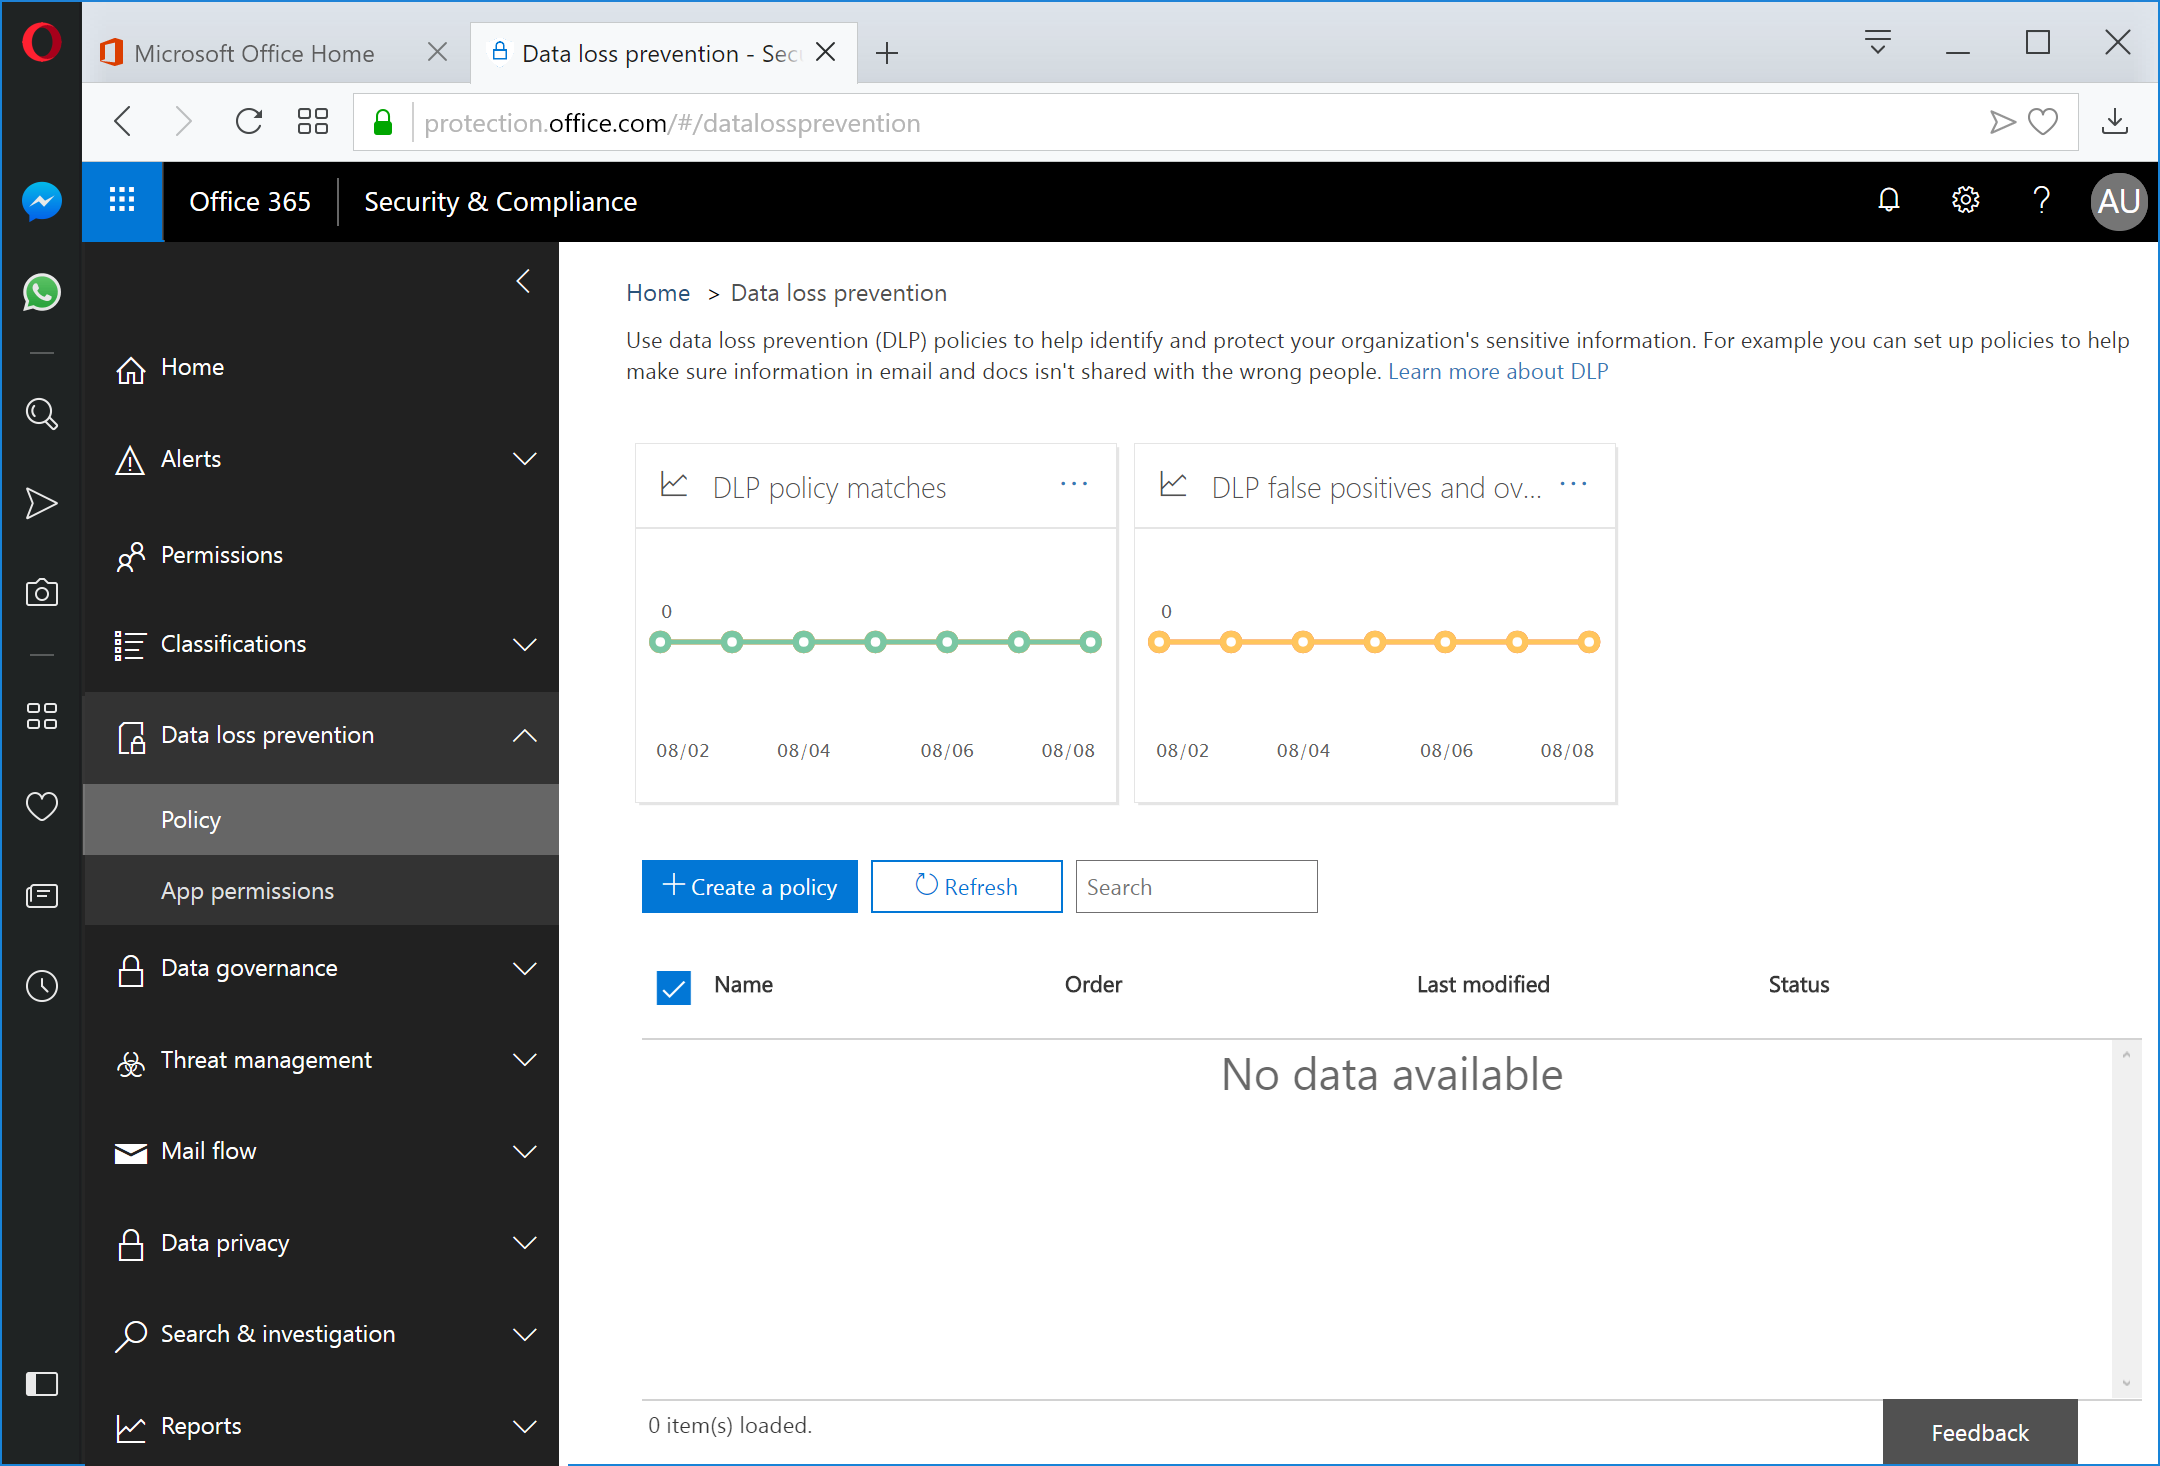
Select + Create a policy.
Select Custom and then click Next.

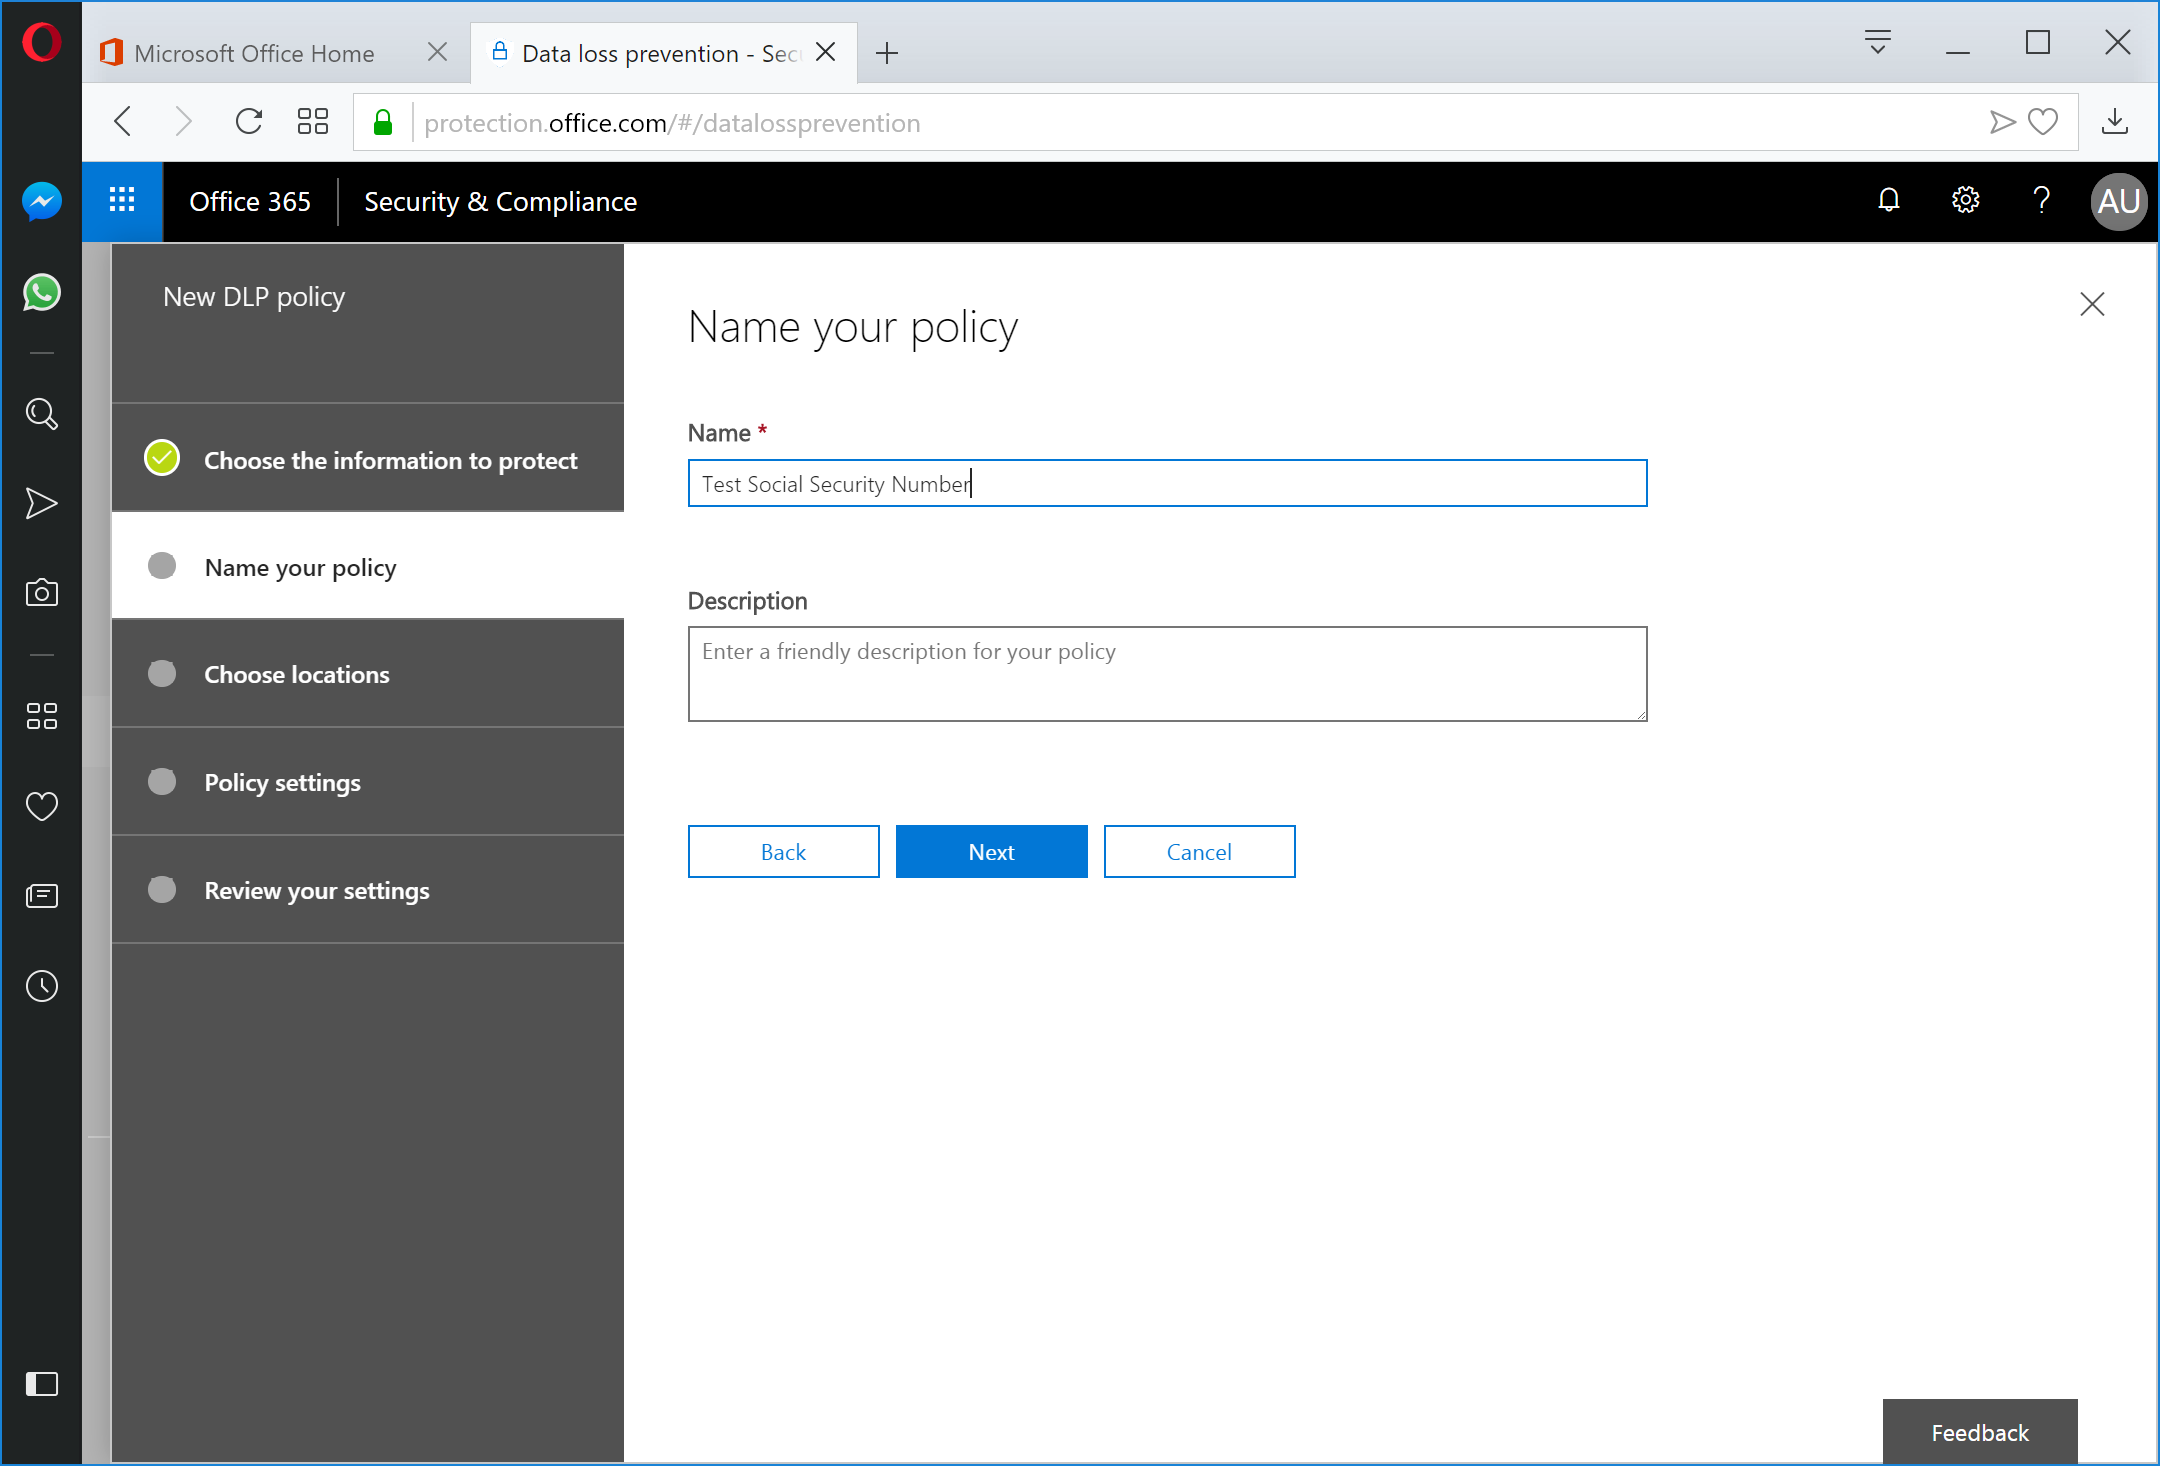
Enter a name for the policy and click Next.
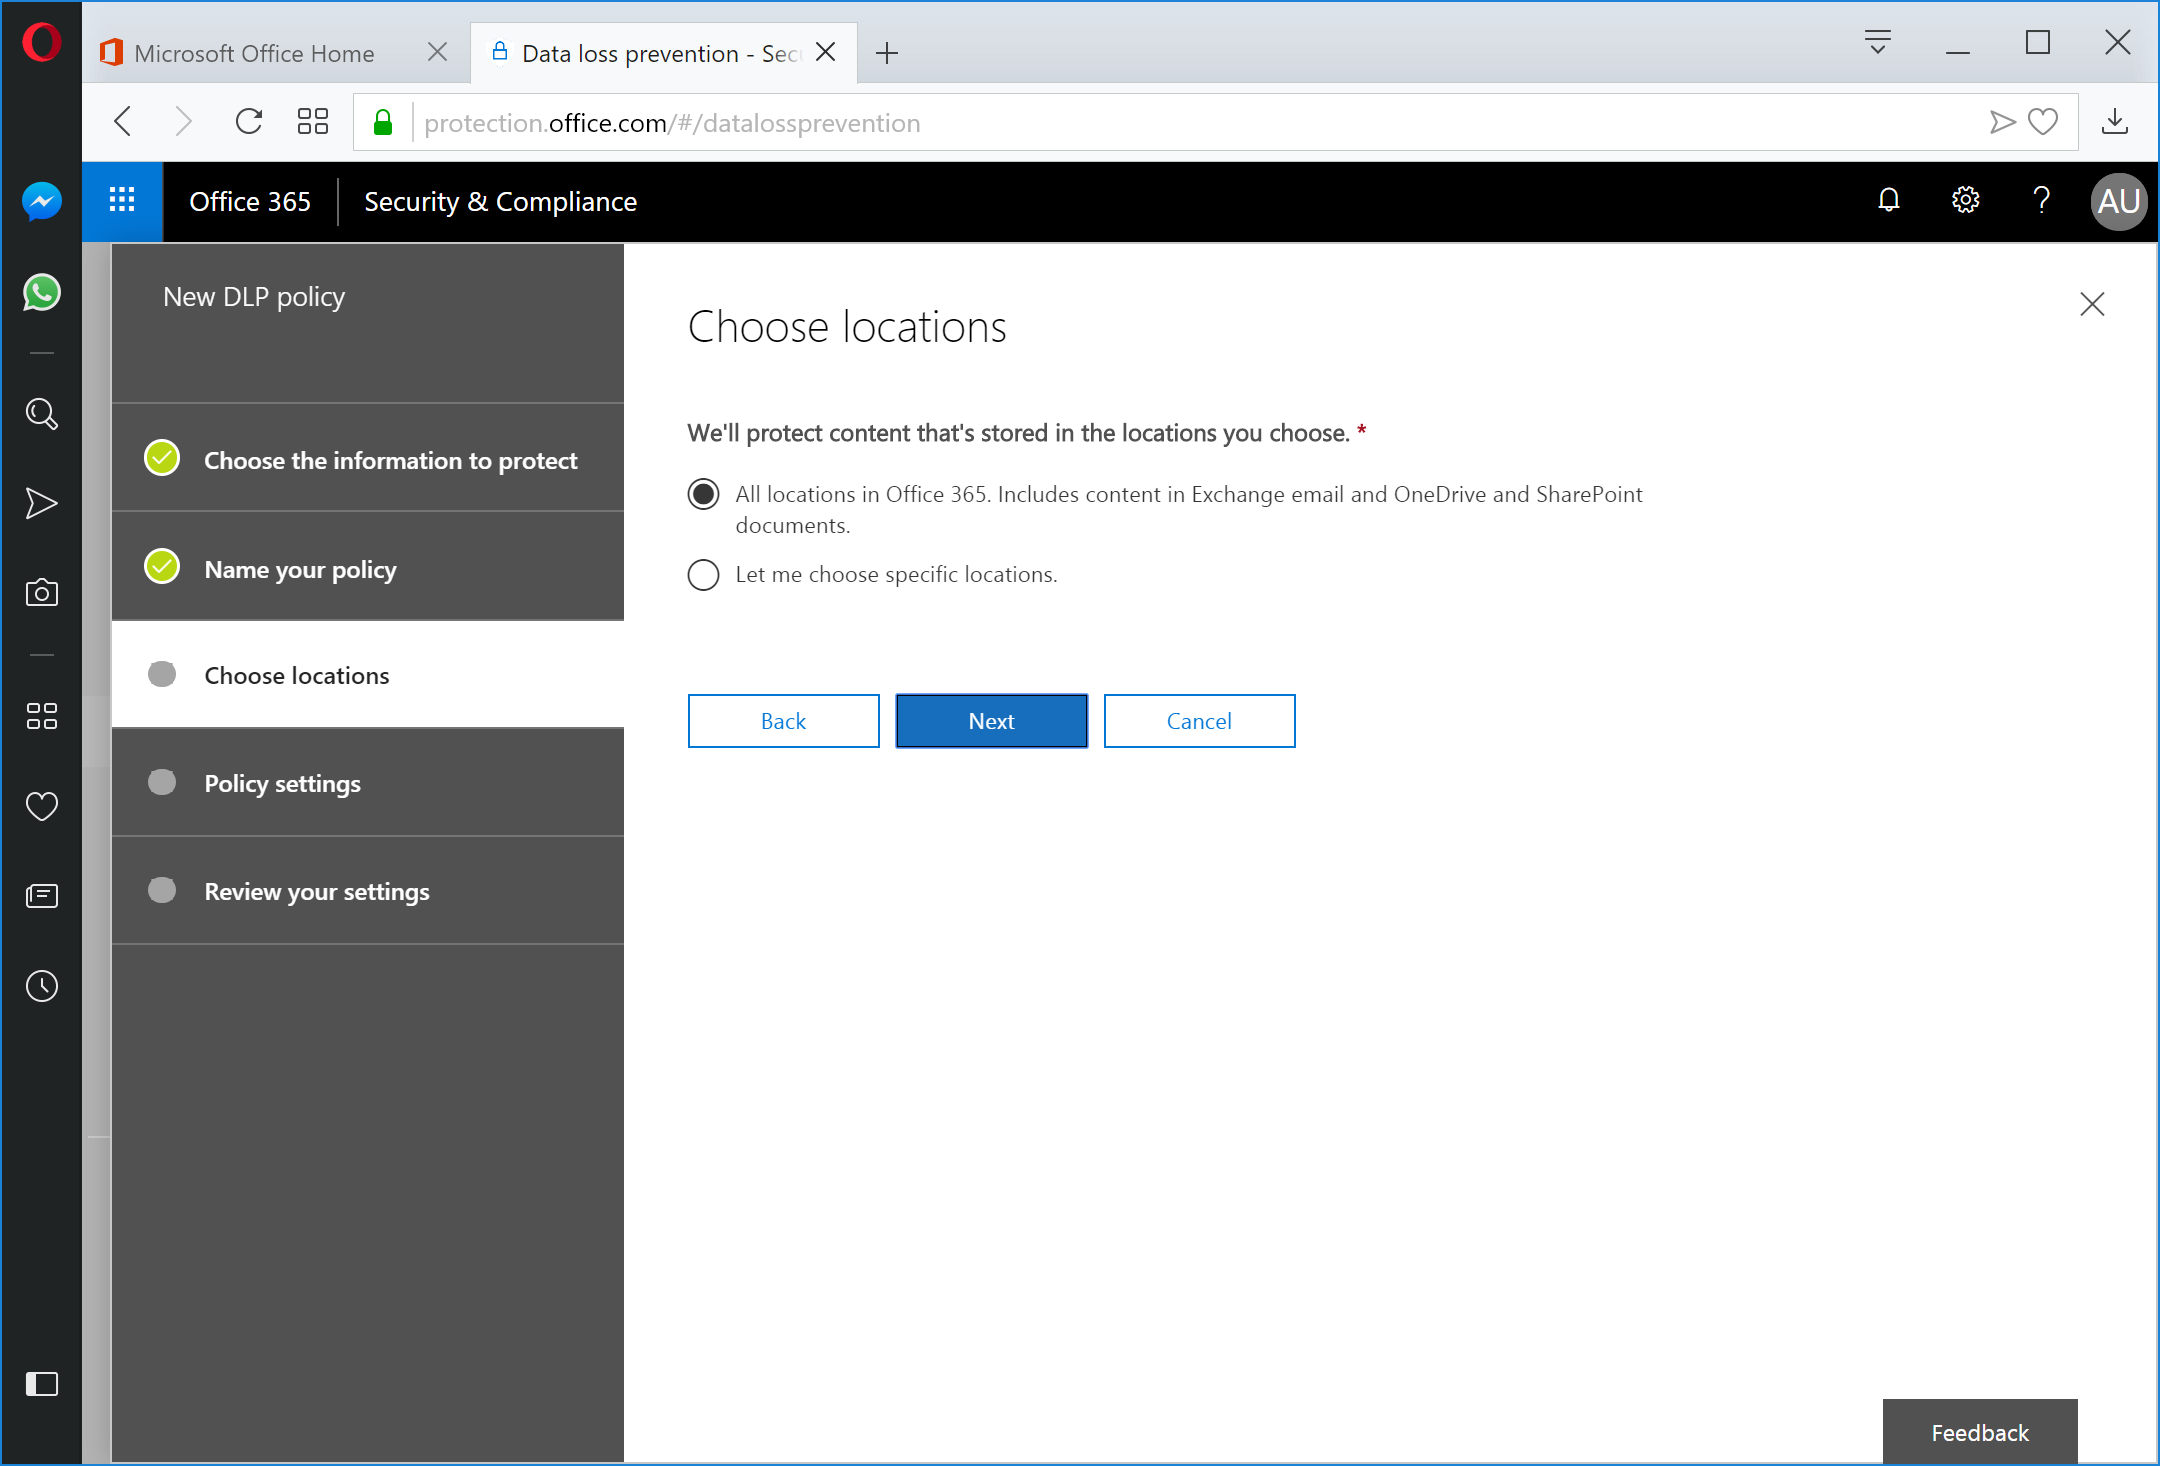
Select locations you wish to protect and click Next.
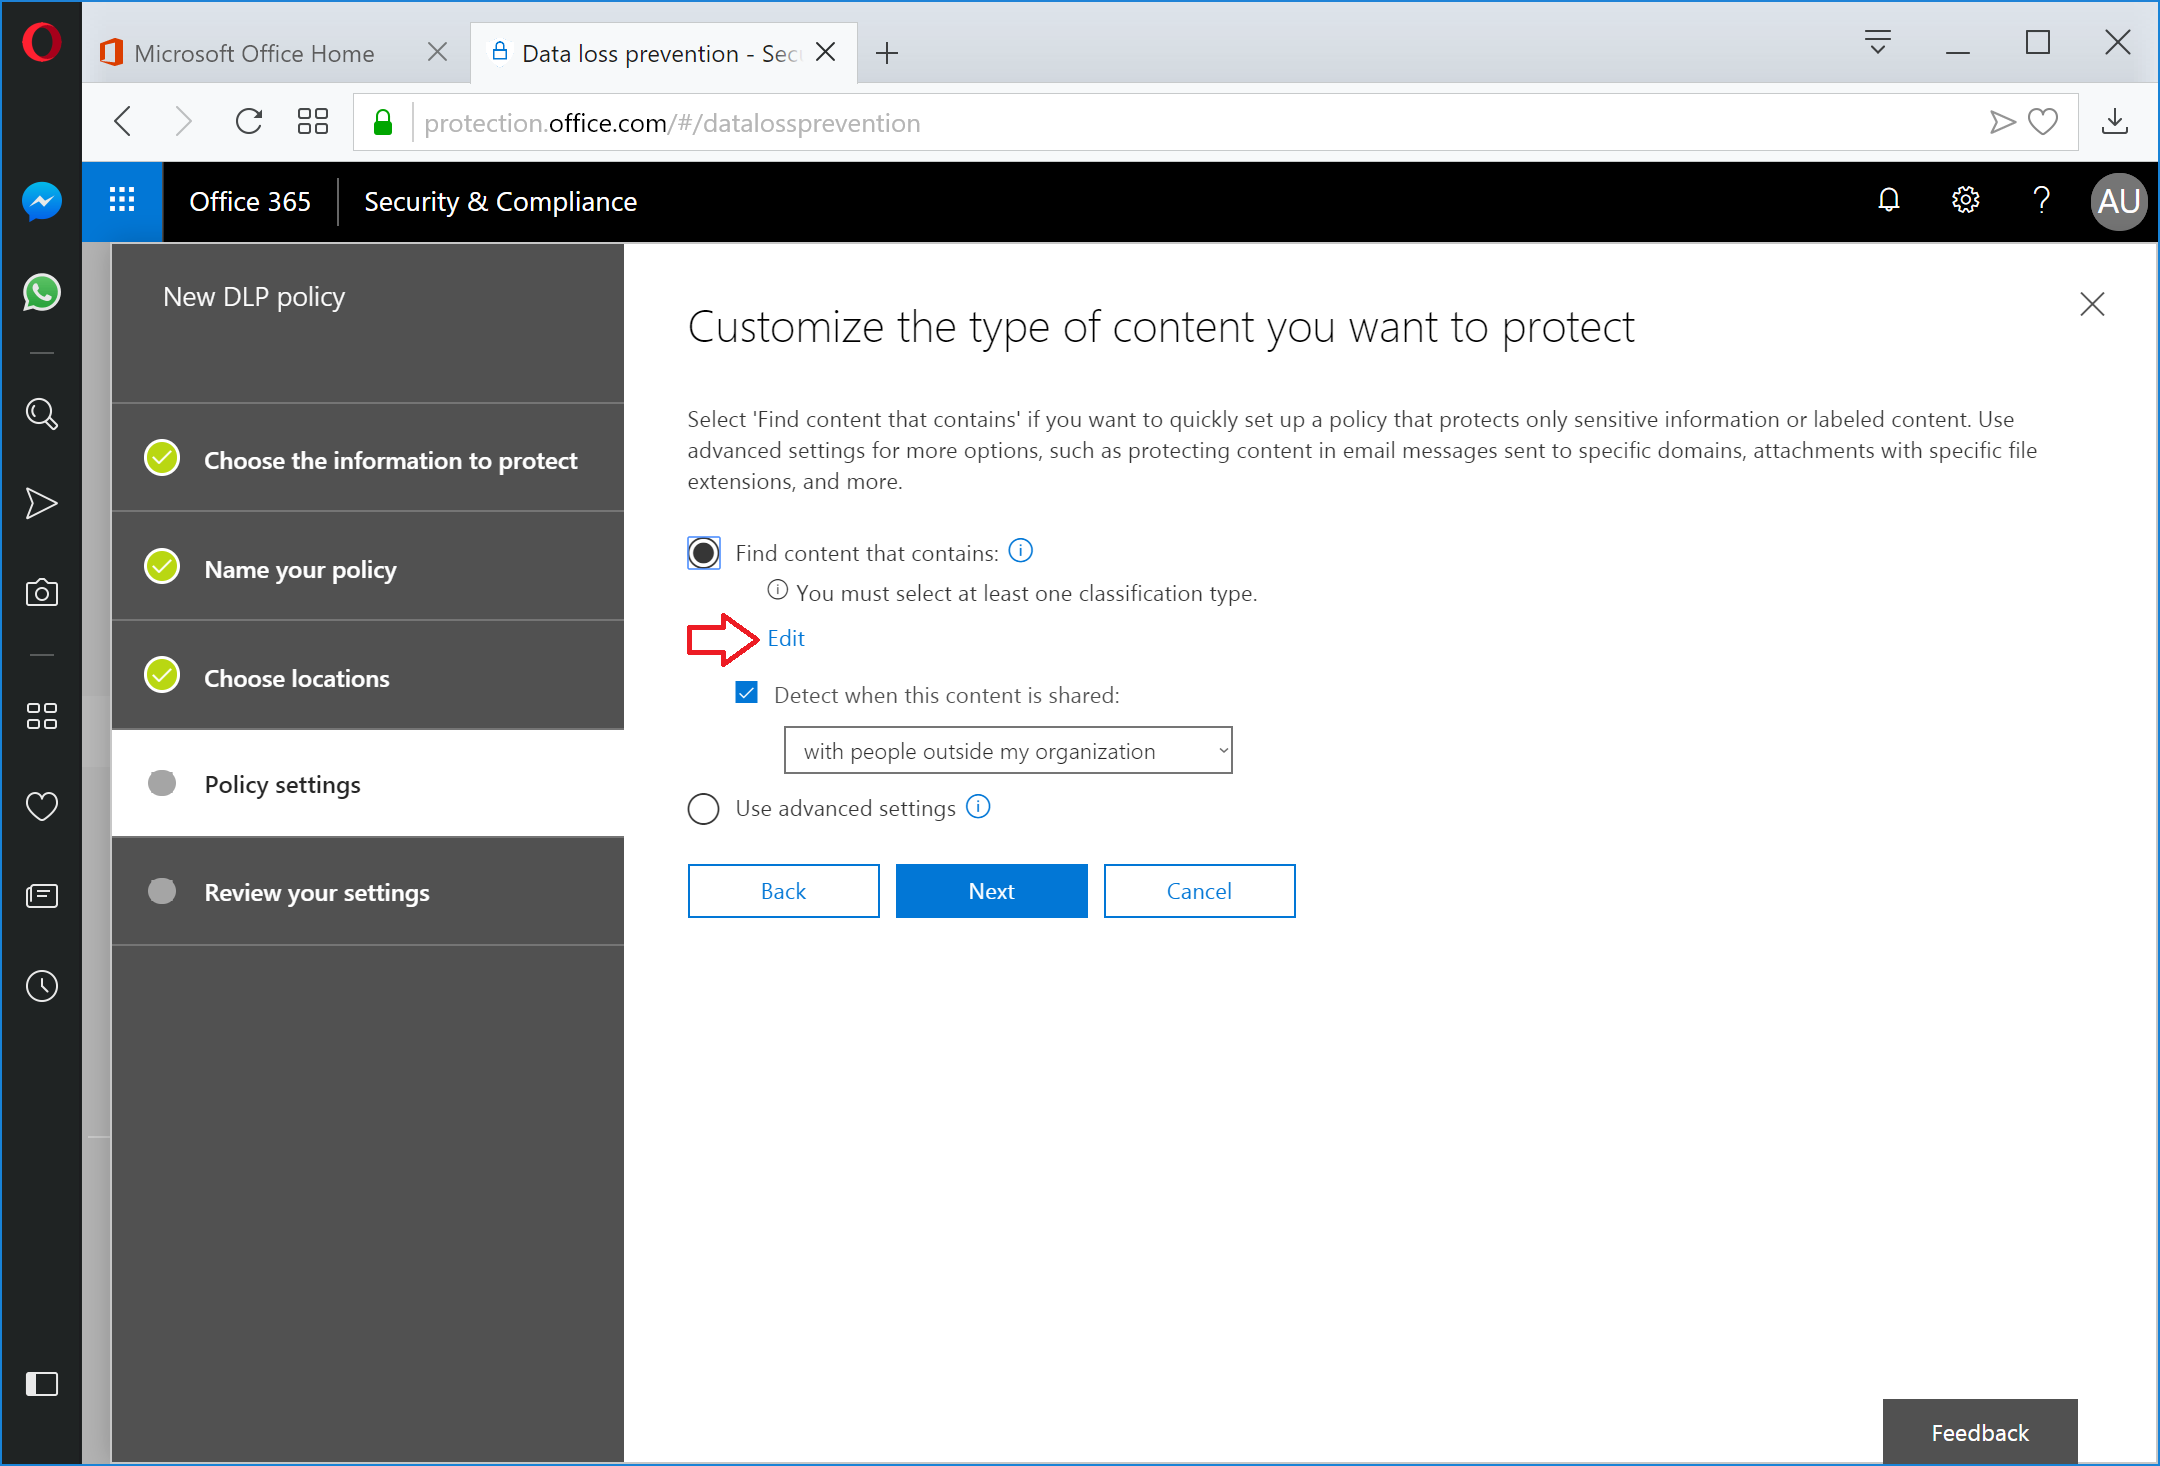
To configure a basic policy, click the Edit link (you can configure an Advanced policy, too, but we're just going to focus on the basic one for now).
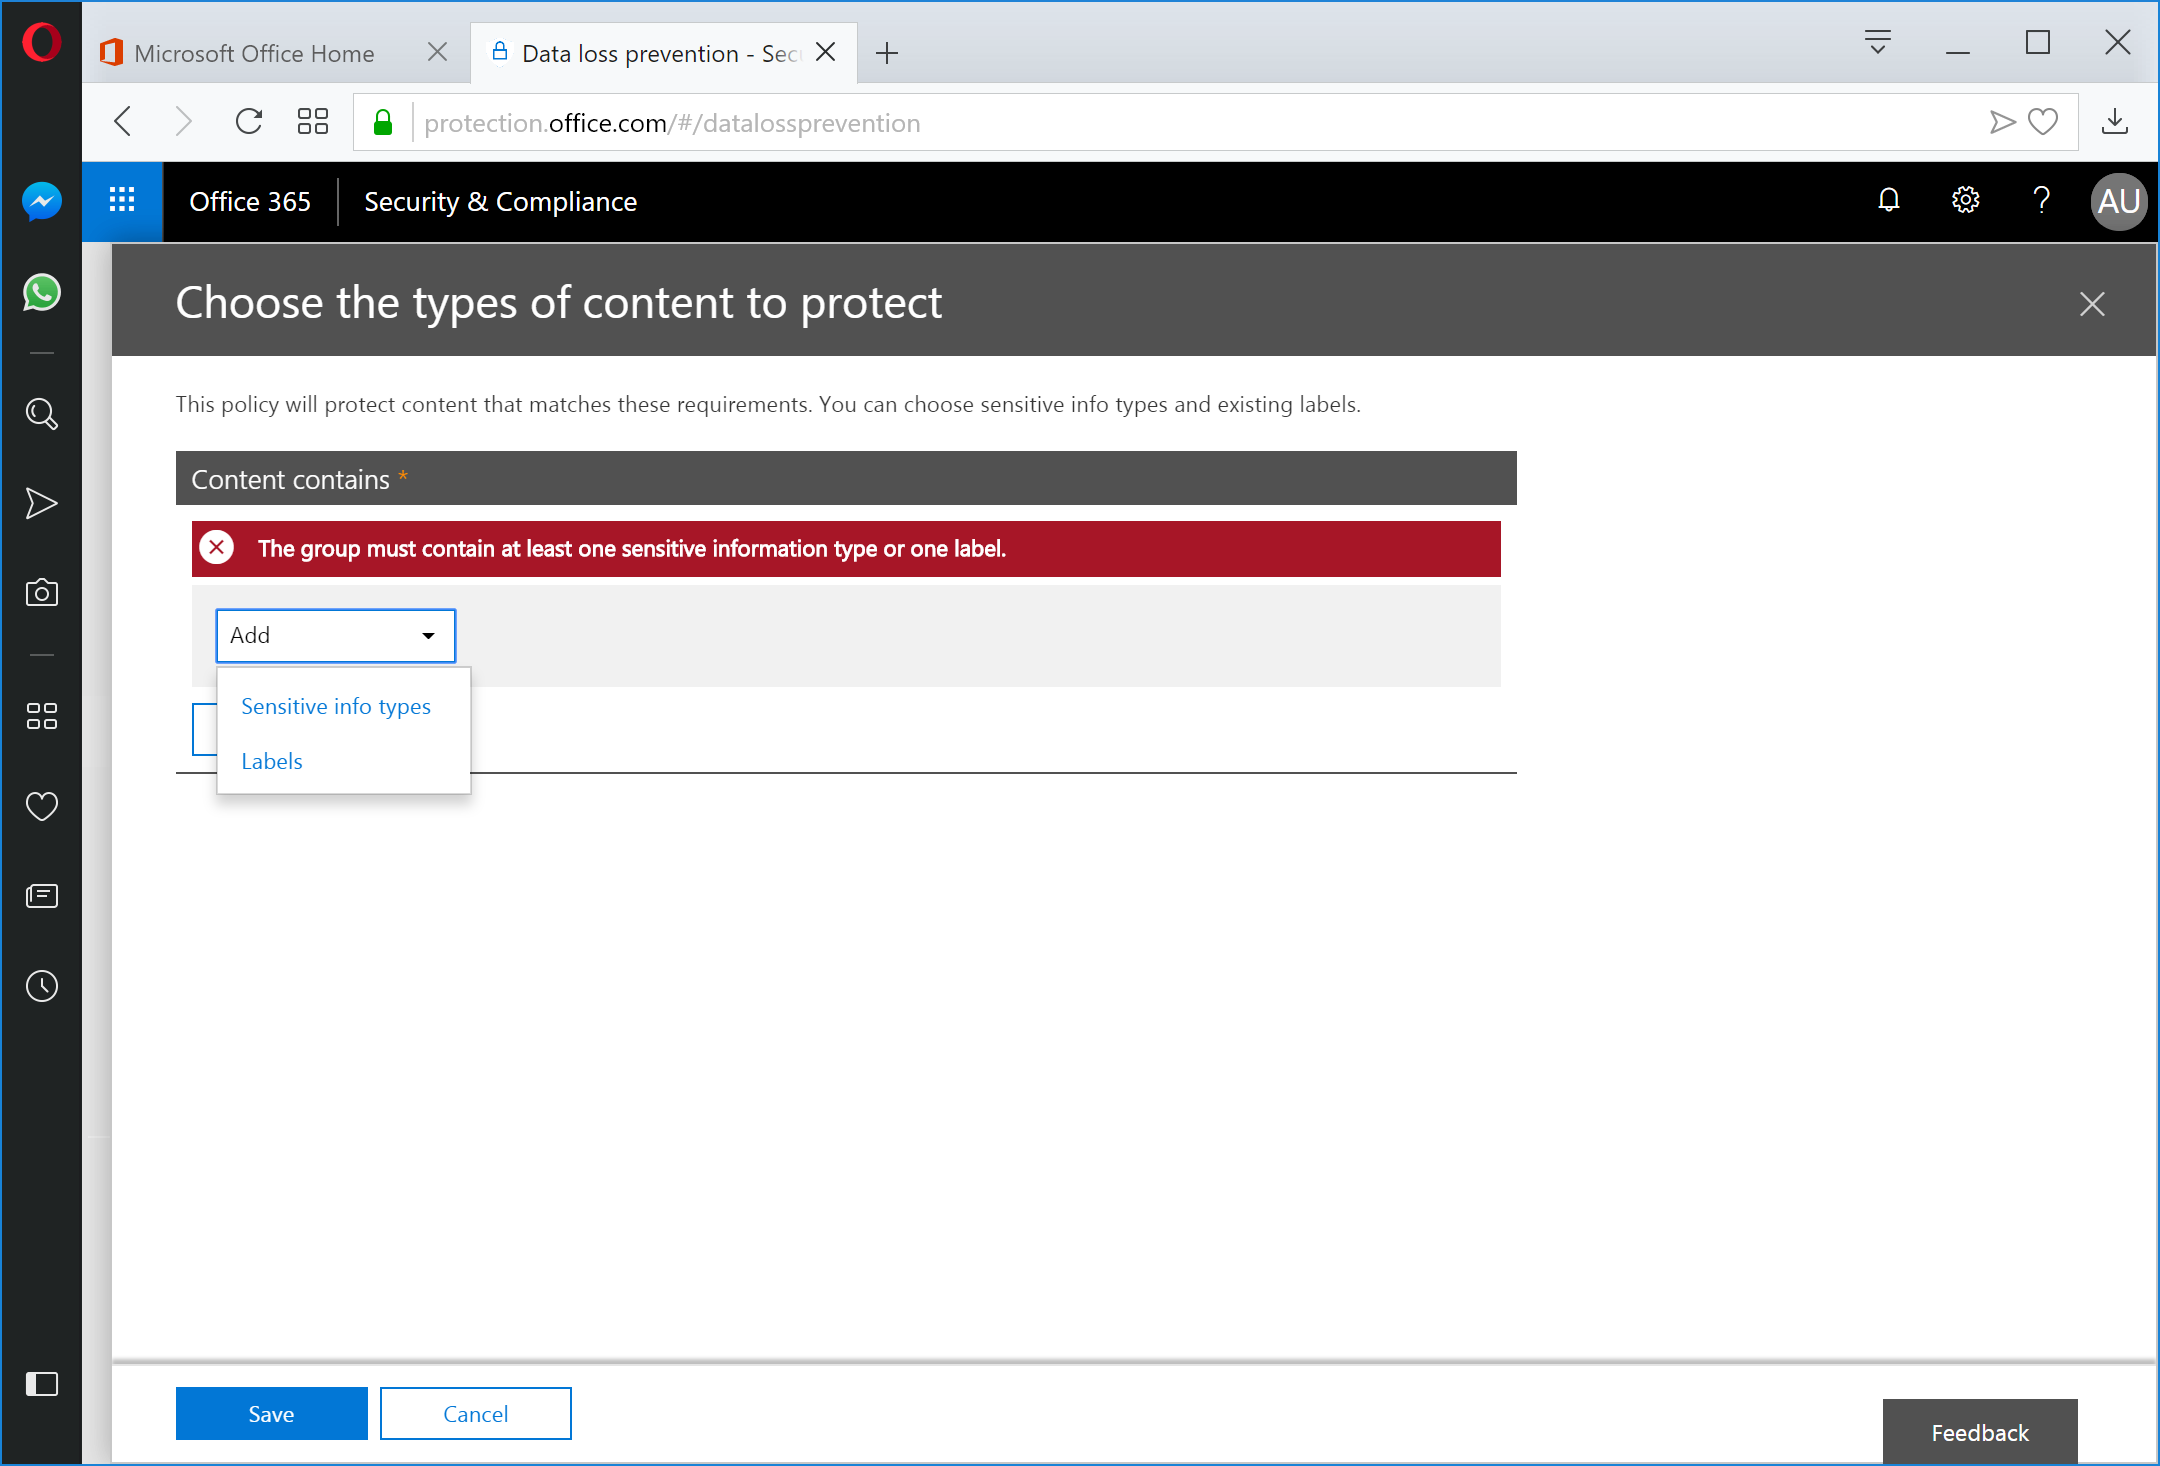
Under the Add drop-down, select Sensitive info types.
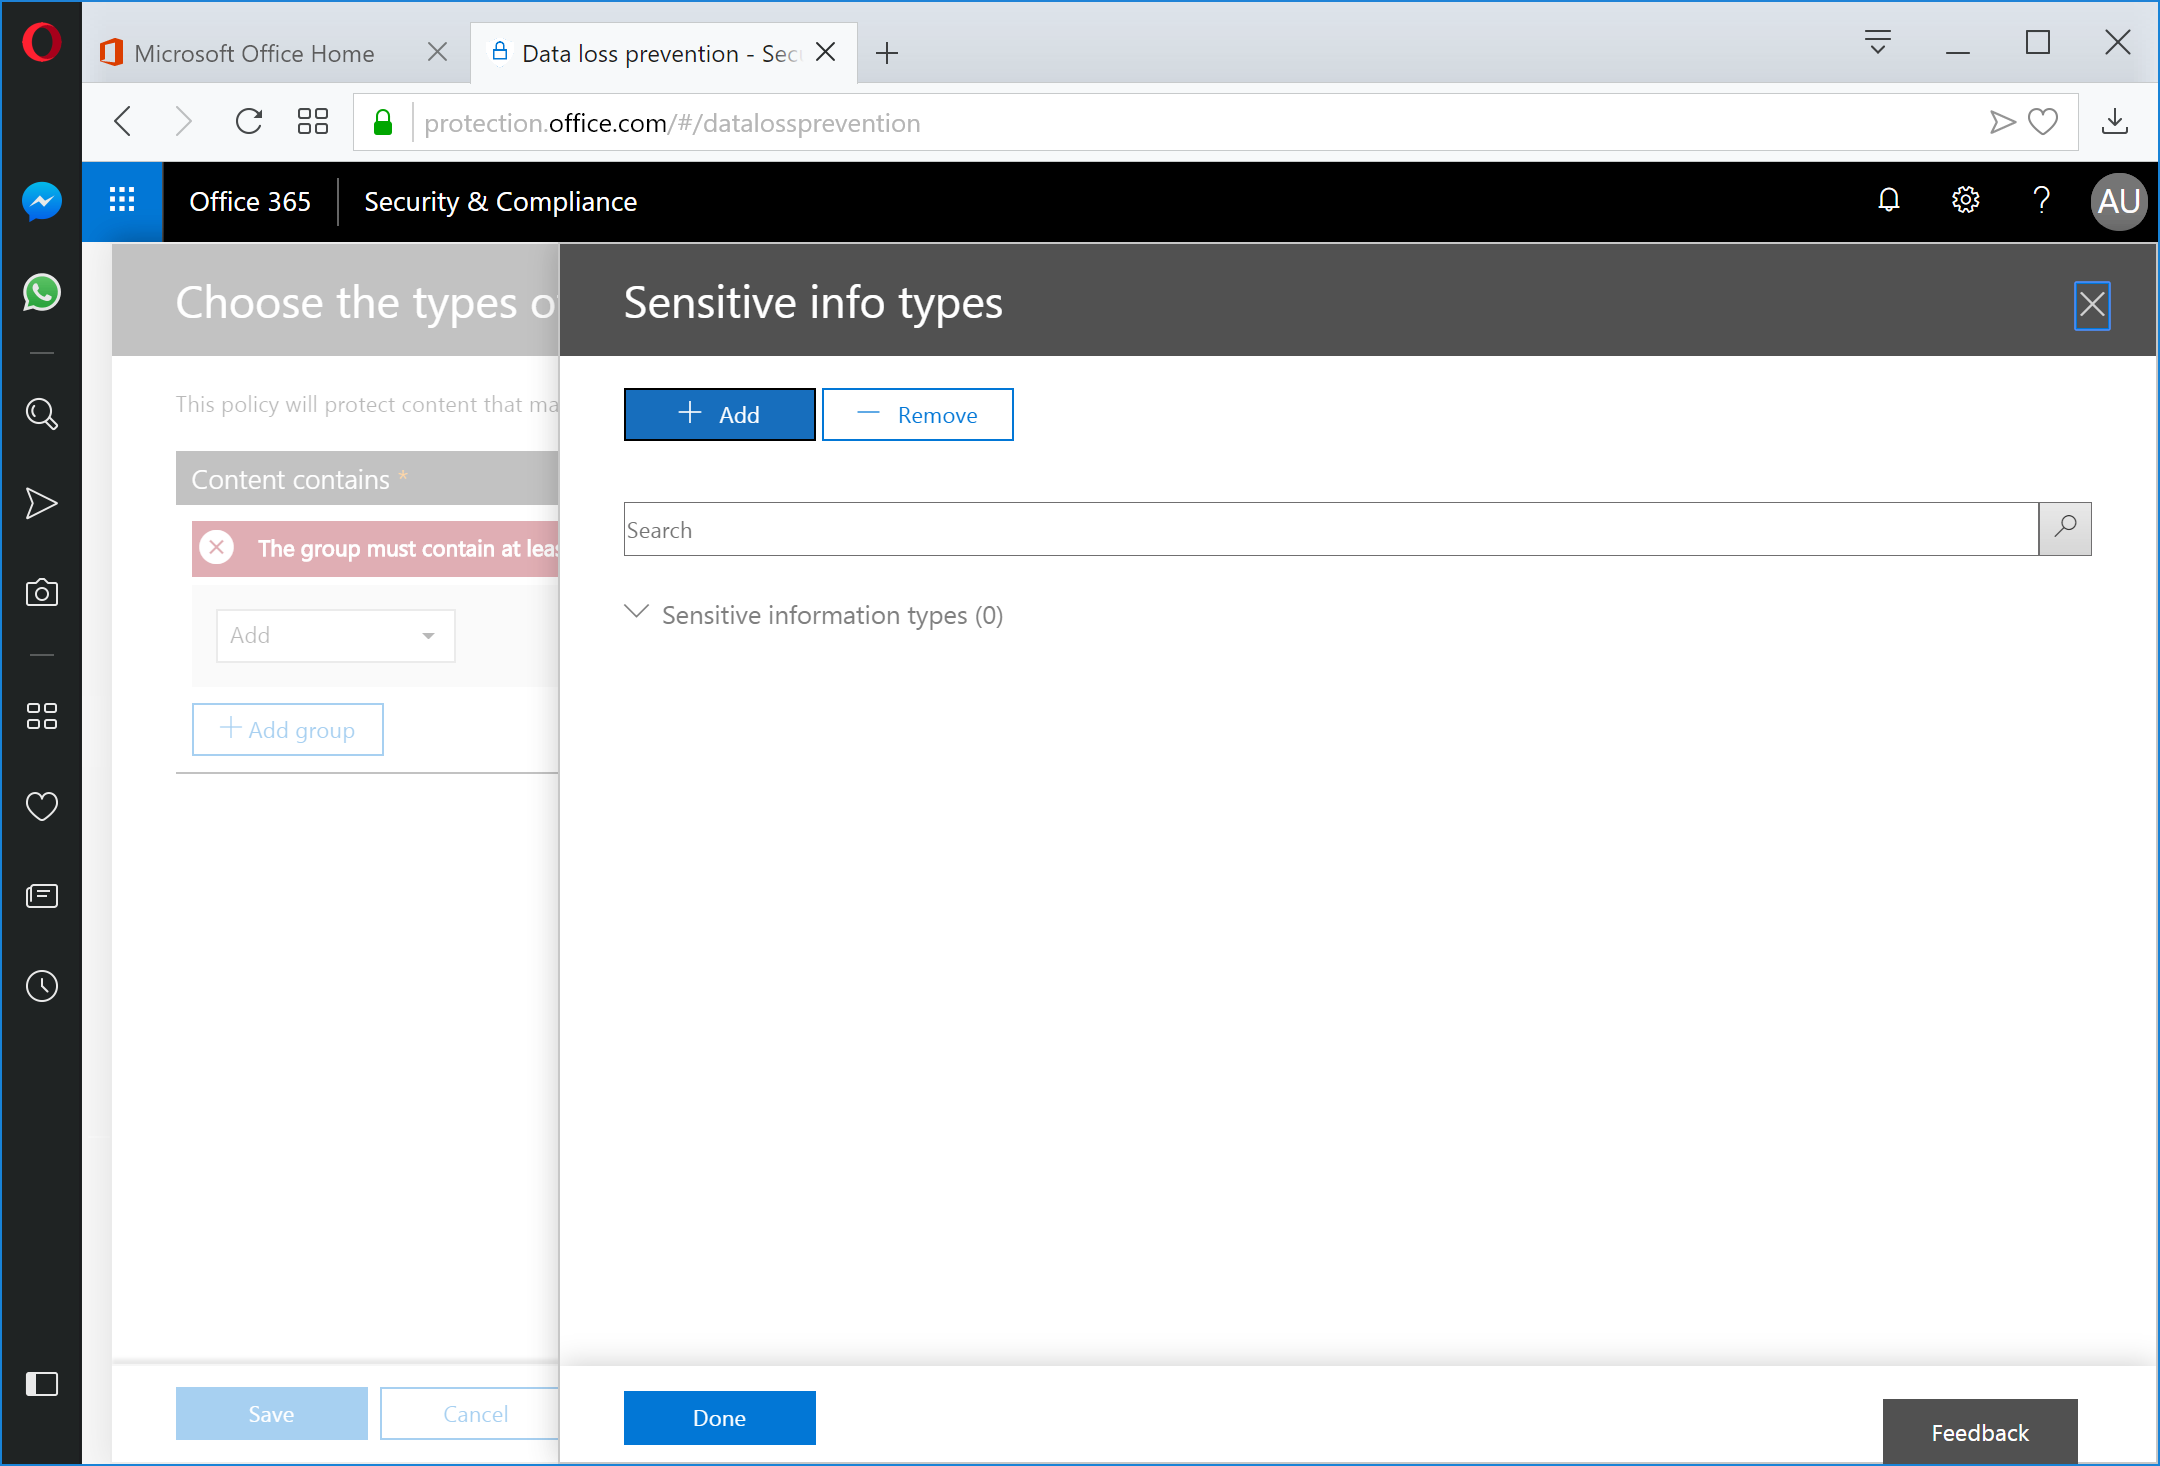
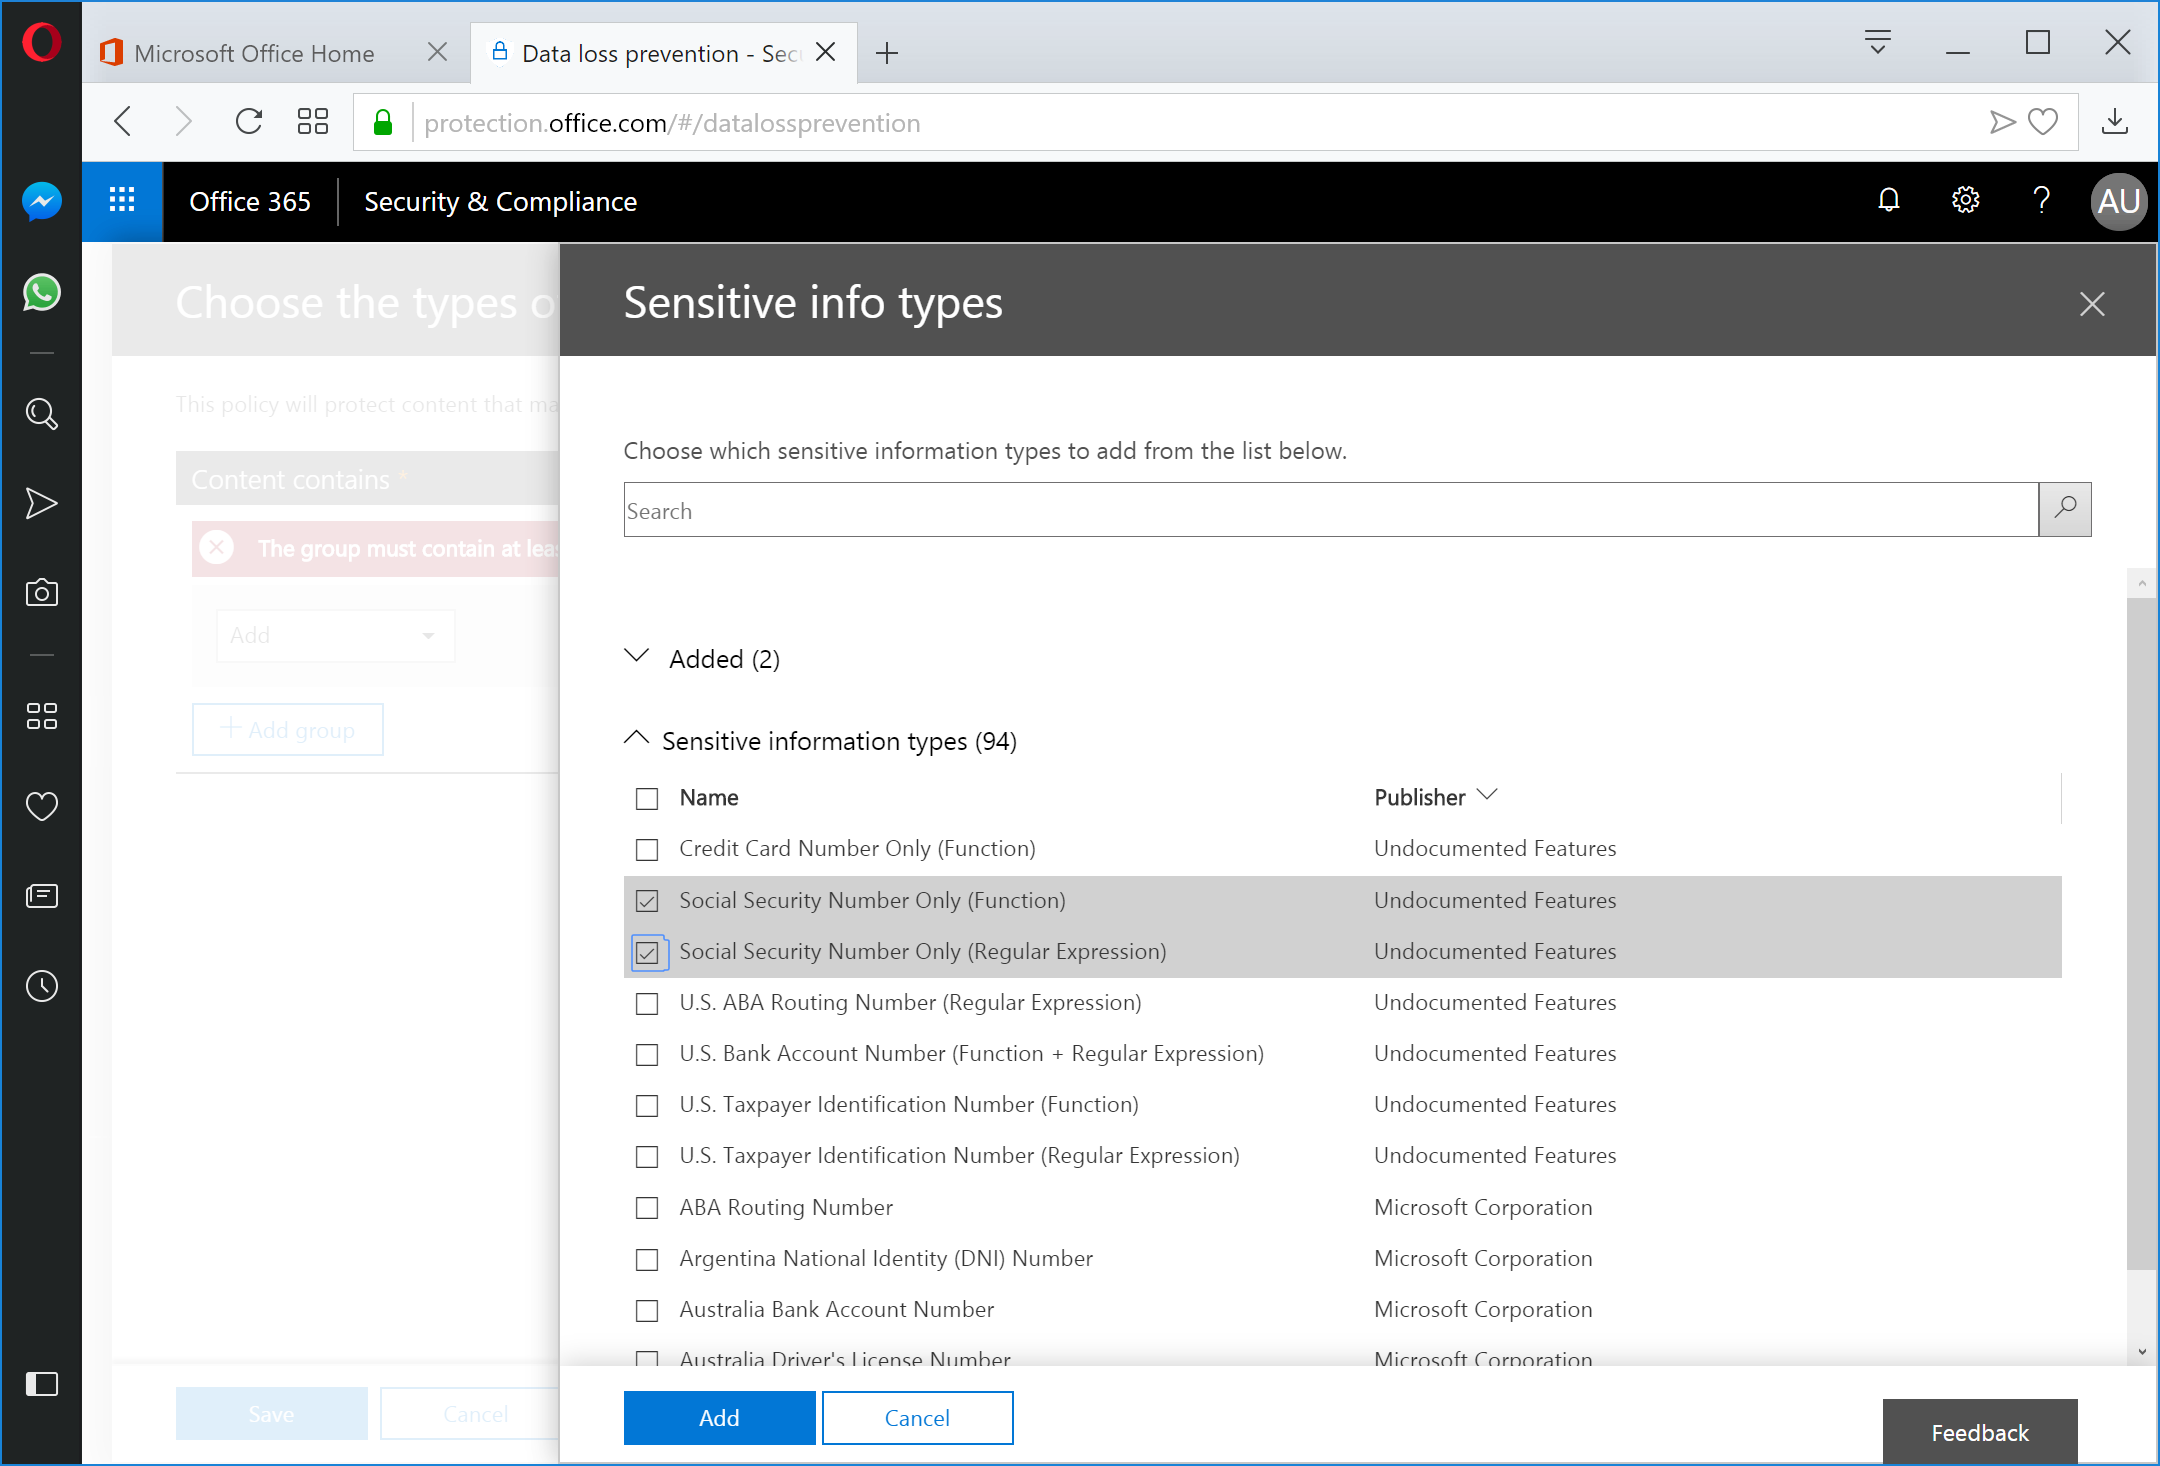
On the Sensitive info types panel, select the +Add button.
In the search window on the Sensitive info types panel, click the Publisher column header twice to sort the column and bring the imported templates to the top of the list.
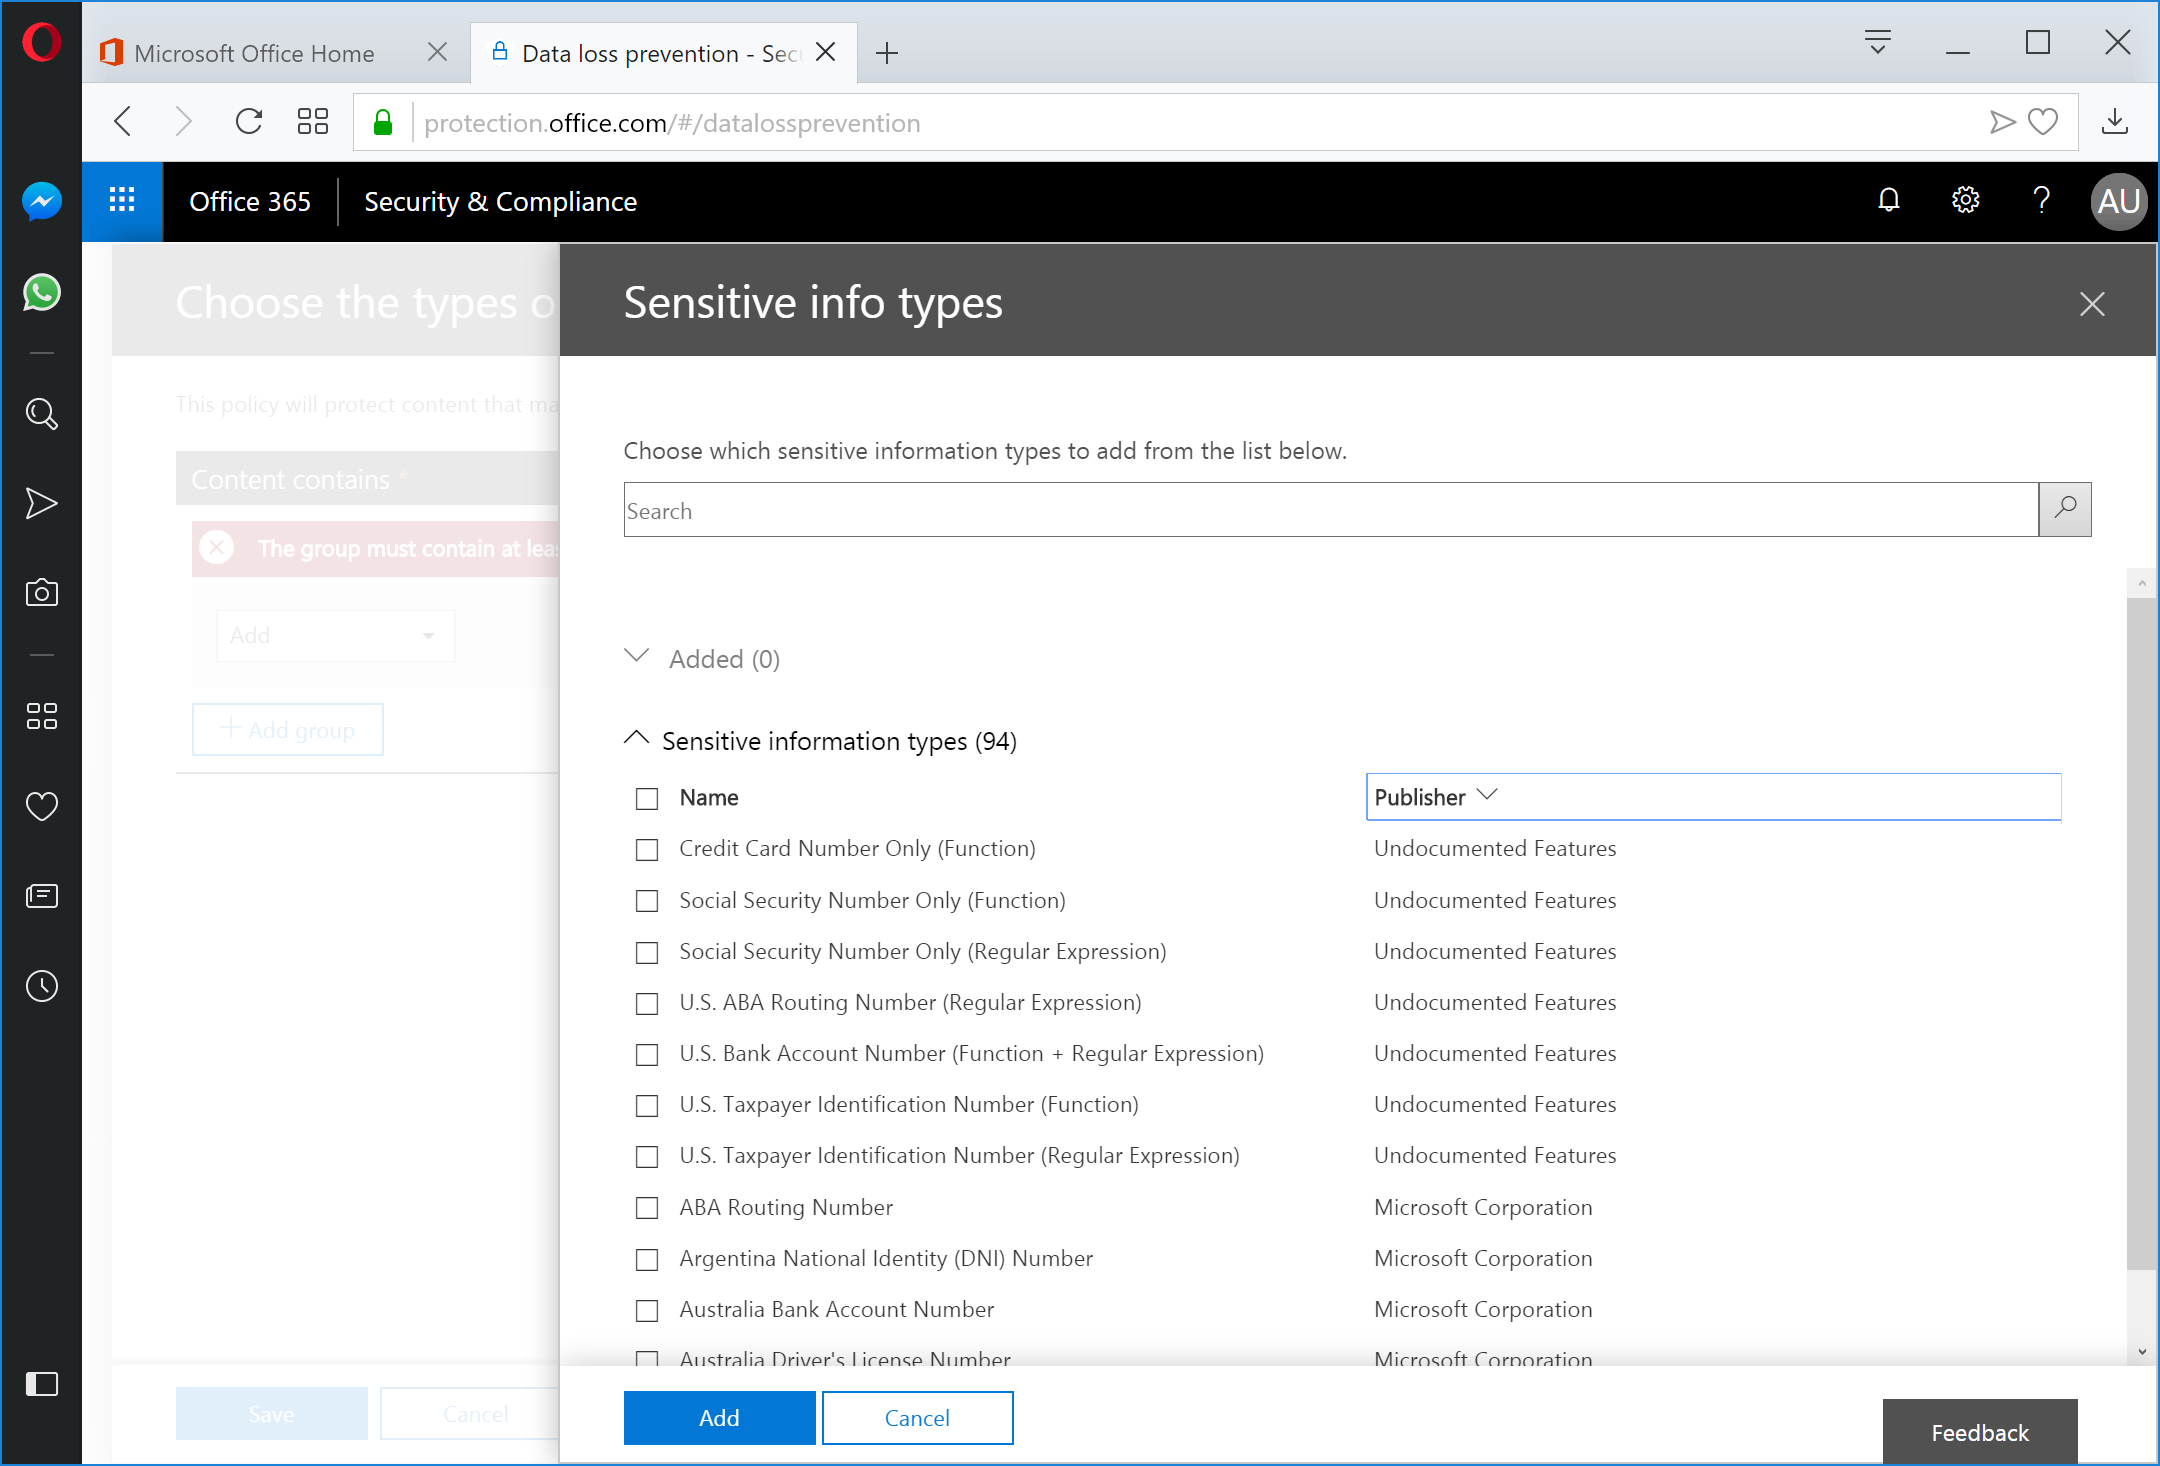
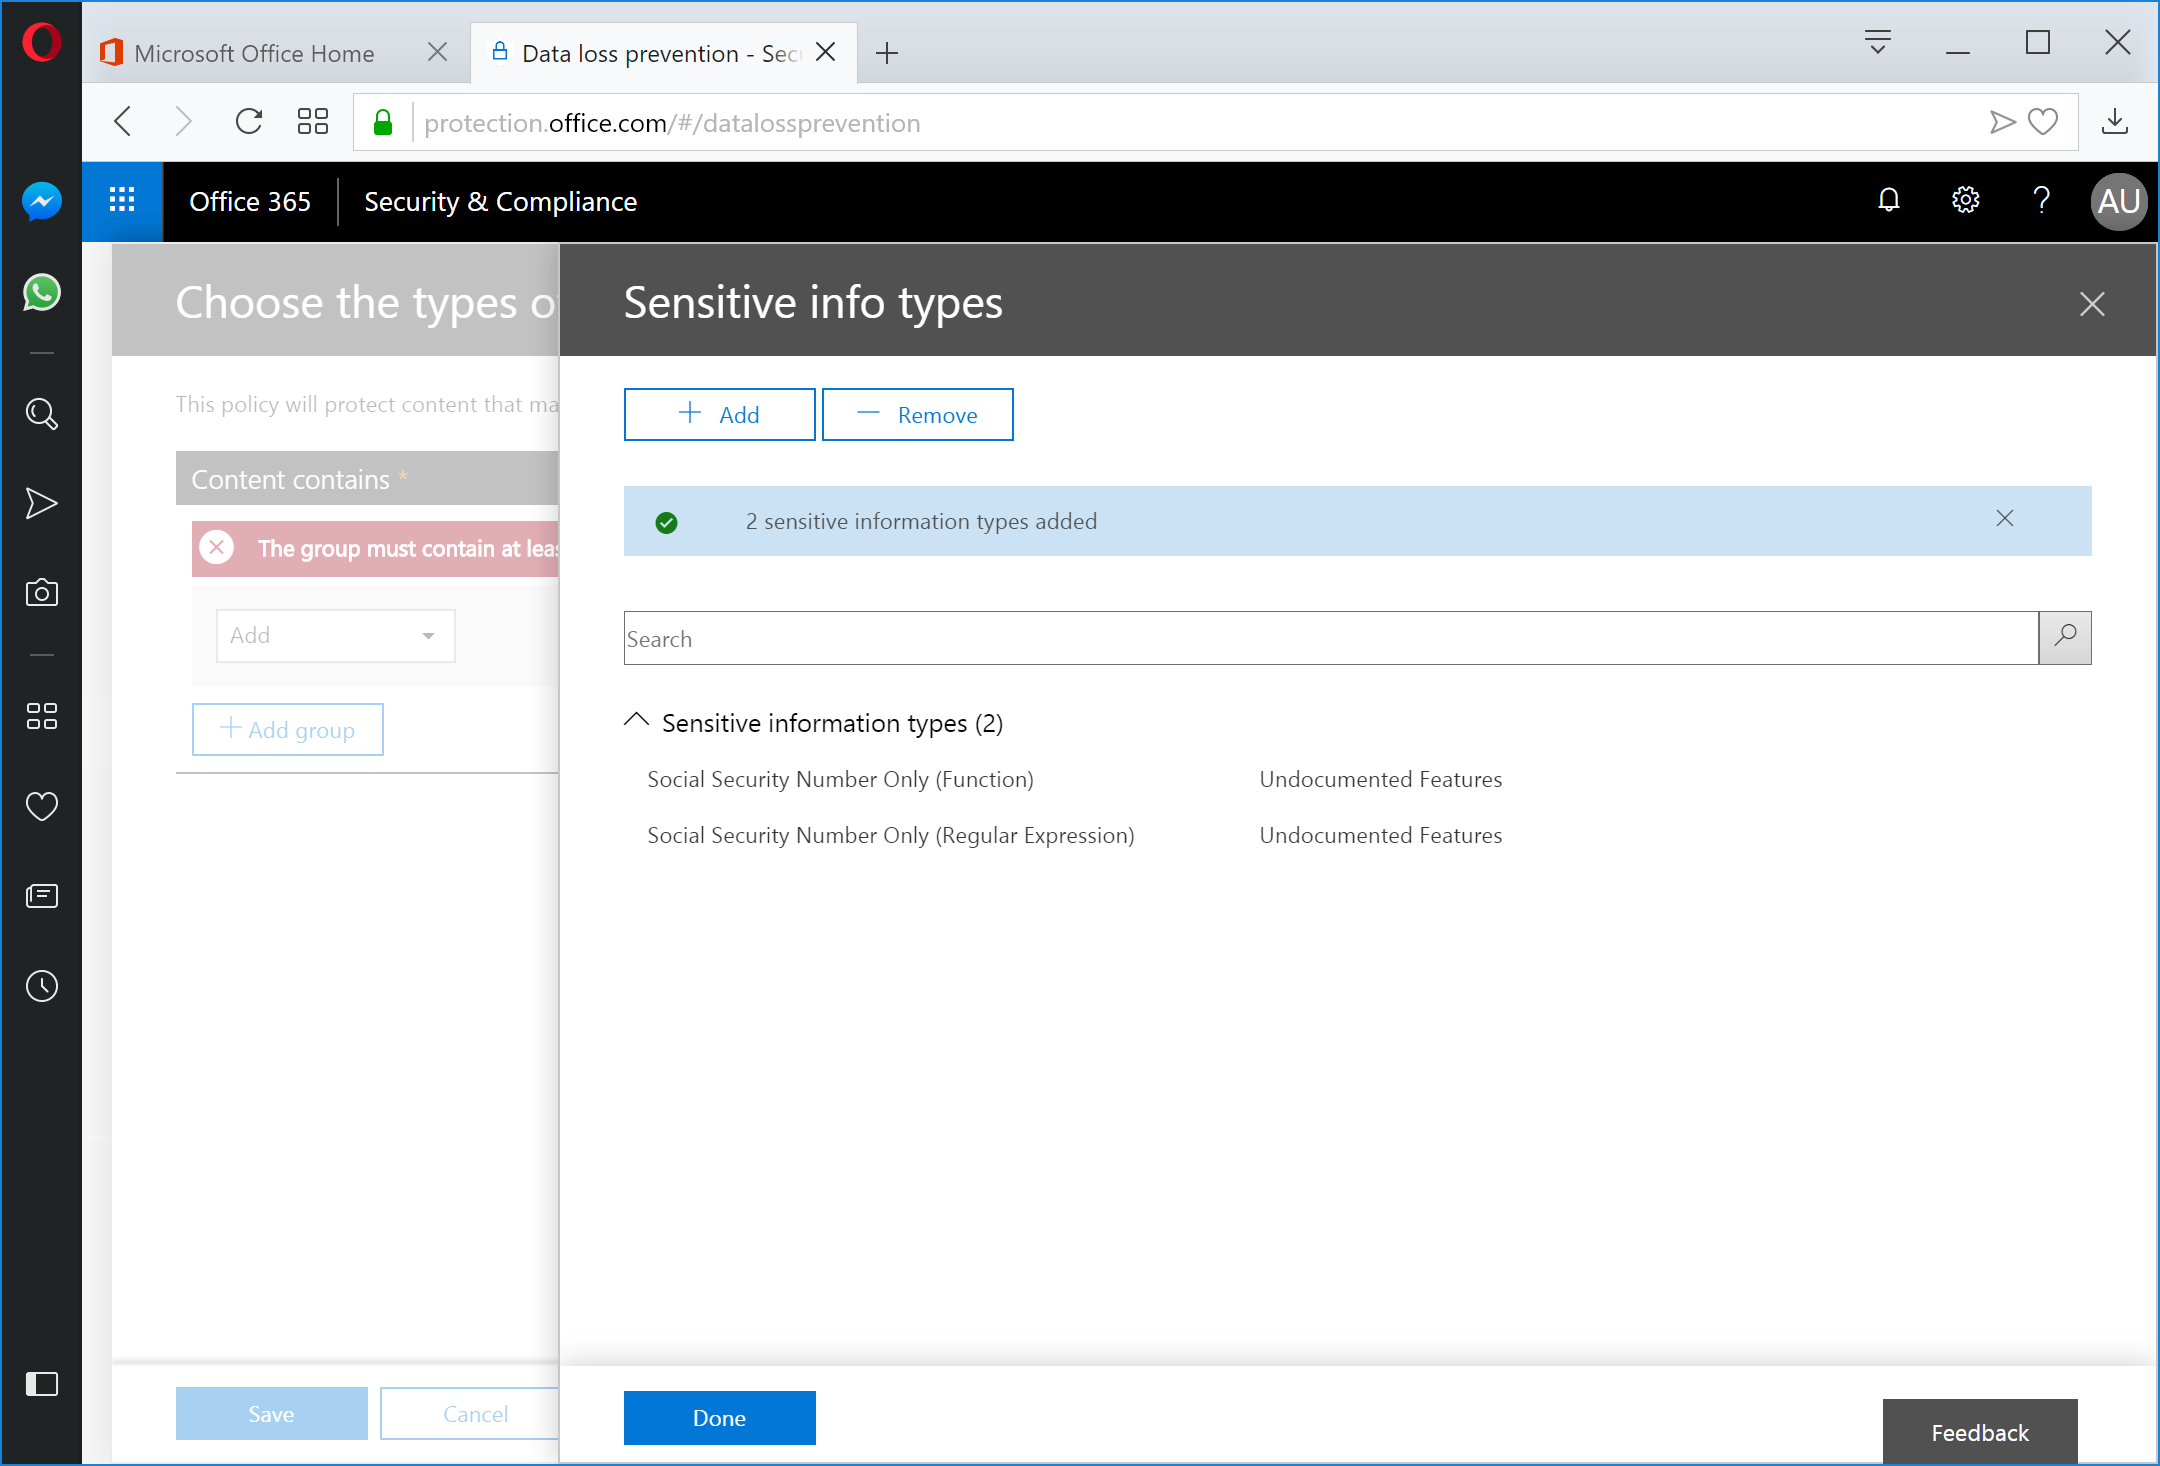
Select one or more templates. In this case, we're going to select the Social Security Number Only (Function) and Social Security Number Only (Regular Expression) templates. I've configured these templates to use both the native Social Security Number function, as well as some custom rules to allow for additional character class inclusions and disapproved/canceled number exclusions. Click the Add button when finished.
Click Done to close the Sensitive info types panel.
Click Save.
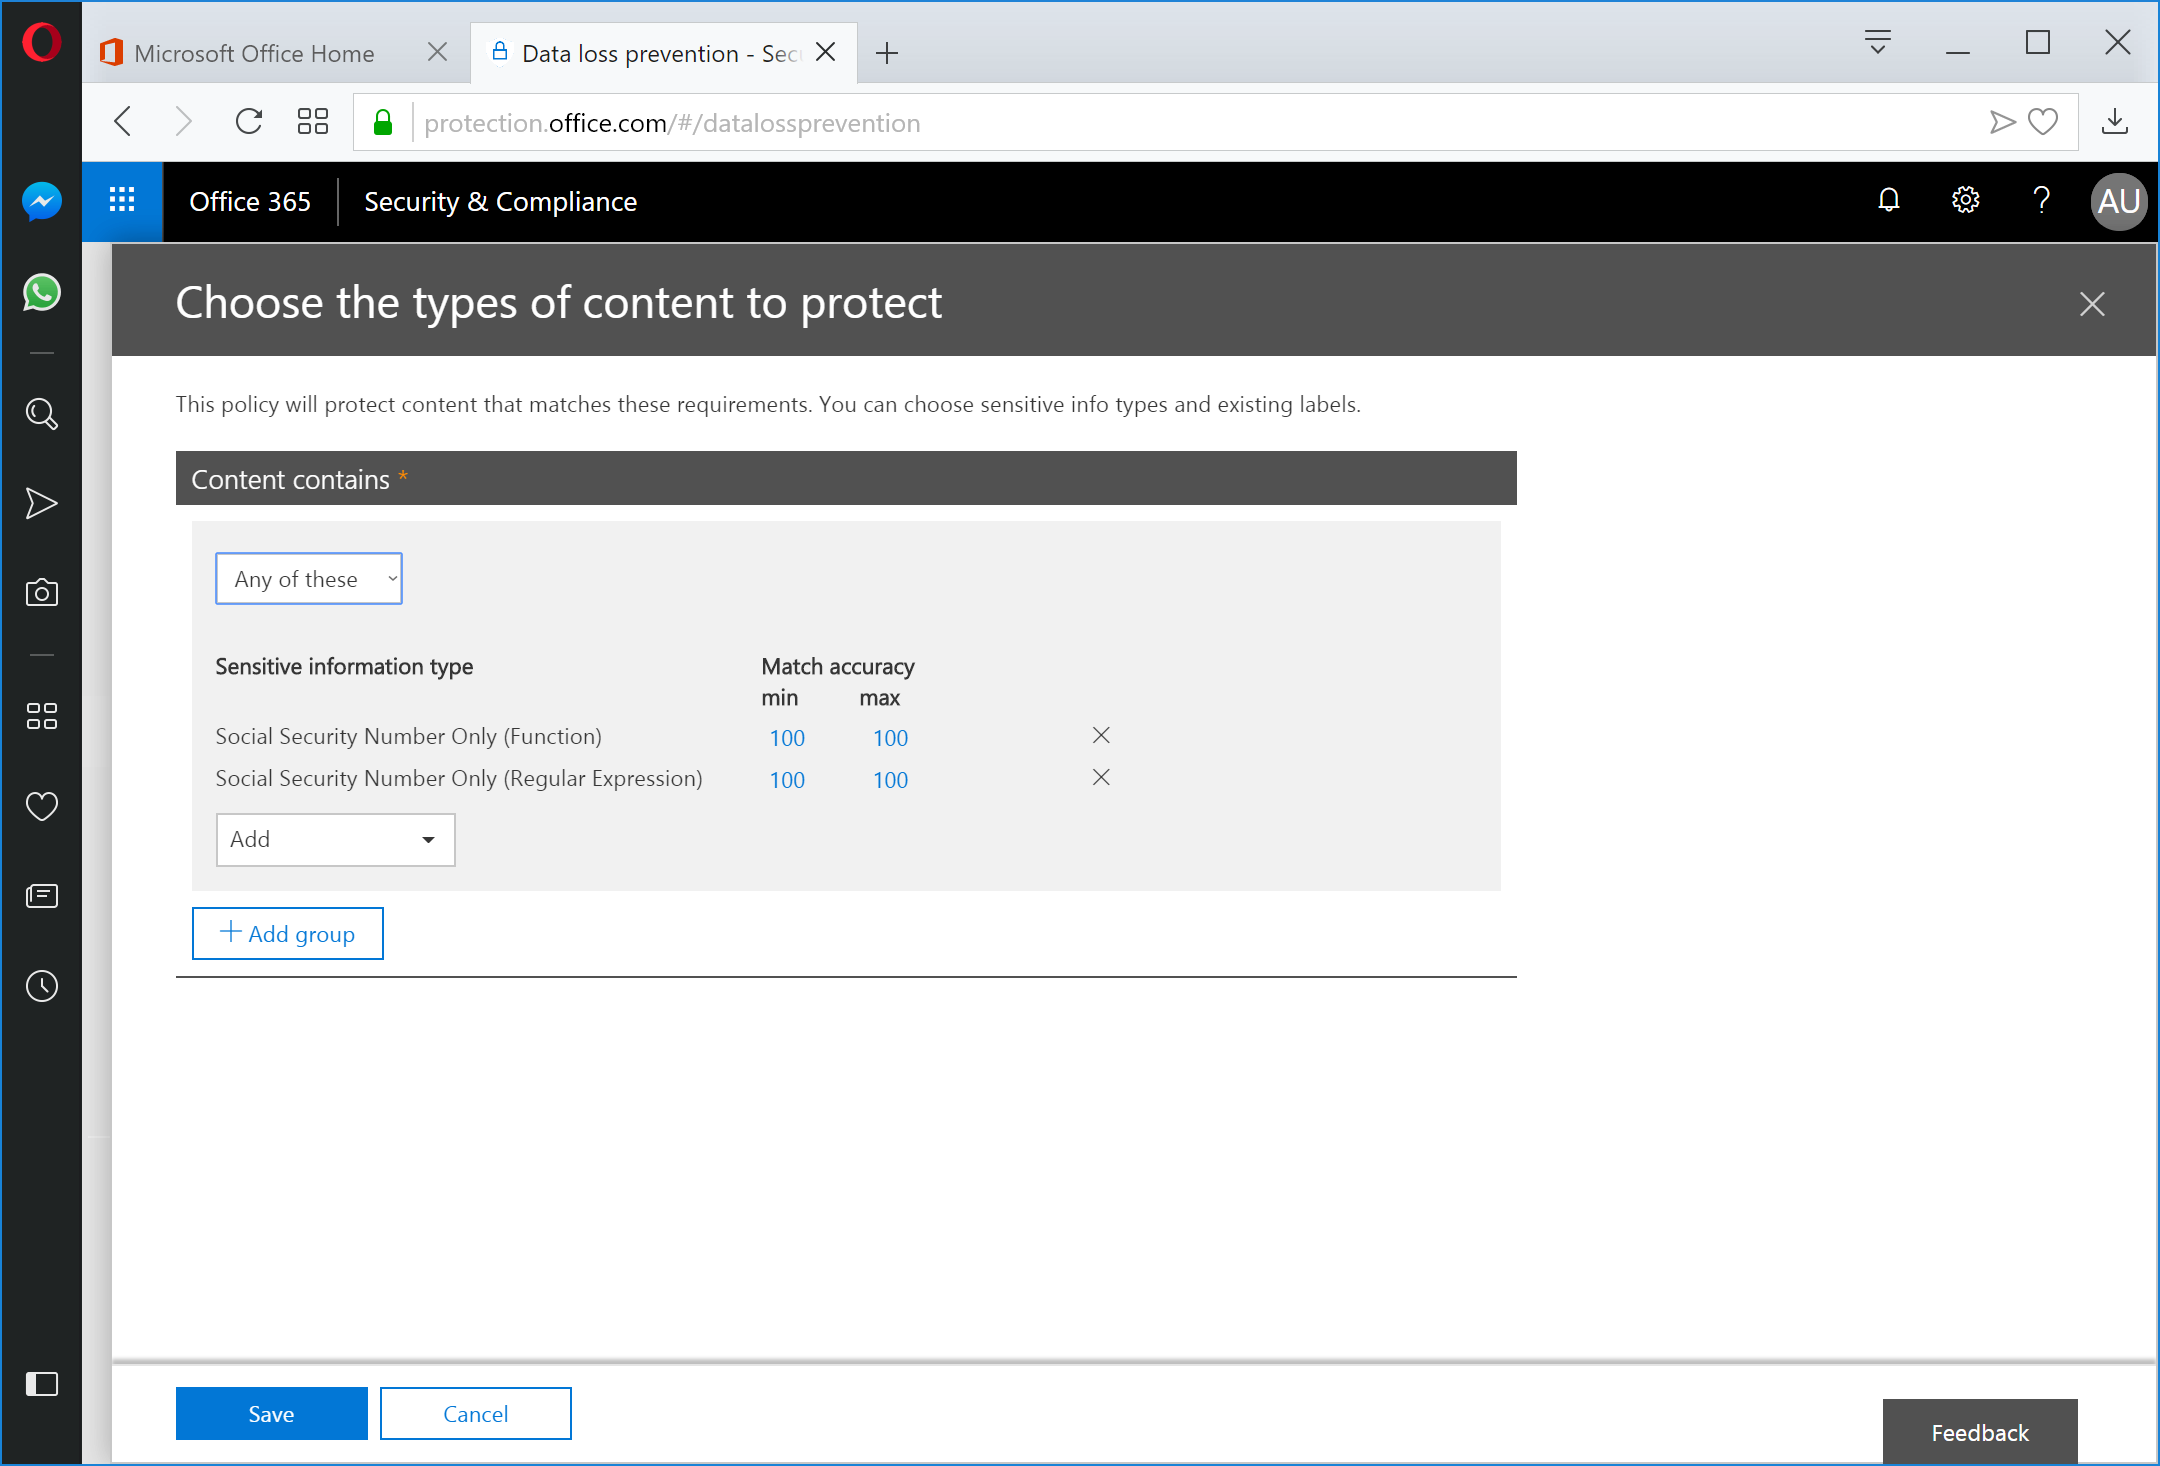
Click Next.
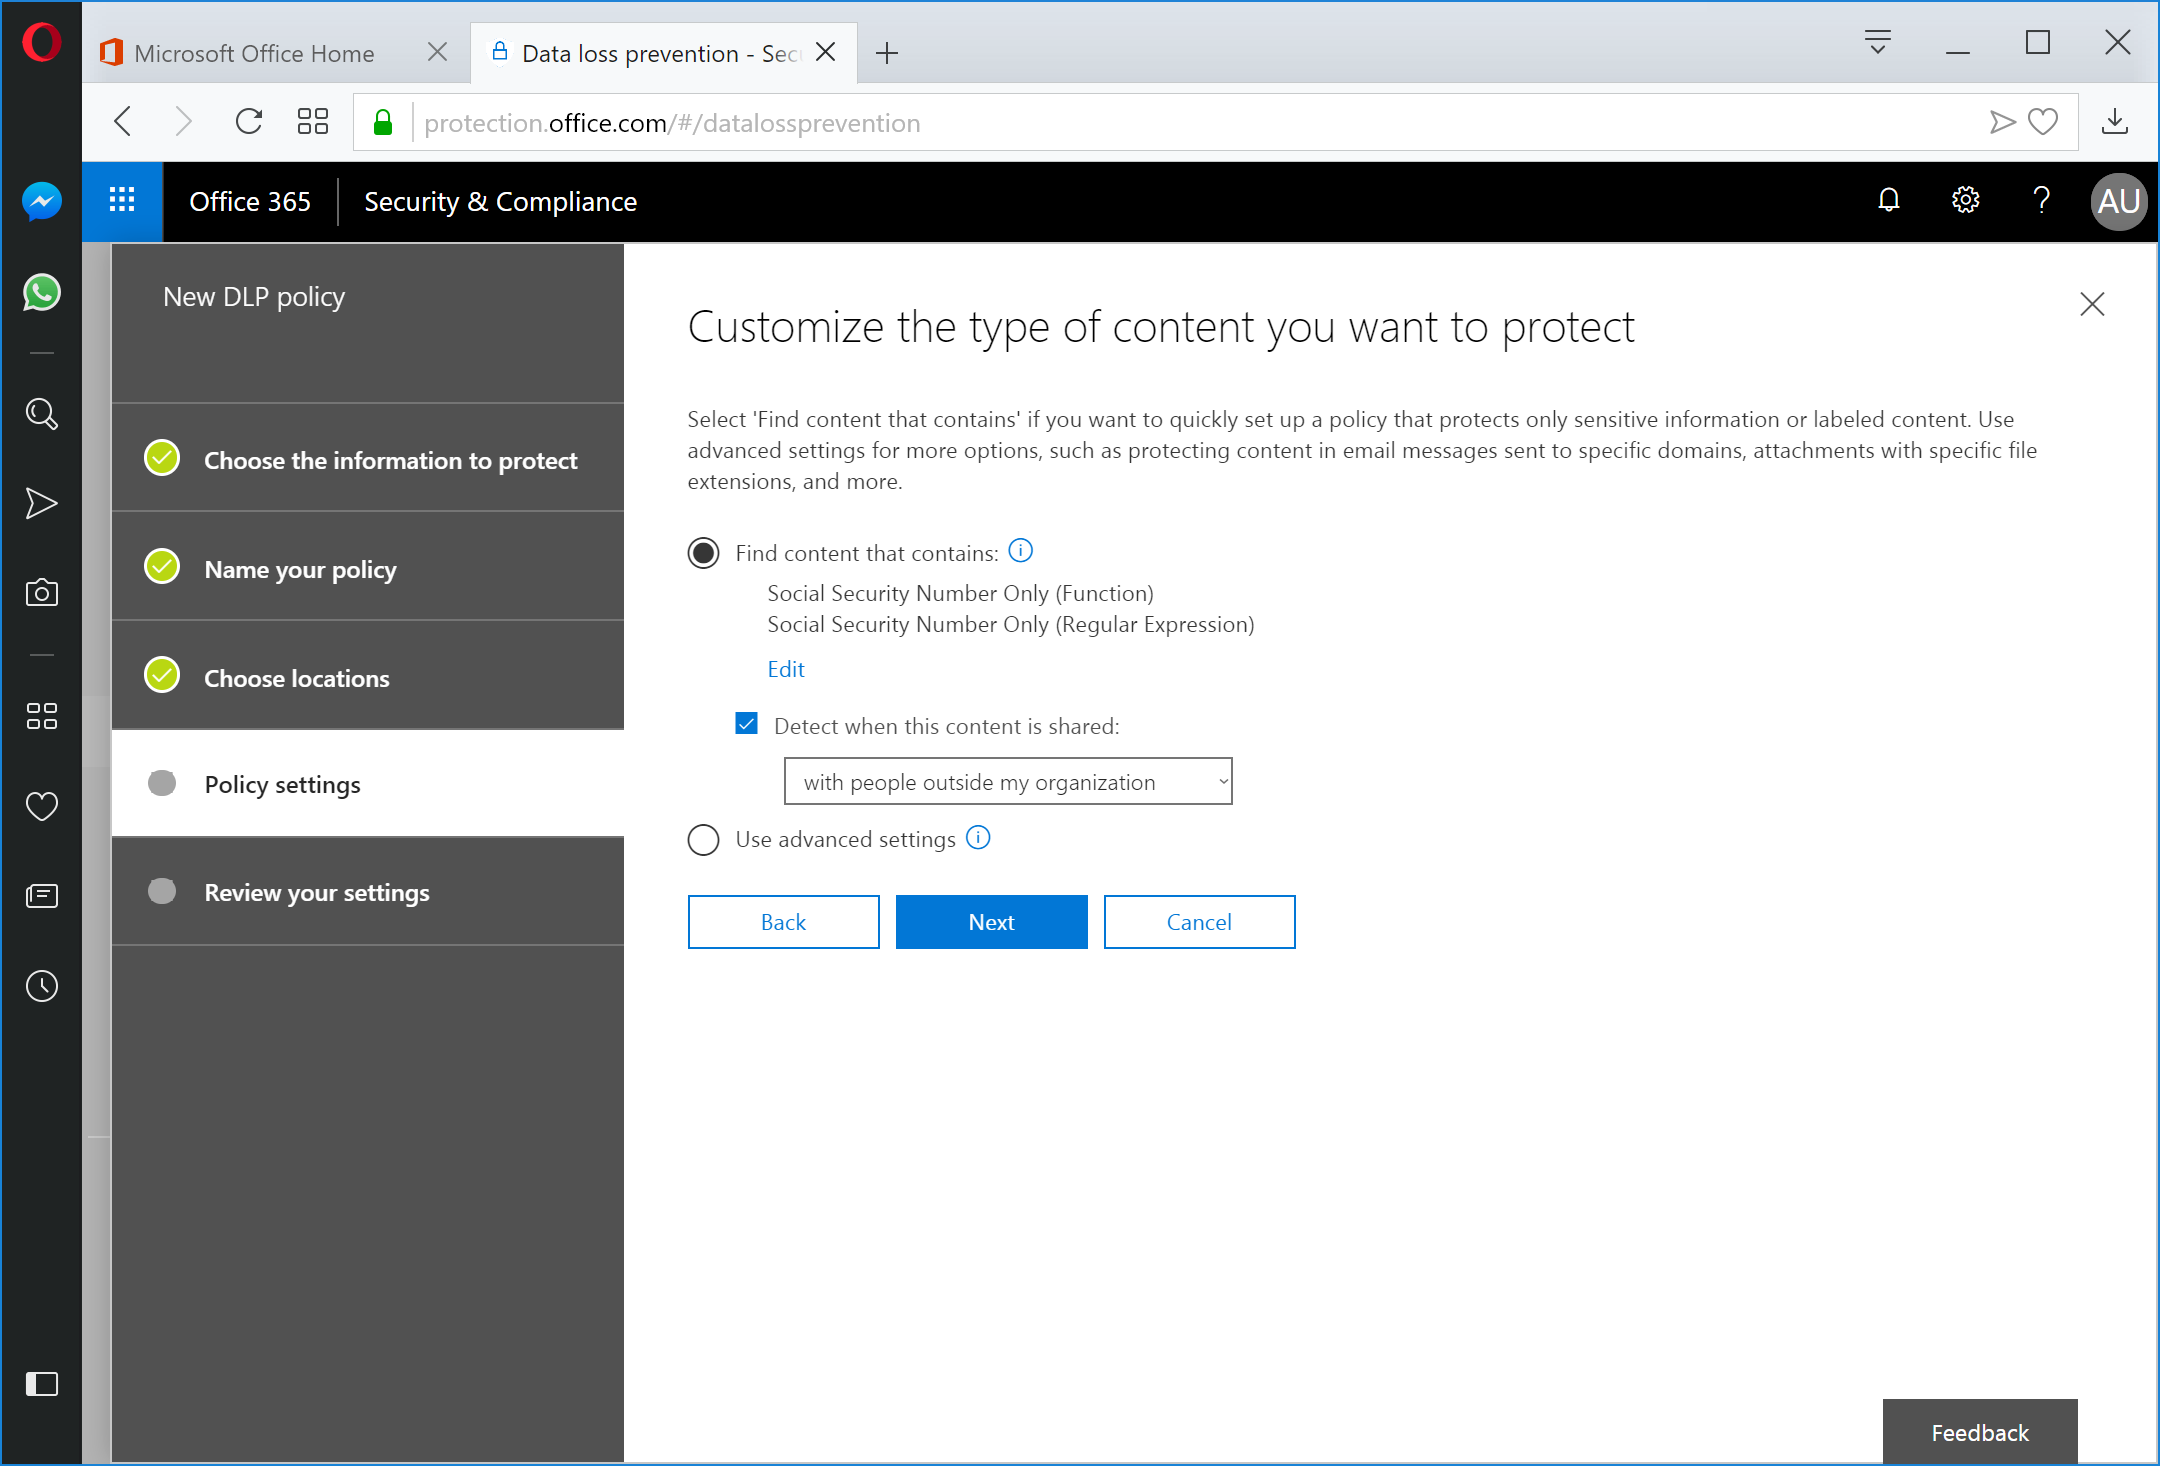
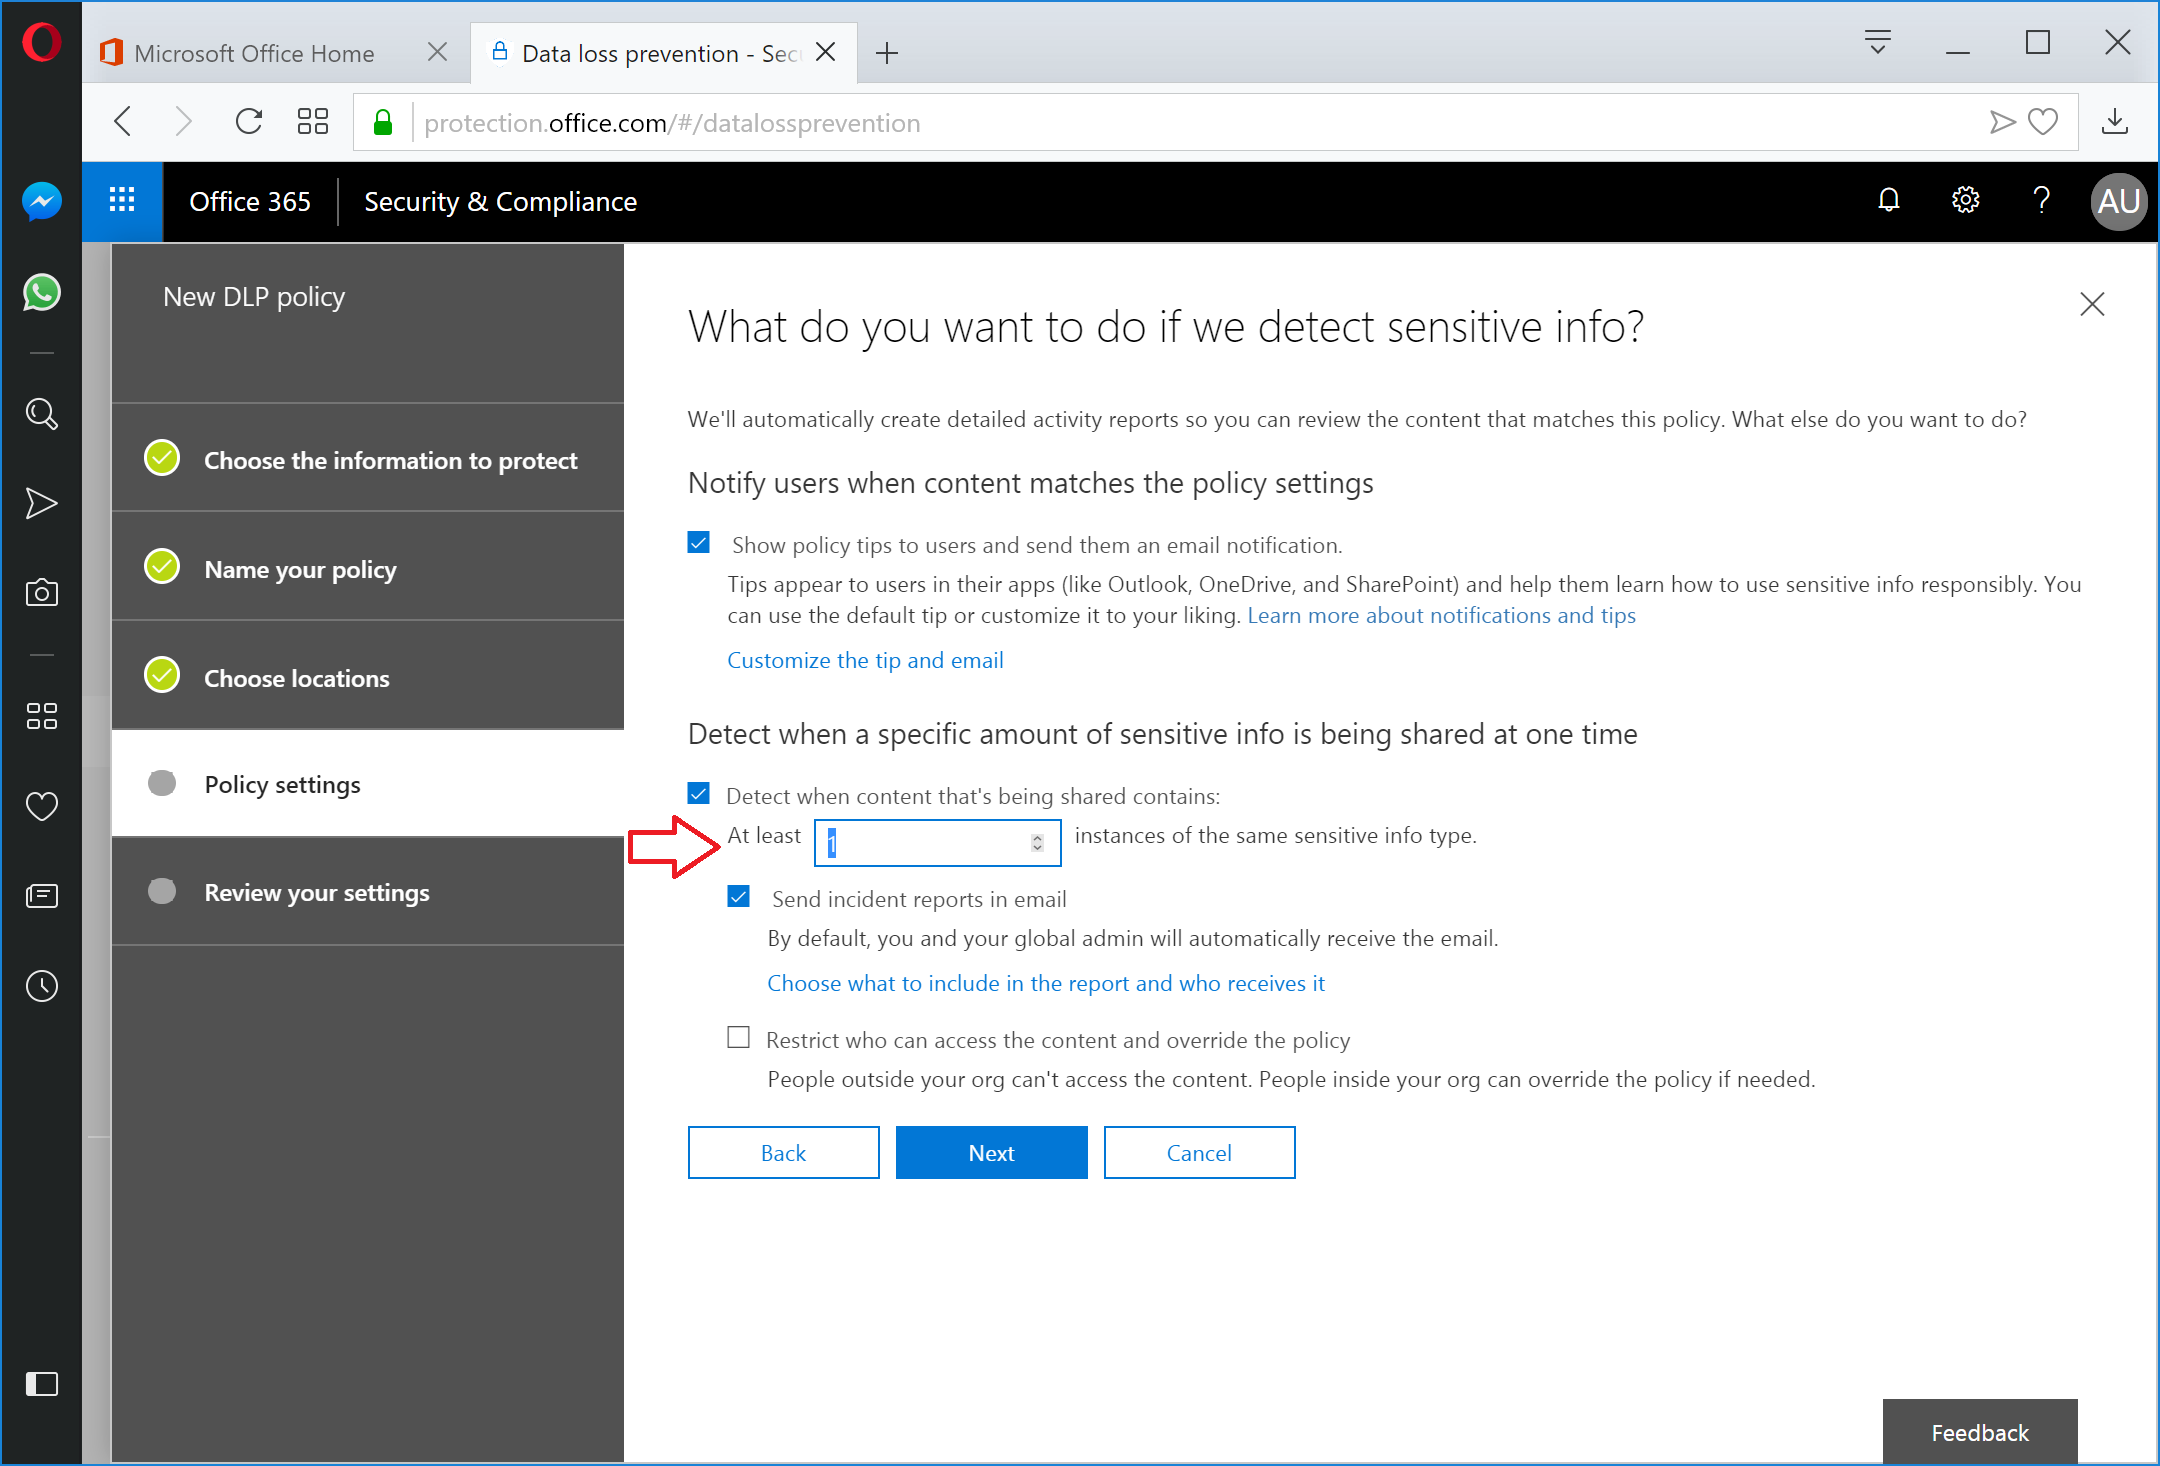
If you want to enable advanced actions (such as allowing DLP policy overrides), ensure the Detect when content that's being shared contains checkbox and then update the Instances spin control box. For customers that need to comply with breach notification laws, I'd recommend that you modify the Instances control to 1 (highlighted) to ensure that even a single detection results in DLP being triggered. Click Next when appropriate options are selected.
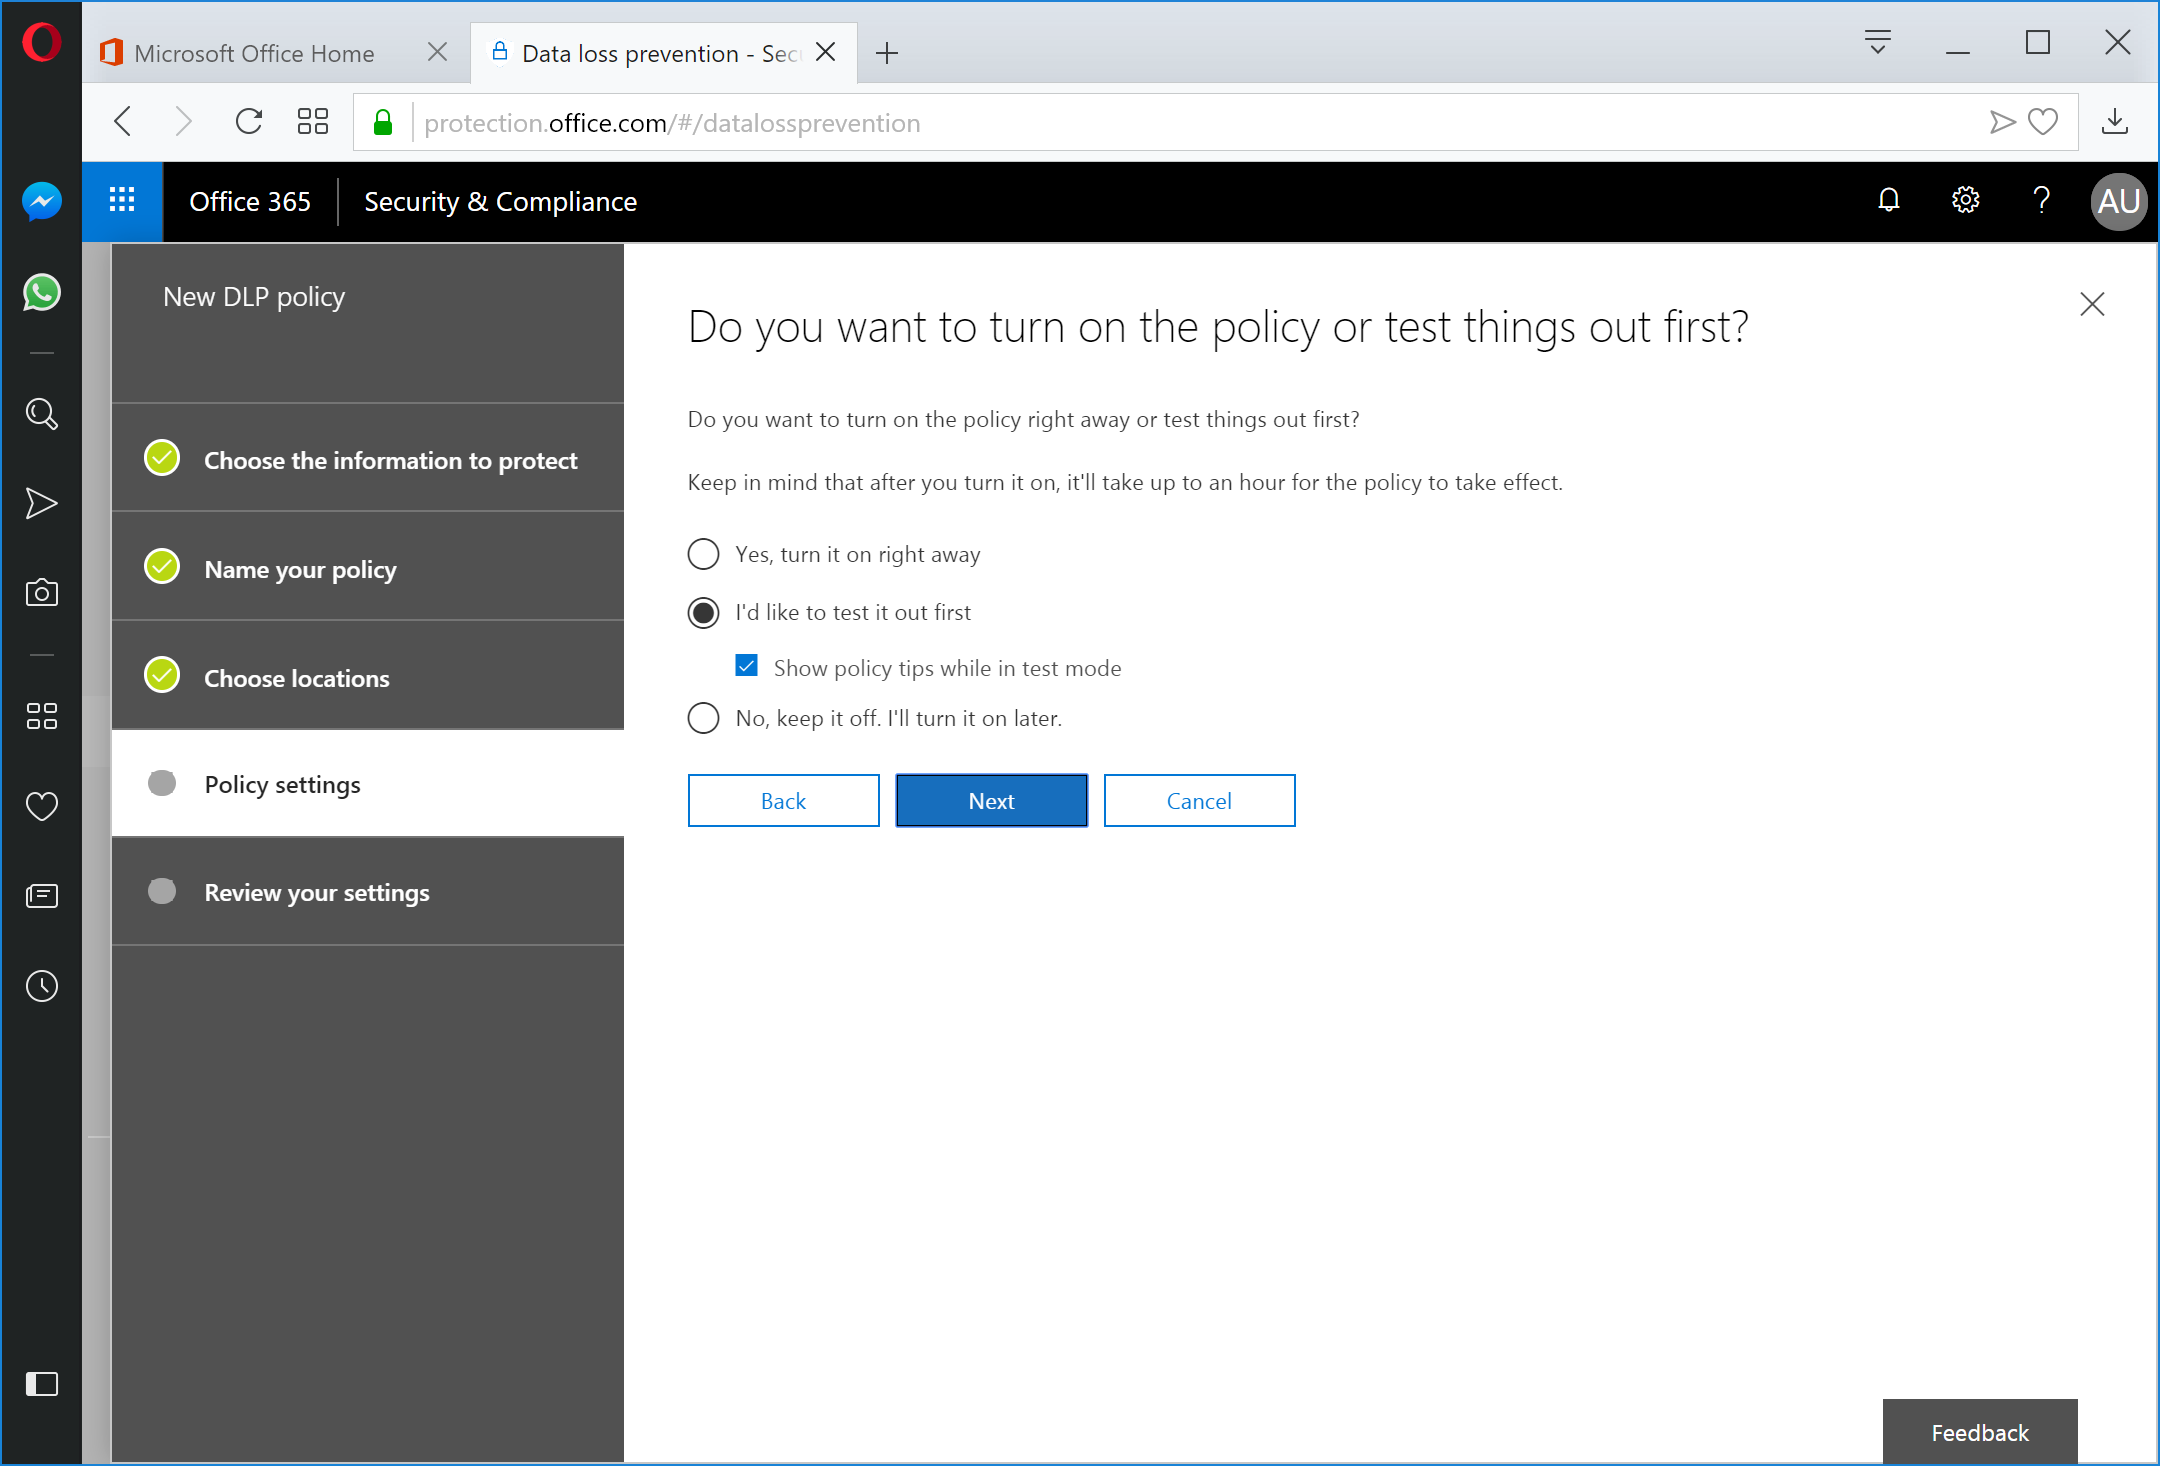
Choose the policy deployment options and then click Next.
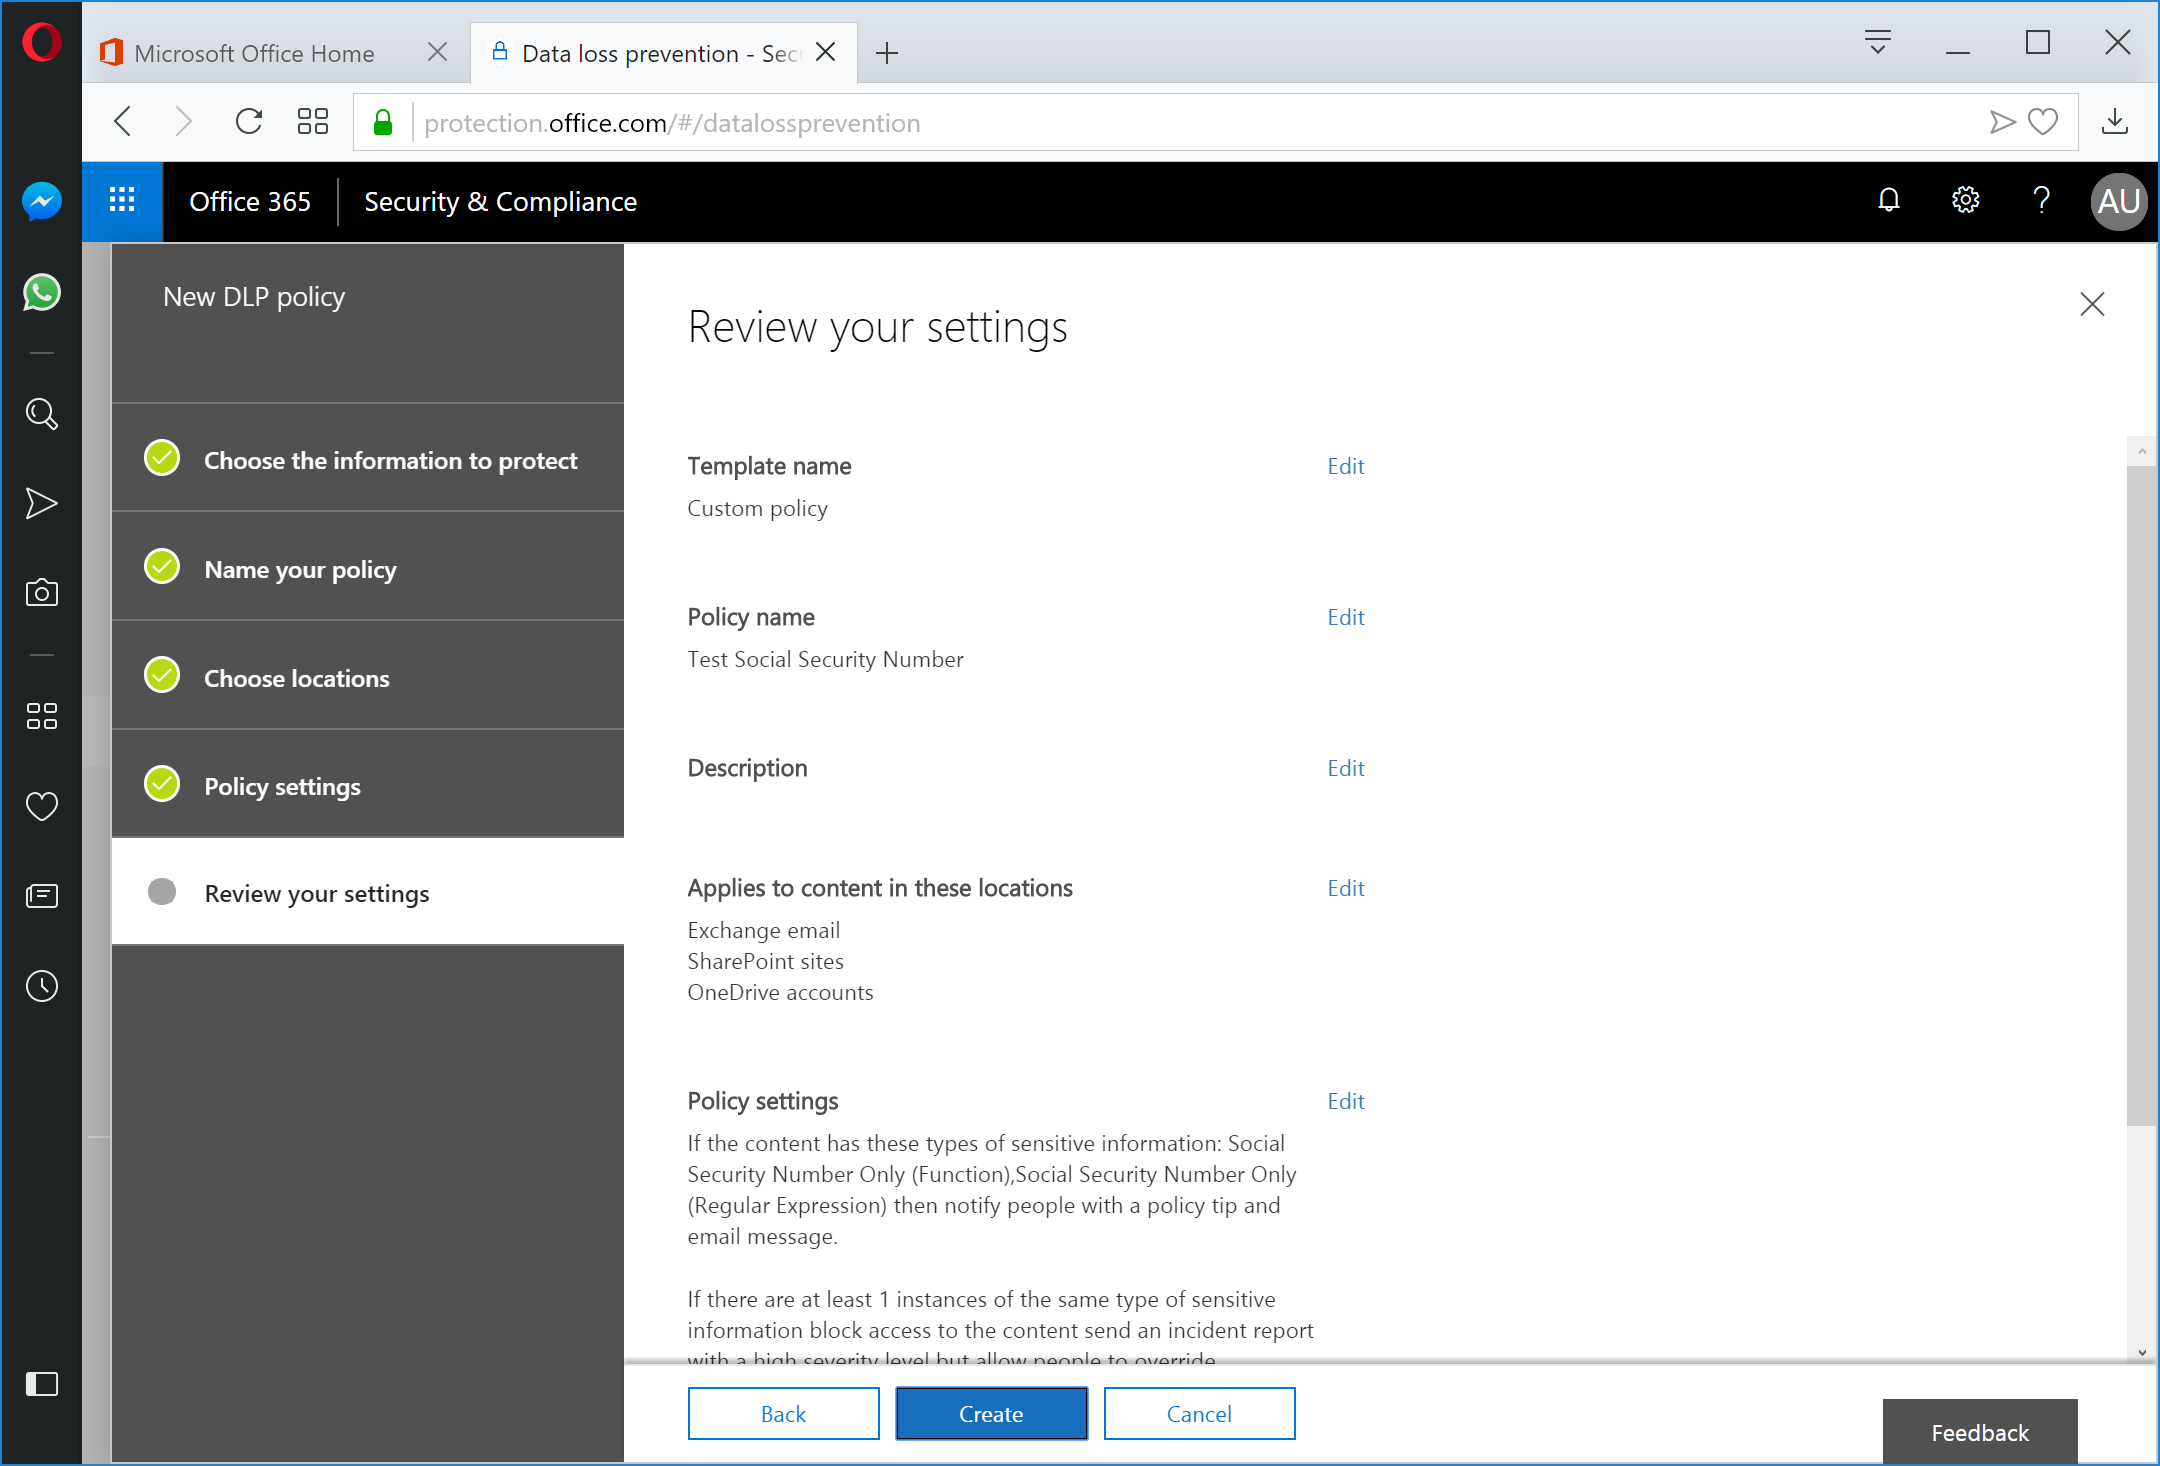
Review the policy settings page and click Create.
After the policy has been deployed, you may need to wait 10-15 minutes for the policy to sync throughout the service. From the end-user perspective, this is what it will look like.
- Log into either Outlook or OWA and begin to compose a message. In this case, our triggers were: contains a social security number and sent to someone outside the organization.
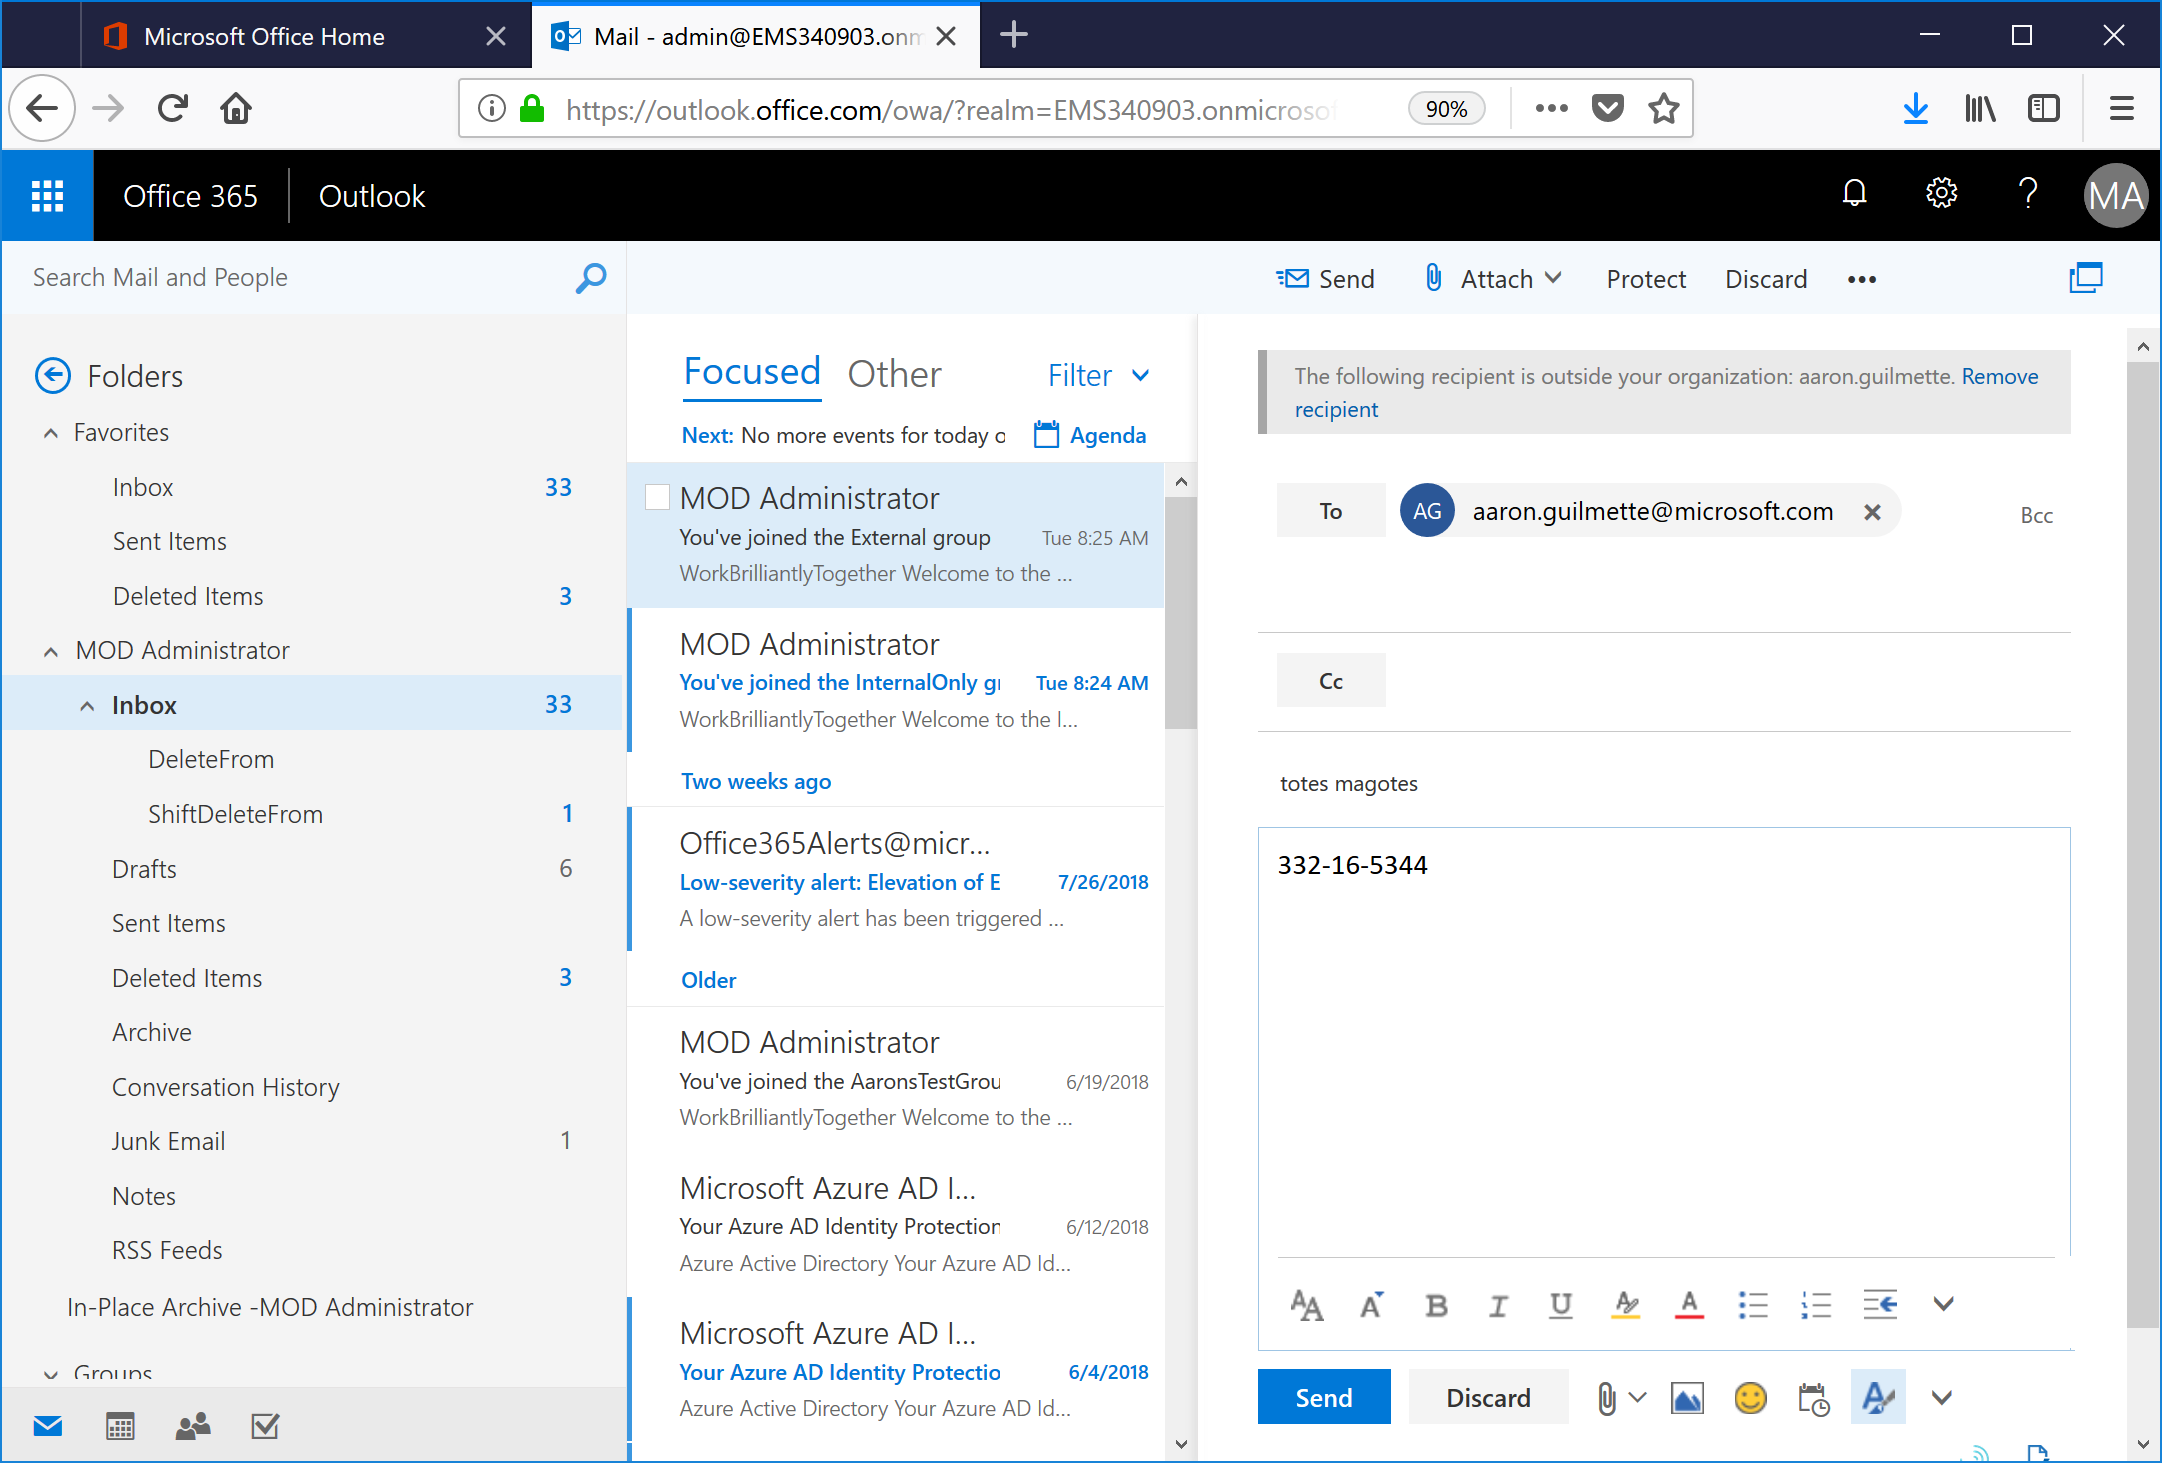
- After a little bit (usually about 20-30 seconds after entering content that will trigger DLP), a tool tip will be displayed above the To recipient.
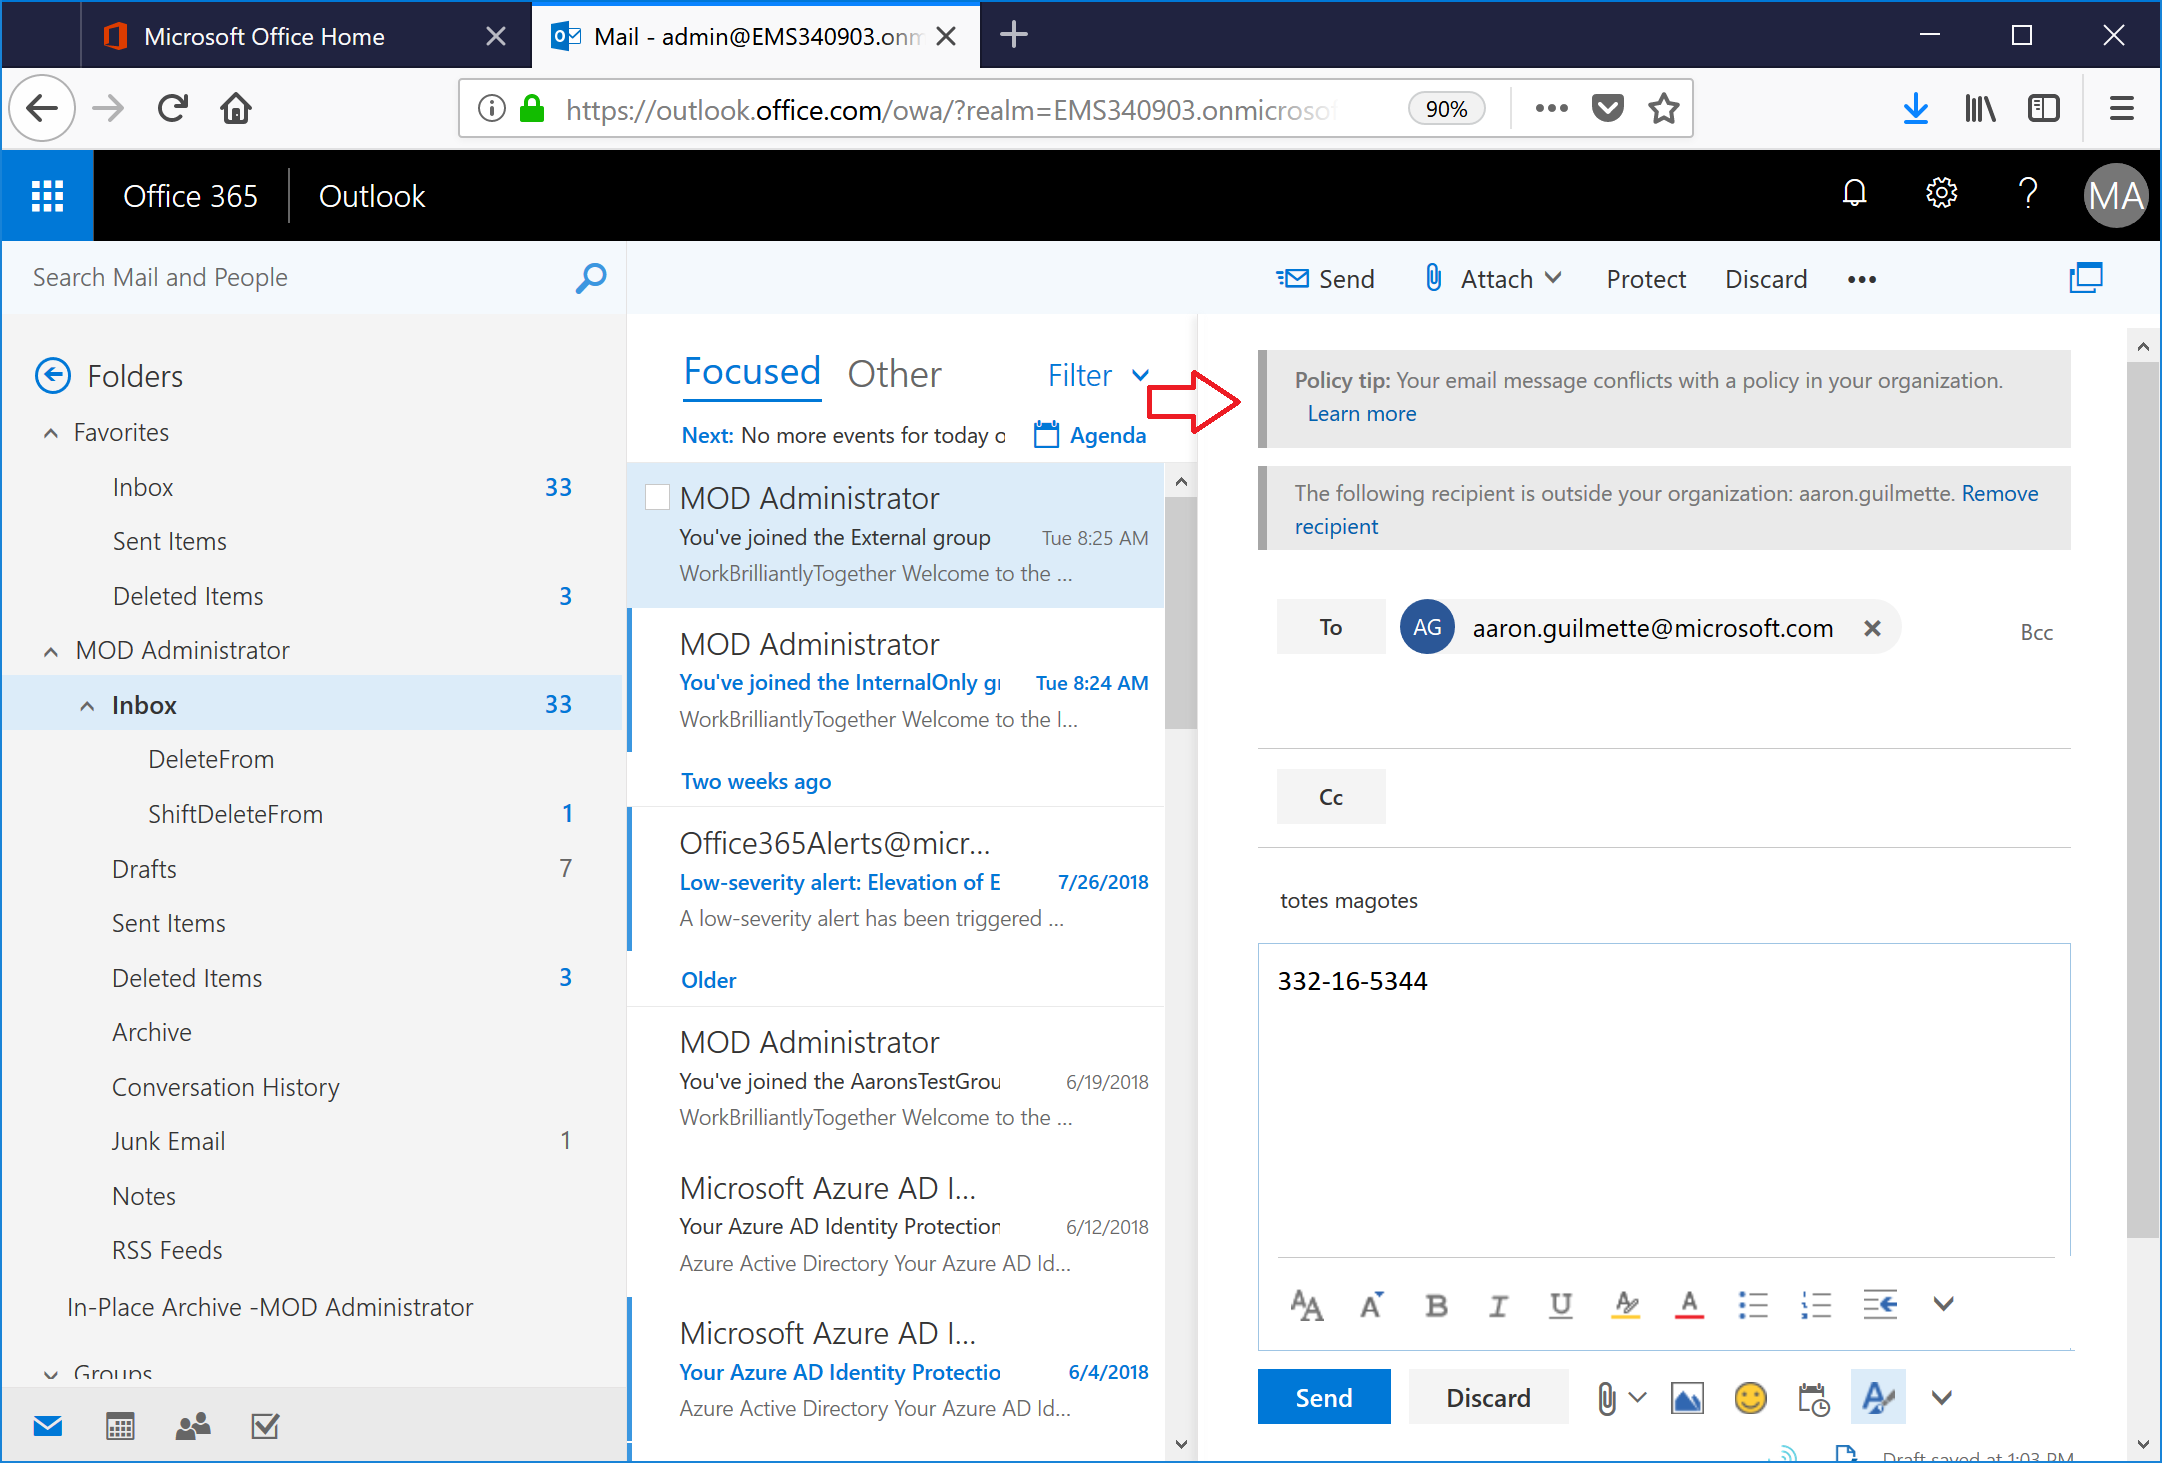
- End users can click the the Learn more link in the tool tip to see what rules they tripped.

I've already got a bunch of other templates in the works, so be sure to check back soon! For information on creating your own DLP templates, check out our support article: https://support.office.com/en-us/article/create-a-custom-sensitive-information-type-82c382a5-b6db-44fd-995d-b333b3c7fc30#potential