Enable Cloud PBX & Modern Voice (PSTN Calling) in Office365
In this post we will discover how to enable Cloud PBX & Modern Voice in Office365, that will allow a Skype for Business user to send and receive phone calls on the Public Switched Telephone Network (PSTN) and have access to PBX features. Total time 5-10 minutes.
What is Cloud PBX & Modern Voice (PSTN Calling) in Office365?
To put it simply, Cloud PBX provides enterprise voice functionality to Skype for Business users in Office365 with the following features:
- Calling using the Skype for Business mobile app
- Call hold/retrieve
- Call transfer
- Call forwarding
- Camp On
- Distinctive Ringing
- Simultaneous Ringing
- Voicemail
- USB peripherals (such as a USB phone)
- Delegation (Boss/admin)
- Team Call
- Basic Call Policy
What are the requirements?
To enable, you must meet the licensing requirements. See Skype for Business Online Licensing Overview for details.
Note: If the proper licenses are not assigned, when managing the voice properties of a user the follow error will be displayed:
"This Skype for Business online feature either isn't set up for your organization, or it isn't available at your location"
How Do I Enable?
1) Login to your Office 365 tenant as an administrator
2) From the left side of the Office365 Admin Center, expand Admin and click Skype for Business.
3) From the menu on the left select Voice 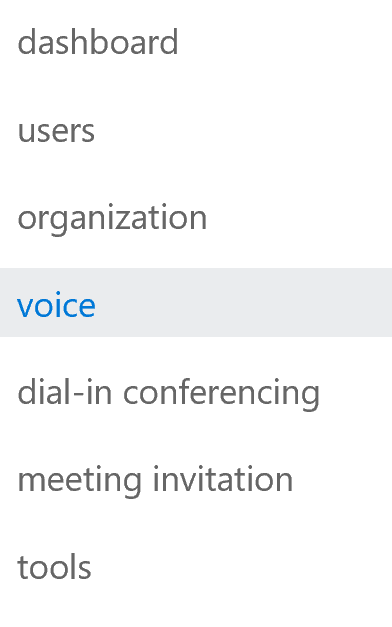
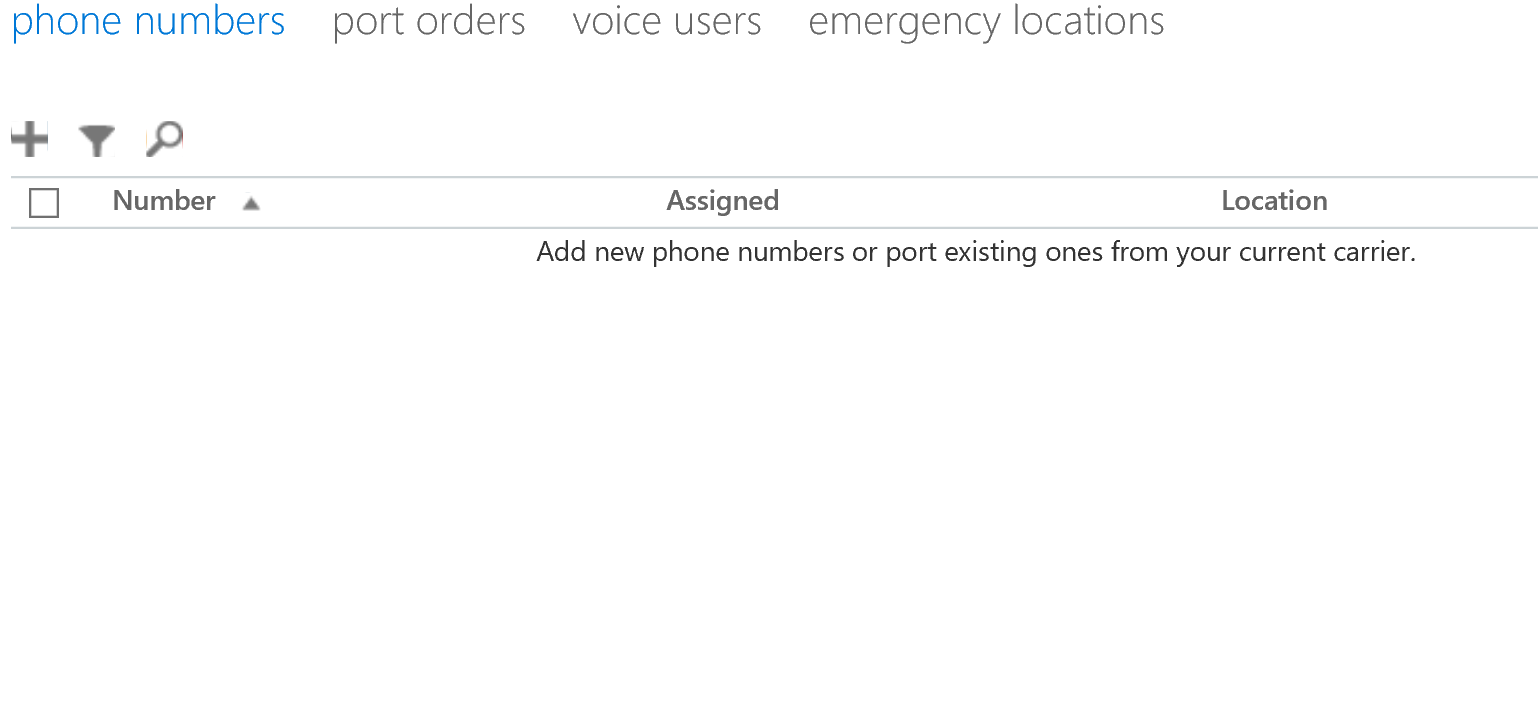
4) From the Phone Numbers tab, click the + sign to add a new phone number to the pool.
5) On the New Numbers screen, select the State and City of where the users that will be enabled for voice are located. If the location of where your users are not located, choose the closest location. Type the number of phone numbers you wish to acquire in the Quantity field and click Add

Note: Below is another example, if multiple phone numbers will need to be acquired:
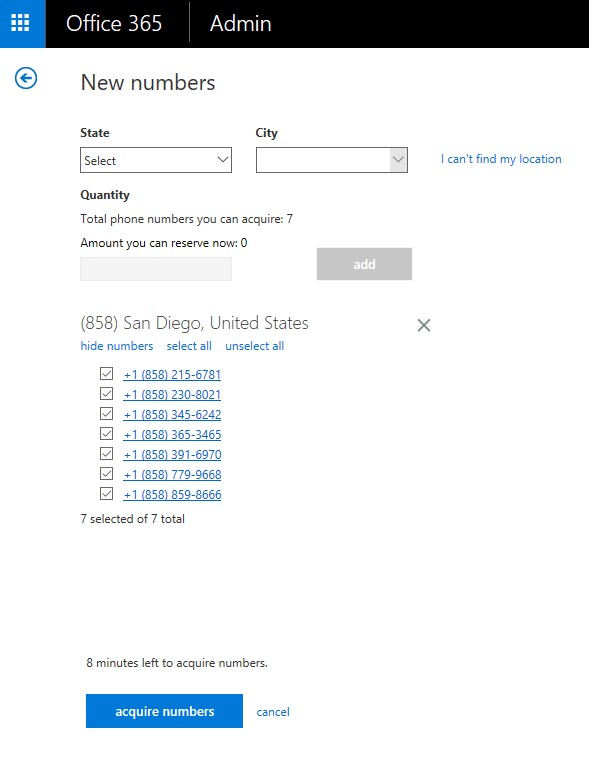
6) Click Acquire Numbers to complete the task. Please allow a few moments for this to process. Note: The task will time out after 10 minutes.

Note 1: You can reserve up to 10% more phone numbers than you have licenses for. For example, if you have purchased 100 licenses, you can reserve 110 phone numbers.
(For information on how to transfer (port a telephone number) to Skype for Business Online CloudPBX in Office365, please see the following blog post: Port a Phone Number to Cloud PBX in Office365 )
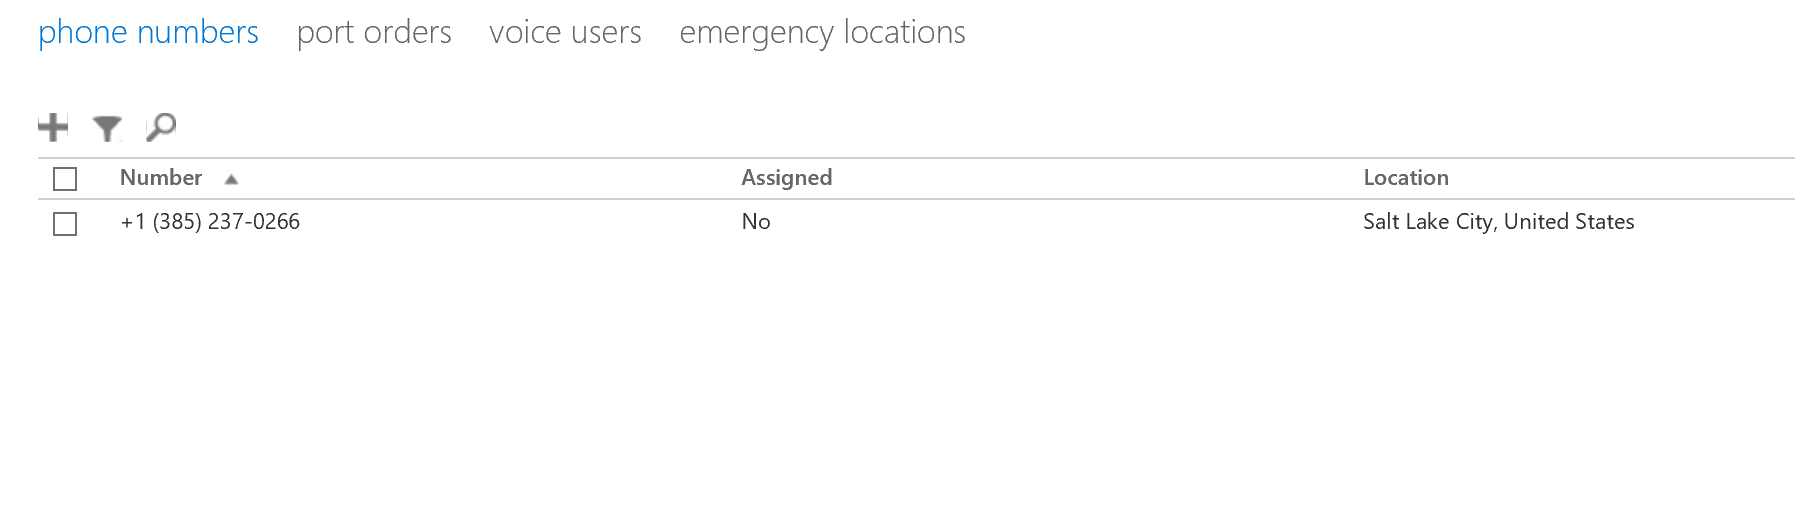
7) You will be returned to the Phone Numbers tab and the newly acquired numbers will be displayed in a list.
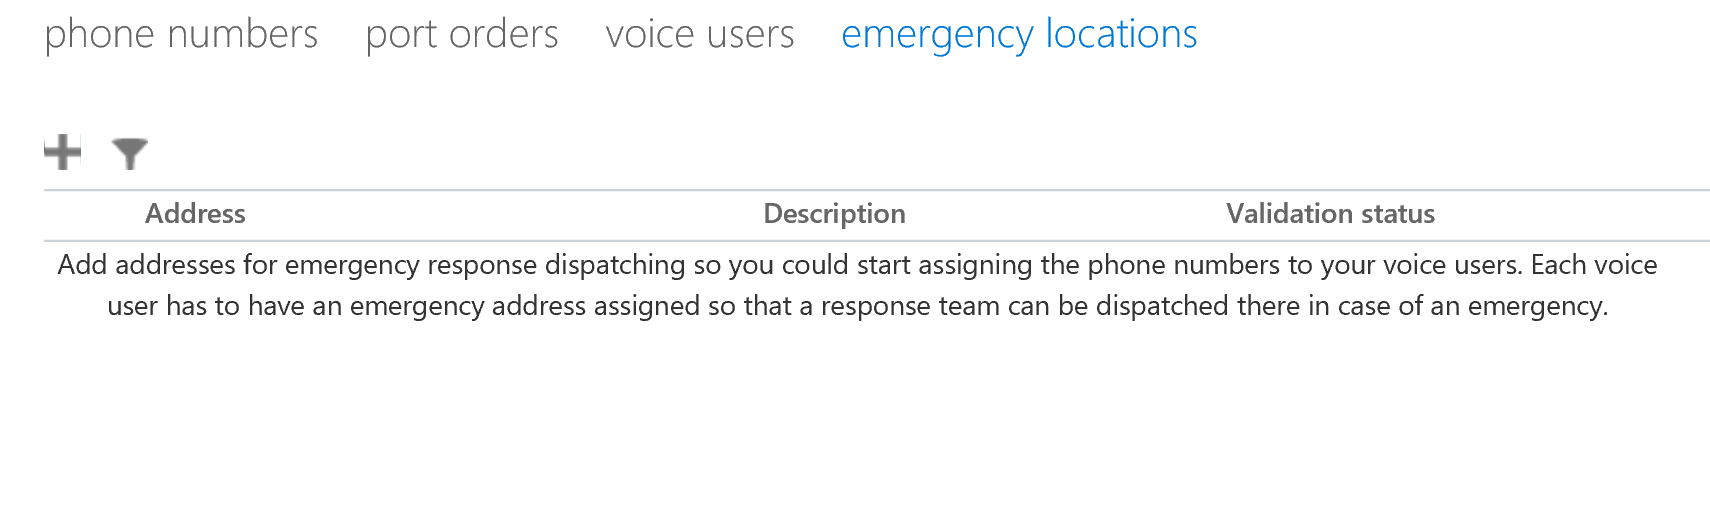
8) Click the Emergency Locations tab and click the + sign to add a new location.
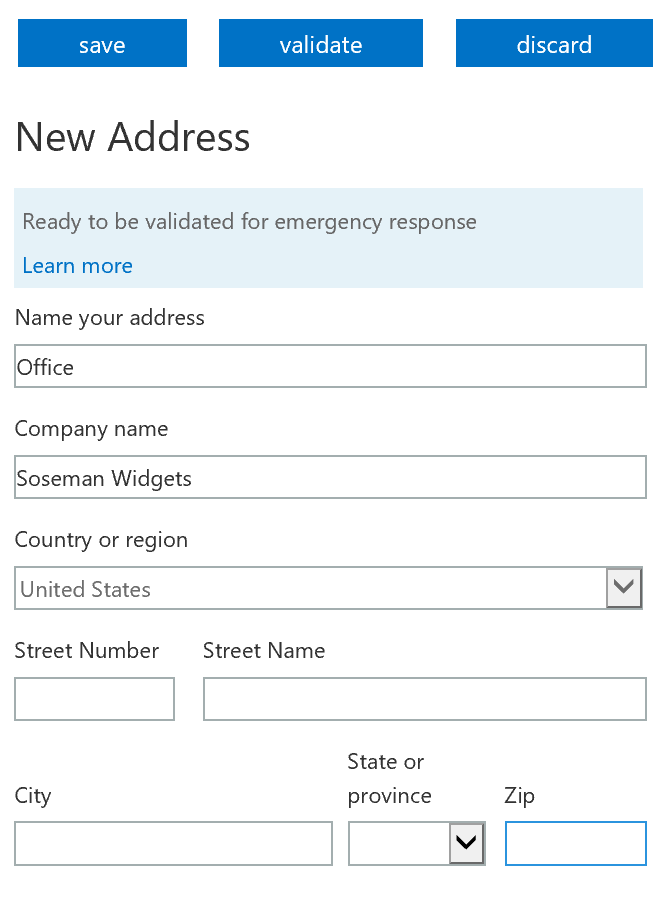
9) In the fly out window on the right side, complete all fields and click Validate. This will validate the entered address with the Master Street Address Guide (MSAG).
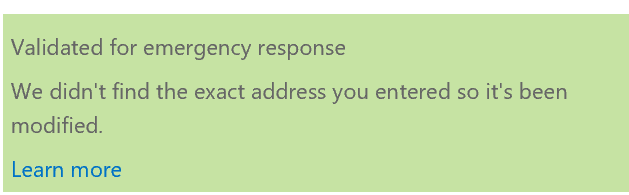
Note: The system may display the following message during address validation. Confirm the address you entered is correct and/or confirm the newly modified address is correct and click Save.
IMPORTANT: For more information on Emergency Locations and Emergency Calling (911) please refer to the following article: What are emergency locations, addresses and call routing?
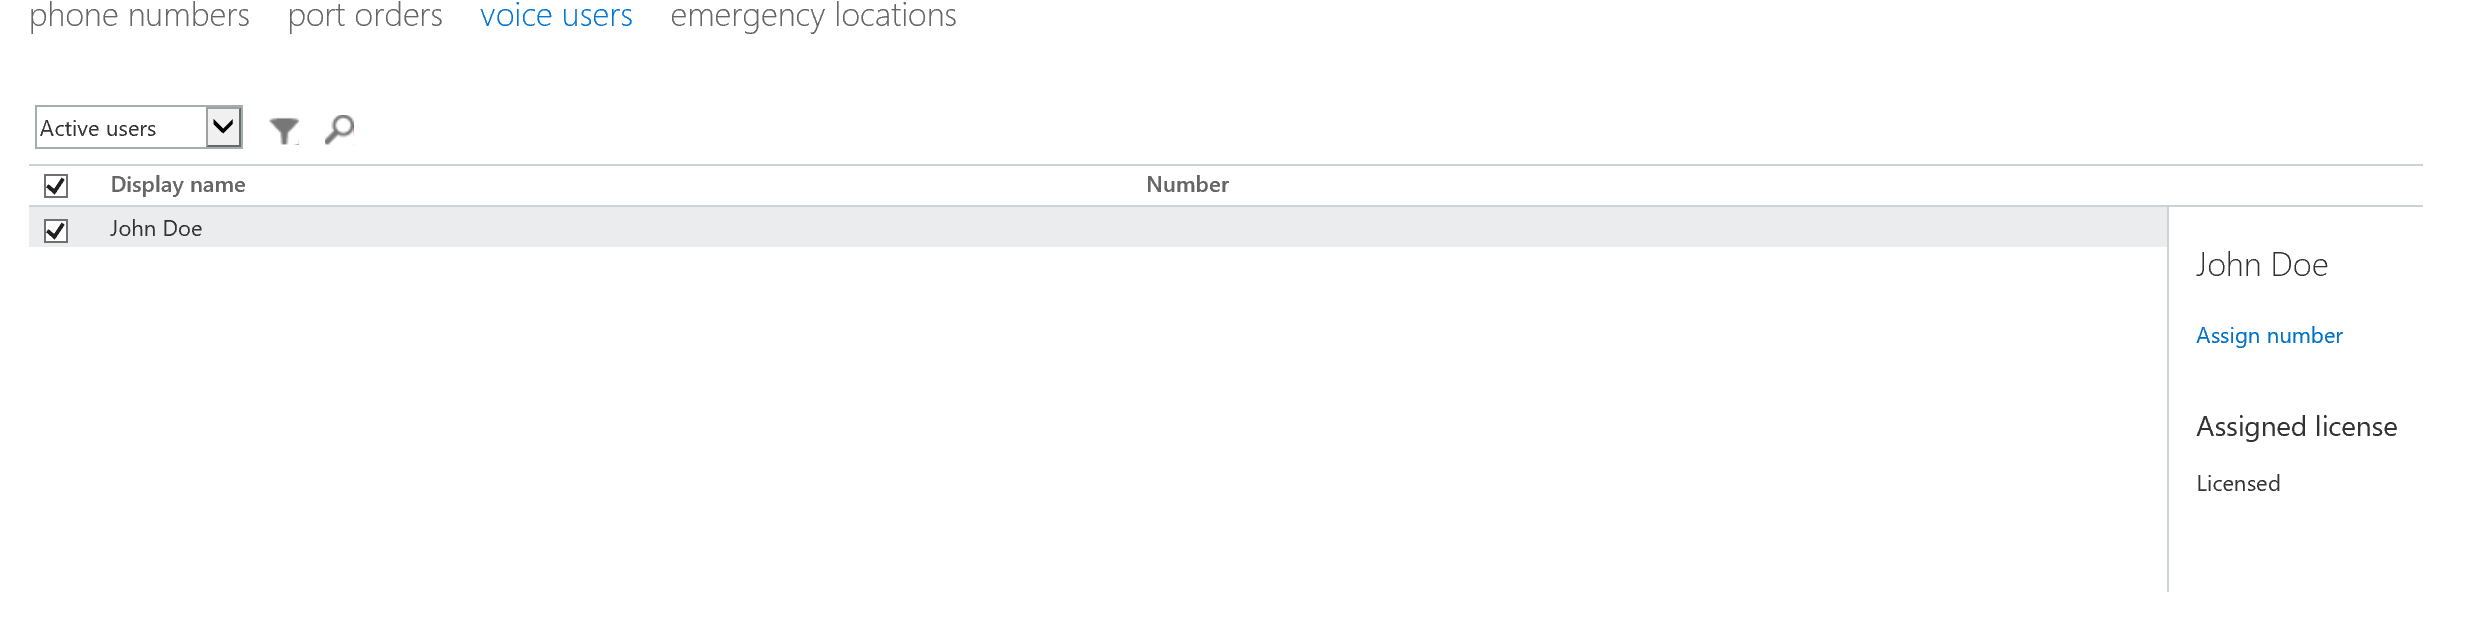
10) You will be returned to the Emergency Locations tab where the new address is now listed. Click the Voice Users tab.
11) Check the box next to the user you wish to assign a phone number to, using the fly out on the right side of the screen, click Assign Number. (If needed click the magnifying glass to search for the user)
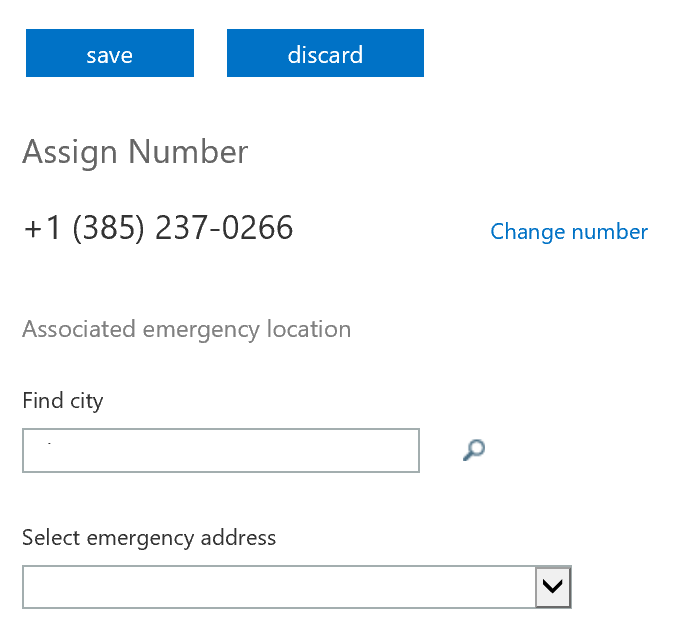
12) Using the fly out on the right side of the screen, click the drop down menu under Assign Number and select the phone number you wish to assign to the user. Next, under the Associated Emergency Location section, search for the city that is associated with the phone number you are assigning using the Find City search box. Then select the Emergency Address from the drop down menu and click Save. This will associate the emergency address to the phone number (this can be changed later).
Note: You may need to browse back to the Emergency Locations tab to find the correct city name, if the MSAG changed the city to an abbreviation (e.g. SD for San Diego)
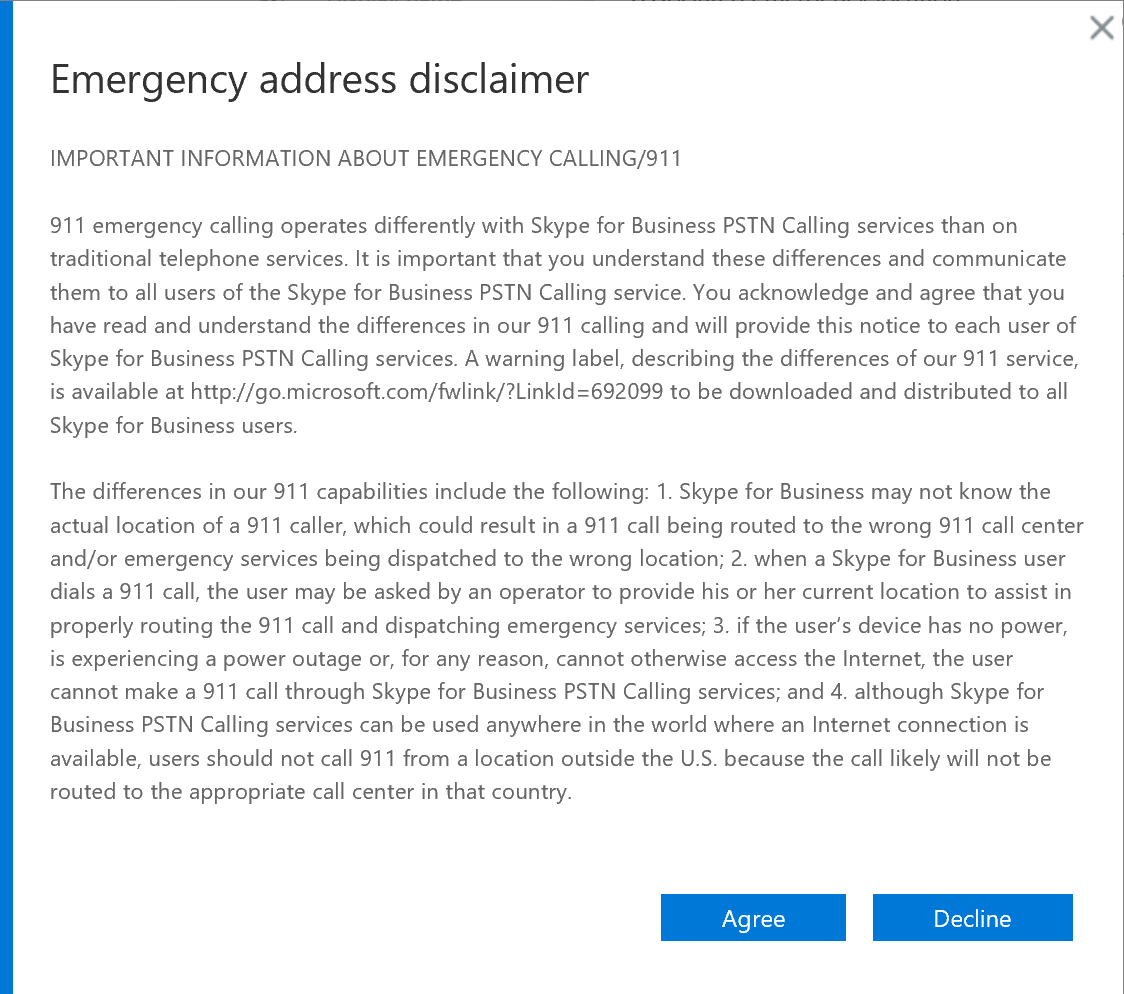
13) Read the Emergency Address Disclaimer pop-up completely. If you understand and agree, click Agree. If you do not, click Decline.
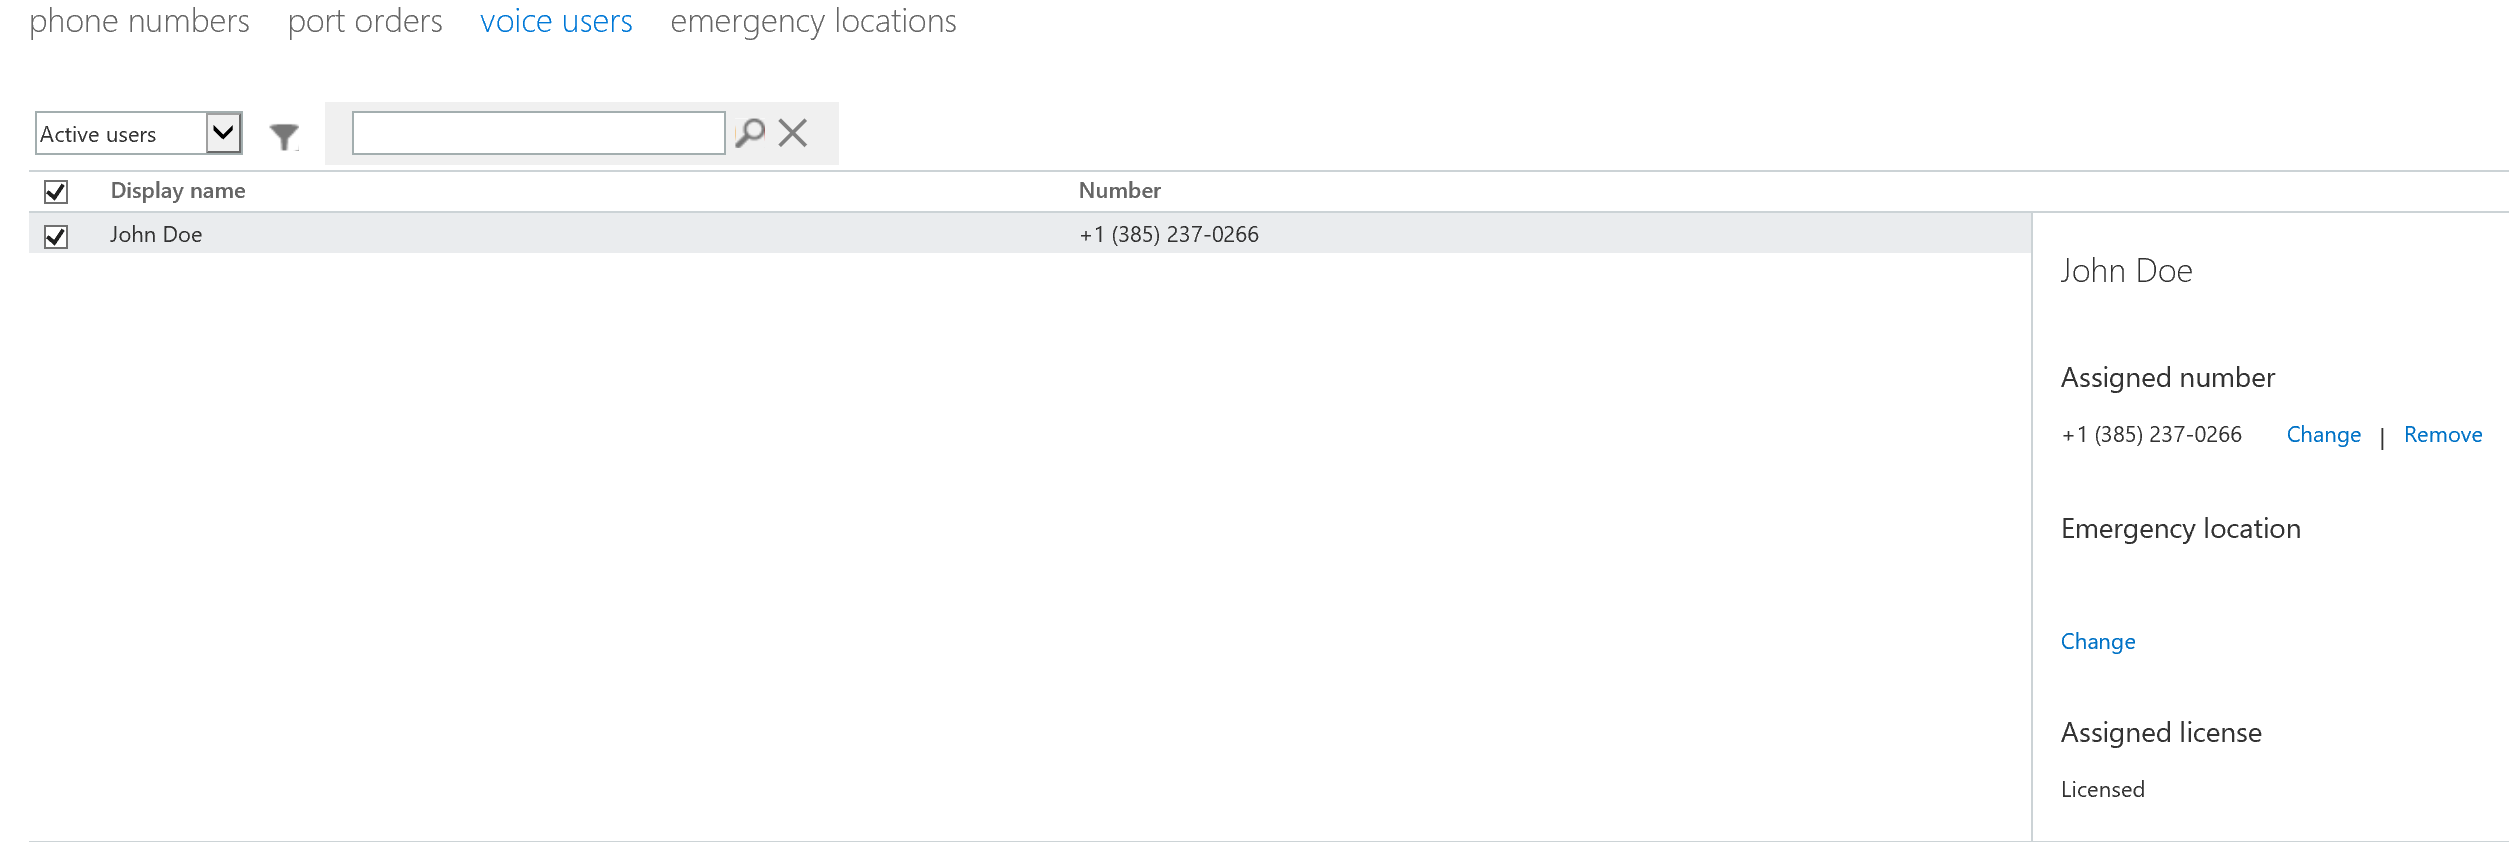
14) You will be returned to the Voice Users tab. Notice the new phone number and it's associated Emergency Location assigned to the user. (The Emergency Location associated with this user can be modified by clicking the Change button)
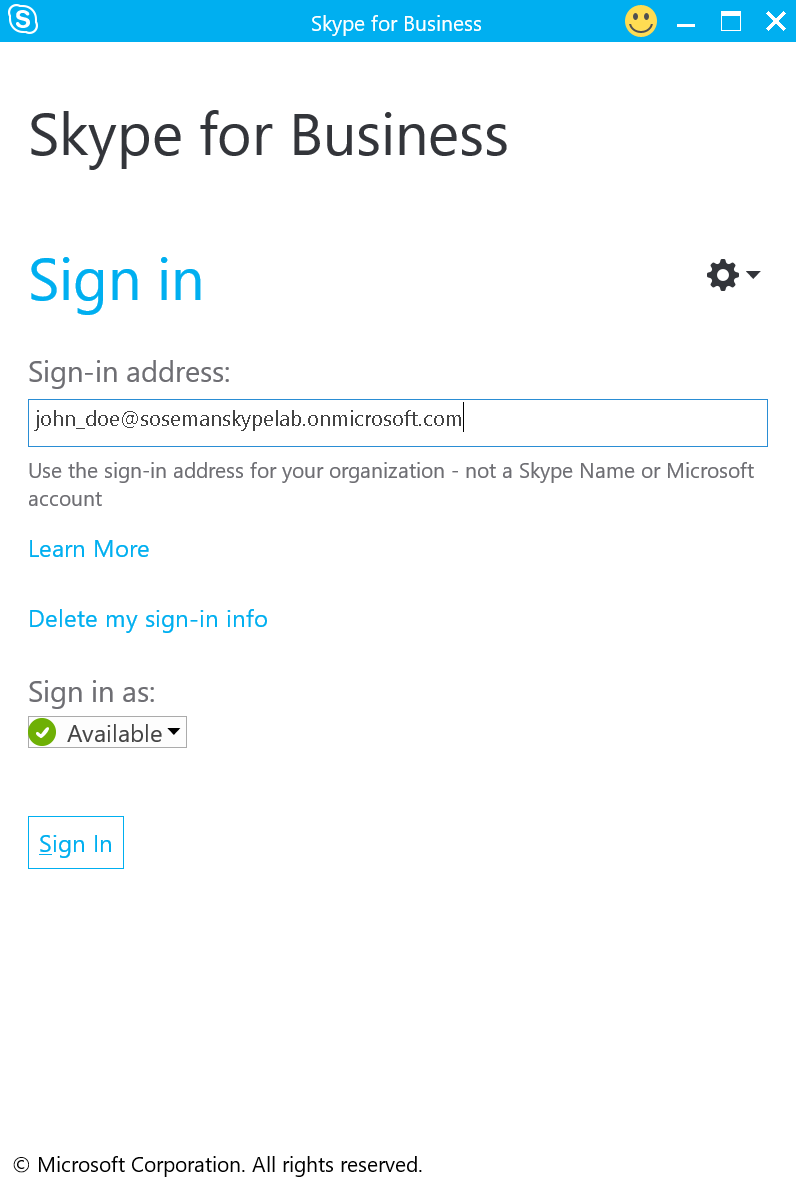
15) Enablement and configuration is now complete. To validate, login to a Skype for Business desktop client as the user.
Note: Basic call testing can also be performed using the mobile client for iOS, Android or Windows Phone.
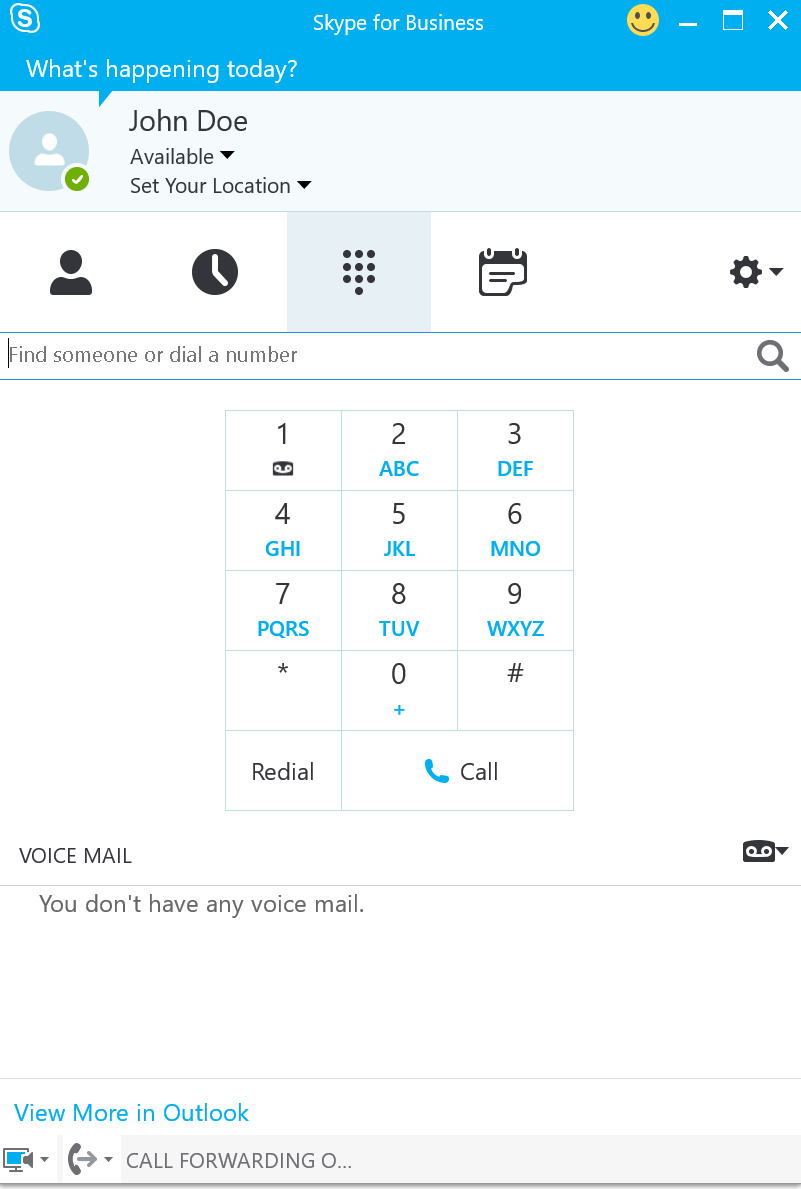
16) Click the Dial Pad, type a telephone number and press Enter to dial the number.
17) Skype for Business will dial the number and will connect the call. Once connected, note the various call control features such as Hold and Transfer. Also note, the Devices button which allows you to switch between USB devices (such as a headset to speakerphone). Clicking the Invite More People button will allow you to add another Skype for Business user or telephone number to the call and will immediately turn into a conference call with the conferencing feature set (see How to Enable Cloud PSTN Conferencing in Office365 for more information on the available features)
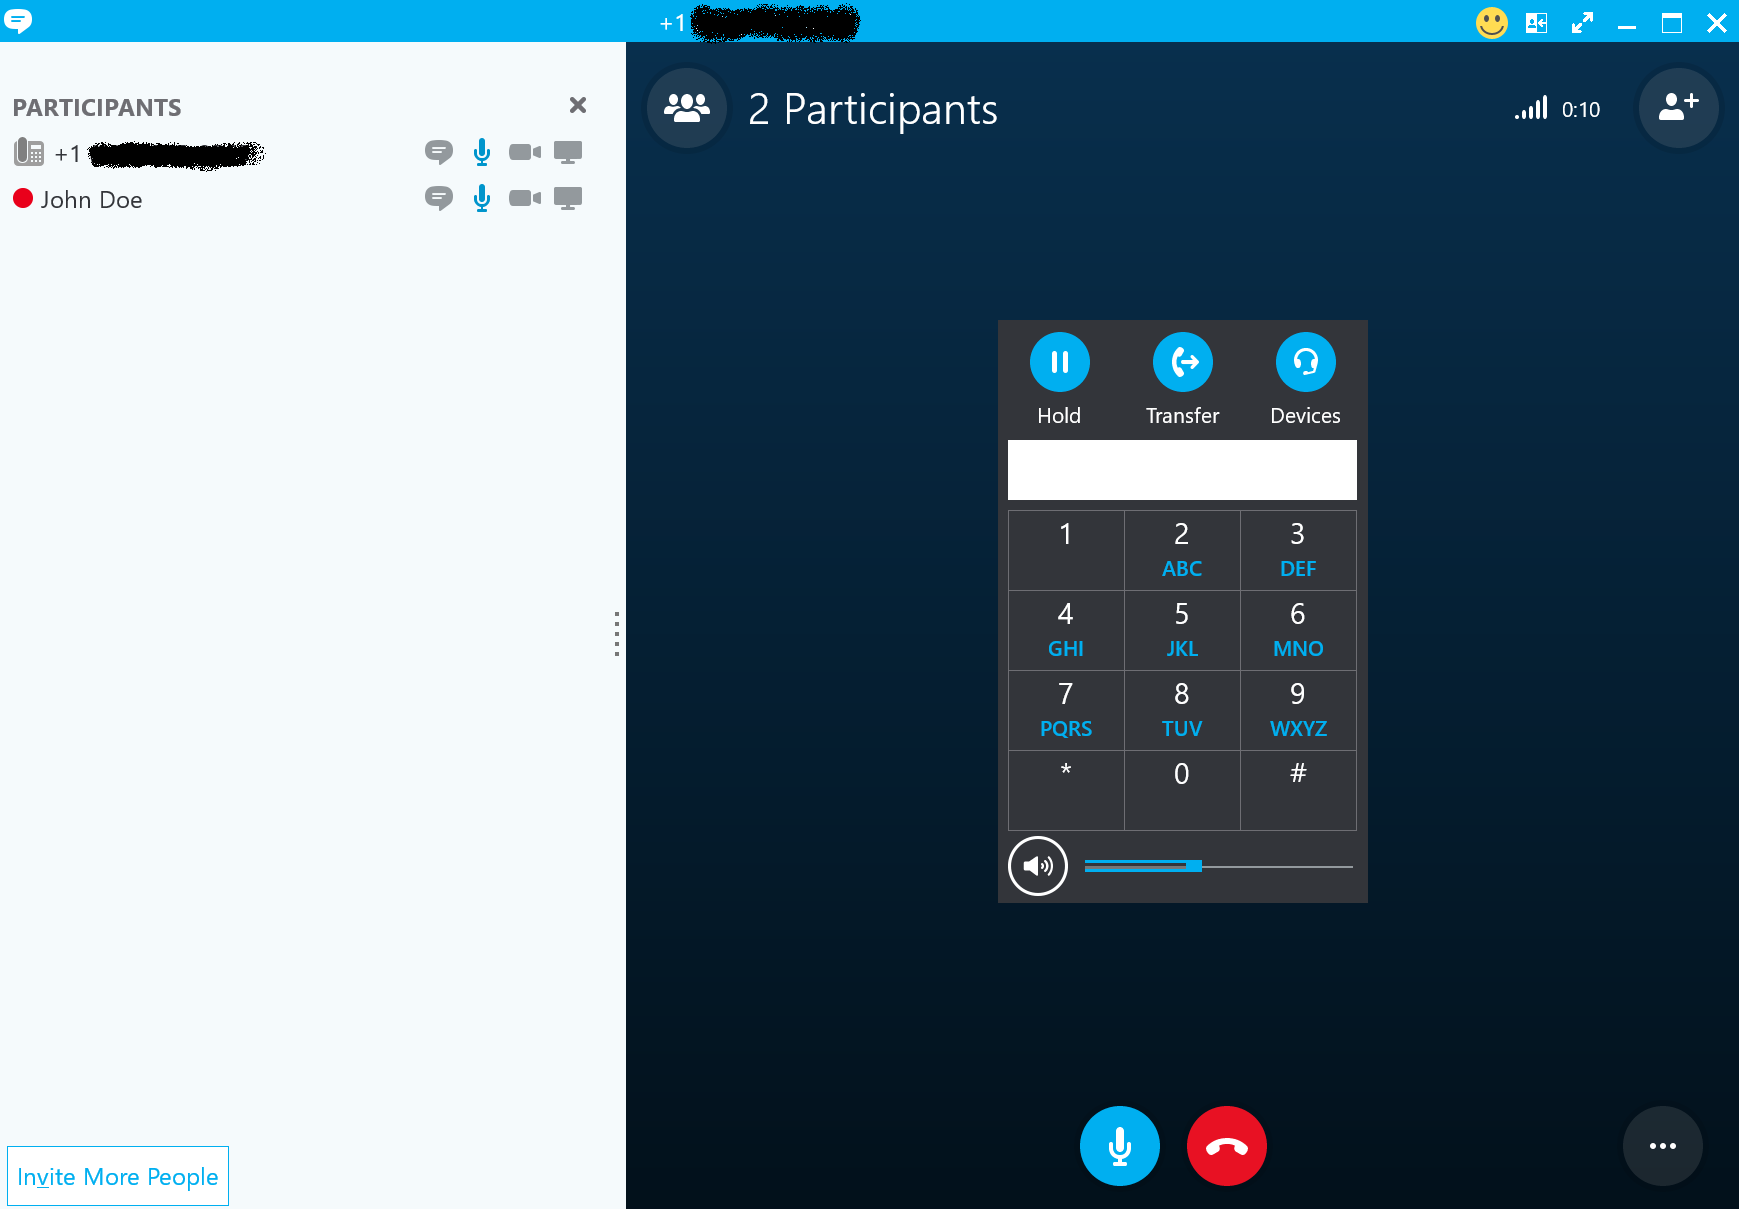
Note: The user's presence will change to In a Call 
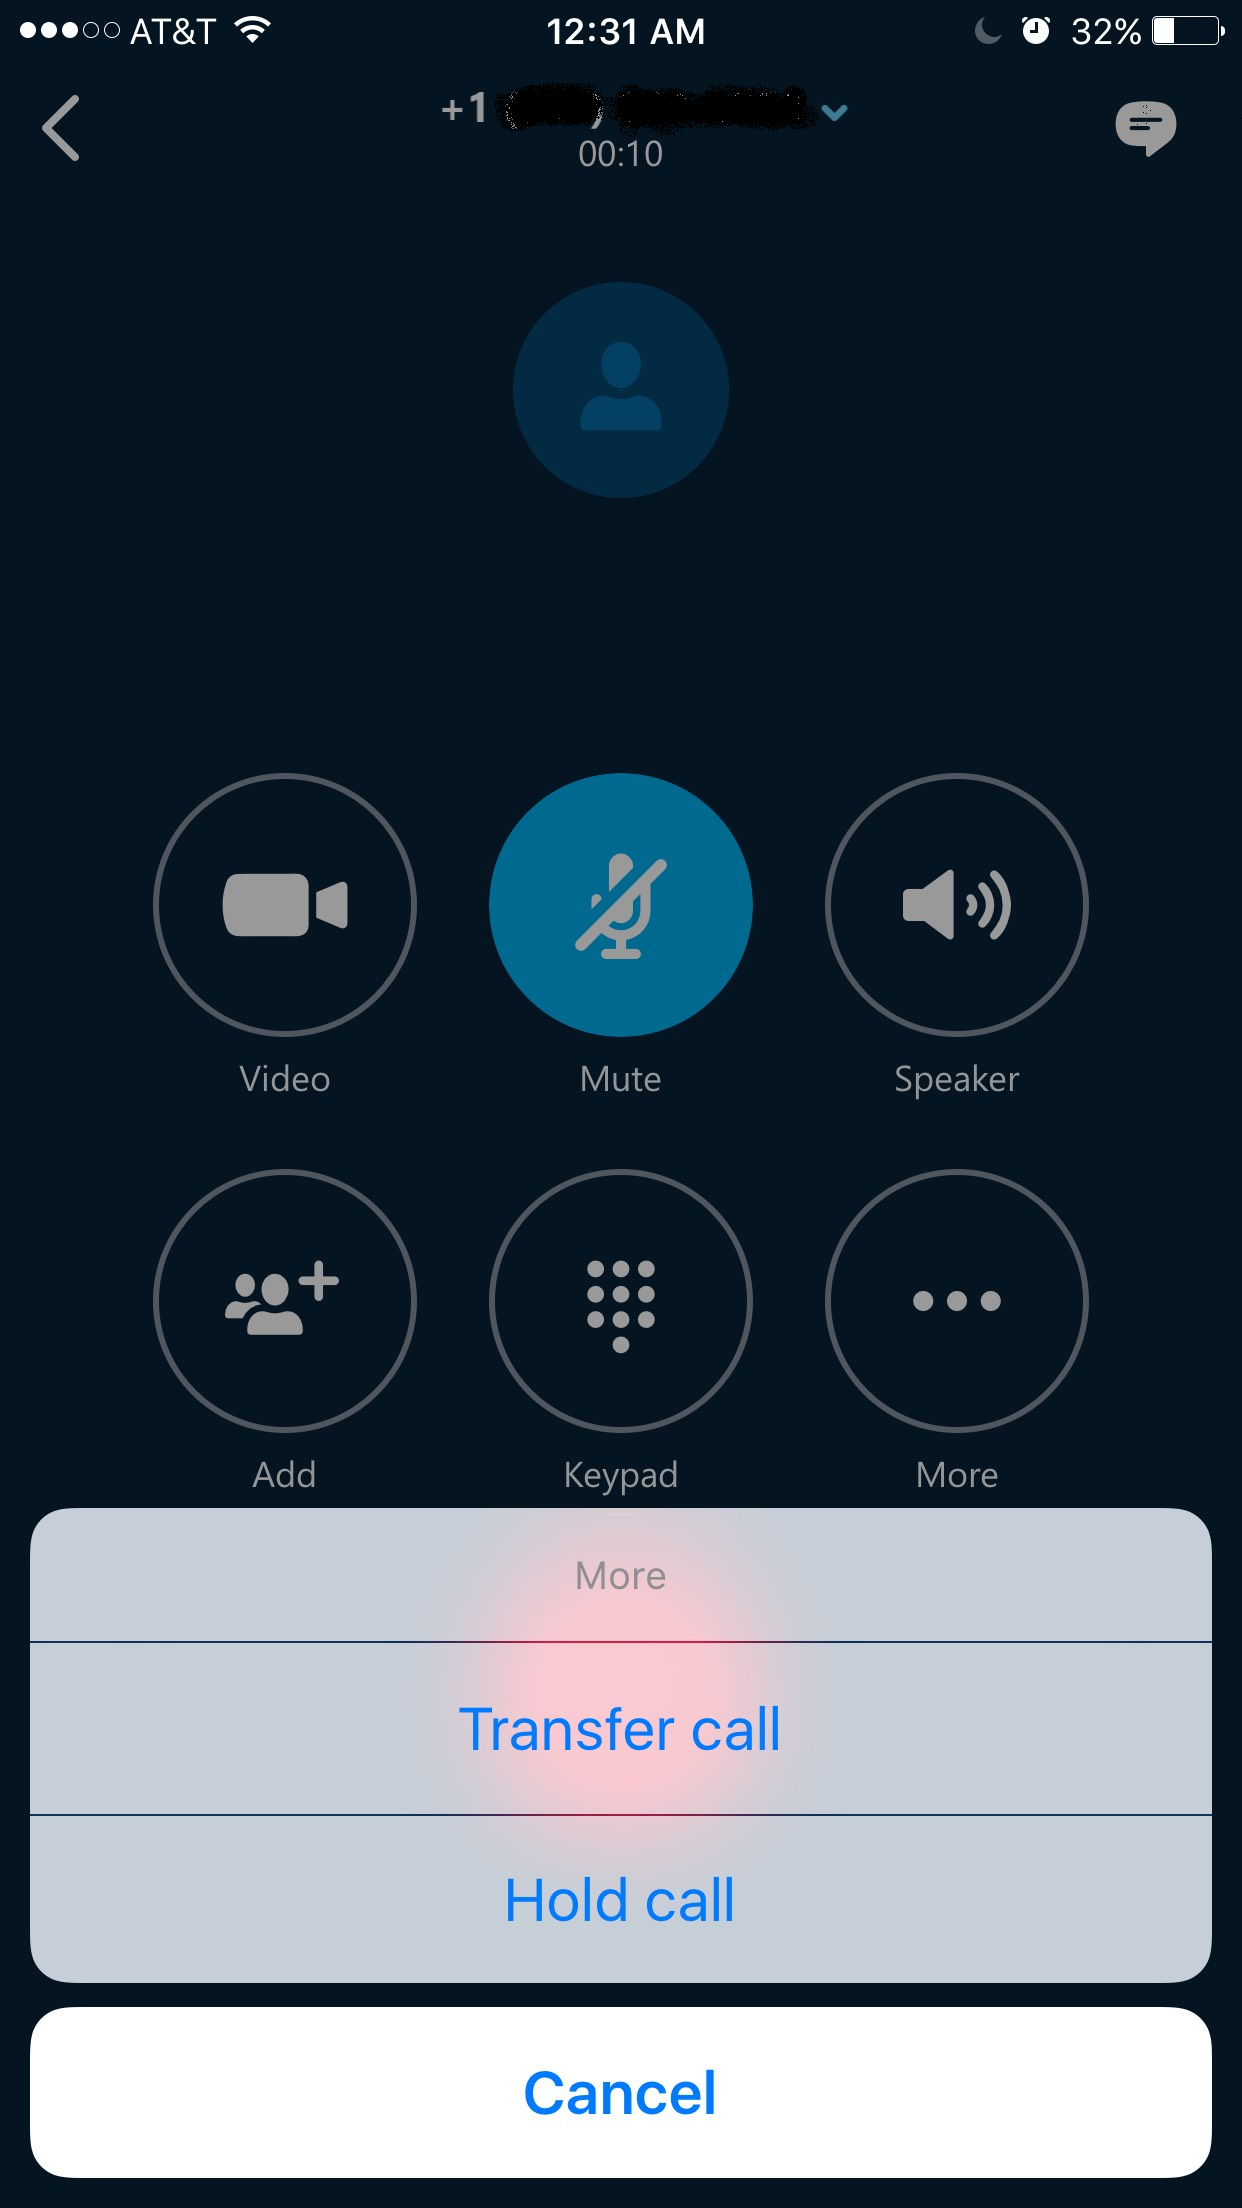
Note: If performing a test call from the Skype for Business Mobile App on a smartphone, similar in-call features will be available. The following screenshot is from an iPhone displaying the features available while in a current call.
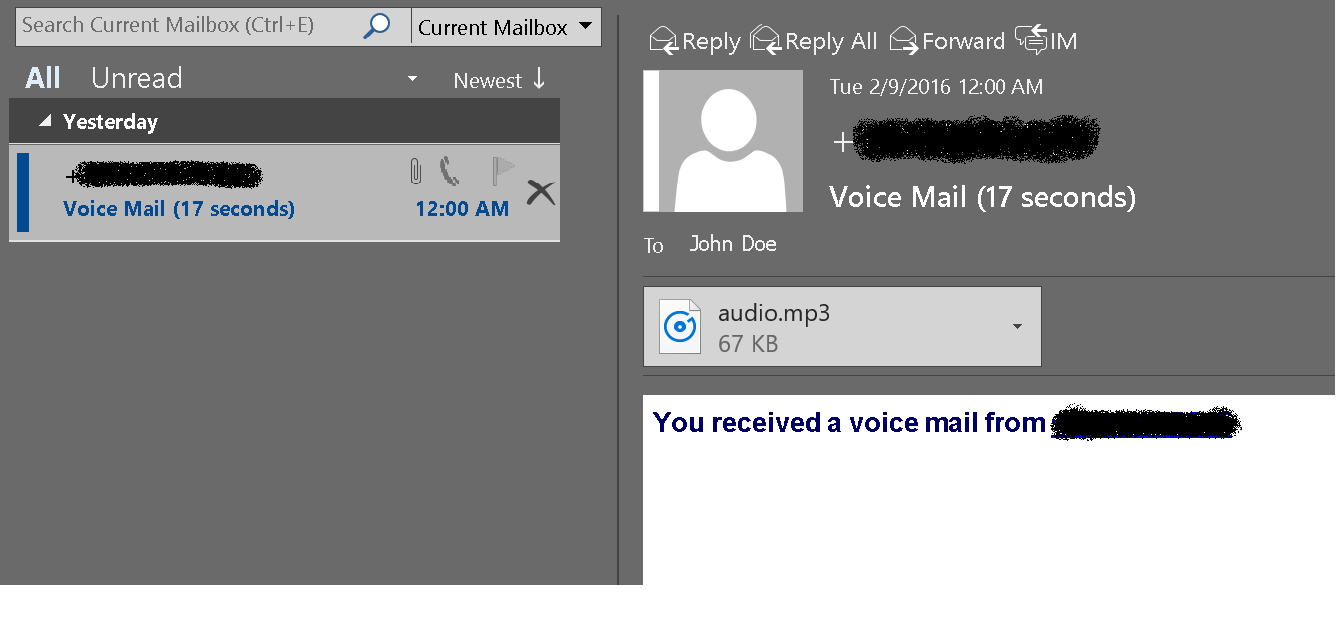
18) Hang up the call. Next let's test voicemail. Place a test call to the new phone number assigned to the user, and leave a test voicemail message.
19) Logon to the user's mailbox using either Outlook or Outlook Web App. The new voicemail message will arrive as a new email in the user's inbox. The message will be in the form of an .mp3 audio file attached to the message.
20) On the Skype for Business client from within the Dial Pad screen click the voicemail icon. This will allow you to setup voicemail, configure your voicemail greeting, or call Outlook Voice Access to listen to your voicemail messages.
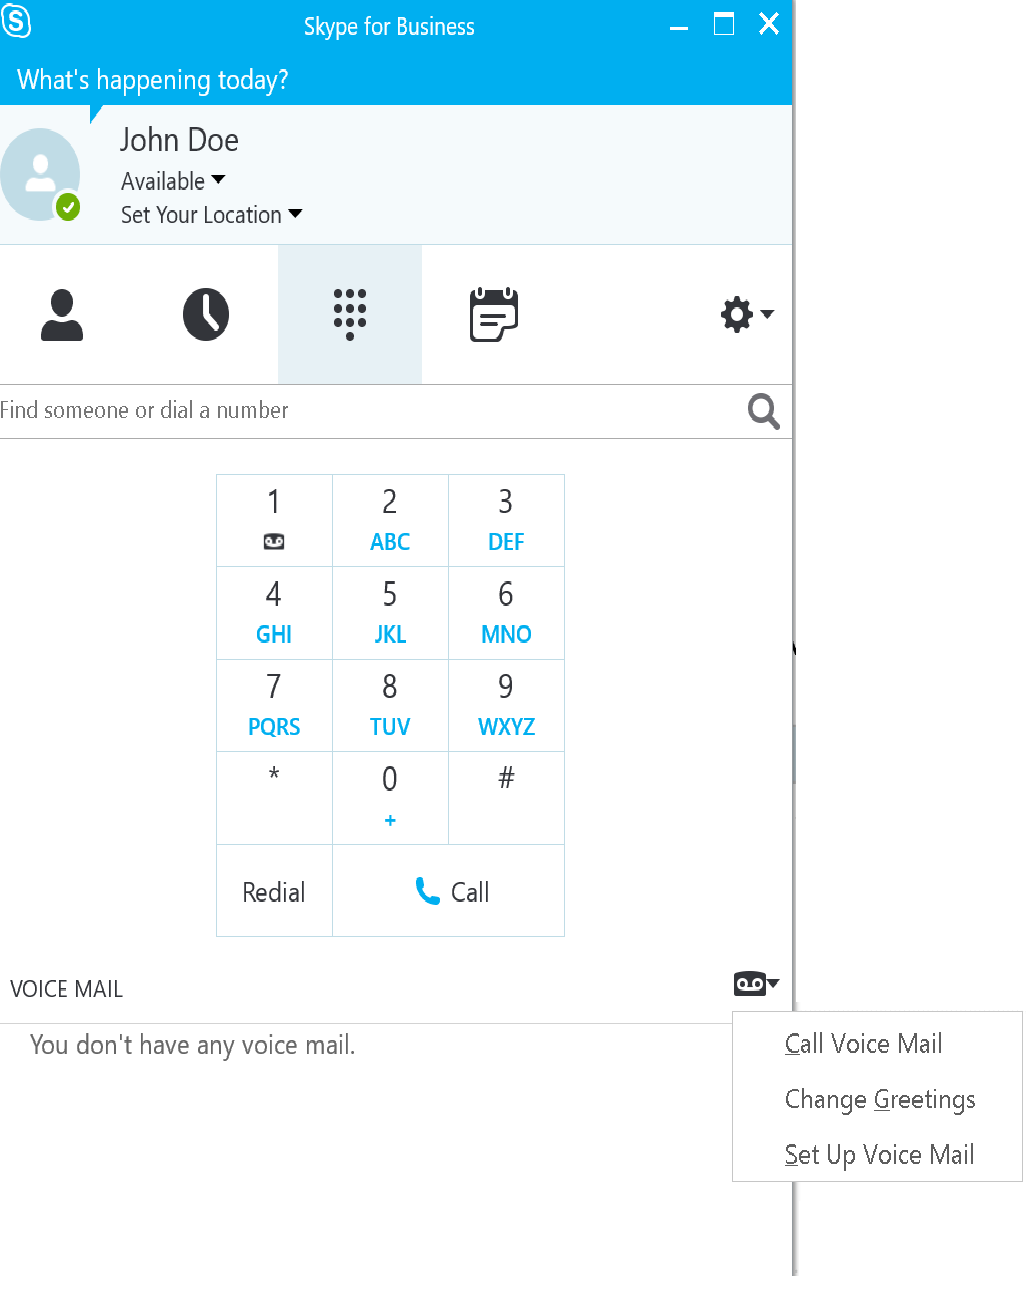
21) From within the Skype for Business client, click the gear icon  to access the Options dialog box.
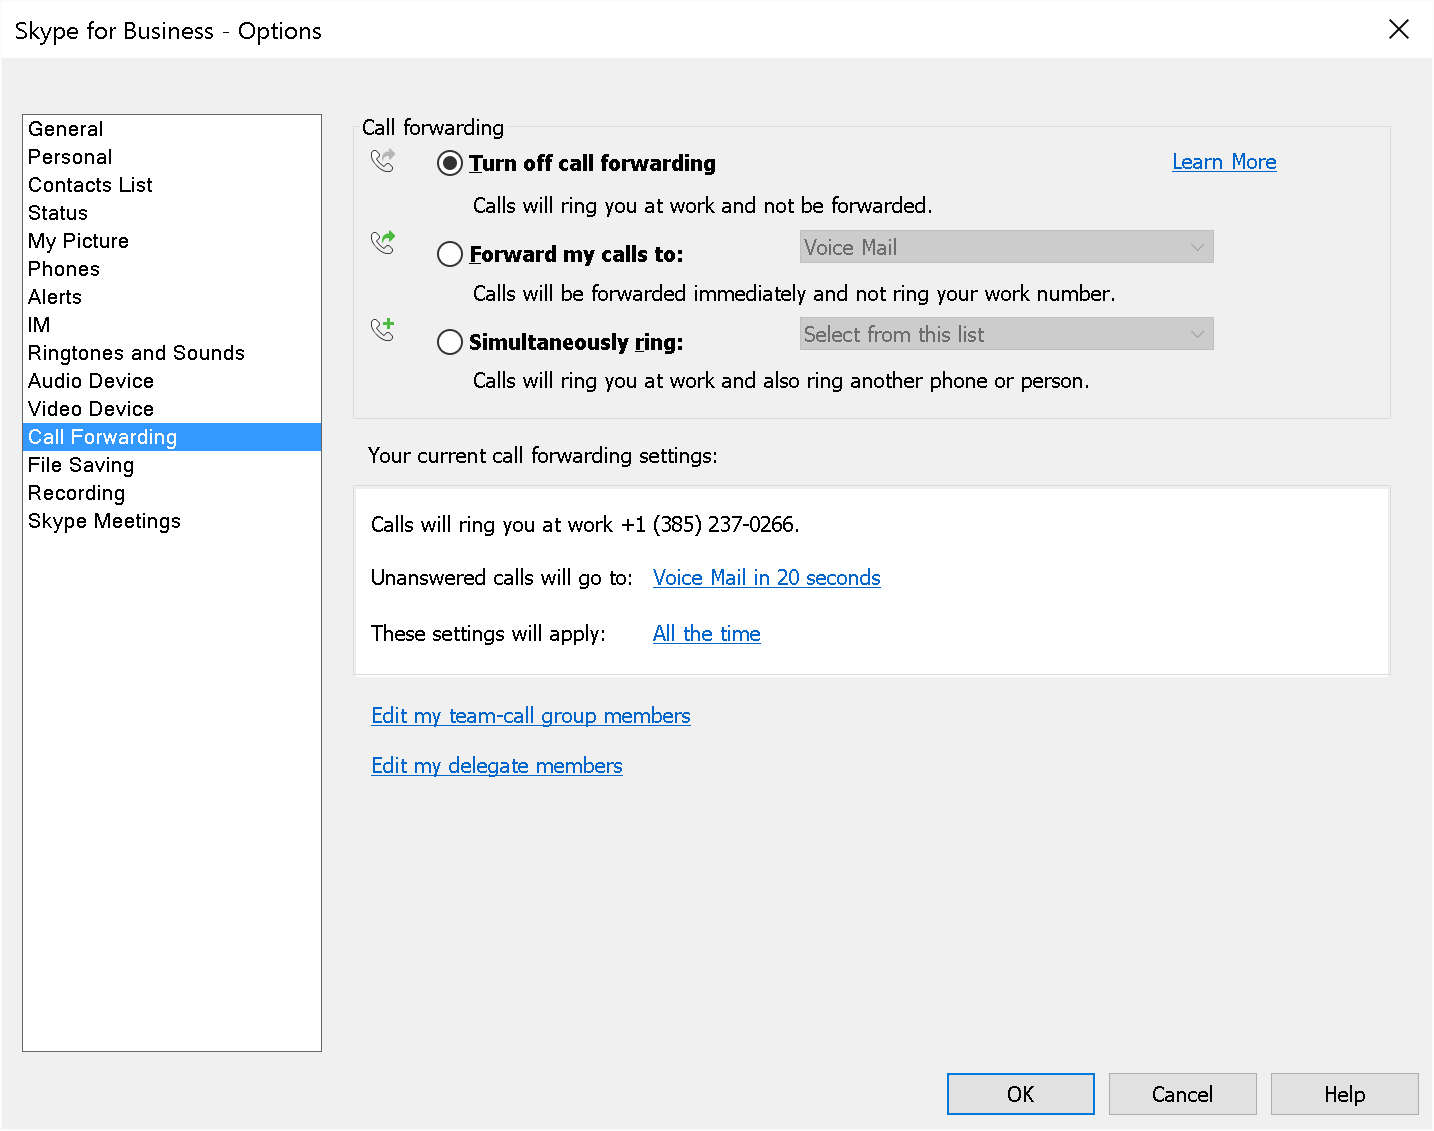
22) Click Call Forwarding on the left side. This will display various options related to Call Forwarding or Simultaneous Ring with advanced options for Team Call and Delegates.
That's it! Cloud PBX and Modern Voice is that easy!
Have a Polycom VVX VoIP phone you would like to connect to Cloud PBX? Follow the instructions here: Connect Polycom VVX Phone to Cloud PBX in Office365 (Skype for Business Online)
Stay tuned for additional blog posts on advanced configuration such managing voice features using PowerShell. Enjoy!