Port a Phone Number to Cloud PBX in Office365
This is an overview of the experience for porting (moving) an existing office telephone number from an existing telephony carrier to Skype for Business Online.
Background:
Skype for Business Online in Office365 offers PSTN Calling as part of the Cloud PBX feature set. PSTN calling allows a user to place and receive calls to the Public Switched Telephone Network with enterprise PBX functionality. When provisioning a user for this service, the Office365 administrator can either purchase telephone numbers directly from Microsoft or port an existing telephone number from an existing carrier to Office365. I covered the process for purchasing telephone numbers in a previous blog post: How to Enable Cloud PBX & Modern Voice
Before you Begin: Gather the following information:
- Account Number from existing carrier
- PIN (if required by carrier)
- Billing telephone number
- Service Address (located on bill from carrier)
- City/State/Zip of the billing address
- Range of telephone numbers to port
- Emergency addresses for each user the ported number will be assigned to
Note: This is assuming other requirements have been met for Cloud PBX and PSTN Calling in the Office365 tenant. For more information, please reference my previous blog post: How to Enable Cloud PBX & Modern Voice
Important: If you plan on porting more than 999 phone numbers, review Manually Submit a Port Order Request.
Important: See if your carrier is supported prior to proceeding with the process. Refer to What phone service providers or carriers are supported for more information.
For more information see: Transfer phone numbers to Skype for Business Online
Getting Started:
Note: You may need to click on some of the screenshots below to view the entire picture.
1) Login to your tenant as an Office365 Global Administrator.
2) On the left side, expand Admin and click Skype for Business.
3) From within the Skype for Business Admin Center, on the left side, click Voice.
4) On the menu at the top, click the Port Orders tab.

5) Click I'm ready to create a port order. If you plan on porting more than 999 phone numbers, review click How to open a support ticket 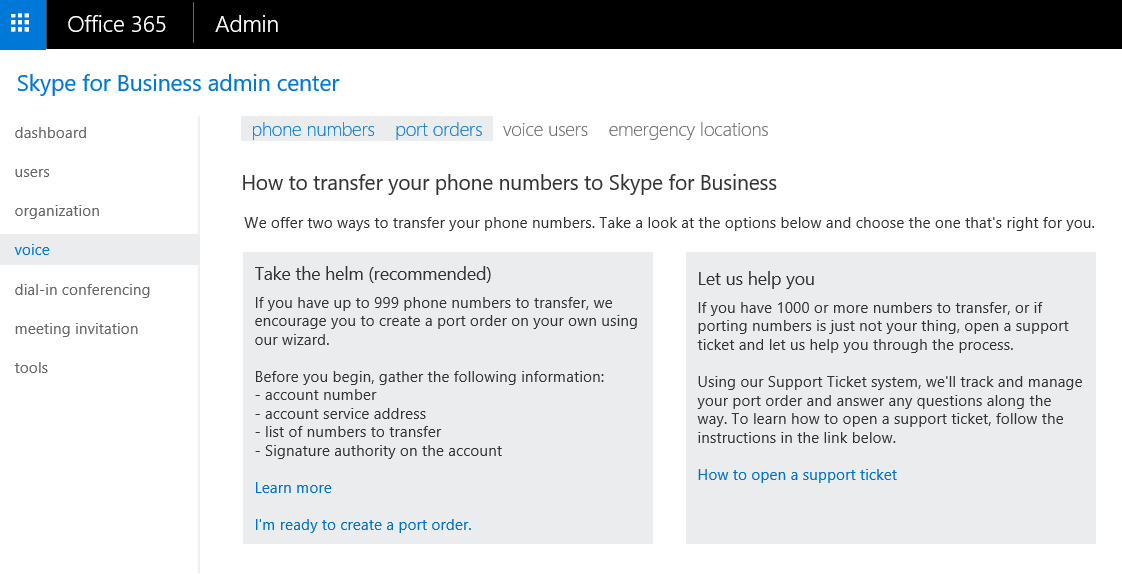
6) The New Local Number Port Order wizard will display. Review the Before you get started information and click Let's get started

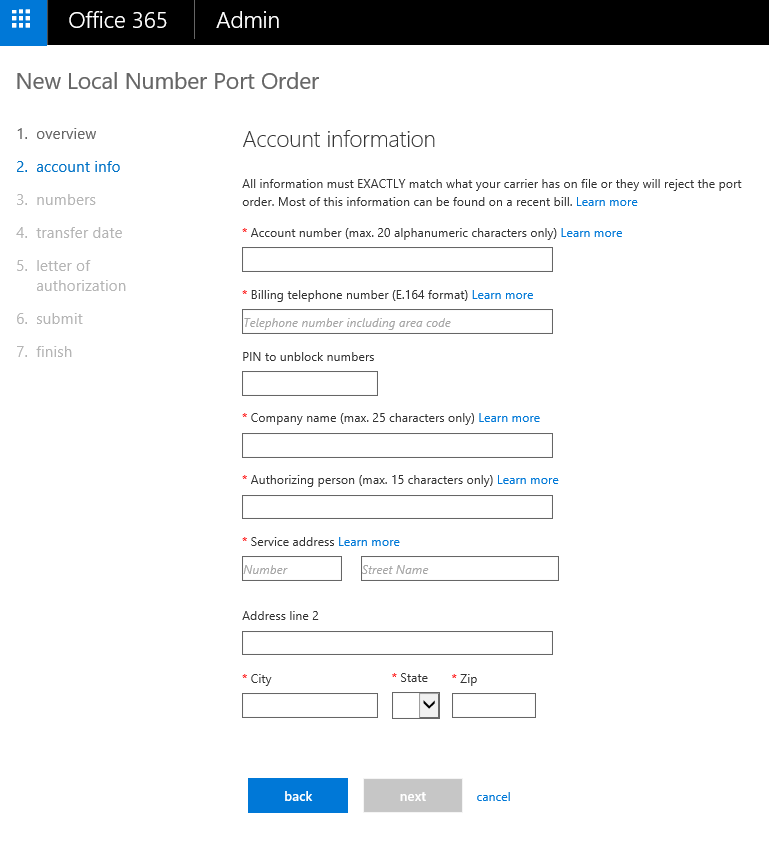
7) On the Account Information screen, fill out the form using the information you gathered prior to starting. Note: the information must match EXACTLY what's on file at your carrier. When finished click Next
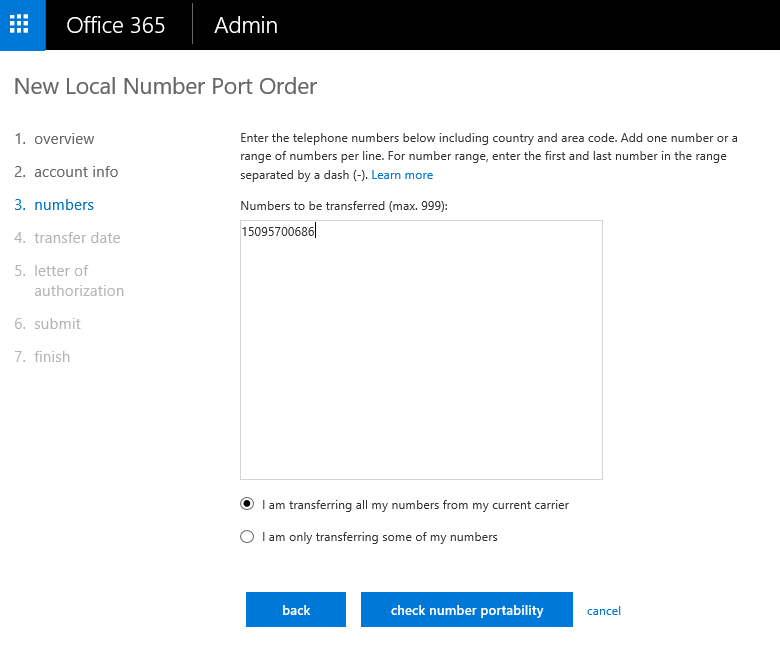
8) On the New Local Number Port Order screen, enter the phone number you wish to port. If porting a range, review the instructions on screen. When finished click Check number portability. This process will validate the port eligibility of the phone number(s) you entered.
9) On the Transfer Date screen, select the date/time when you would like the port order and transfer of phone number(s) to be executed. Click Next 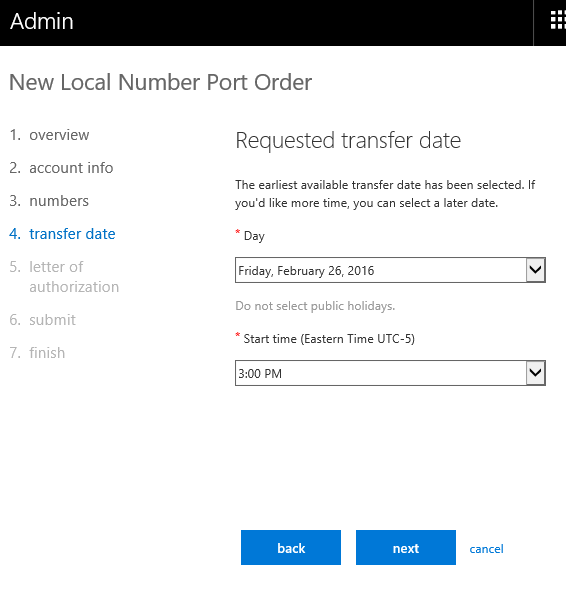
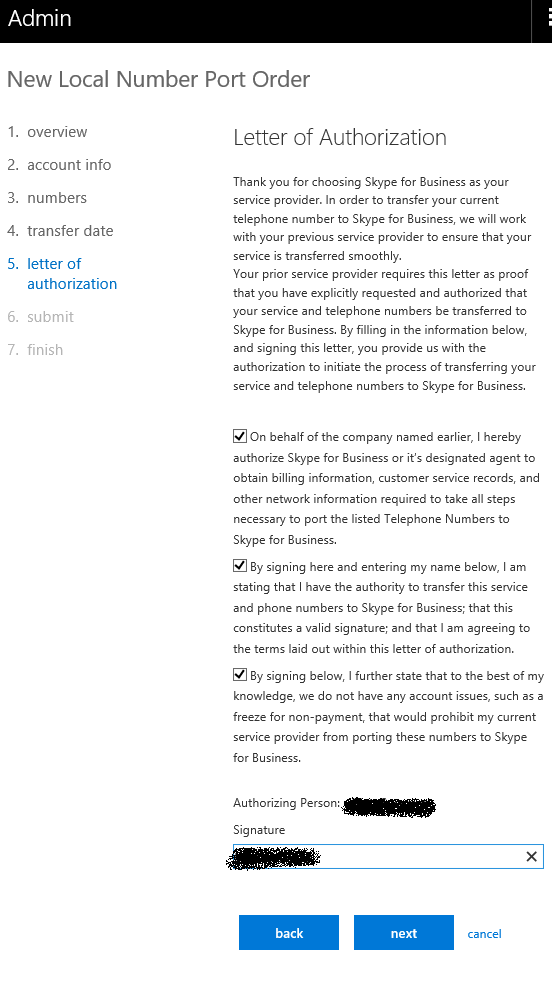
10) On the Letter of Authorization screen, review and if you consent to the terms, check the boxes and enter your electronic signature. Click Next.
11) On the Notifications screen, enter any additional email addresses to notify during the port order process. For example purposes I entered my personal email address. When finished click Submit Port Order 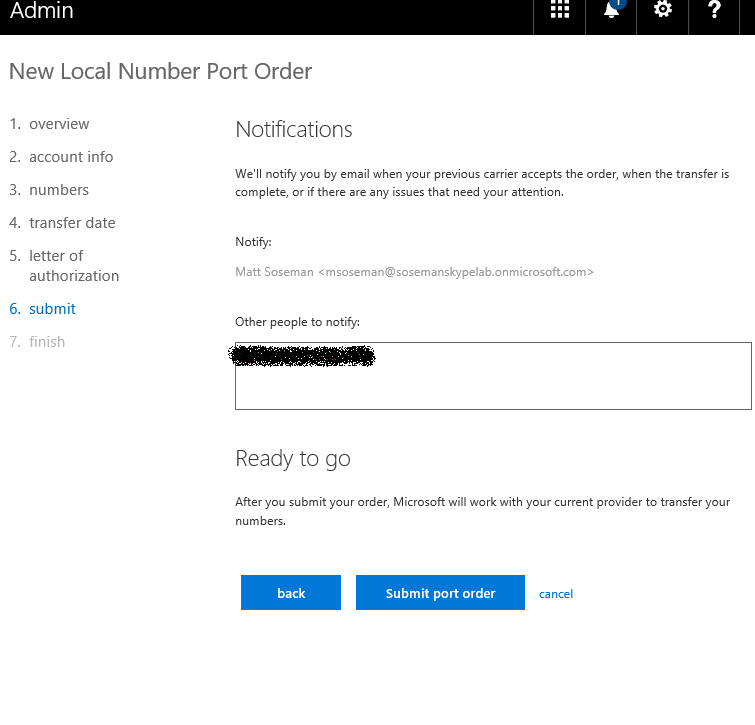
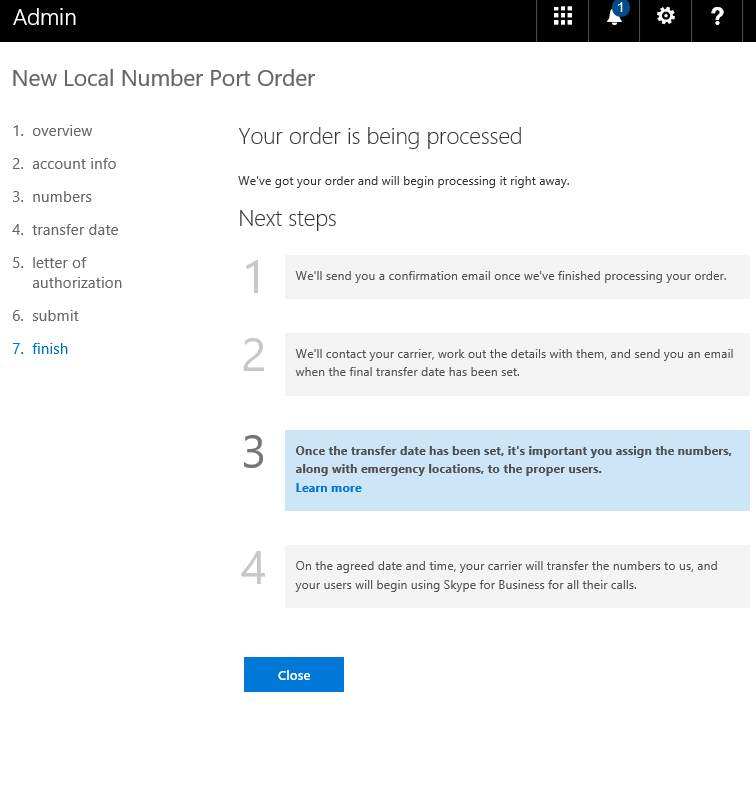
12) Review the Next Steps and click Close when finished.
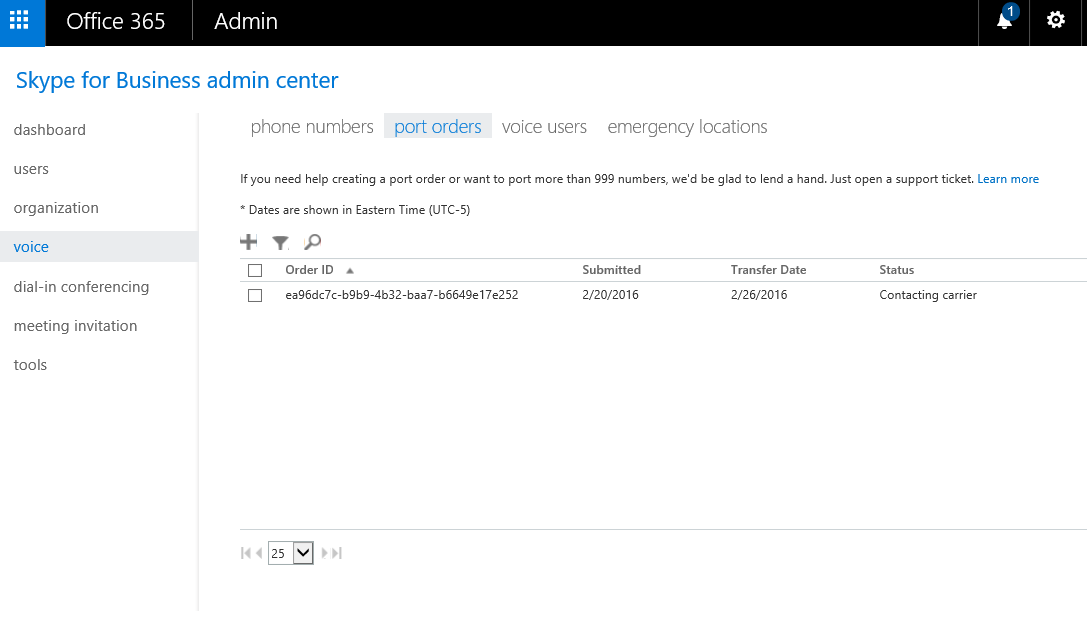
13) You will be returned to the Port Orders tab. Notice the port order you just submitted has a status of Contacting Carrier
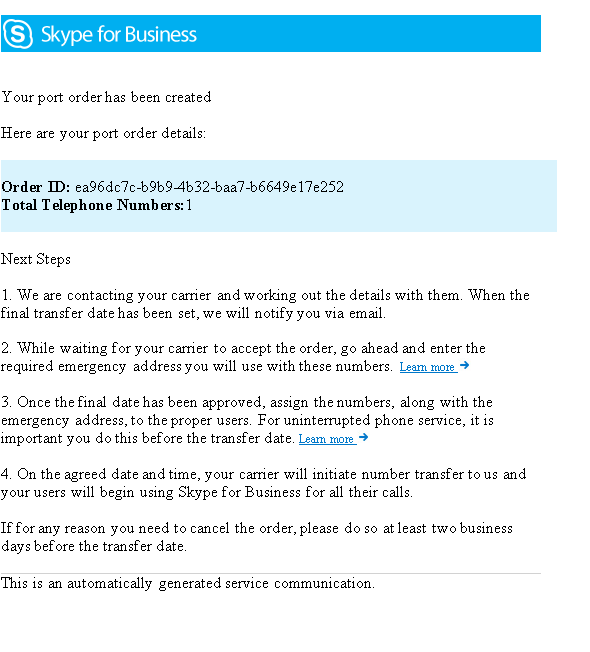
14) A confirmation email will be sent to the notification email addresses that you specified:
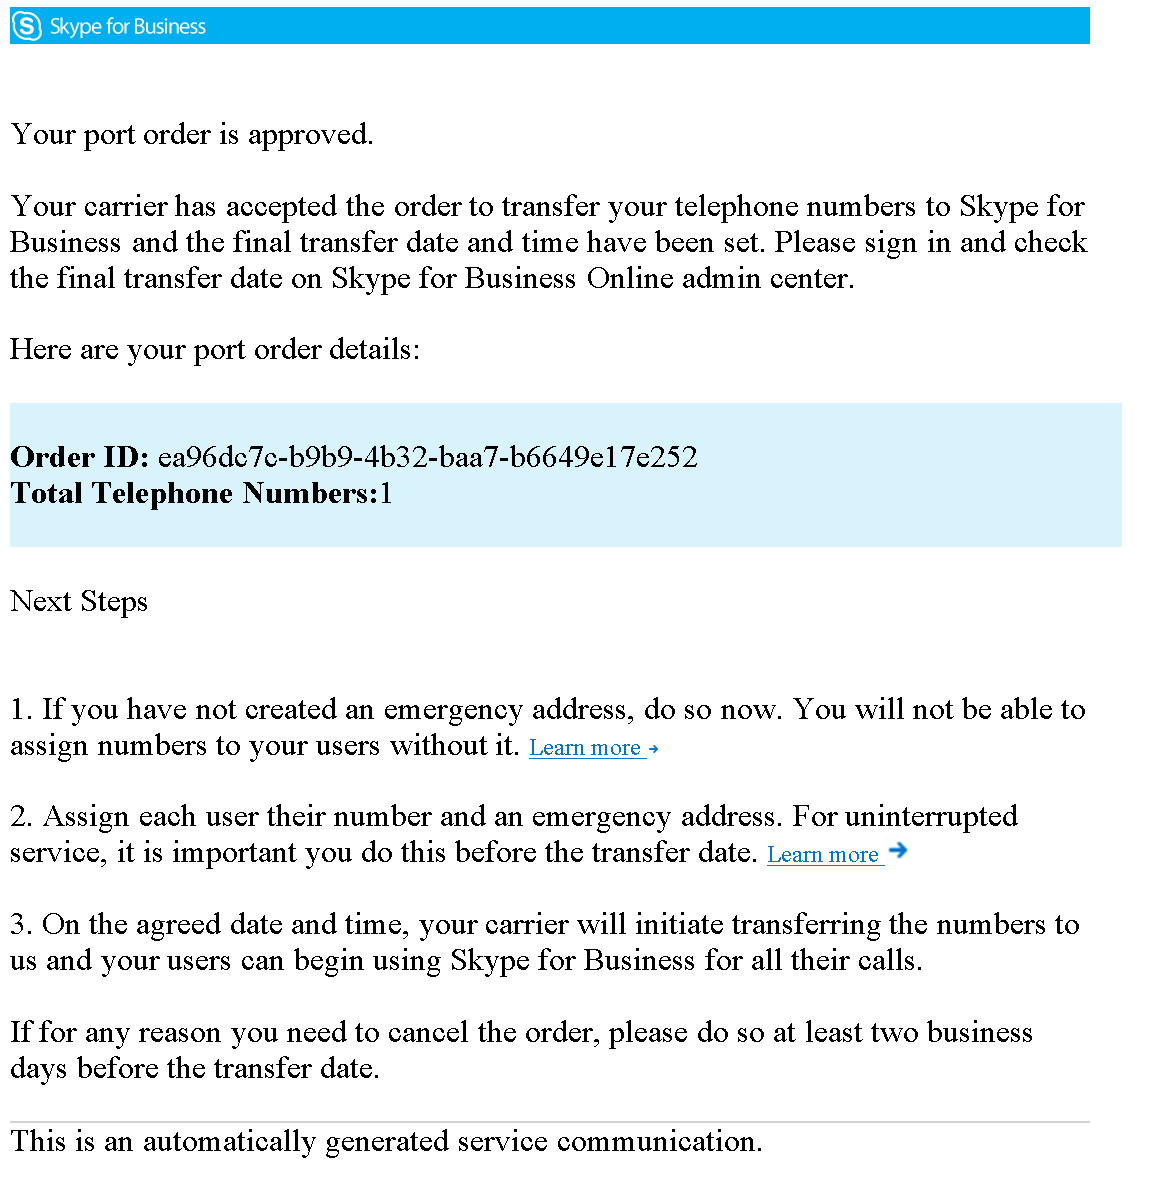
15) The entire porting process will take a few days to a week to complete. Once the port order has been approved by your existing carrier, you will receive the following email. Review the next steps in the body of the email and save the Order ID incase you need to reference it with support in the future.
Important: Review # 3 from the next steps email to ensure continuity of service once the port has been completed.
16) From within the Office365 Skype for Business Admin portal, on the Port Orders tab notice the port order you submitted has changed to the Transfer Approved status.
17) When the porting process is finished and the telephone number transfer is complete, you will receive the following email:
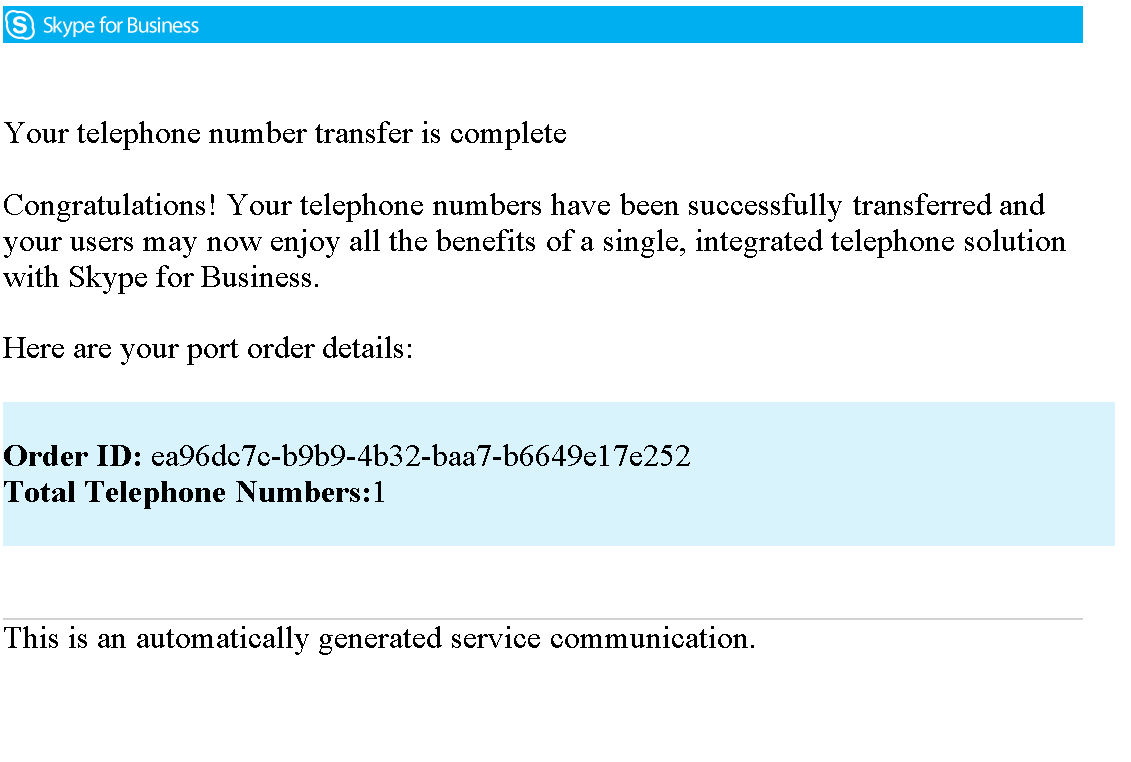
Your phone number(s) are now ready to be used for live calling. Refer to the How to Enable Cloud PBX & Modern Voice blog post or Next Steps Email for details on how to assign the phone number to a user and set emergency calling locations.