File Integrity Monitoring in Azure Security Center
Following the previous posts about new Azure Security Center capabilities that we released at RSA Conference, this one is about File Integrity Monitoring (FIM), which is available in public preview. This capability helps to protect the integrity of your system and applications as Security Center will be continuously monitoring the behavior of your registry and configuration files. If some abnormal change to the files or a malicious behavior is detected, Security Center will alert you so that you can continue to stay in control of your files. You enable FIM per workspace, as shown below:
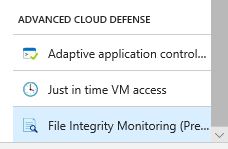
1. In Security Center dashboard, under Advanced Cloud Defense, click File Integrity Monitoring (Preview) :
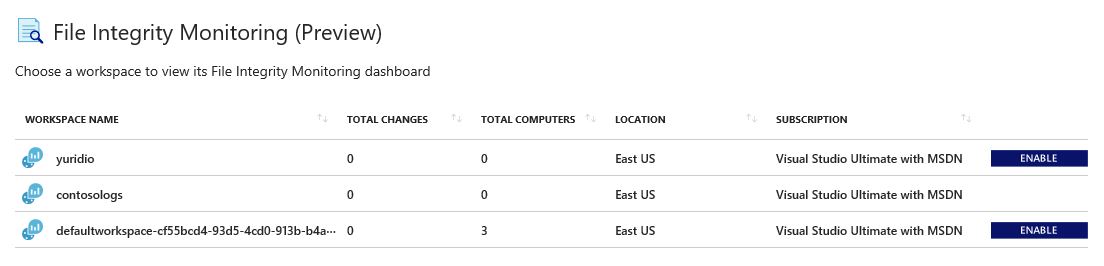
2. Select the workspace that you want to enable FIM, and click the ENABLE button.
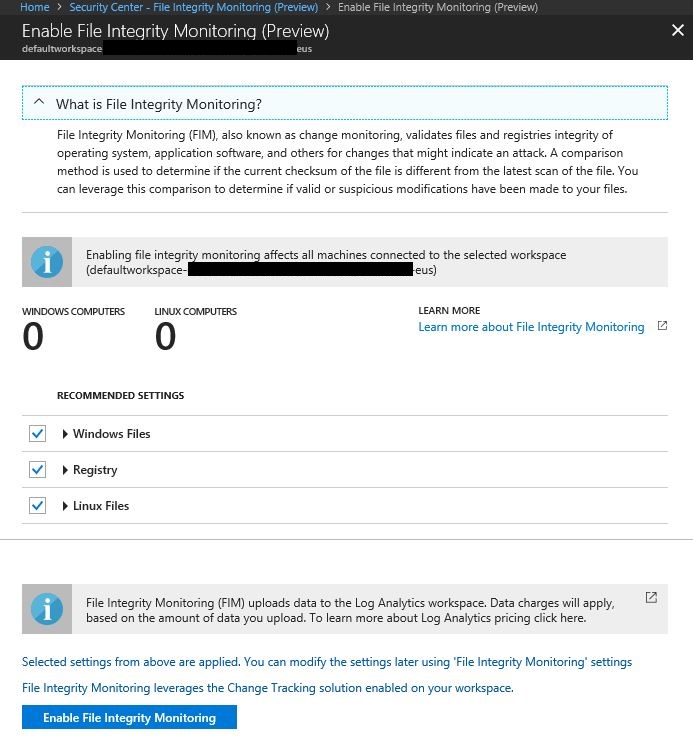
3. FIM will suggest that you enable monitoring for Windows Files, Registry and Linux Files. You can click on the arrow besides each one of those objects to expand it and see which files are included in the default selection. Once you fiinish reviewing, click Enable File Integrity Monitoring button.
4. It may take some time for FIM to identity the total amount of computers that are in the workspace, make sure to click Refresh button to see if all computers are already there. In the example able there are only three computers in this workspace.
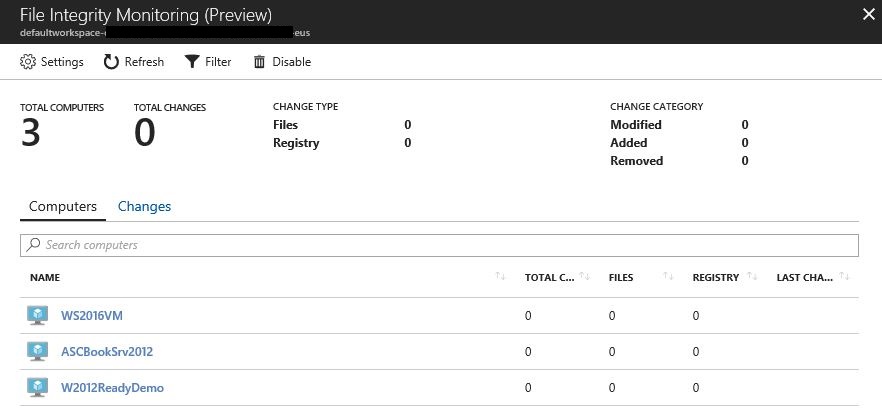
After enabling FIM, you just need to keep monitoring to see if changes were done. When changes take place in the monitored resources, this dashboard will update accordingly. Figure below shows an examploe of some registry changes:
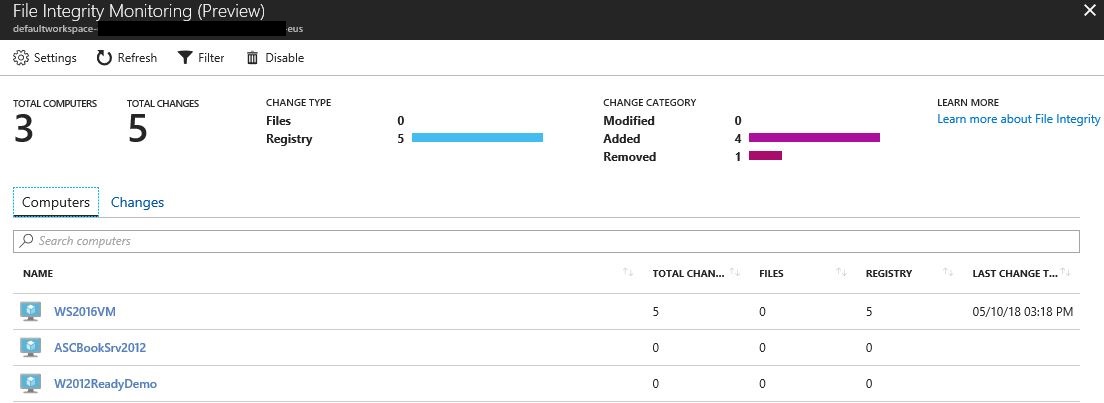
In this case, some changes were done in the registry of the WS2016VM machine. To see these changes click in the Changes tab, and the result will appear as shown in hte following example:
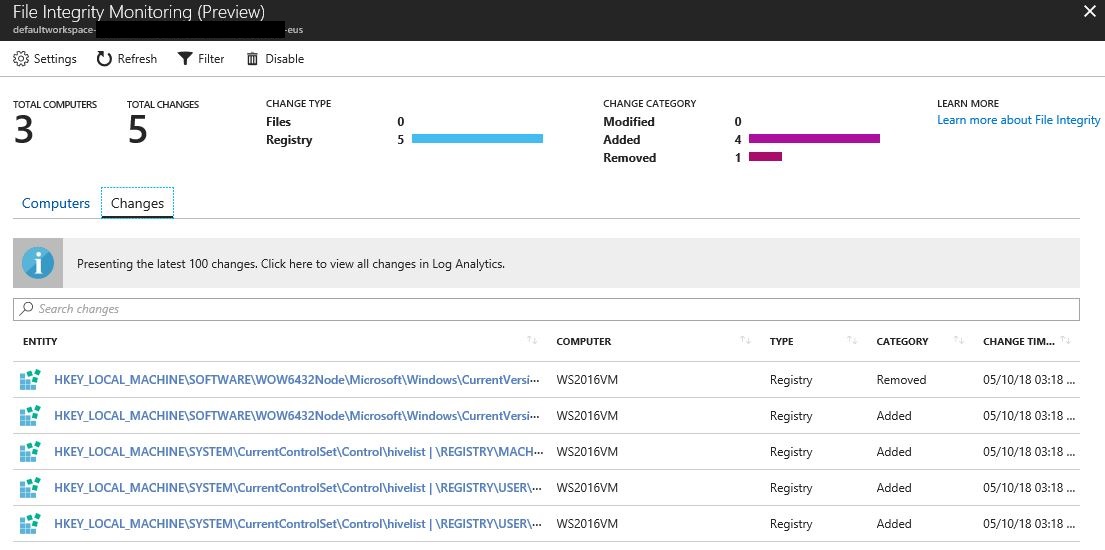
To see the specific changes in the registry, you can click on each line, and the full description appears, as shown the example below:
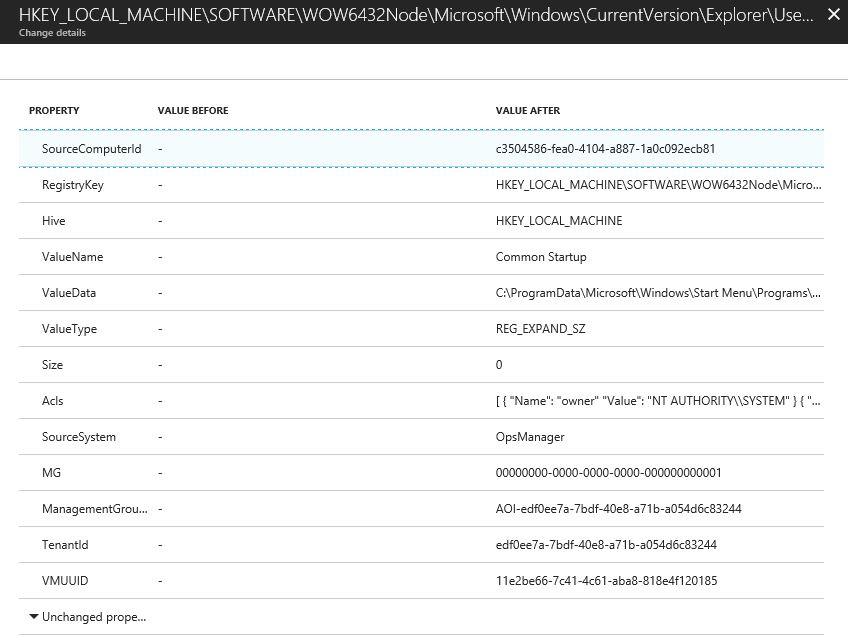
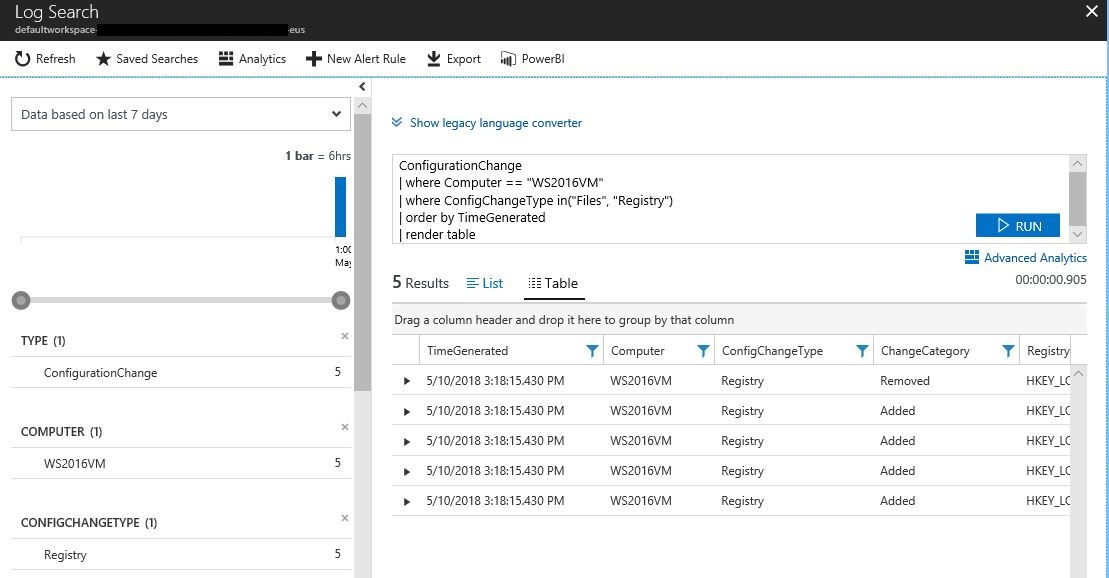
If you go back to the Computers tab, you can also get the full description of all changes by clicking in the computer's name in the list, and the log analytics search result opens up with all computers as shown below. From there you can expand each line to get the full description of changes.