Publishing OWA 2007 through IAG 2007 – Part 2 of 3
1. Reviewing the Configuration
Last session was finished showing some of the advantages of using IAG to publish OWA 2007. The last feature that was covered was the automatic logoff for idle session. The options that manage the session timeout can be accessed by clicking in the Advanced Trunk Configuration / Configure as show below:
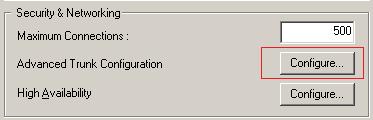
Figure 1 – Option that allow access to the Portal configuration.
After click into this button the Advanced Trunk Configuration appears and you should click in the Session Tab.
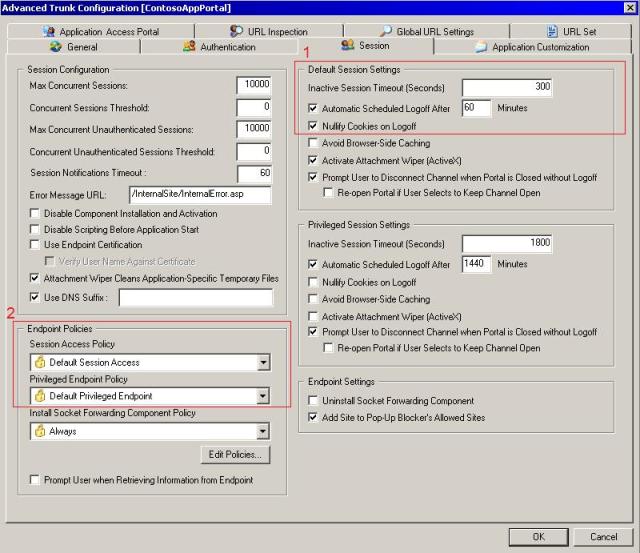
Figure 2 – Session Tab.
Options from square 1:
· Inactive Session Timeout (Seconds): this is where you control when that pop up warning will appears. If you use the minimum value (120), the pop up window will show up in 60 seconds.
· Automatic Scheduled Logoff After: this option controls the clock that stays on the Application Portal top bar.
· Nullify Cookies on Logoff: this option will set the session cookies to expire when the session is finished. This will delete the cookies from the client computer that is accessing the portal.
The options from square 2 are pretty much to show you that if you don’t change anything on the step 5 of the wizard (creating the portal) you can later change it from here.
Note: For more information on the session configuration read the chapter 5 of the IAG Advanced Configuration Guide. This document can be downloaded from Microsoft Download Center.
After make the changes that you want on this tab click OK and then press CTRL + G to Activate.
2. Adding OWA 2007 in the Application Portal
Now that the portal is ready and functional, let’s start the process of adding the OWA 2007 into the portal:
1) On the Applications option click in Add.
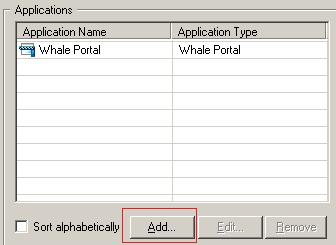
Figure 3 – Adding an application to the Portal.
2) On the Add Application Wizard window click in Web Application and select Microsoft Outlook Web Access 2007 and click Next:
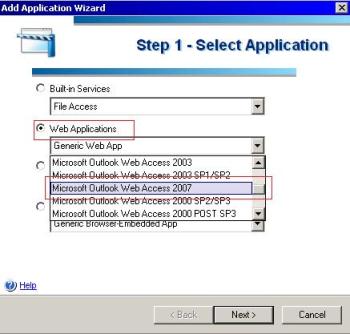
Figure 4 – Step 1 of the Add Application Wizard.
3) On the next window type the application name and leave the default options selected then click Next.
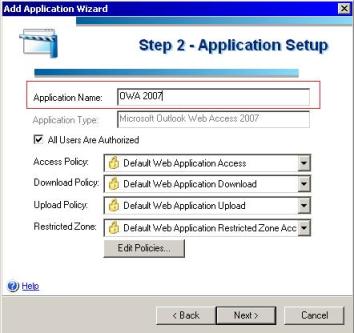
Figure 5 – Application Setup Window.
4) On the step 3 of the wizard you need to add the IP Address of the Exchange Server 2007. Double click in the address tab and type the IP Address or the host name of the OWA Server, leave the default options selected and click Next.
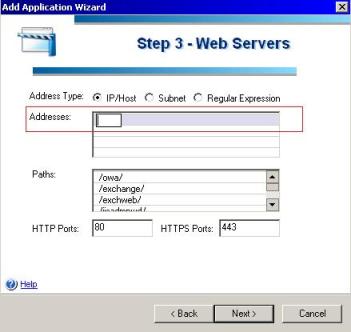
Figure 6 –OWA’s Server Information.
5) On the next window you will select the authentication method that will be used to validate user’s credentials to access the OWA Server. Click in the Add button and select AD. Click Select and choose also the authentication method that will be used to access the OWA, in this case will be 401 Request. After changing that, click in Next.
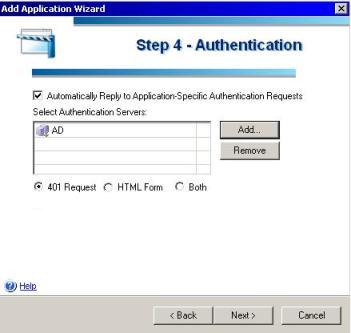
Figure 7 – Authentication Method.
The authentication method used against OWA (401, Form or both) will vary according to the Exchange configuration. In this case we are using Basic Authentication on the OWA as show below:
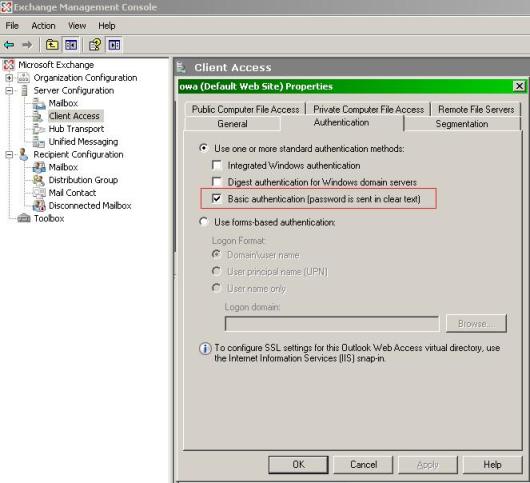
Figure 8 – Configuration on the OWA Server.
6) The next window will also needs adjustments, since the OWA is requiring HTTPS on the configuration we need to change the URL for https as show below:
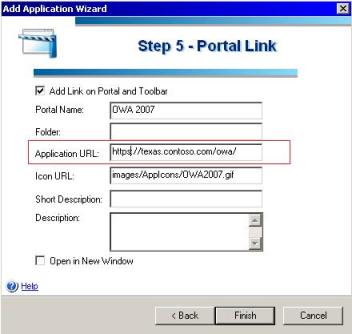
Figure 9 – Changing the URL to reflect the correct one allowed by OWA Server.
7) Click in Finish on this window and then press CTRL + G to Activate the configuration.
You will be able to see under Applications that now you have the OWA application and if this is highlighted the Edit button will be available.
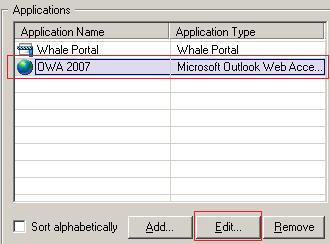
Figure 10 – OWA application added to the Portal.
3. Testing
On the client workstation logon to the Application Portal and the next screen will show the OWA available there:
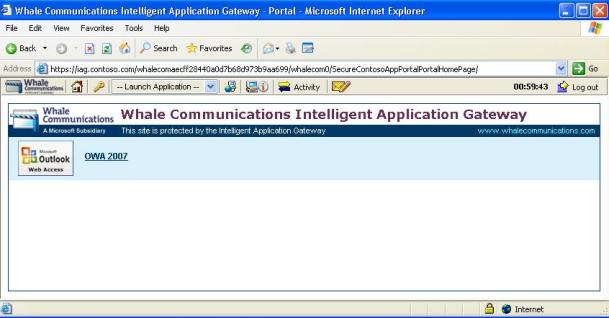
Figure 11 – OWA application available through the Portal.
To access the OWA you just need to click in this link and the page will be open. Notice that by default (since we left the default on step 3), uploads will not be permitted by computers that are not compliant with the company policy.
If the client computer is not compliant, the error message below will appear when the user tries to attach a file to a message:
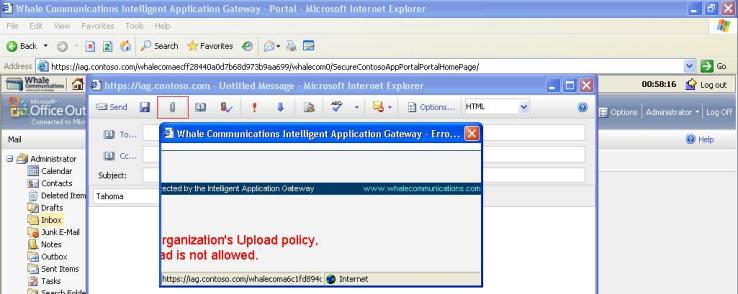
Figure 12 – Upload blocked by the policy.
Note: For more information on the Application Policy Configuration read the chapter 5 of the IAG User Guide. This document can be downloaded from Microsoft Download Center.