How to create a RAM DISK in Windows Server
Hi, this is Mounia Rachidi, a Support Escalation Engineer on the Windows team. Today's blog will cover the creation of a RAM DISK.
A RAM DISK is a virtual disk entirely stored in memory and accessible from any application. As the memory is much faster than physical hard disks, storing temporary data on an in-memory disk achieves a higher performance.
Furthermore; RAM Disks can be used to test the throughput of a solution while removing the spinning disks as a bottleneck.
As user mode applications can't access physical memory without the help of a driver, the implementation of RAMDisk in Windows relies on iSCSI driver.
To set it up, you basically need to ensure that the server is running the iSCSI Target role, create a target and map the created Ramdisk to that target.

While setting a RAMDISK can be possible on a member cluster, this configuration is not recommended or supported while the cluster service is up.
Step-By-Step Walk-Through
Great! now that you have an understanding of RAMDISK concept, let's create one…
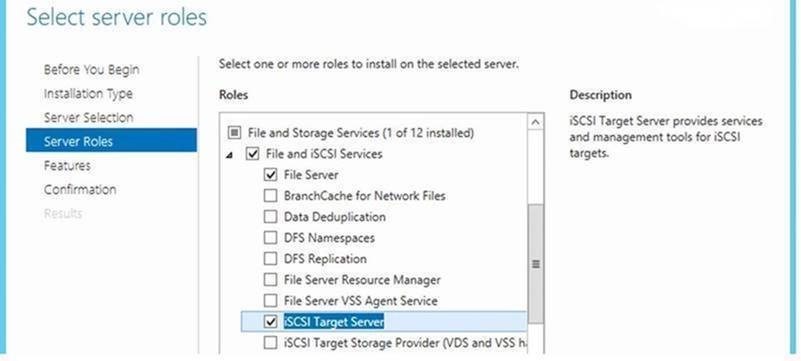
First, you need to add the iSCSI Target Server role:
Adjust the Firewall rules:
- Press Windows Logo+R, type firewall.cpl and press Enter to open the Windows Firewall Control Panel tool.
- Click Allow an app or feature through Windows Firewall on the left.
- Scroll down and check iSCSI Service. Check Domain, Private and Public. Click OK to save the settings.
Make sure the Iscsi Target allows the LoopBack mode:
Add the registry value if not present :
HKLM\Software\Microsoft\iSCSI Target
Value Name: AllowLoopBack
Type: REG_DWORD
Value: 1
Create a virtual disk as a Ramdisk:
New-IscsiVirtualDisk -Path "ramdisk:testRAM.vhdx" -Size 1GB
Create a target iSCSI:
New-IscsiServerTarget -TargetName targetRAM -InitiatorIds @("IPAddress:X.X.X.")
Map the Ramdisk to the iSCSI target:
Add-IscsiVirtualDiskTargetMapping -TargetName targetRAM -DevicePath "ramdisk:testRAM.vhdx"
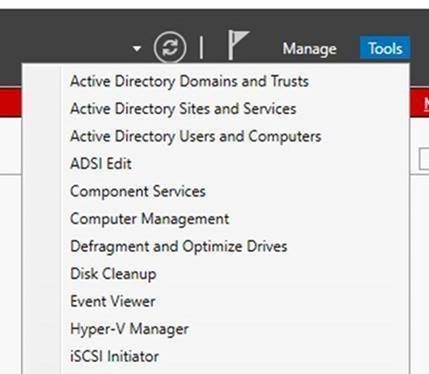
Next, launch the iSCSI Initiator for the Server Manager console:
Connect to the iSCSI target:
In the Target field, enter the IP address specified in step 5 and click Quick Connect to detect the targets.
Next, select the row that corresponds to the right target and click Connect. The disk will subsequently be available in the disk management console.