Sunday Surprise: SQL Server Database Stretch Database
In today's Wiki Life blog post, I will talk for a service in Azure which allows dba's to archive data from production databases.
Configure a Stretch database
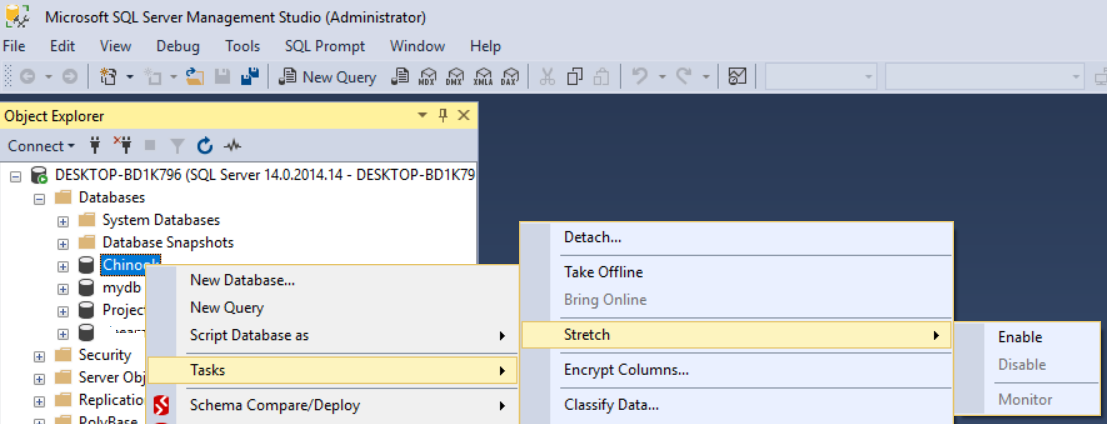
Step 1. SQL Server Management Studio
Open SSMS (SQL Server Management Studio), pick a database to enable the Stretch feature, right-click the database and select Tasks - Stretch - Enable.
Step 2. Introduction
Follow the "Enable Database for Stretch" wizard steps. At the Introduction step click Next > 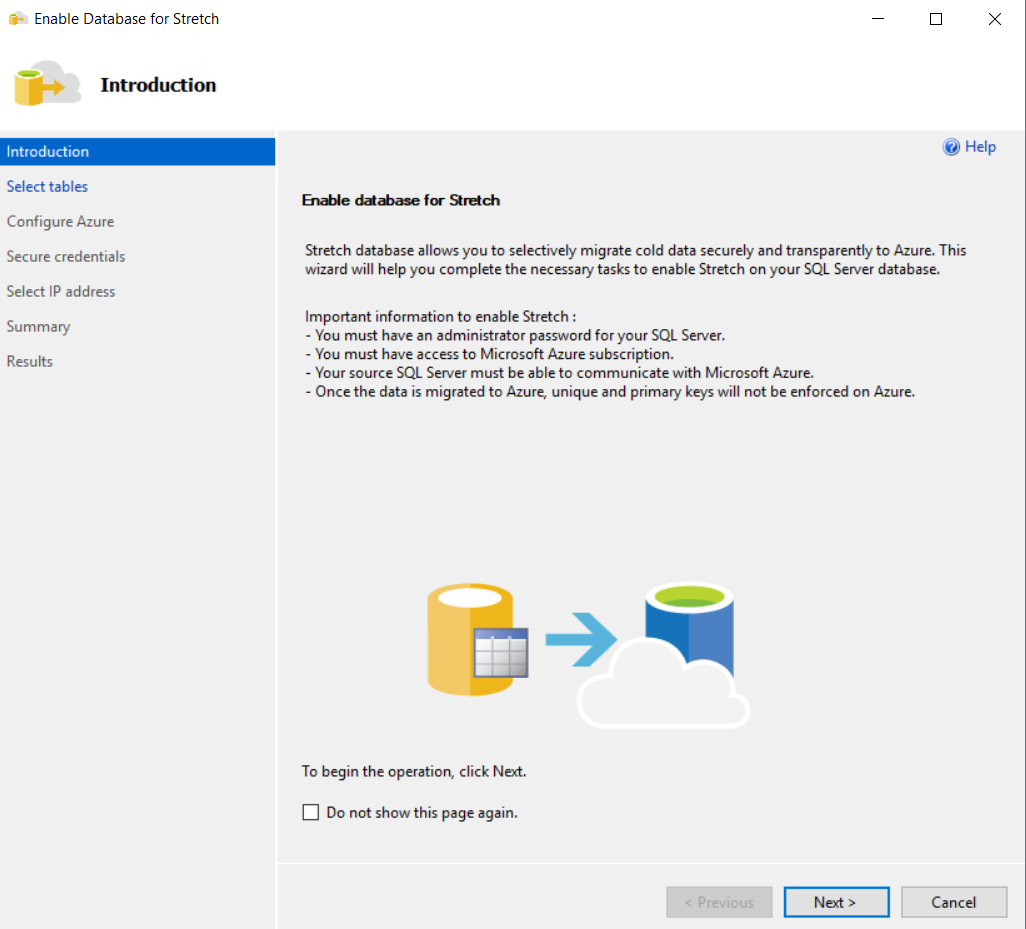
Step 3. Select tables
Select the tables that you want to stretch and click Next > 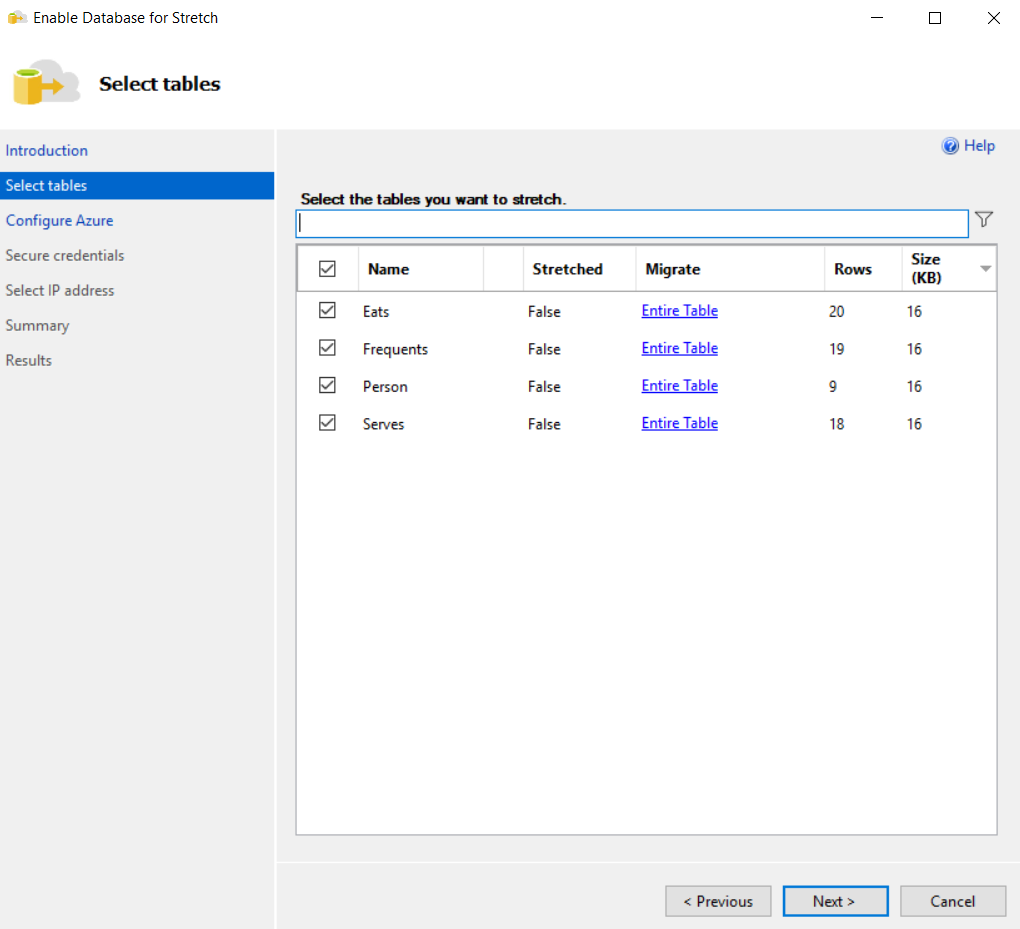
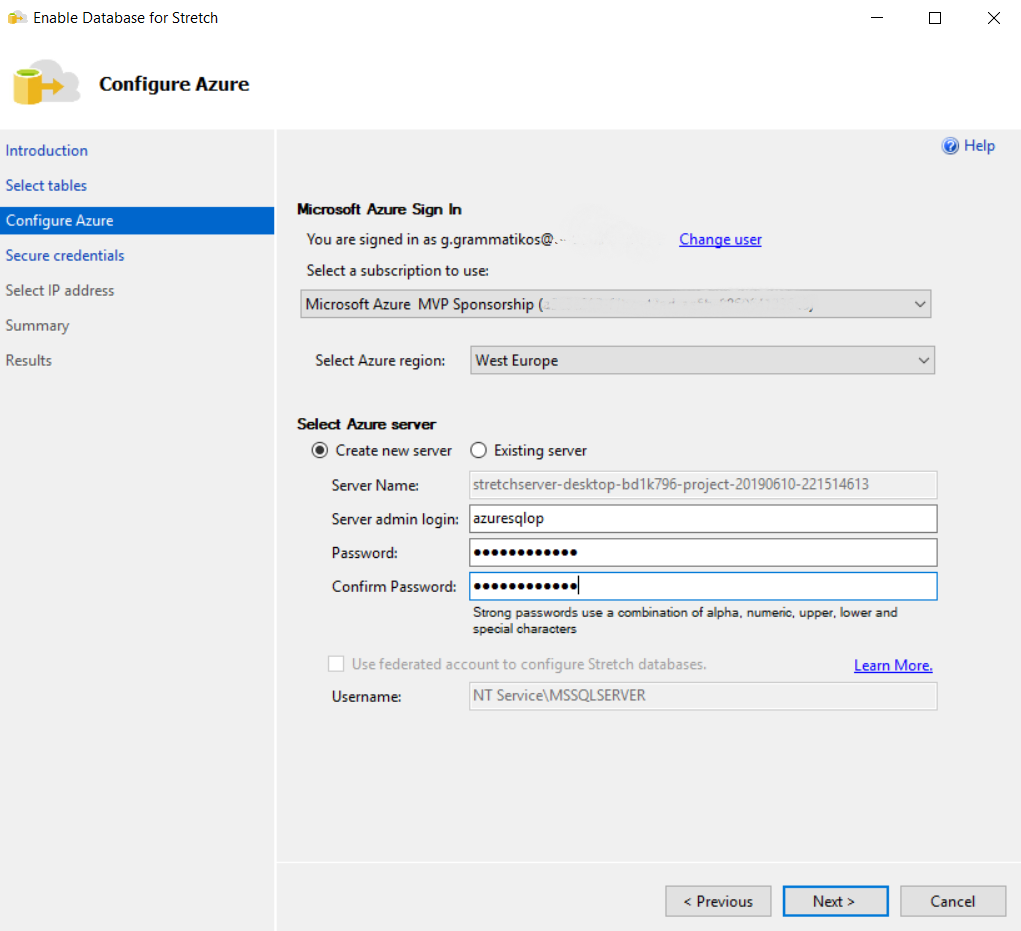
Step 4. Configure Azure
In the 4th step, you have to configure Azure, this means that you have to sign-in Azure portal, select subscription and create an Azure Server in case you don't have.
Step 5. Secure credentials
In Secure credentials step, type a strong password for DMK (Database Master Key) 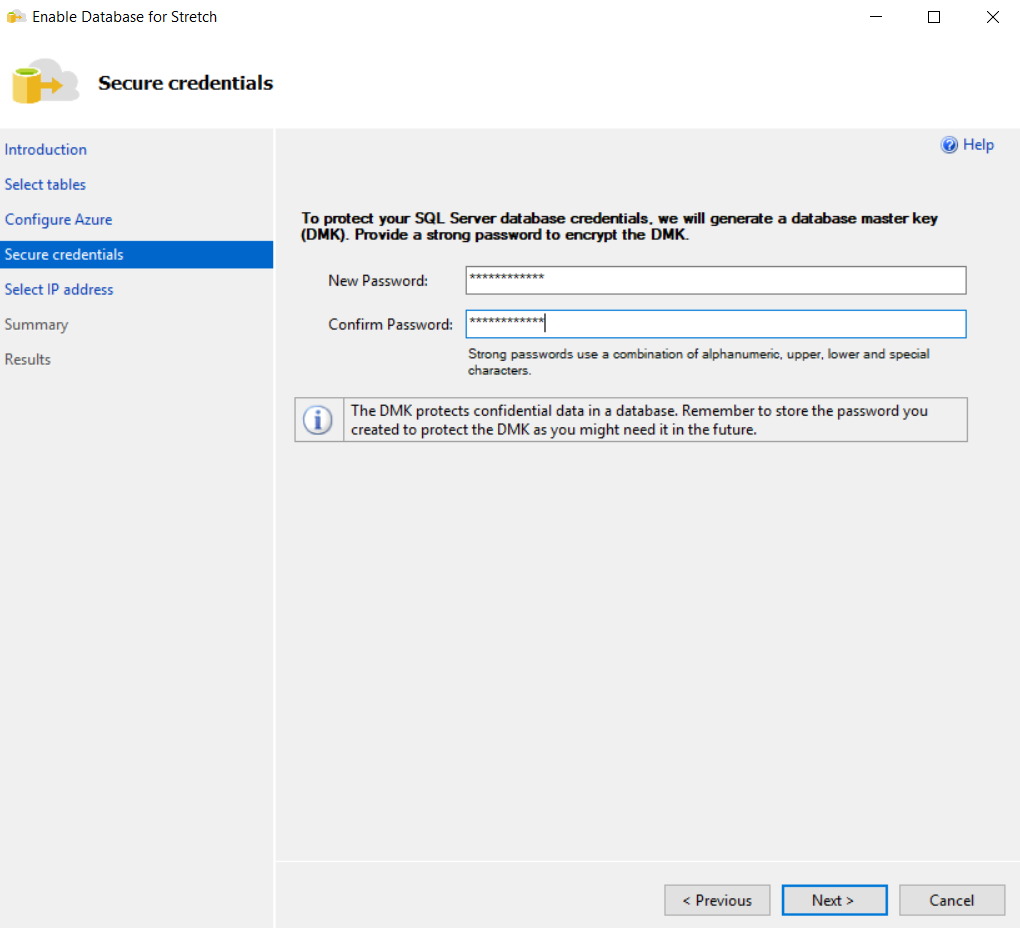
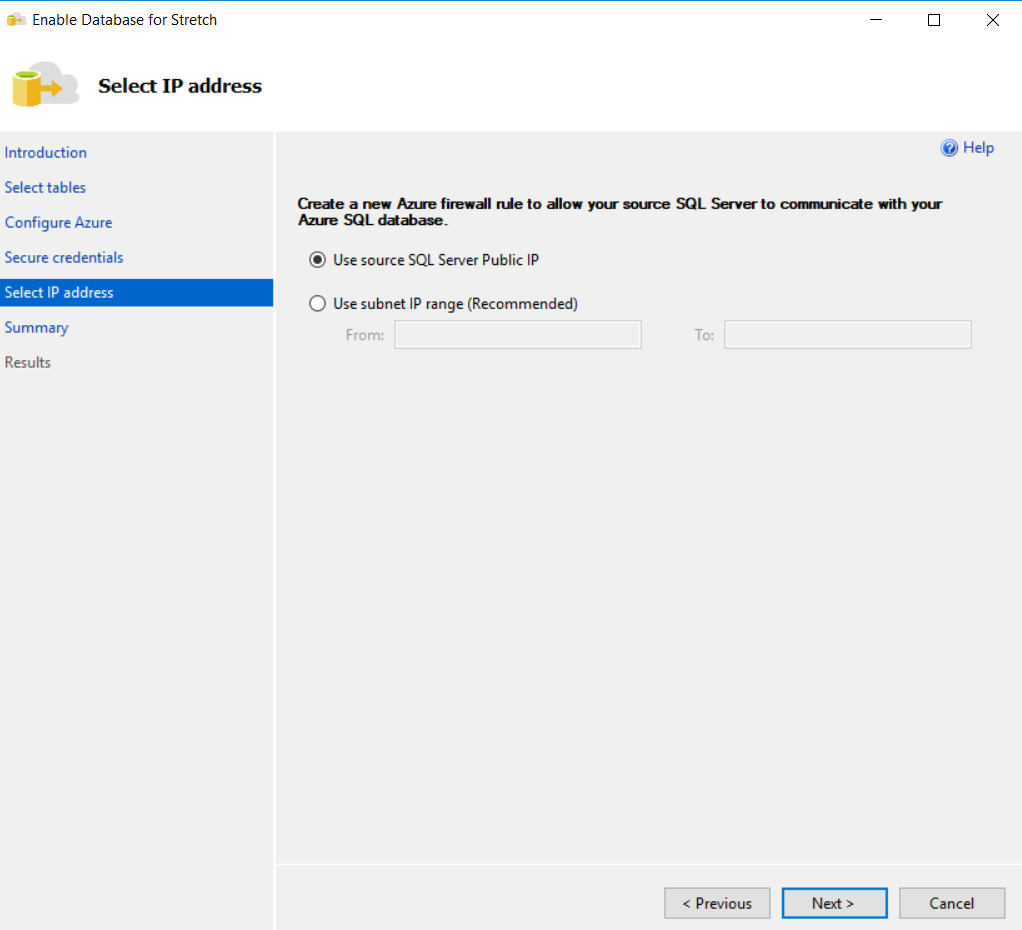
Step 6. Select IP address
Select between "Use source SQL Server Public IP" or "Use subnet IP range" to configure the Azure firewall to allow on-premises SQL Server connection with Azure SQL Database Server.
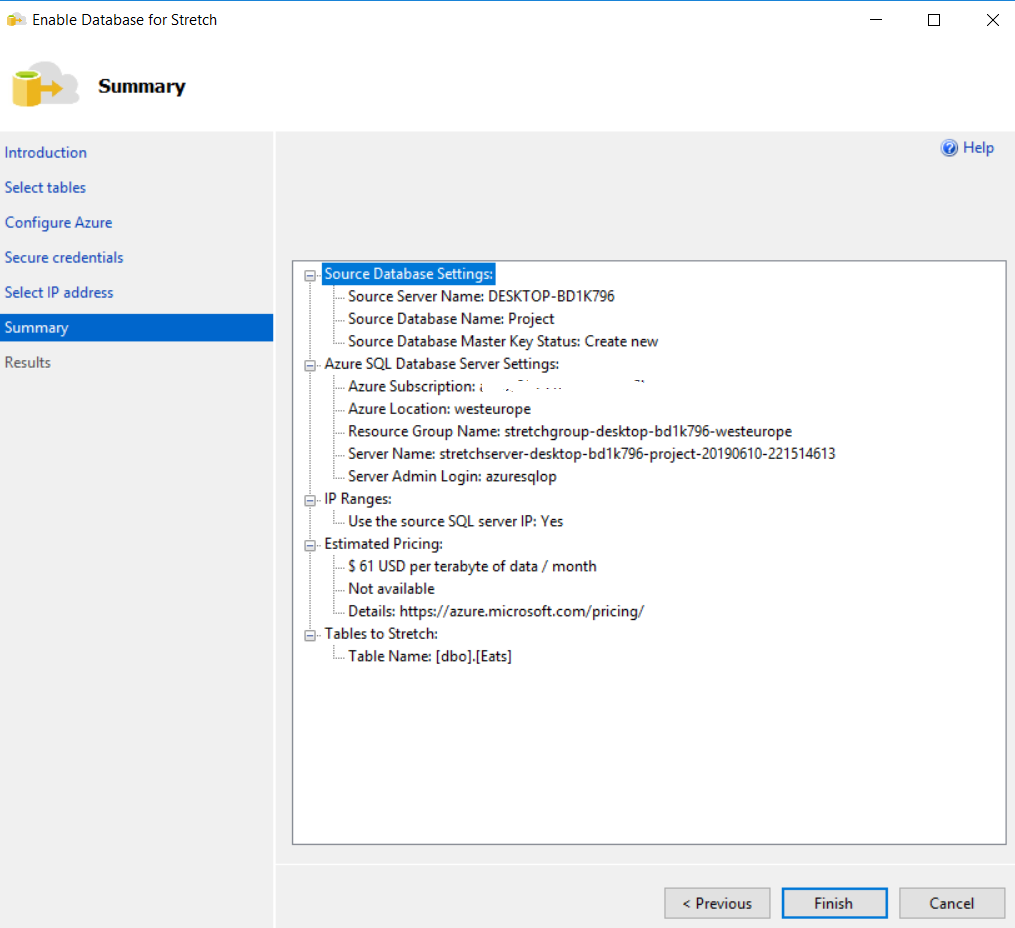
Step 7. Summary
Check the summary and select Finish.
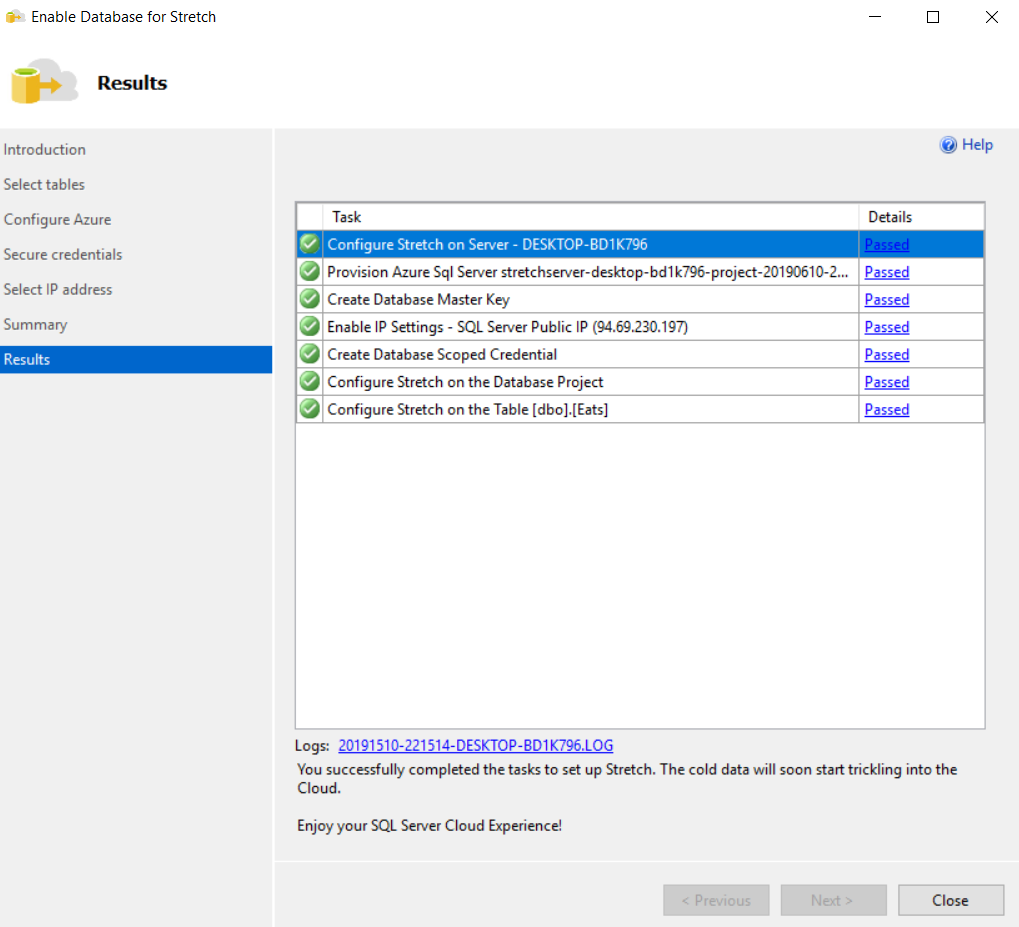
Step 8. Results
At the final wizard's step, you are able to see if the Tasks are passed successfully, and select to Close the wizard.
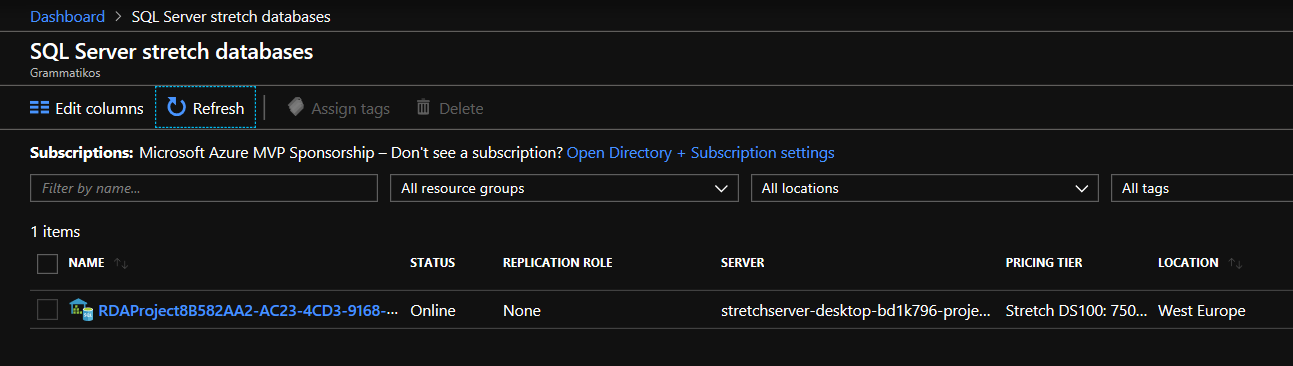
SQL Server stretch database
After 1-2 minutes you are able to see in the Azure portal an SQL Stretch Server.
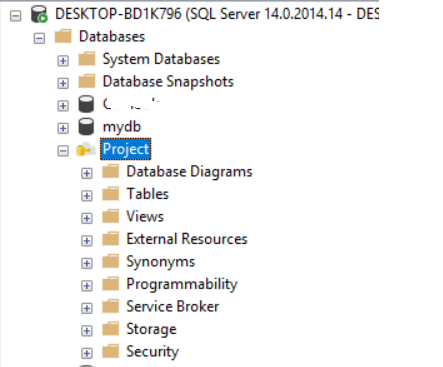
Also, in the SSMS the database image has changed, and with this icon, you can recognize that this database has enabled the stretch feature.
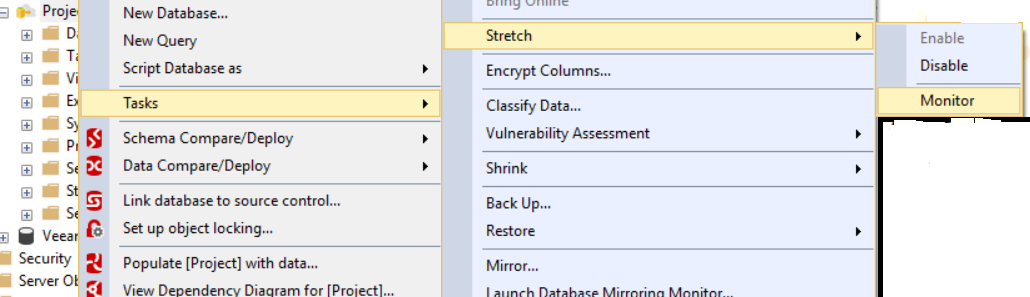
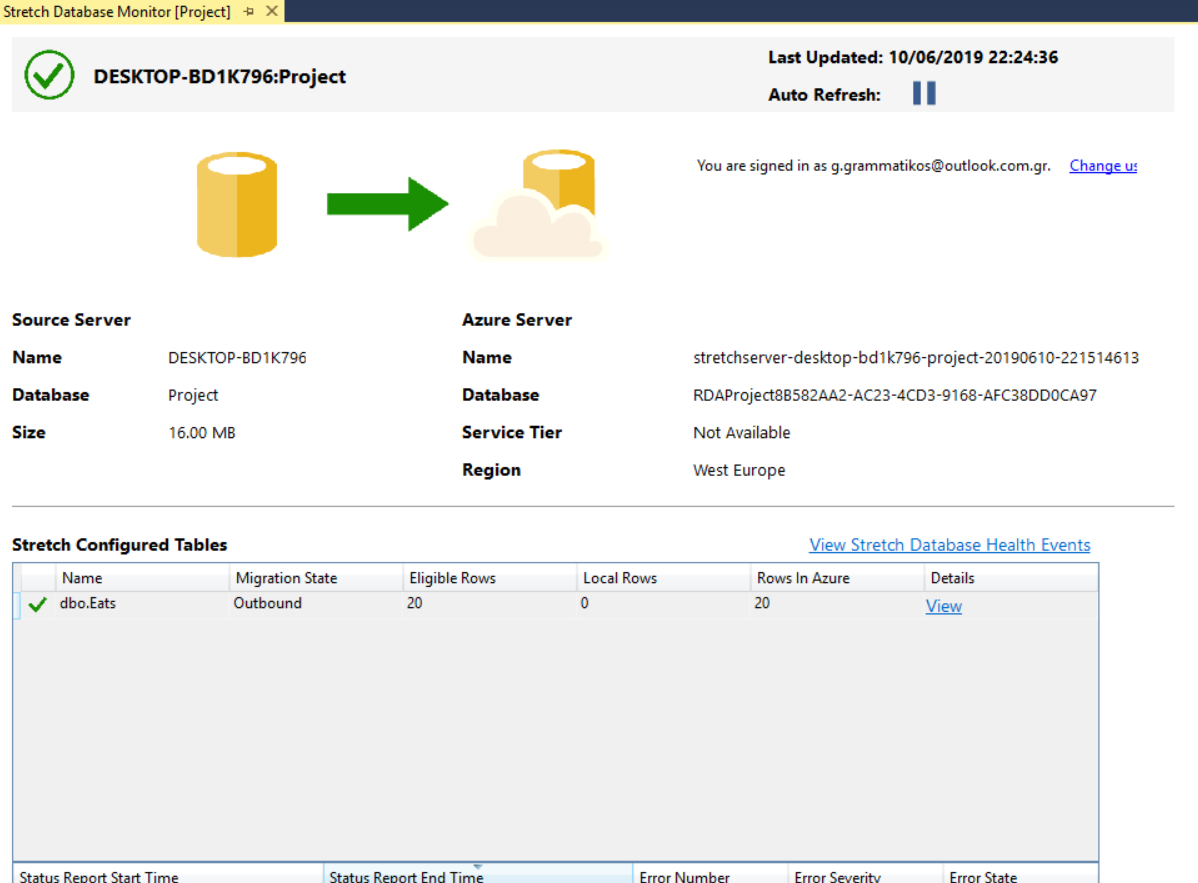
Monitor the Service
The Stretch service gives also gives the ability to Monitor the service operation. To do this right-click the database and select Tasks - Stretch - Monitor.
In the image below you can view the Stretch Database Monitor what information's shows to a dba.
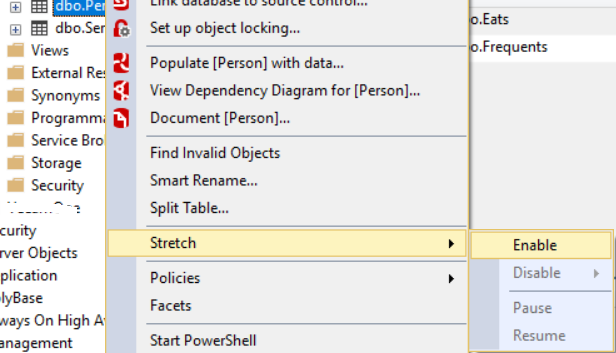
Enable Stretch Feature To More Tables
If you need to enable the Stretch Database feature for more tables then just need to right-click on the table, and select Stretch - Enable.