Part 4 : Installing the First Management Server on RC App-V 4.5.0.1305/8
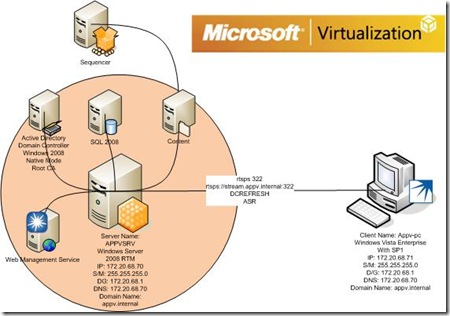
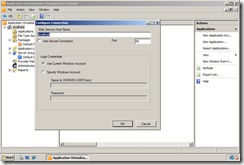
This Continues from Part 3. The Topology for this looks like;
So now we have all our bits Installed on our Windows Server 2008 system. What I want to do is install the App-V management Server. To do this we need to get the source files from connect.microsoft.com .
I have also gone into Active Directory User and Computers and created two groups;
1) App-V Admins (I have added my administrator account into this)
2) App-V Users (I have added this to the Domain Users Group as a nested group)
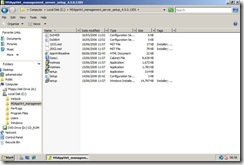
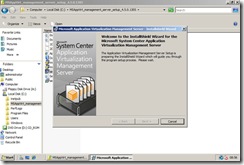
1) On the extracted files click the setup.exe to start the installation. On the Welcome screen, click Next.
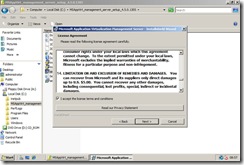
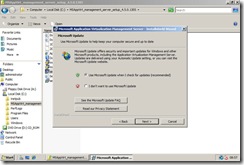
2) On the License Agreement screen, have a very good read of the license agreement, select I accept the terms in the license agreement , and click Next. (Only select I agree if you do really agree :o) ) . On the Microsoft Update I have selected to allow this and click Next.
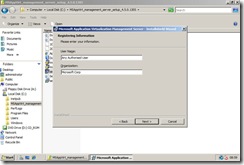
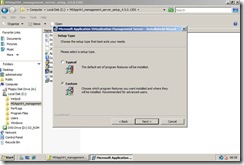
3) On the Registering Information screen, enter the name of a user and the user's organization, and then click Next. Now In the Setup Type select the Custom Install (we are Big administrators these days so we can risk it!) and than select Next.
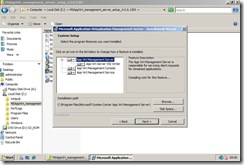
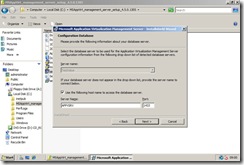
4) On the Custom Setup screen, Select all Application Virtualization Platform components and then click Next. Now in the configuration database I have chosen to point the installation directly to my database by checking the use the following database and specify my local machine and the default SQL port of 1433 and then click Next.
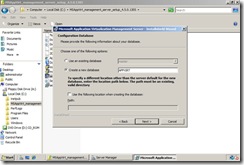
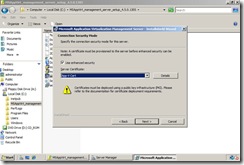
5) Select Create a new database and Type your new database name (in my case APPVIRT) and then select next. Now in the connection security mode lets get hard core and select use enhanced security. In the drop down select your appropriate certificate that we created in IIS7 in part 3 and than select next.
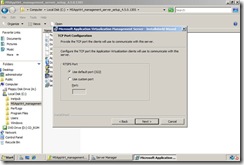
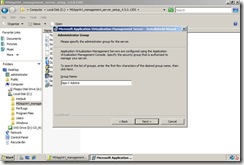
6) On the Port Setting screen, select the default port (322) and then click Next. On the Administrator Group screen, enter the name of the administrator group, remember at the beginning of this post I said I had already created the Global Group for App-V Admins (which i specified), and then click Next.
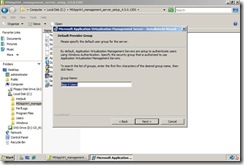
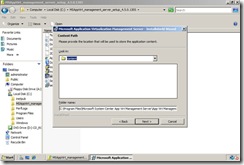
7) On the Default Provider Group screen, enter the name of the default provider group, Again remember we specified this earlier (App-V Users) and then click Next. In the Content Path location I am going to leave it in the default location for now and click next.
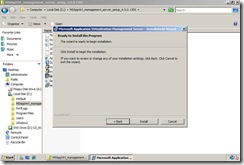
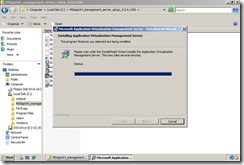
8) Click Install and walk off to make that cuppa tea and coffee again as we wait for all the database/Management server/Web Service to be installed and created.
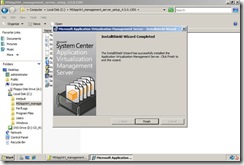
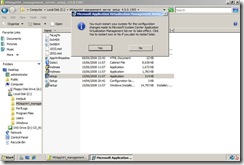
9) Once completed click finish and say yes to accept the server being rebooted!
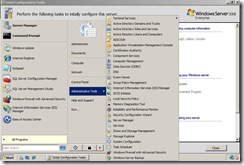
10) Once rebooted that the installation done……… well we do actually have a few minor steps left to go :o)
Now what you may ask is the few extra steps that are required! well you know that certificate we installed earlier. We need to ACL it to allow the network service to have access to use the certificate and RTSPS.
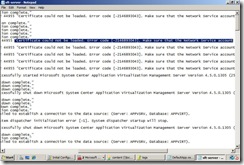
At this moment in the sft-server.txt file you should see the following messages
To give the network service access to the certificate we must Modify the permissions of the certificate to allow access to the security context that the App-V service runs as and is required for successful TLS secured communication. If this is not done, all TLS communications will fail when SChannel attempts to access the key during a TLS transaction.
In order to modify the permissions of the certificate a Windows Server 2003 Resource Kit tool, WinHttpCertCfg.exe can be used. There are other ways to modify the certificate permissions, however this is the most straightforward and easy way of completing this task. The winhttpcertcfg.exe tools is available at the link below.
https://msdn.microsoft.com/en-us/library/aa384088(VS.85).aspx
1. On the machine that will become the App-V Management or Streaming server, type the following commands in the command shell to list the current permissions assigned to a specific certificate.
winhttpcertcfg -l -c LOCAL_MACHINE\My -s Name_of_cert
2. Next, if necessary modify the permissions of the certificate to provide read access to the security context that will be used for Management or Streaming Service.
NOTE: The default security context is Network Service.
winhttpcertcfg -g -c LOCAL_MACHINE\My -s Name_of_cert -a NetworkService
3. Verify that the security context was properly added by listing the permissions on the certificate.
winhttpcertcfg –l –c LOCAL_MACHINE\My –s Name_of_cert
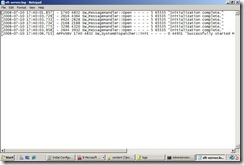
Once this is completed and is successful restart your App-V Management Server Service and review the sft-server.txt which should look a lot happier;
The Complete Series are located;
Part 1: The initial Setup - Building your App-V RC test lab (using 4.5.1305)
Part 2 : Installing IIS 7 for App-V RC 4.5.0.1305/8
Part 3 : Configuring Windows Server 2008 with Certificates for RC App-V 4.5.0.1305/8
Part 4 : Installing the First Management Server on RC App-V 4.5.0.1305/8
Part 5 : Configuring the Windows Server 2008 Firewall for RC App-V 4.5.0.1305/8
Part 6 : Installing and Configuring the RC ADM Template
Part 7 : Installing the RC App-V 4.5.0.1305/8 on the client
