Managing a corporate blog site with SharePoint Online and Office ProPlus
As I help organizations transition to think cloud-first, one of my goals is to help them get the most out of their Office 365 investment. In this post, we'll talk about tackling a corporate blog.
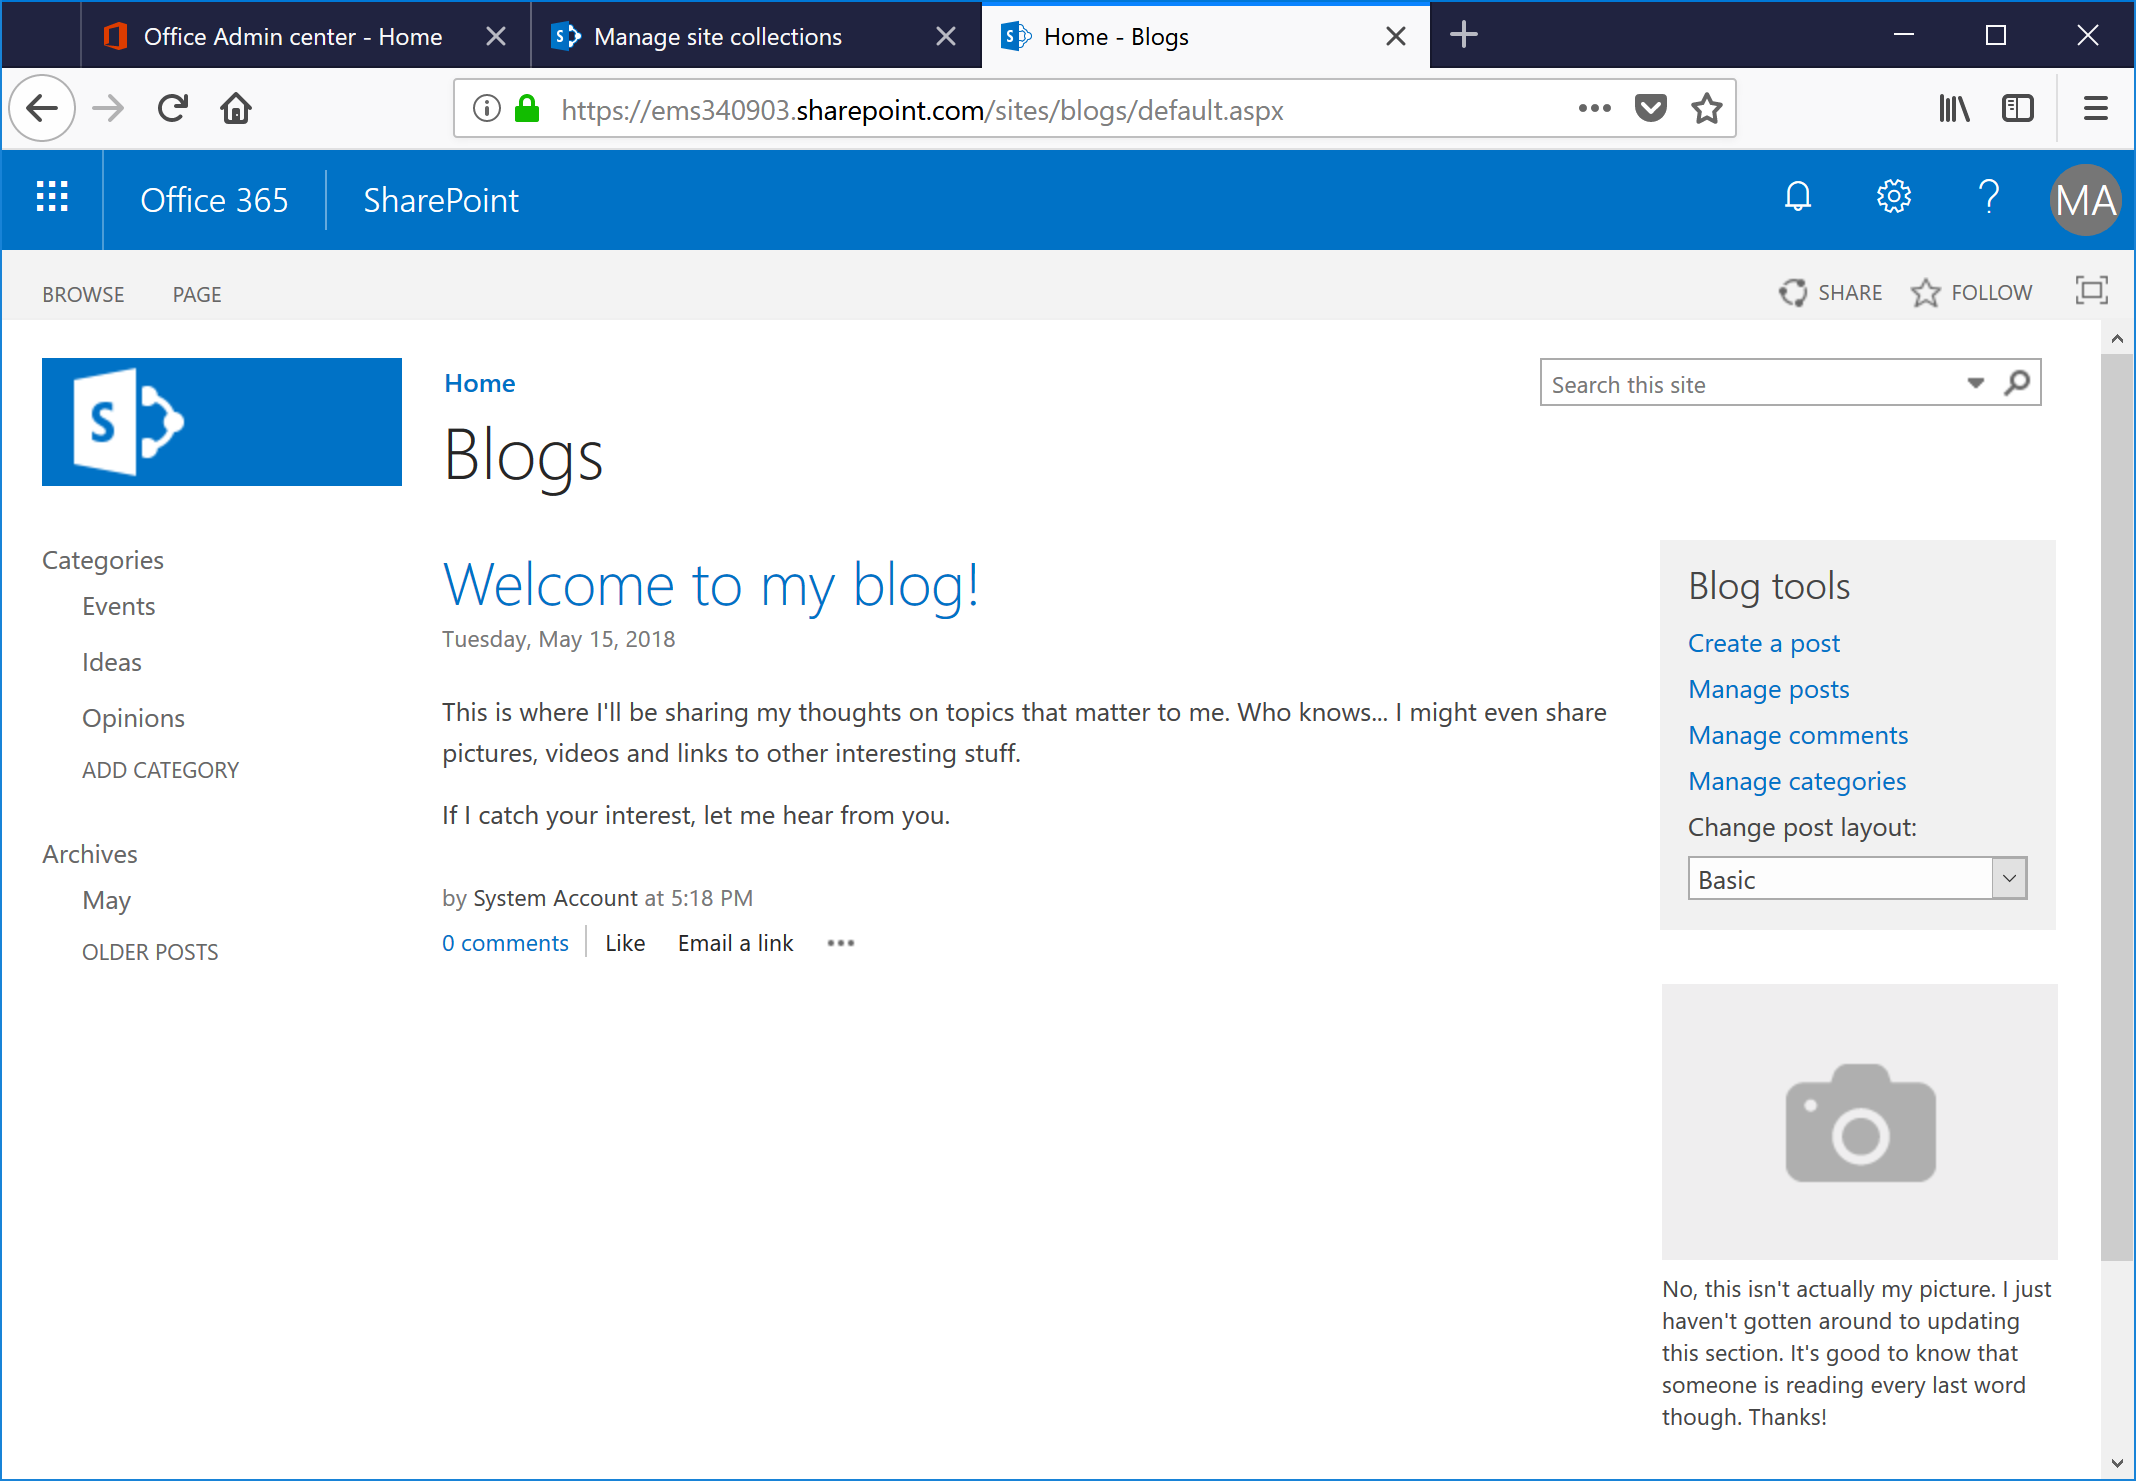
SharePoint Online comes with a number of out-of-the-box templates, and the one that most closely maps to the blog requirement is ... wait for it ... the blog site template.
Create a blog site
- From the SharePoint Online Admin Center, click Site Collections.
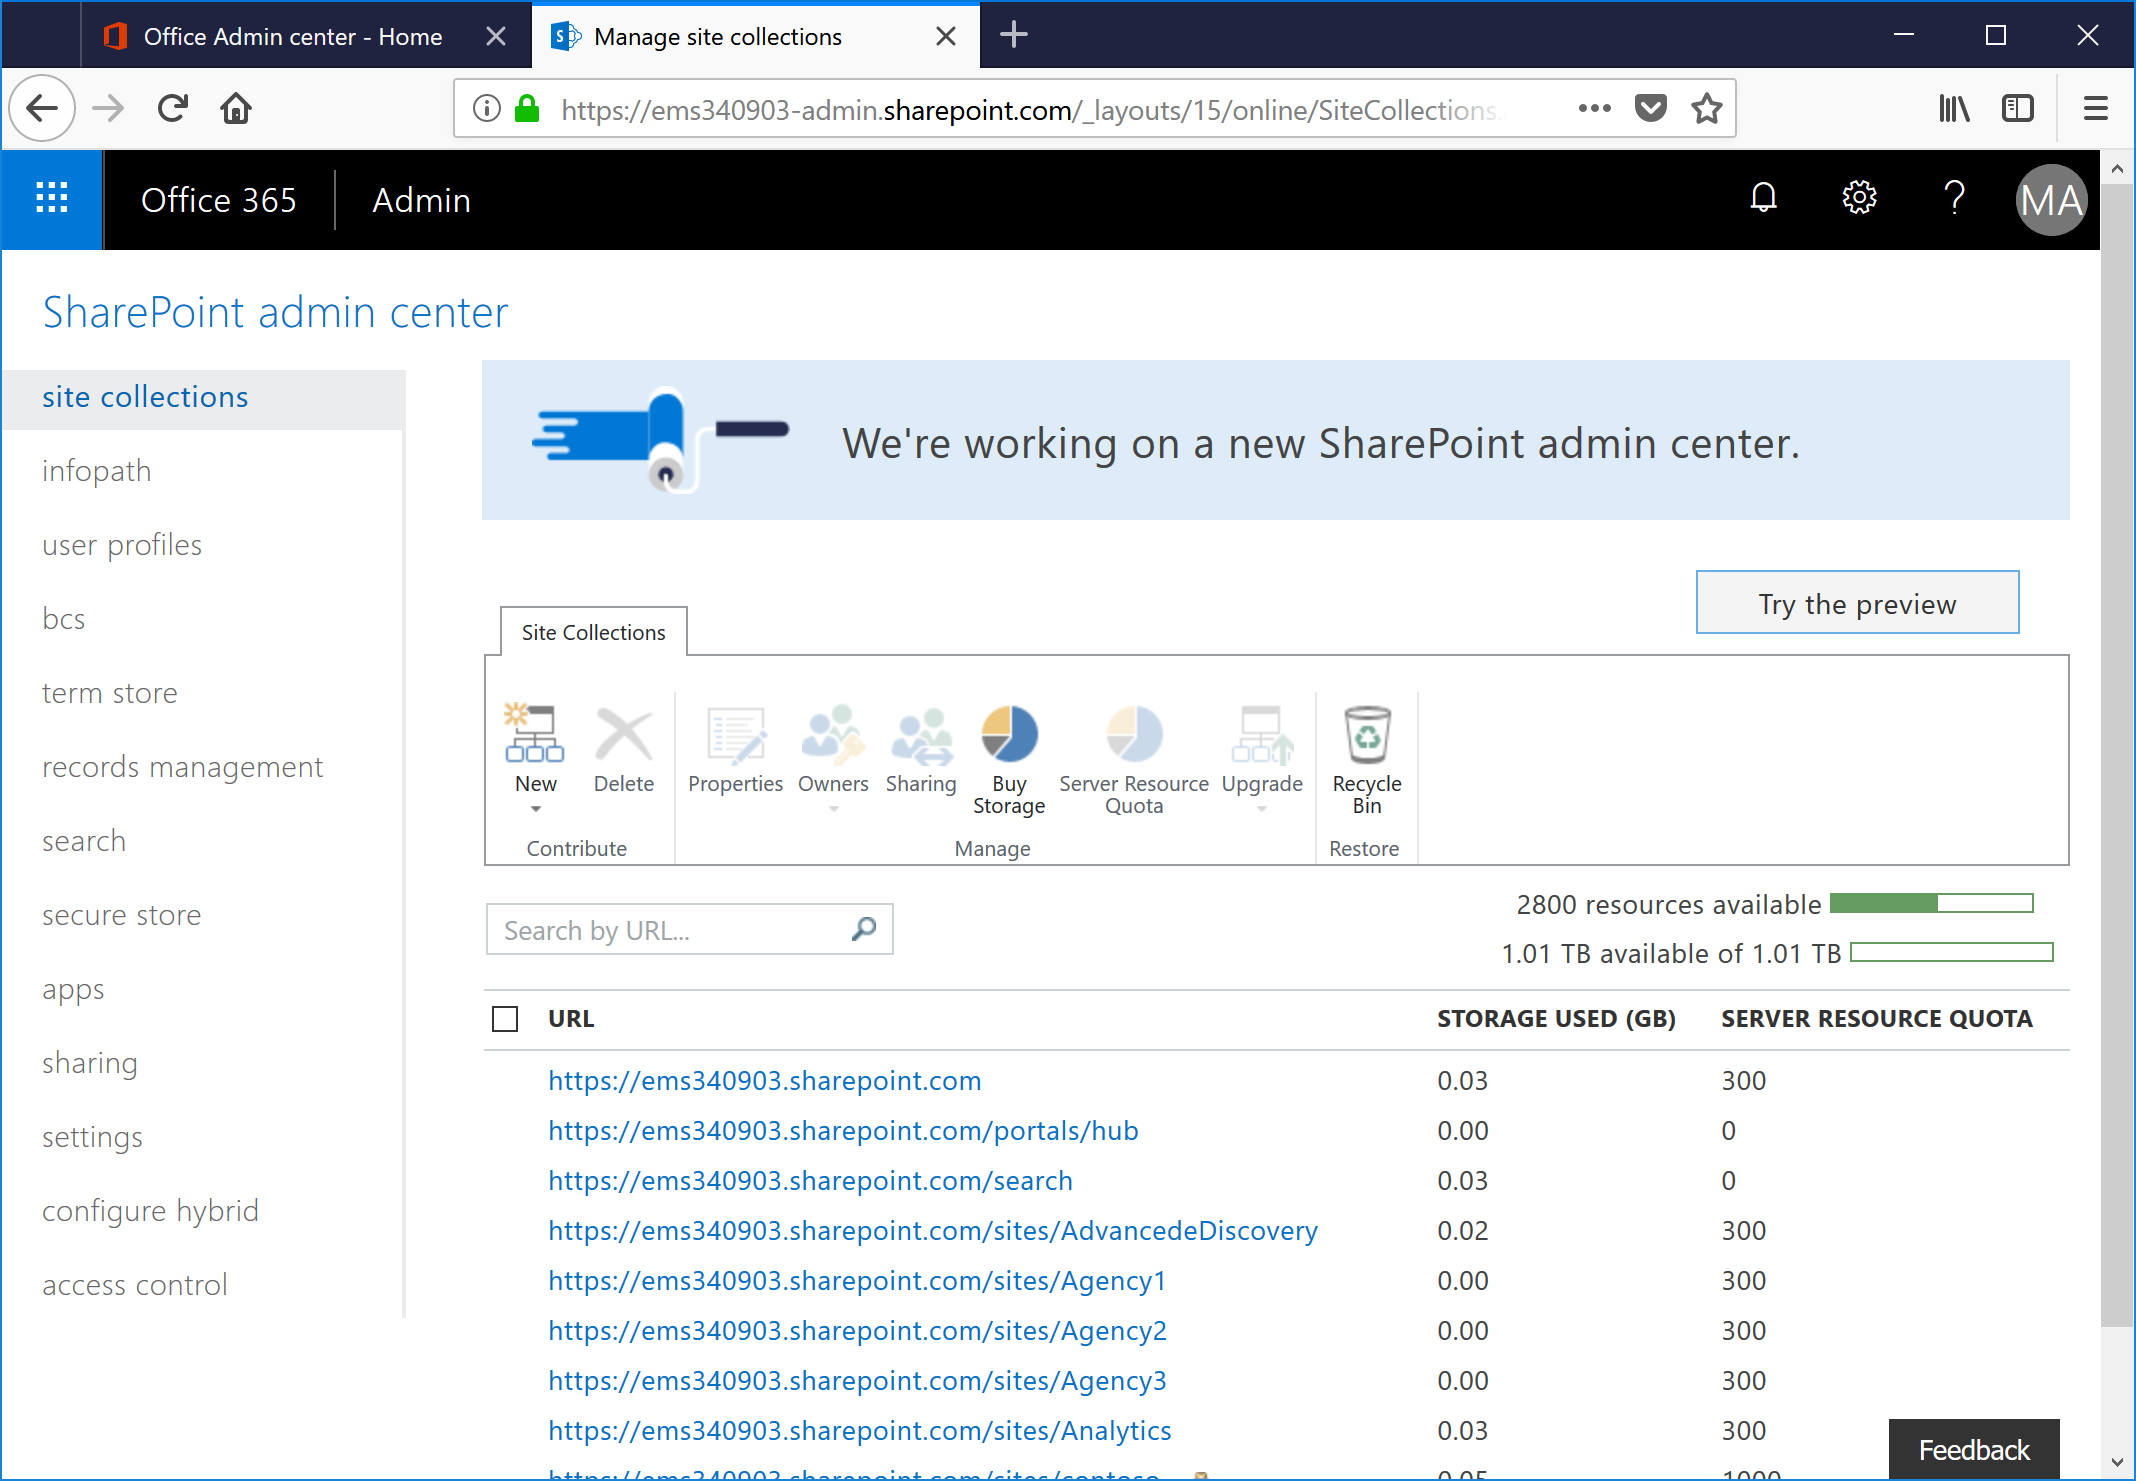
- Click New and select New Private Collection.
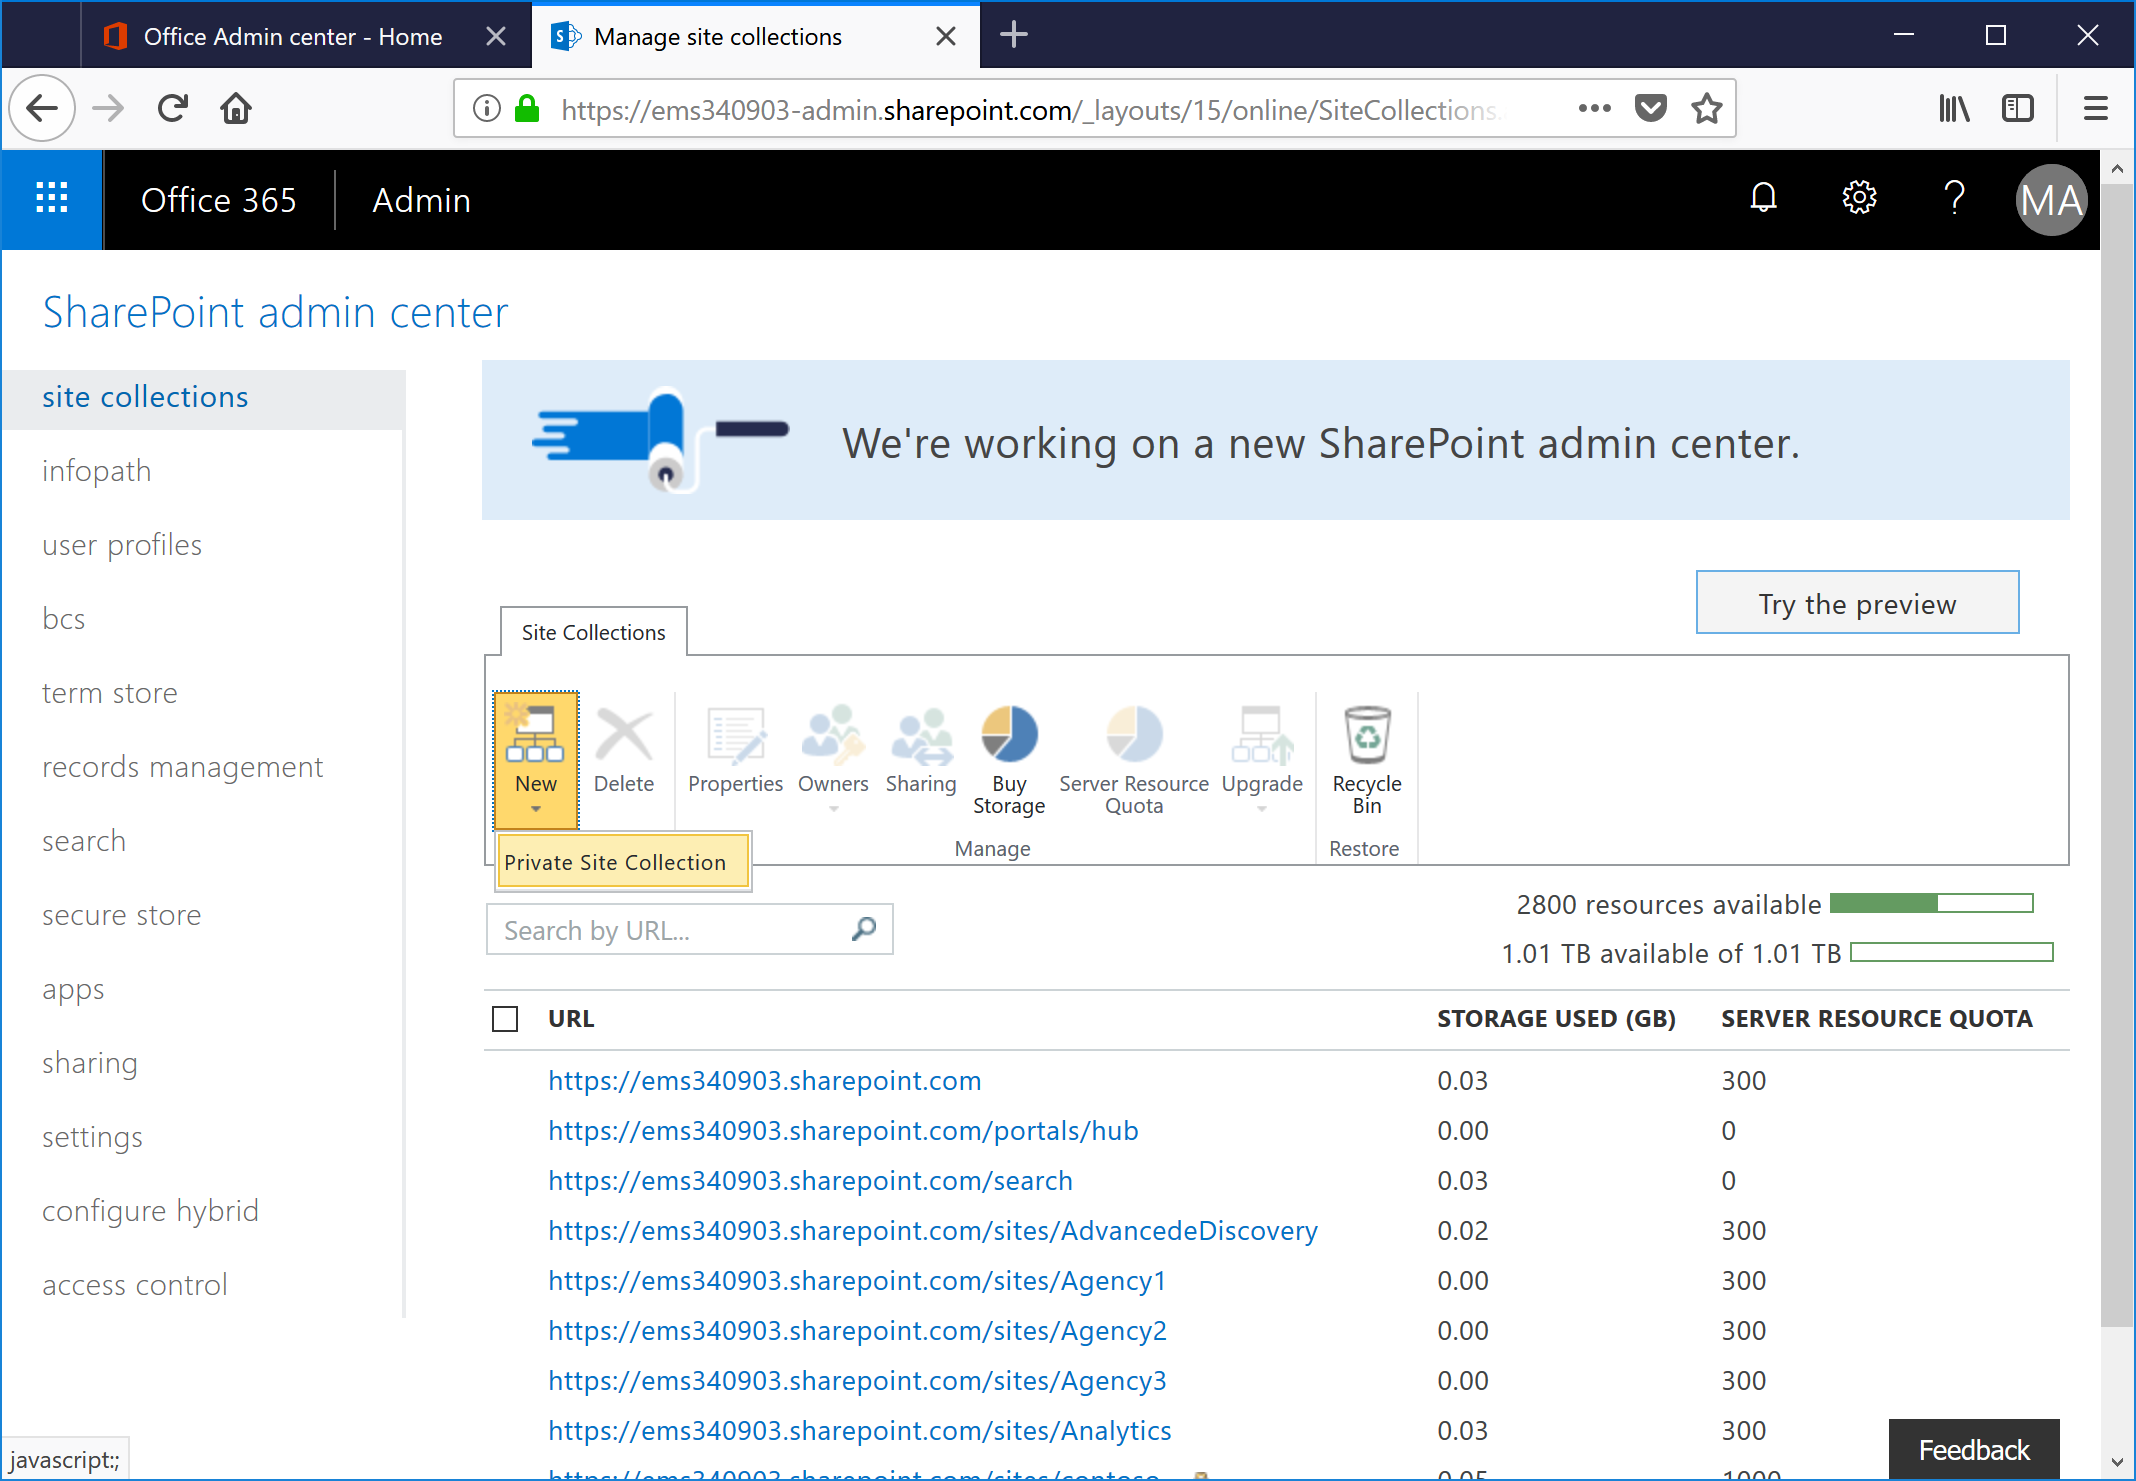
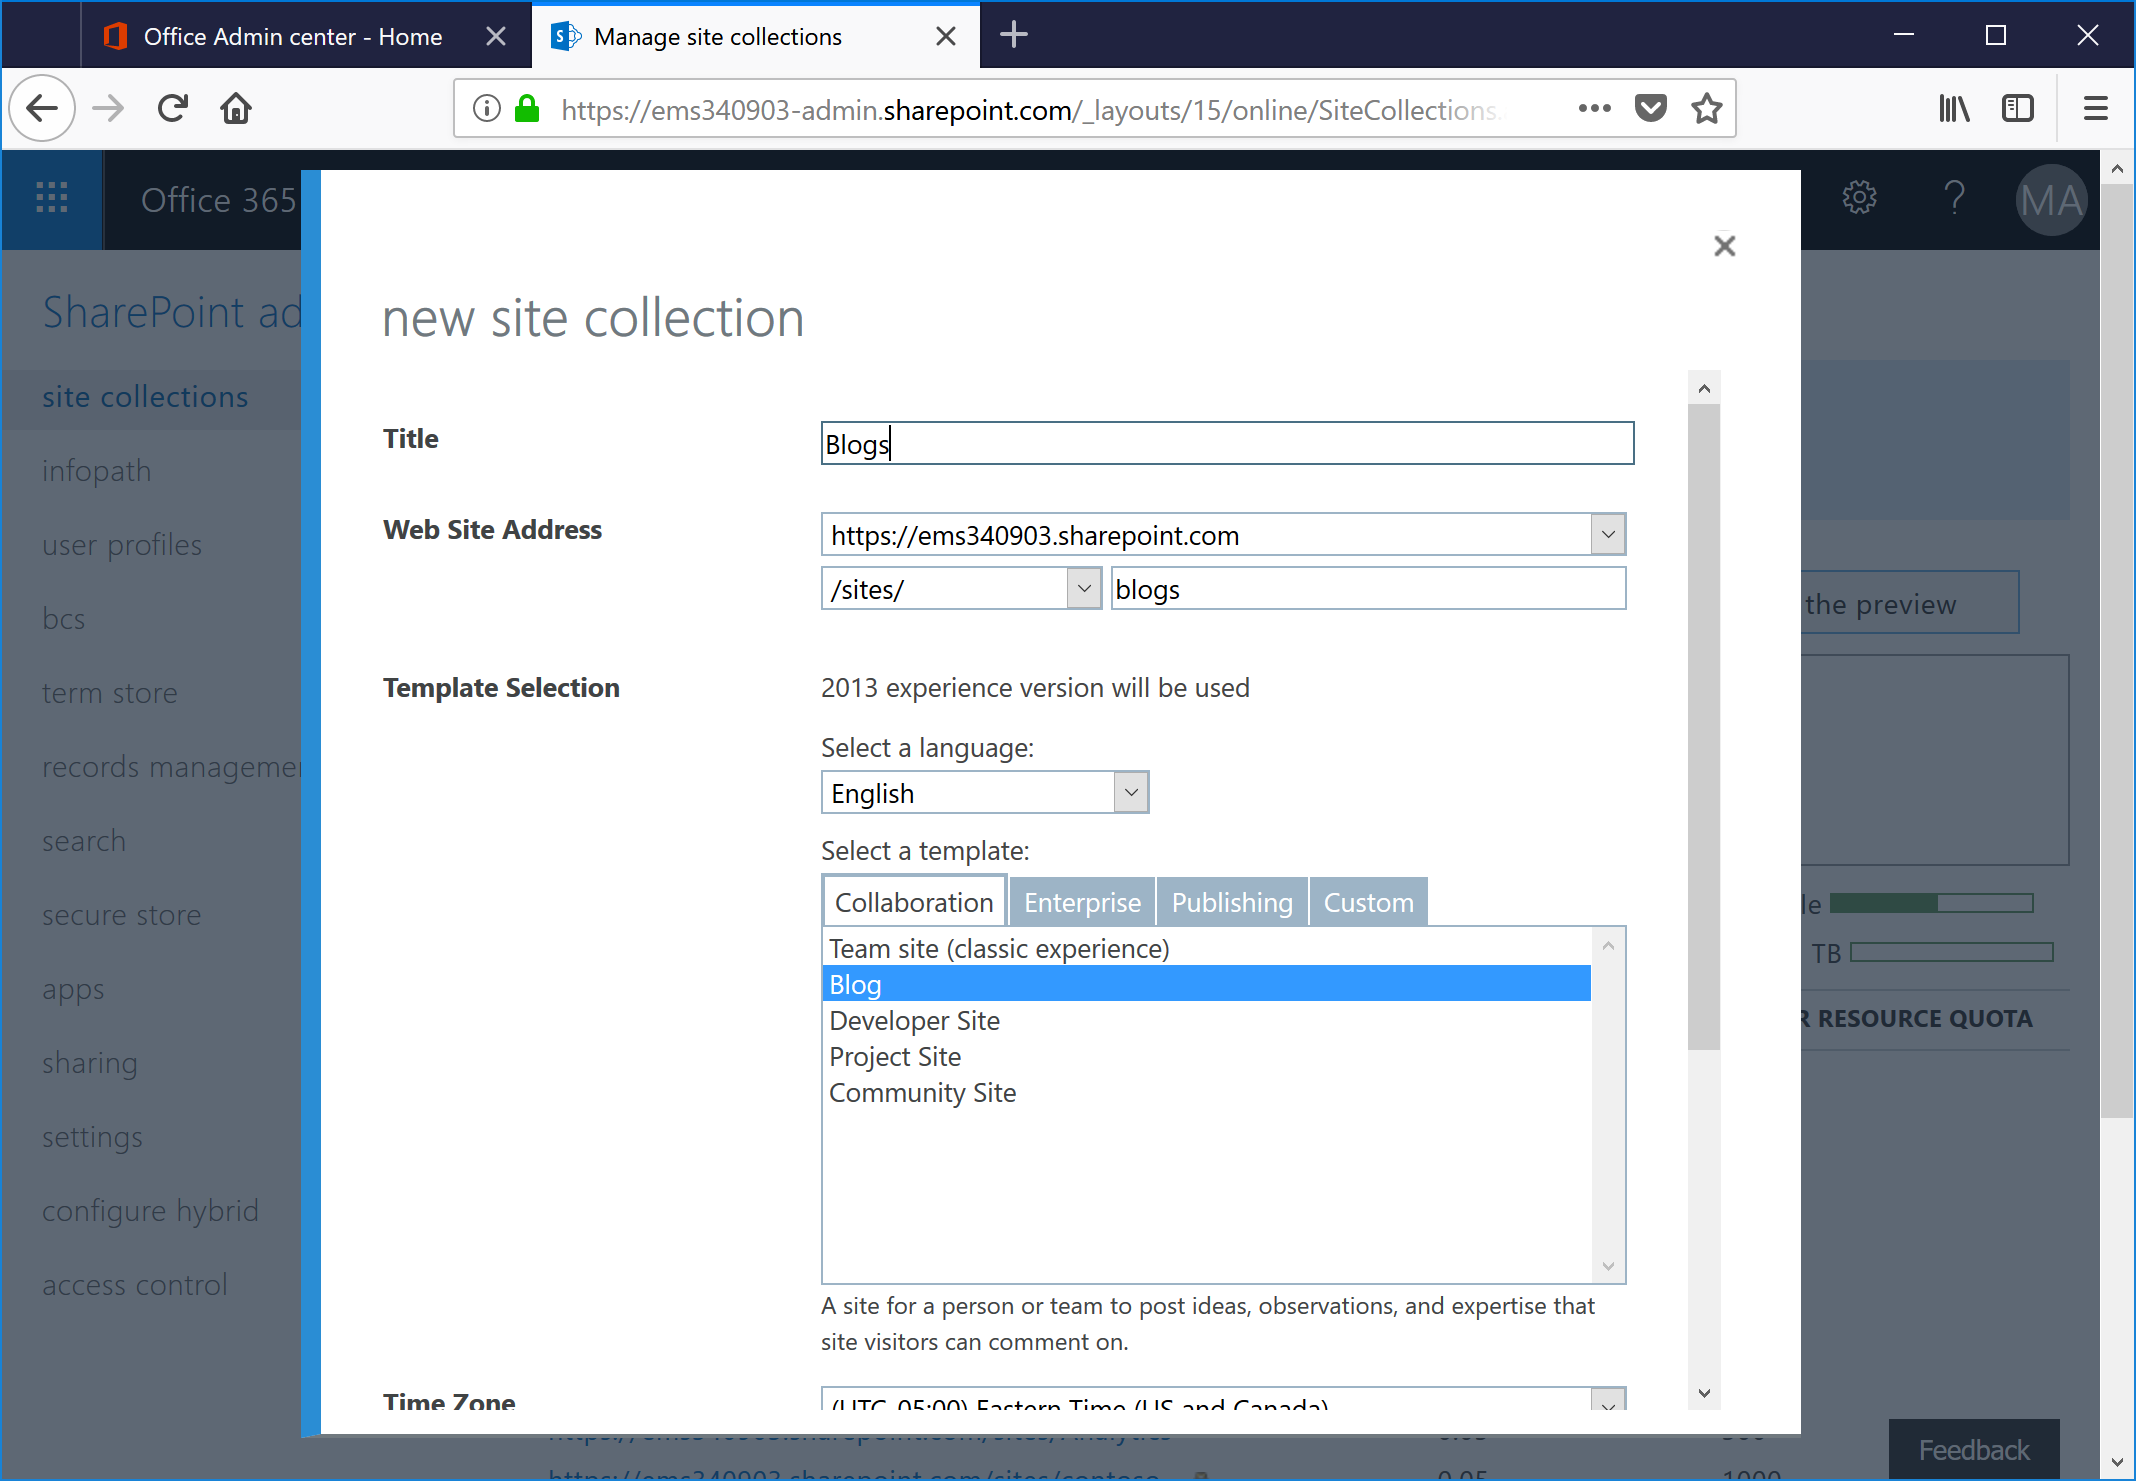
- Enter a name for the blog site, as well as a URL. On the Collaboration tab, select the Blog template. Select the time zone, and assign a site collection administrator. Click OK to create the site collection.
- Navigate to the newly created blog site. Select the URL and save it to the clipboard. You'll need it later when you configure Word to post.
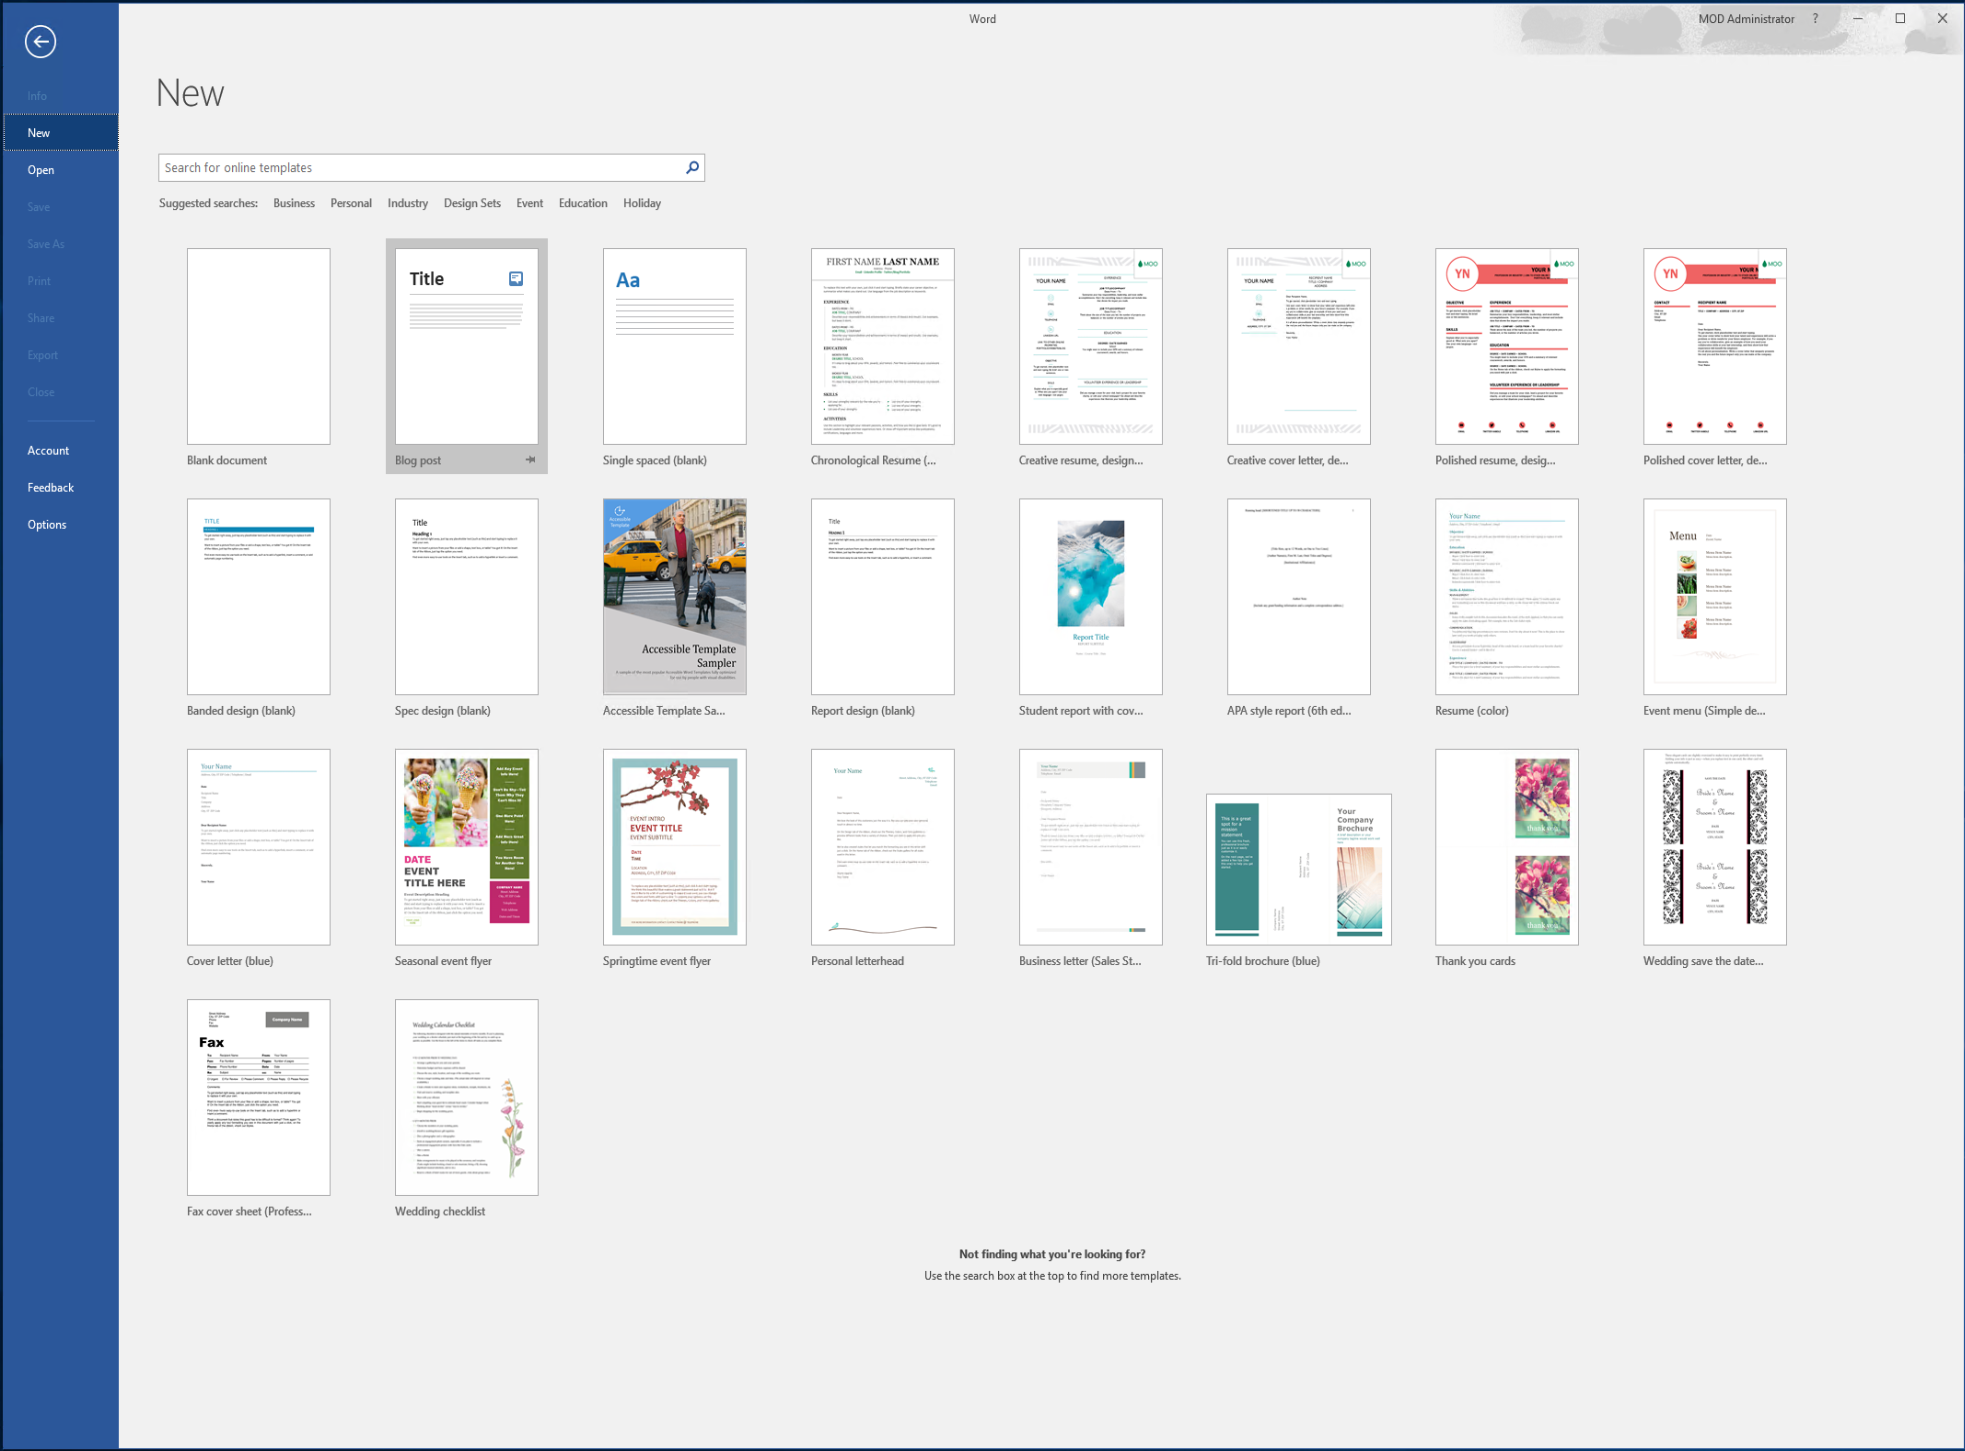
Connect Word and Publish
- Launch Word from the Office 365 ProPlus suite.
- Select File | New and select the Blog template.
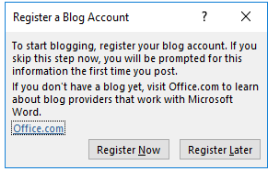
- Select Register Now.
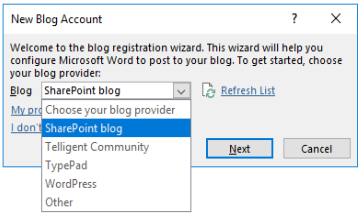
- Under Blog Provider, select SharePoint blog, and then click Next.
- Paste the blog URL (from step 4) and click OK.

- Click OK to dismiss the dialog box.

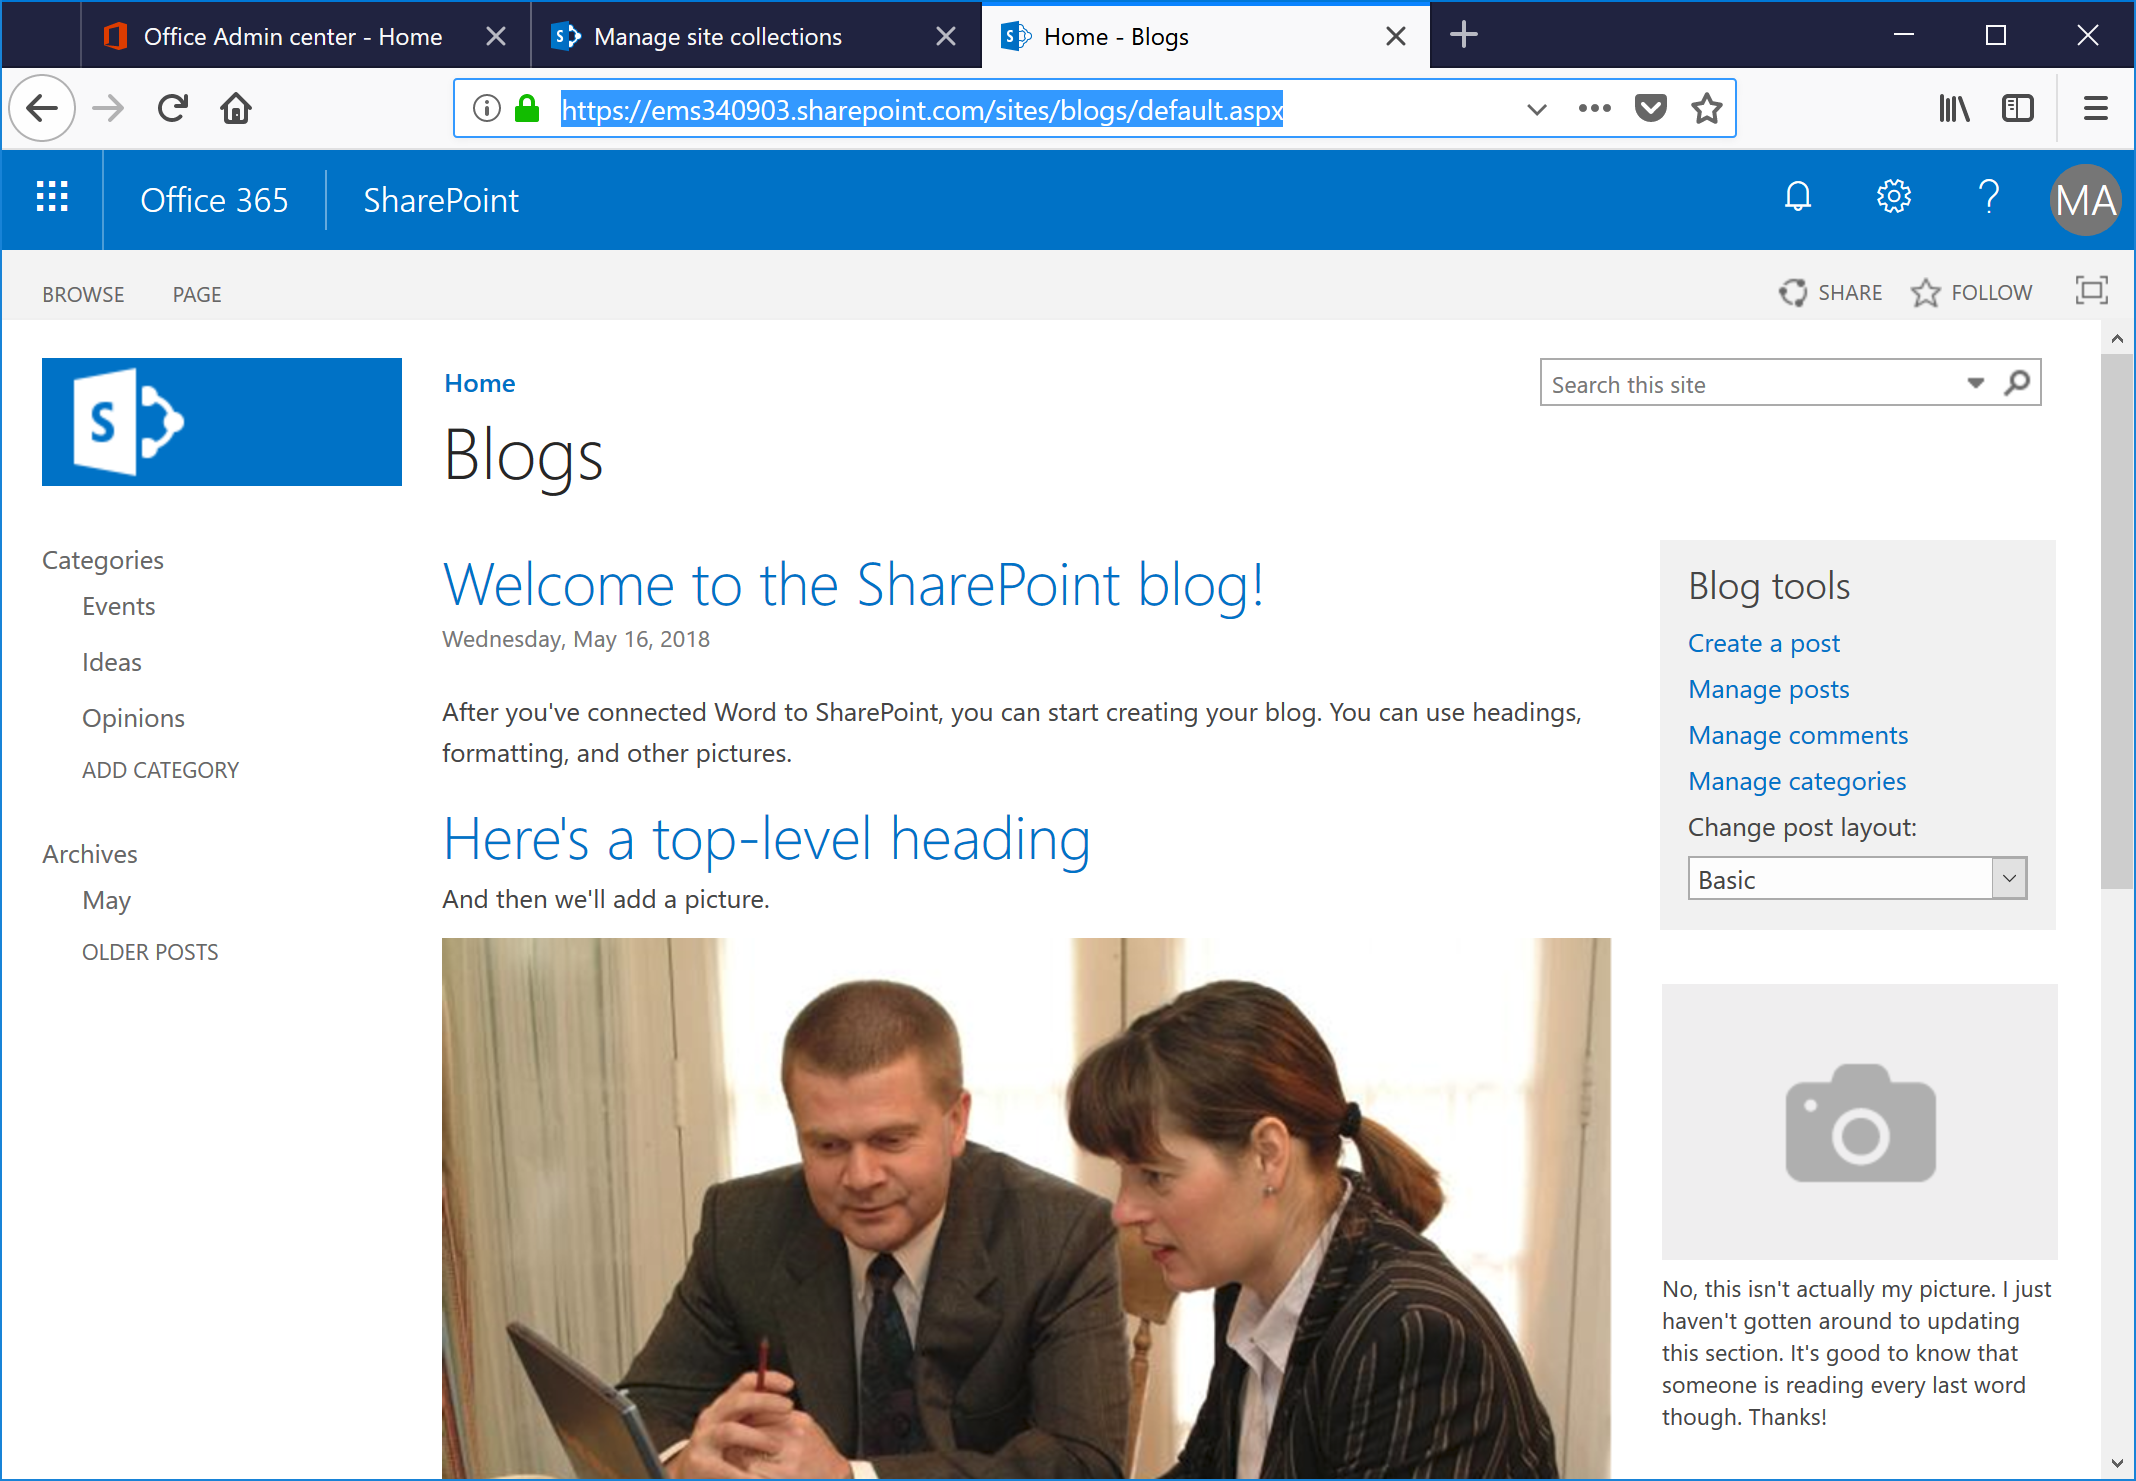
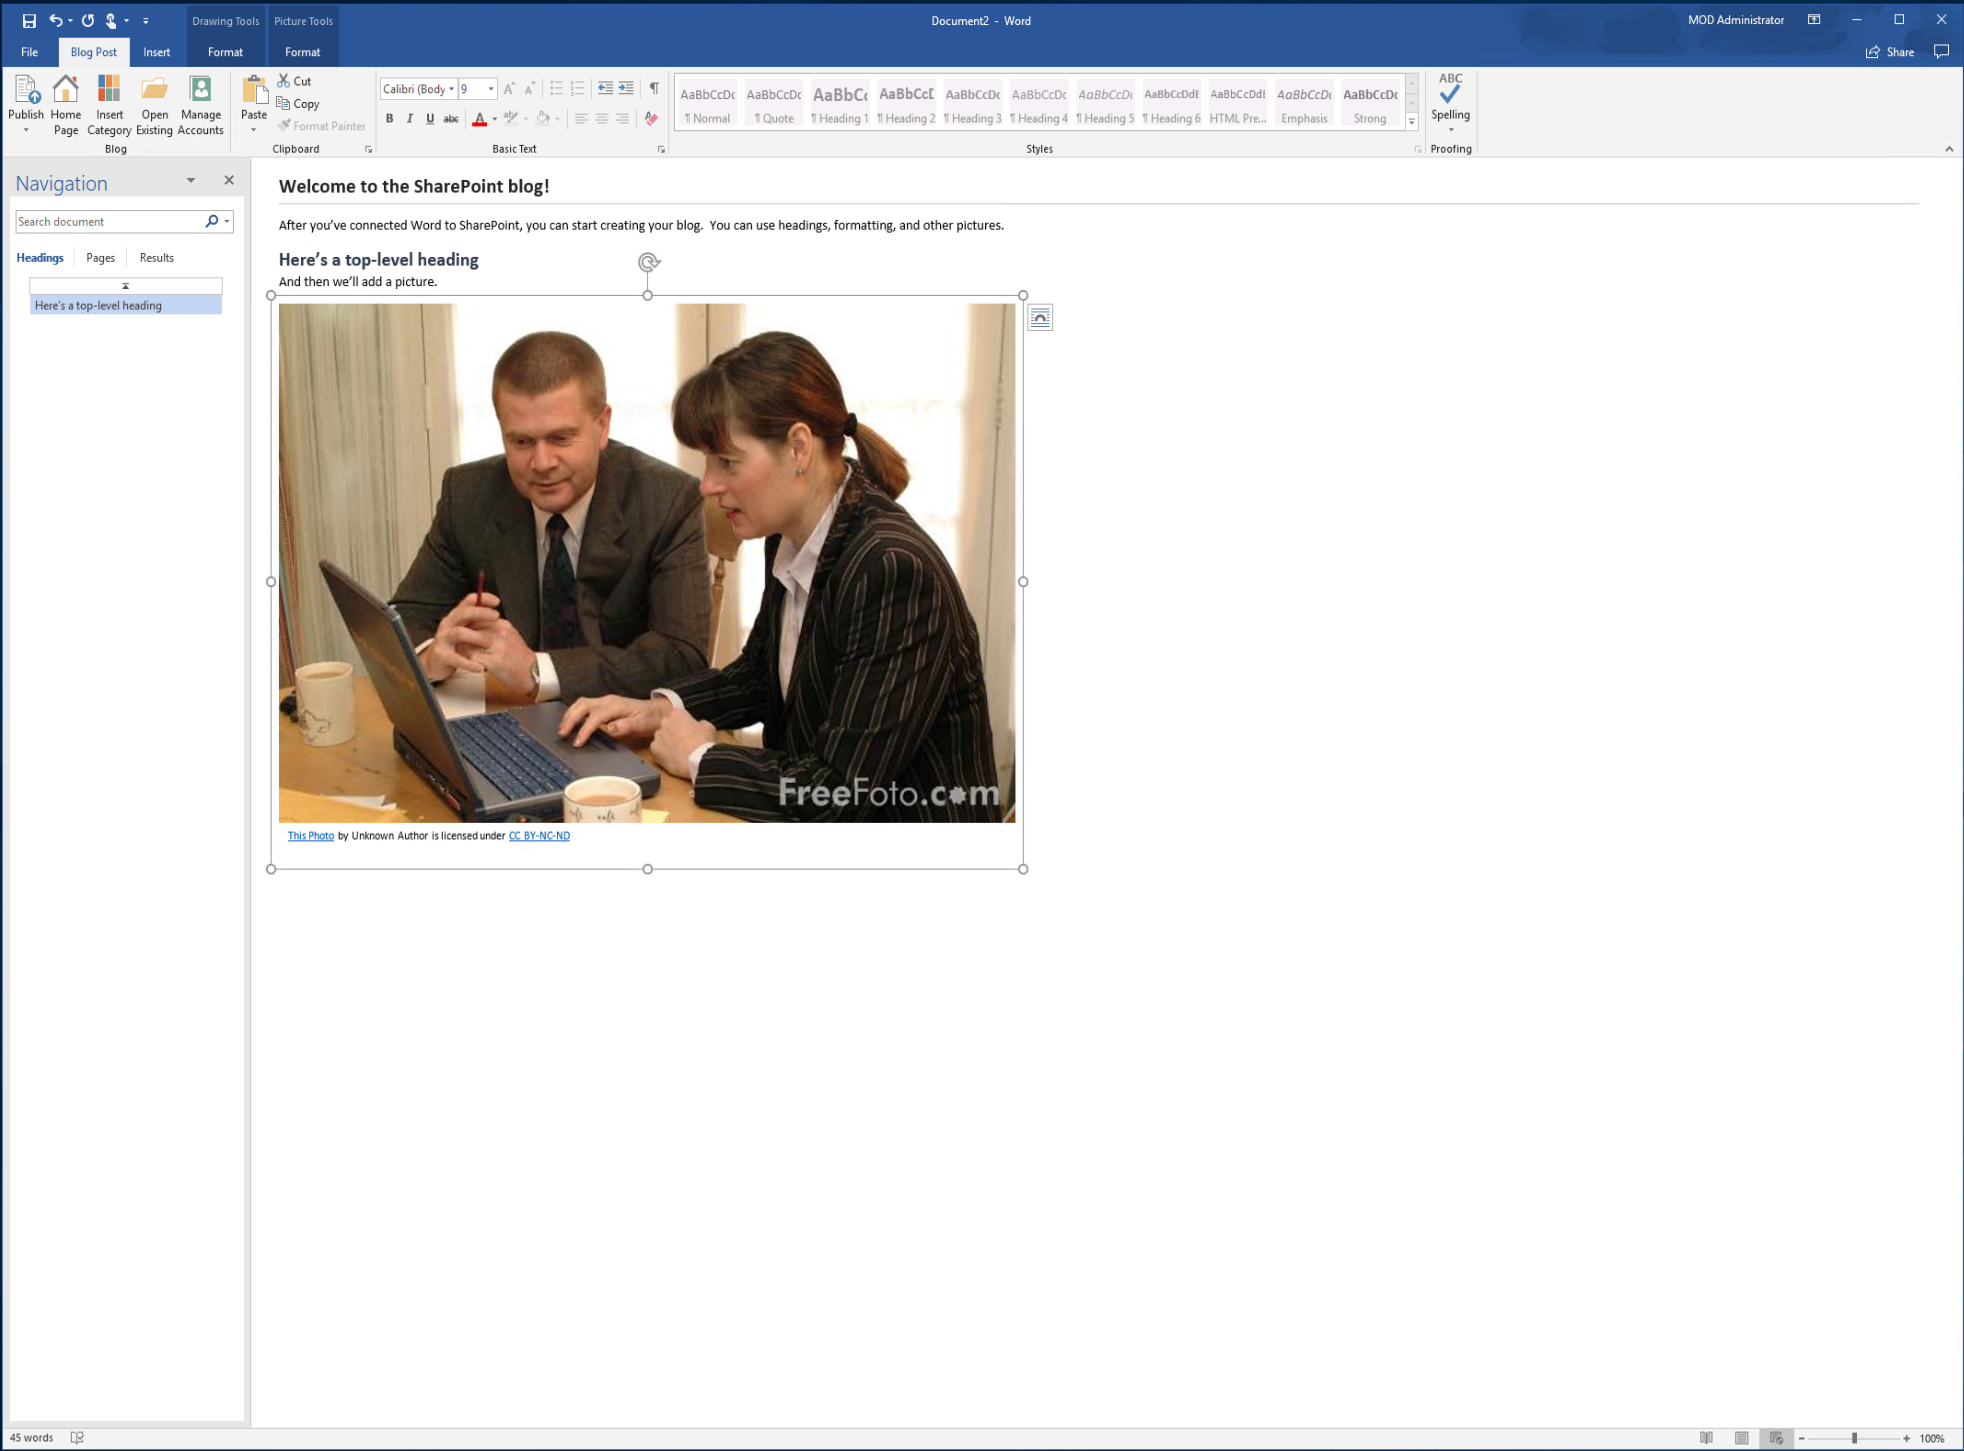
- Edit the document and add a title, text, headings, and images.
- When you are finished, under the Blog Post tab of the ribbon, select Publish.
- Switch to the browser interface and refresh the blog page to see the blog page posted.