Connecting Splunk to Office 365 - Part 2: Microsoft Office 365 Reporting Add-On for Splunk
In Part 1 of this blog series, I went through the setup of the Splunk Add-On for Microsoft Cloud Services, which you can use to extract, query, and analyze data provided by the Office 365 Management Activity API. In this particular post, we're going to explore the Microsoft Office 365 Reporting Add-On for Splunk, which you can use to review message trace data from Office 365.
Prepare Office 365
In order to retrieve the logging data necessary, you need to grant a user object the ability to read the message tracking logs. By default, Exchange Online doesn't have a role with only that as its permission (or anything really close), so we're going to:
- Create a user account
- Create a role group
- Add some roles to it (Message Tracking, View-Only Audit Logs, View-Only Configuration, View-Only Recipients)
- Add the newly created user to it
Note: Only the ViewOnlyRecipients role is needed for the add-on to work, as that is what the reporting services API requires. I've found it's useful, though, to have the others so you can check the message trace, message tracking, transport configuration, and message audit data with one account. If you are going for a least-privilege configuration, remove the MessageTracking, ViewOnlyAuditLogs, and ViewOnlyConfiguration lines.
To do this, connect to Office 365 with PowerShell as a global administrator, and run the following commands:
 $TenantDomain = (Get-MsolAccountSku).AccountSkuId[0].Split(":")[0] + ".onmicrosoft.com"
$UserName = "splunkreporting@"+$tenantdomain
New-MsolUser -UserPrincipalName $UserName -DisplayName "Splunk Reporting" -PasswordNeverExpires $True -UsageLocation US
$MessageTrackingRoles = @()
$MessageTrackingRoles += (Get-ManagementRole -RoleType "MessageTracking").Guid.ToString()
$MessageTrackingRoles += (Get-ManagementRole -RoleType "ViewOnlyAuditLogs").Guid.ToString()
$MessageTrackingRoles += (Get-ManagementRole -RoleType "ViewOnlyConfiguration").Guid.ToString()
$MessageTrackingRoles += (Get-ManagementRole -RoleType "ViewOnlyRecipients").Guid.ToString()
$RoleGroup = New-RoleGroup -Name 'Splunk Reporting Add-On' -Roles $MessageTrackingRoles -Members $UserName
I'd recommend changing the password to something other than what is generated. Store the password with your other service accounts and manage it accordingly.
Install the Add-On
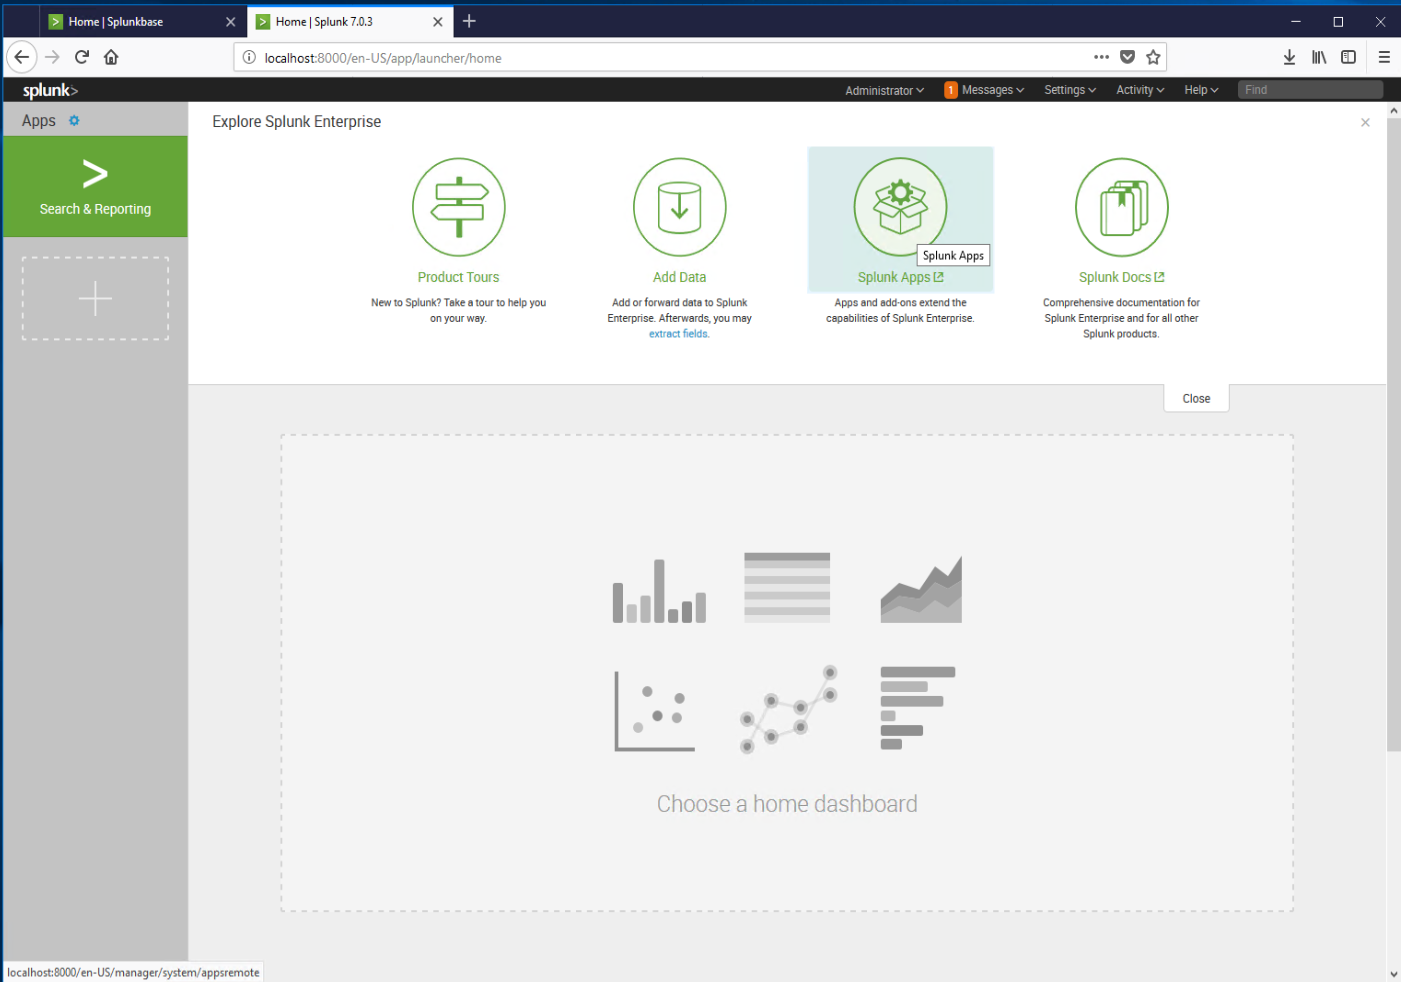
From your Splunk server dashboard (in this example, I'm using Splunk Enterprise 7.0.3), click on Splunk Apps.
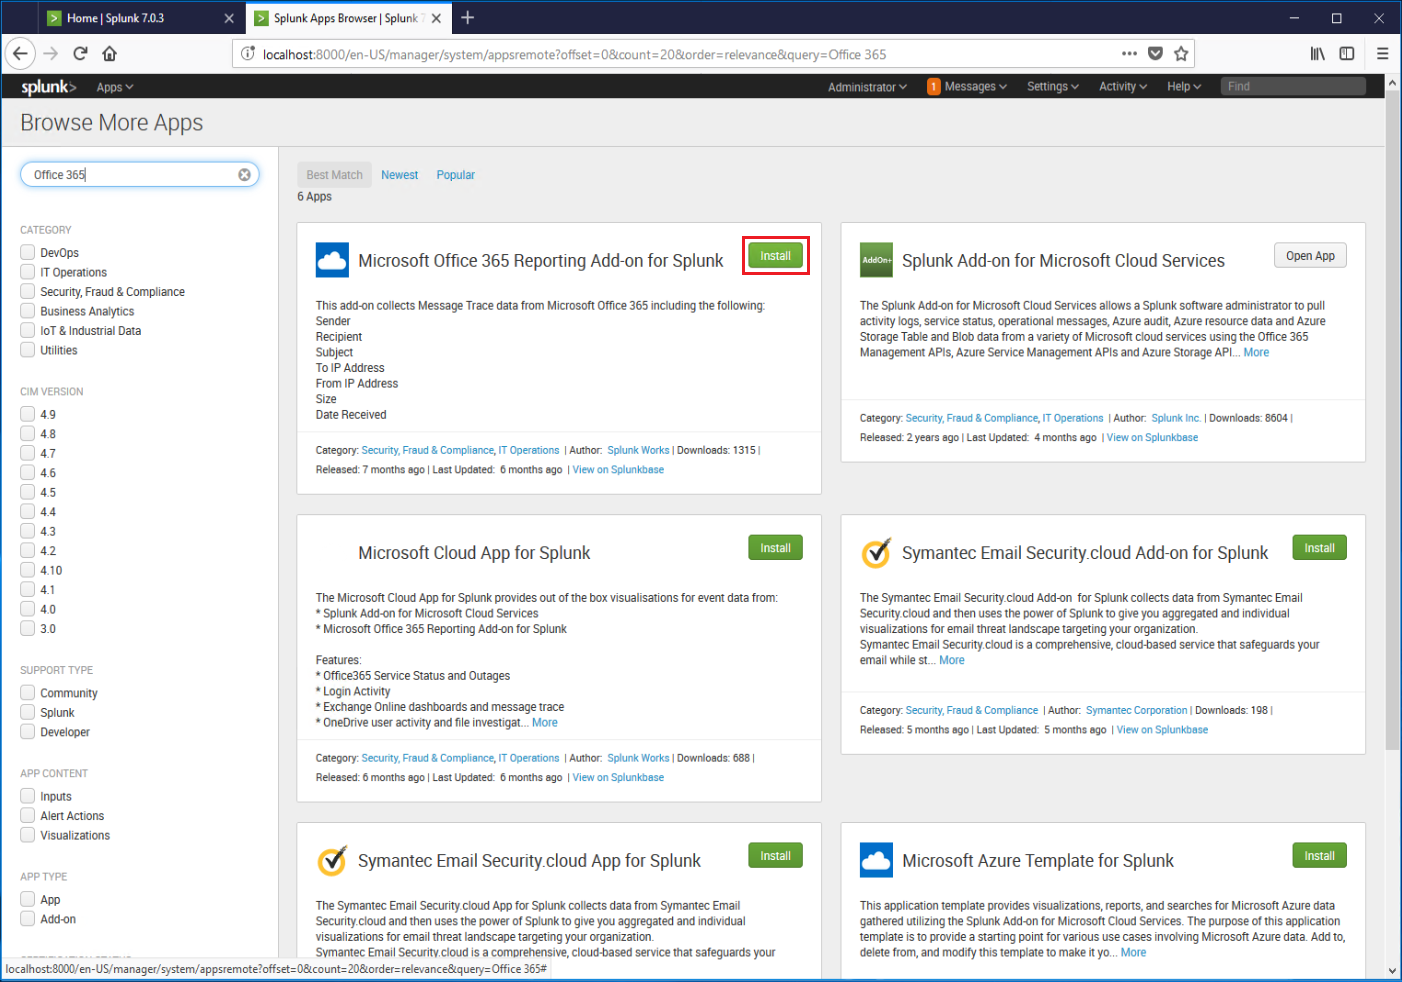
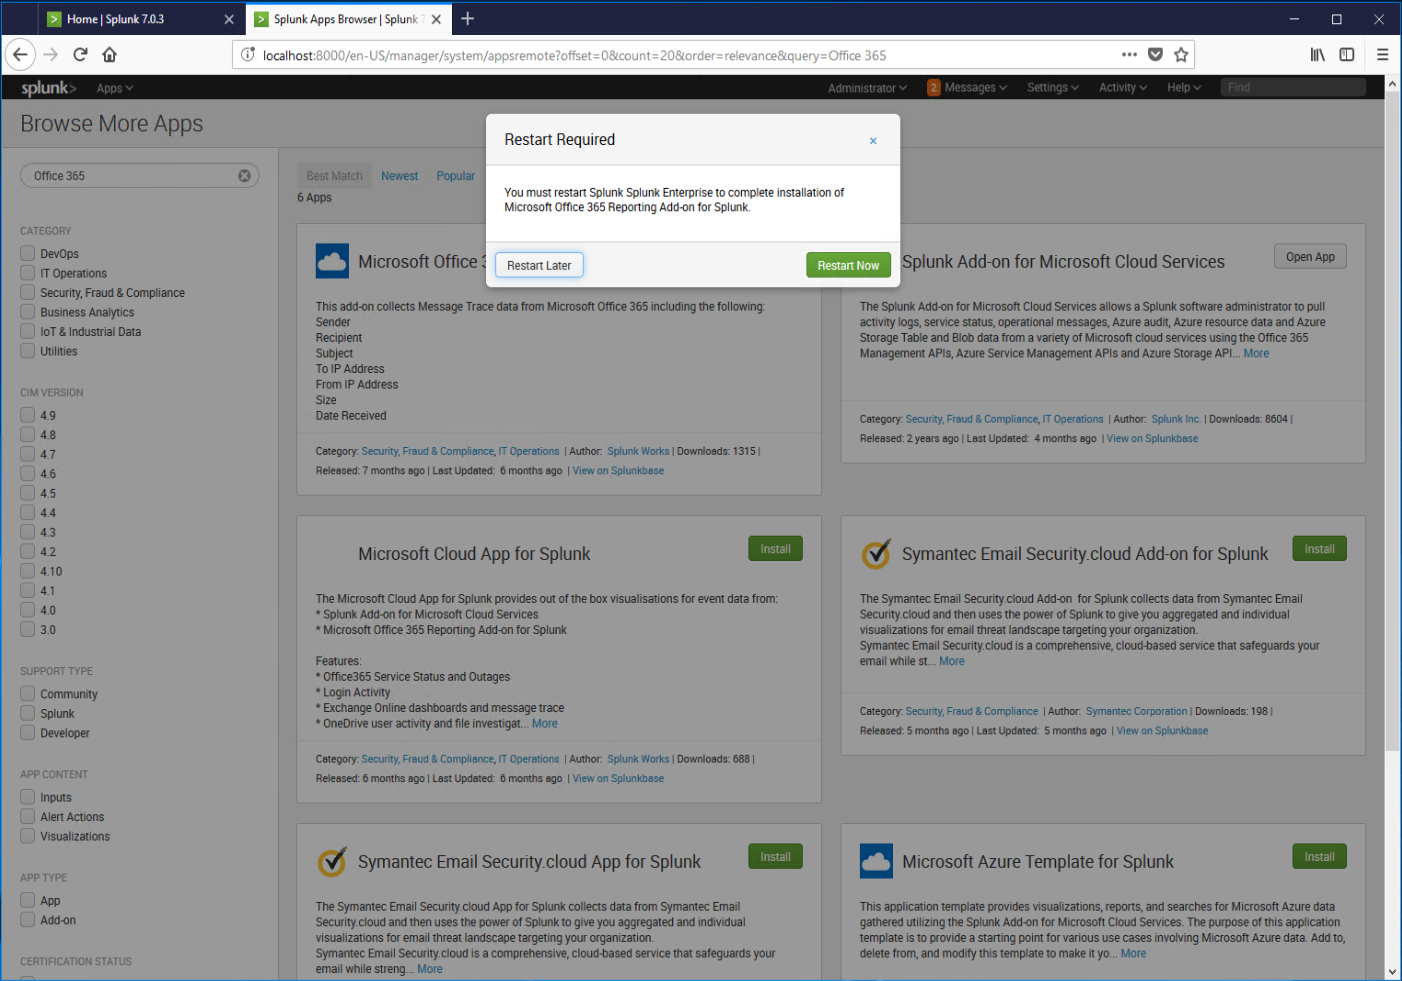
In the search box, type Office 365, and then click the Install button next to the Reporting Add-On.
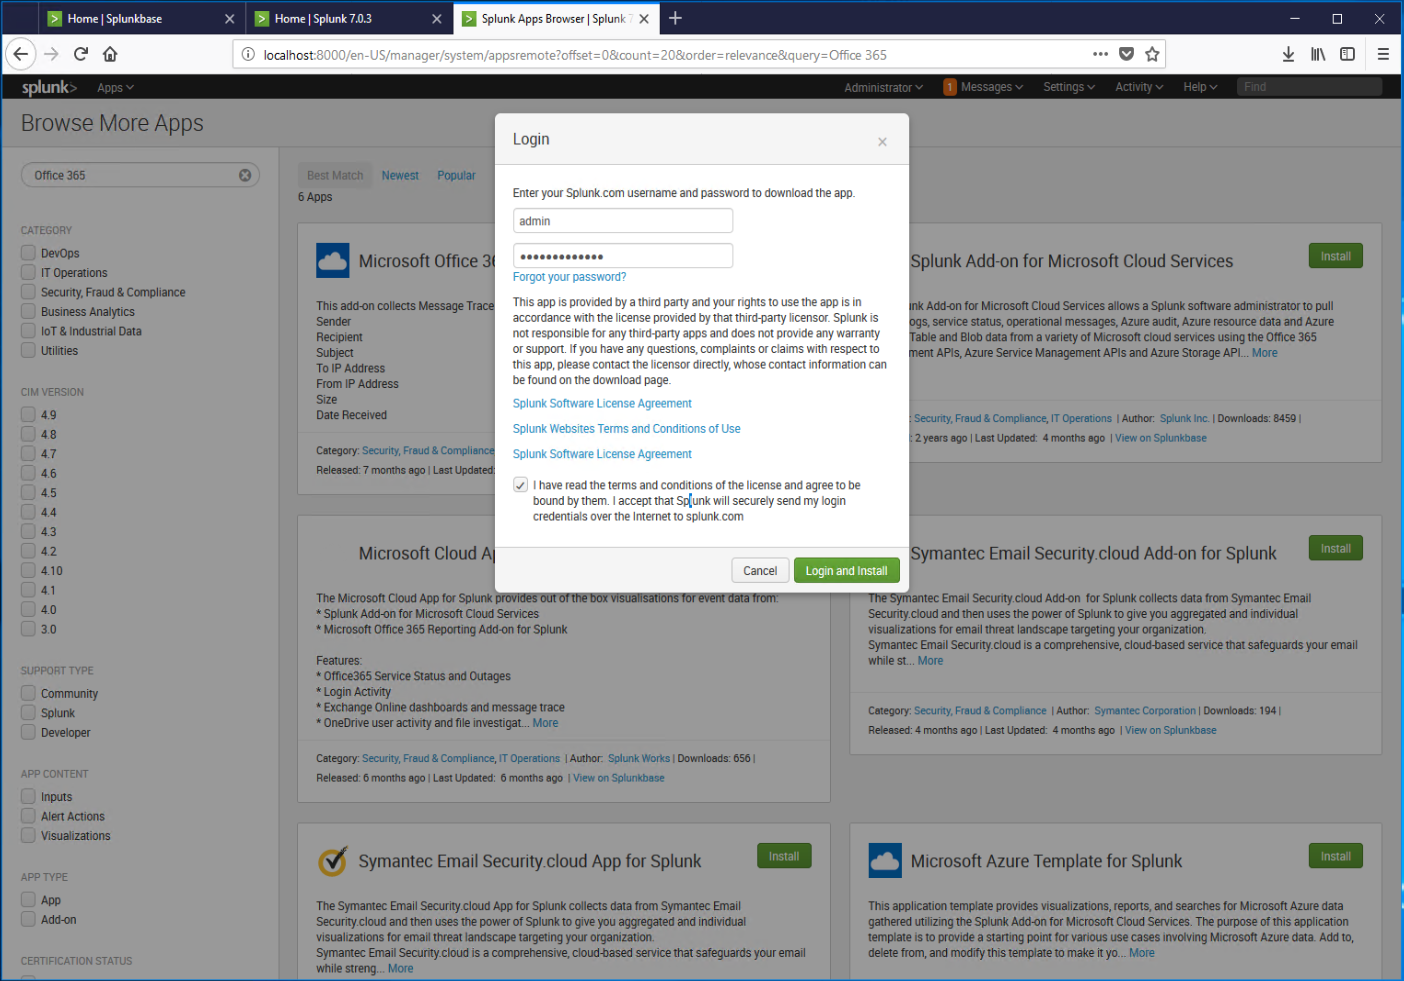
If prompted, confirm credentials and terms, and then select Login and install.
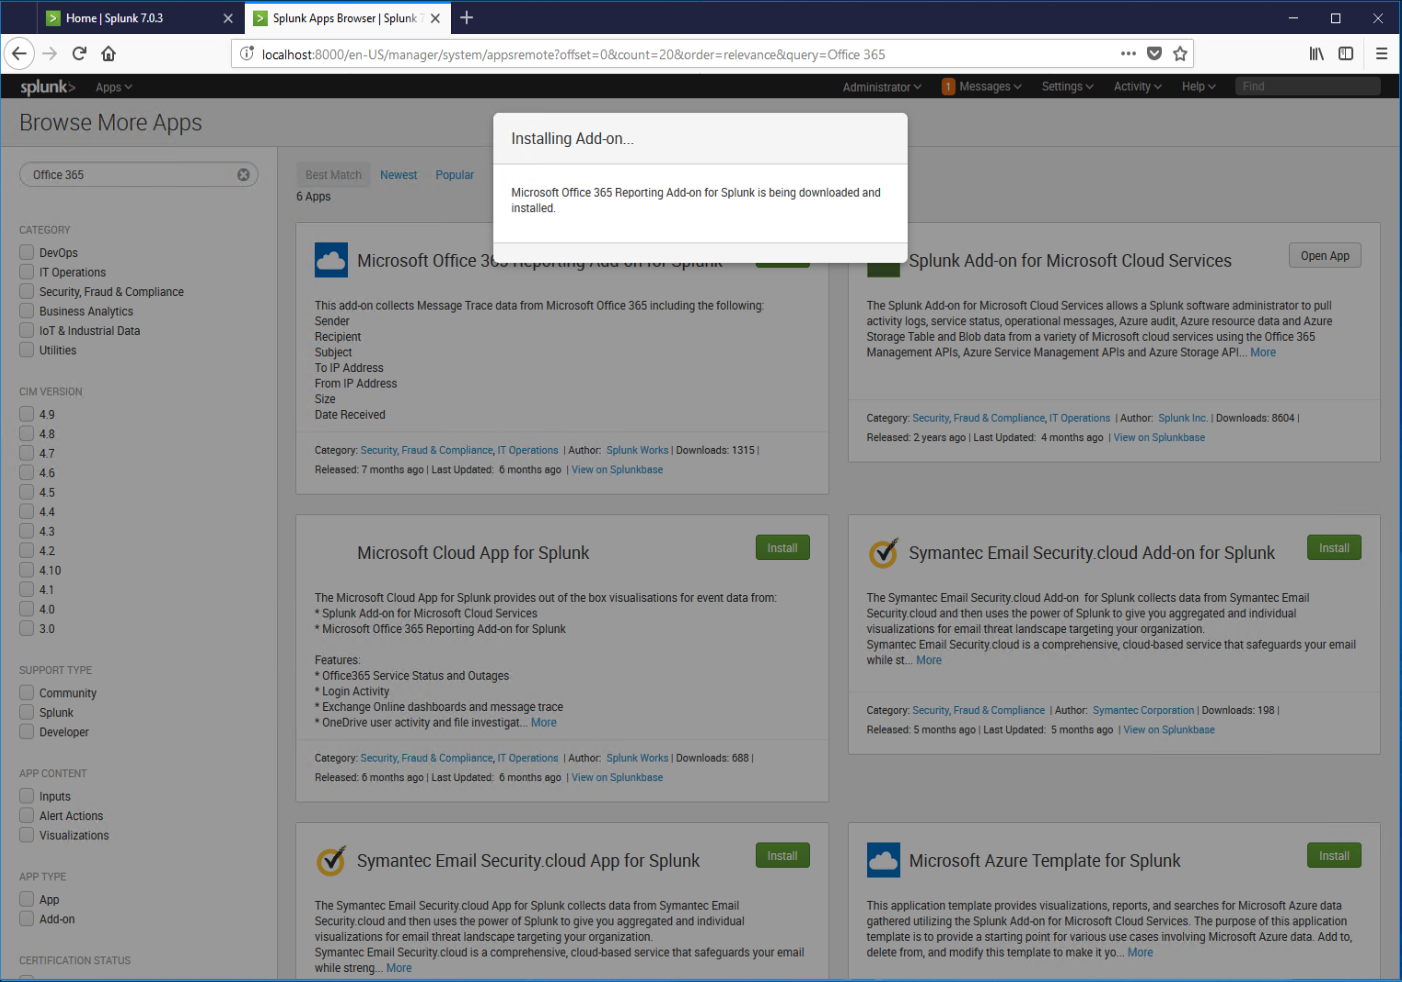
Wait while the plugin is installed.
Click the Restart Now button.
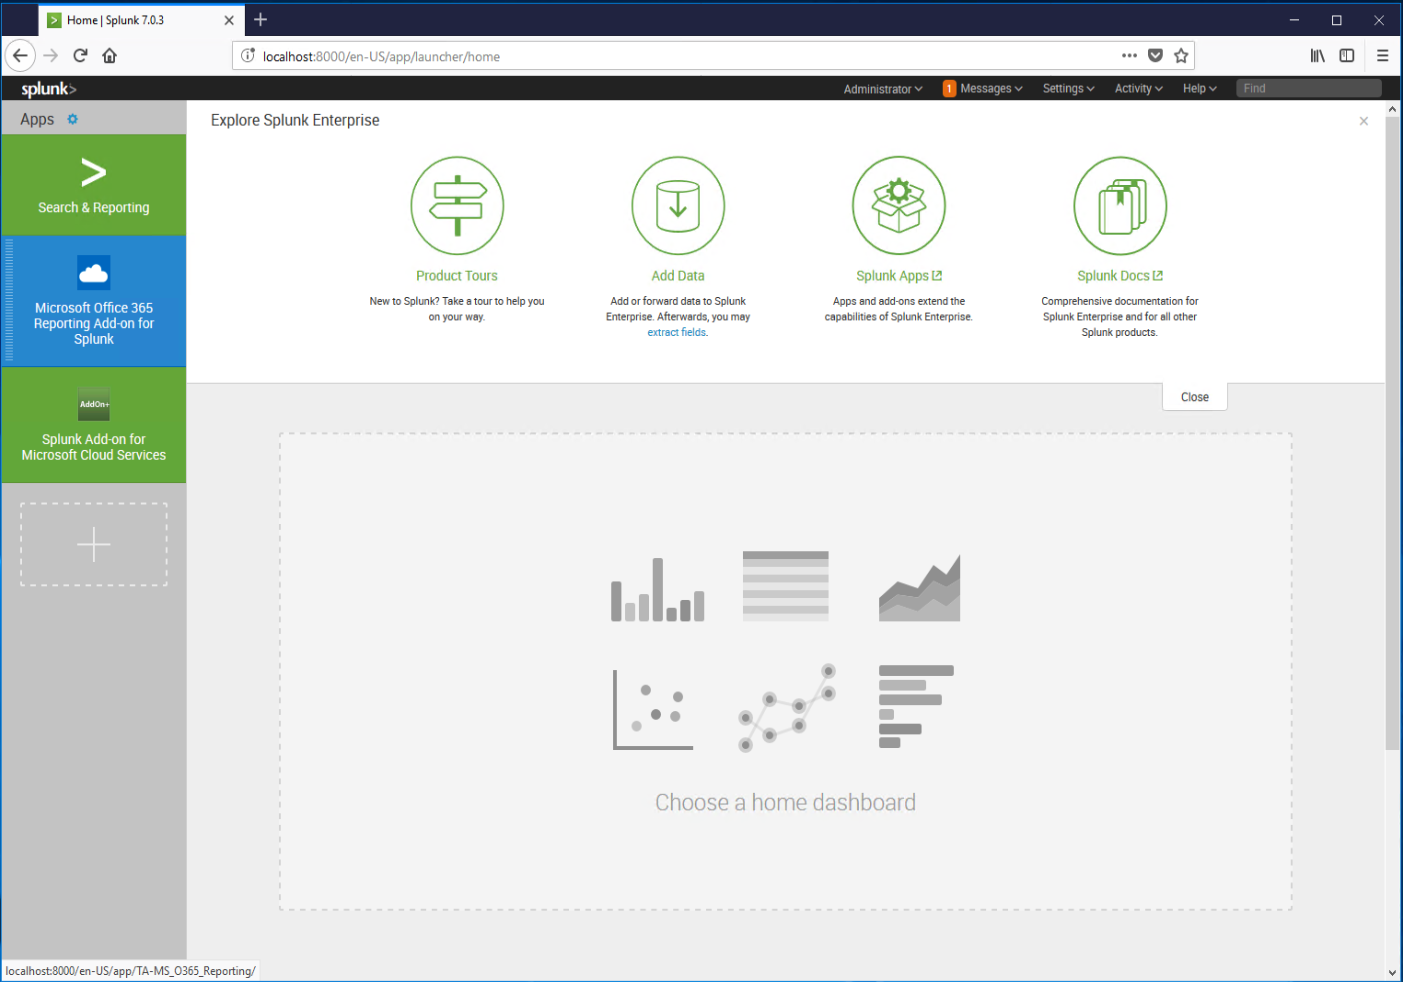
After Splunk has restarted, log in.
From the home page, select the Microsoft Office 365 Reporting Add-on for Splunk tile.
On the Add-on home page, click Configuration.
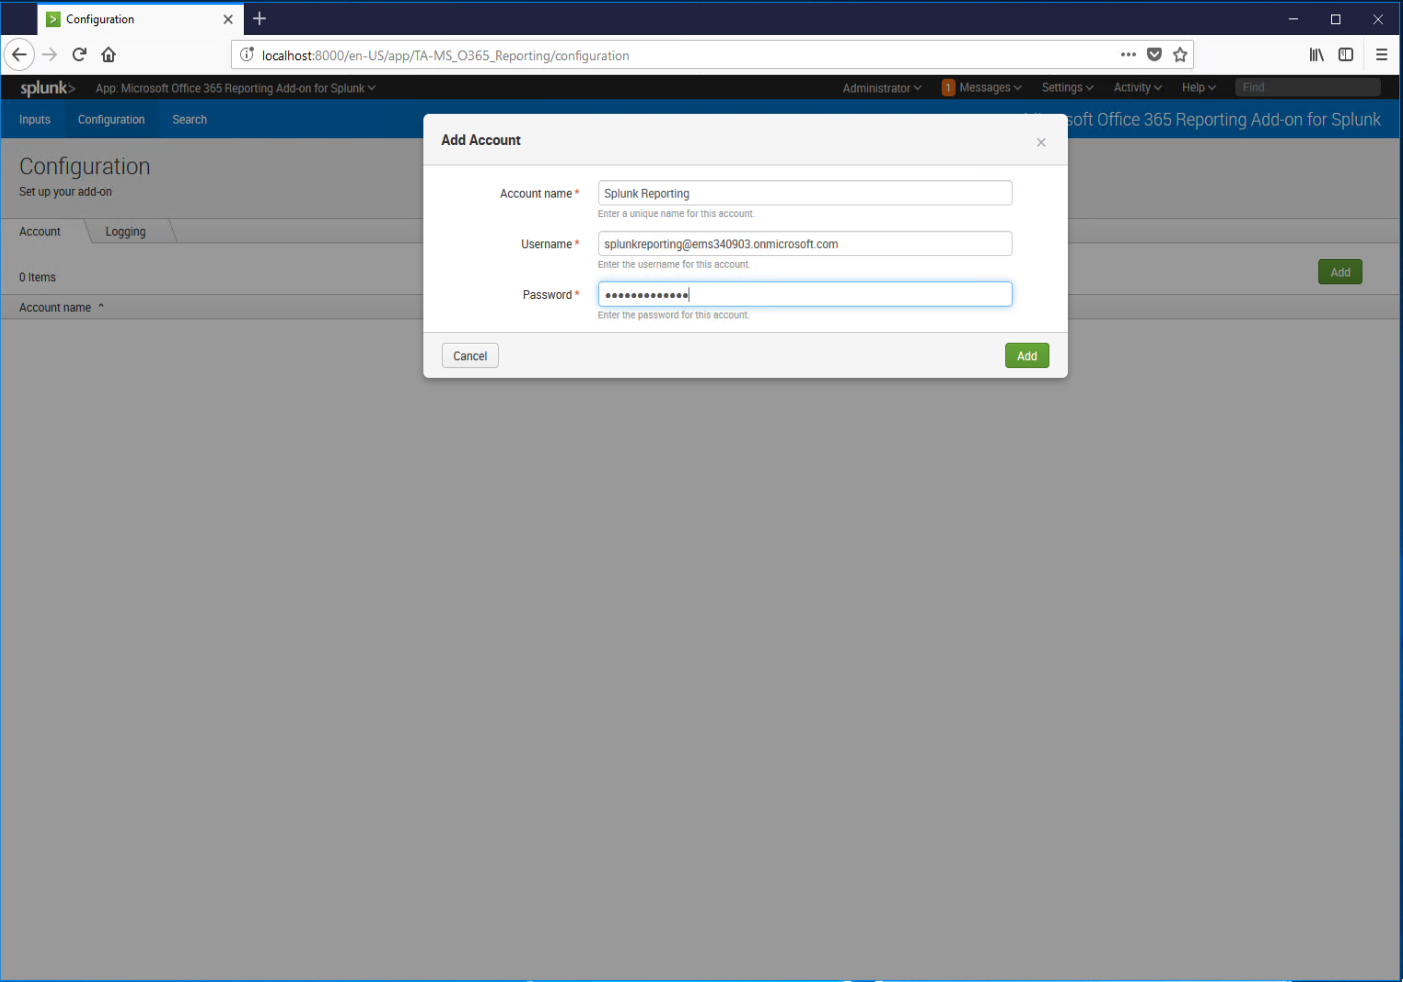
Click the Add button.
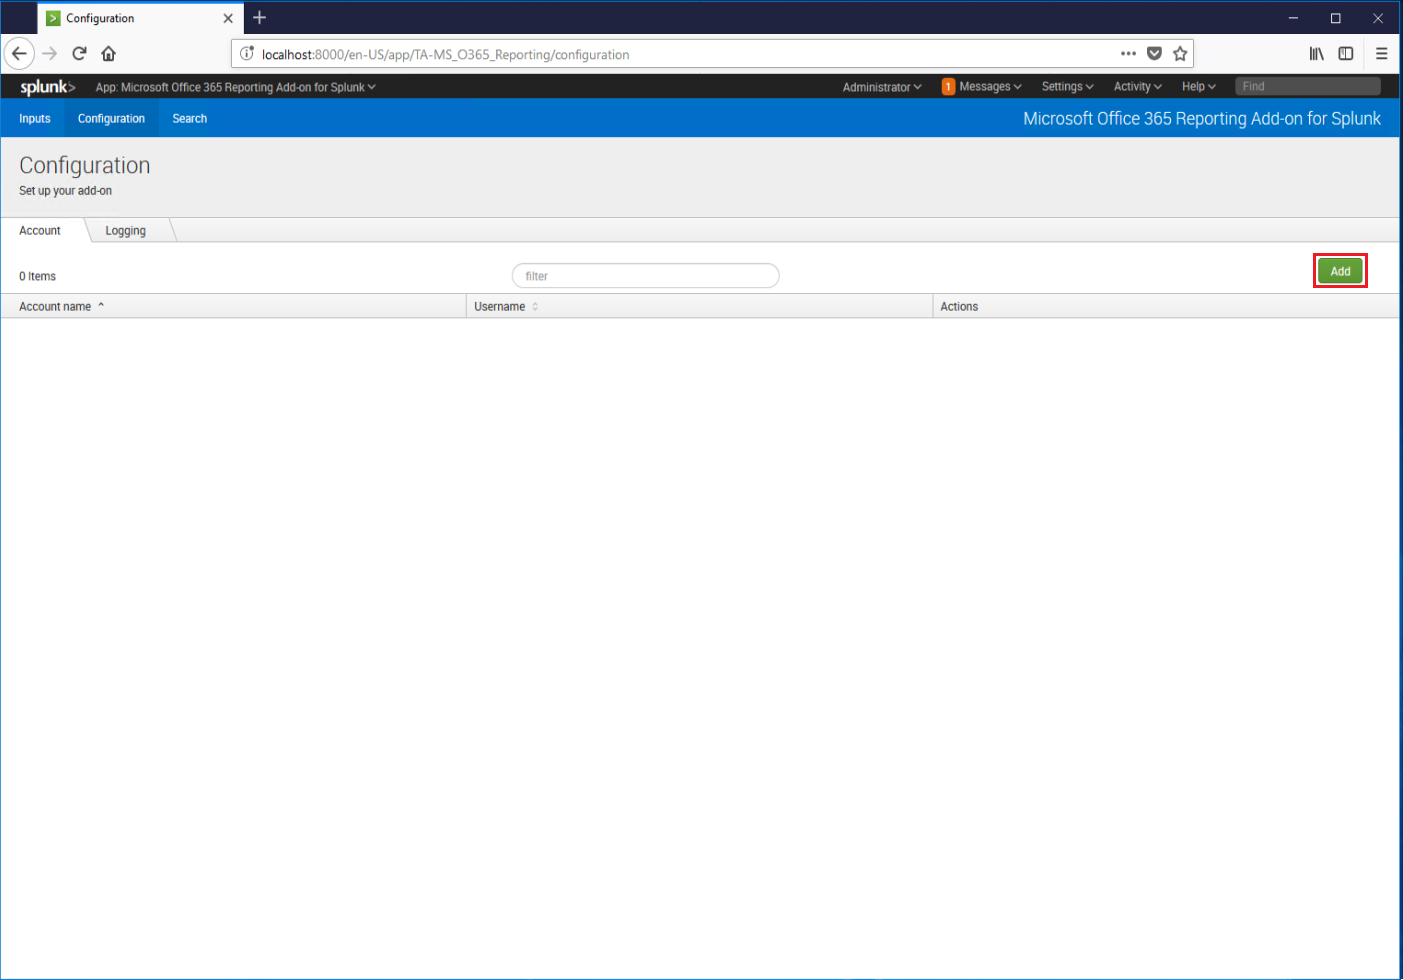
Enter a display name and credentials for the account created previously, and then click Add.
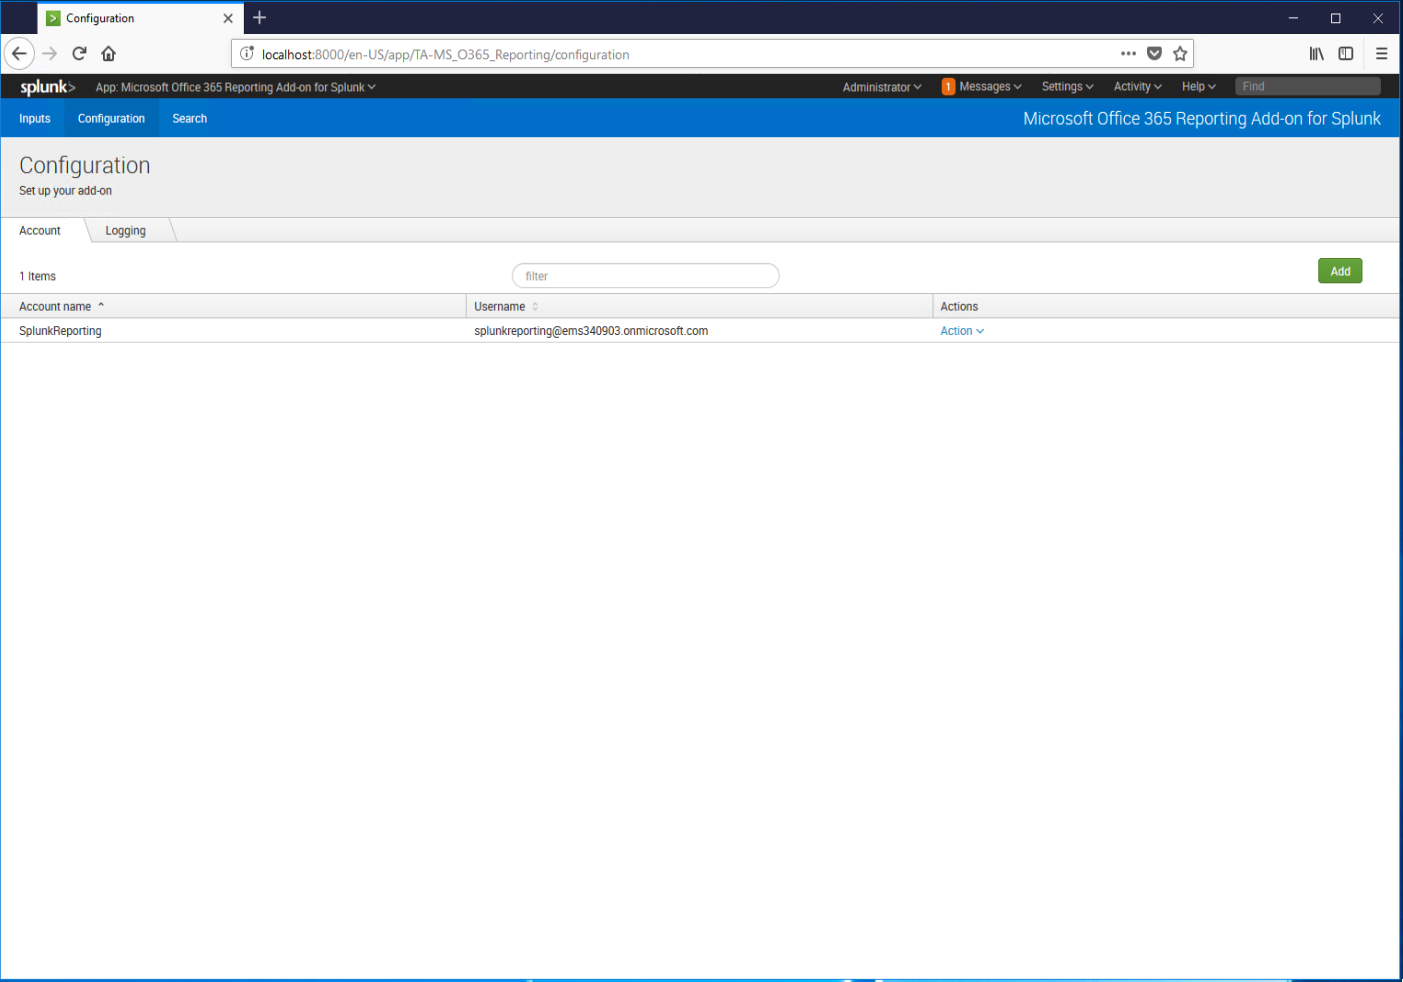
Verify that the account has been added to the console.
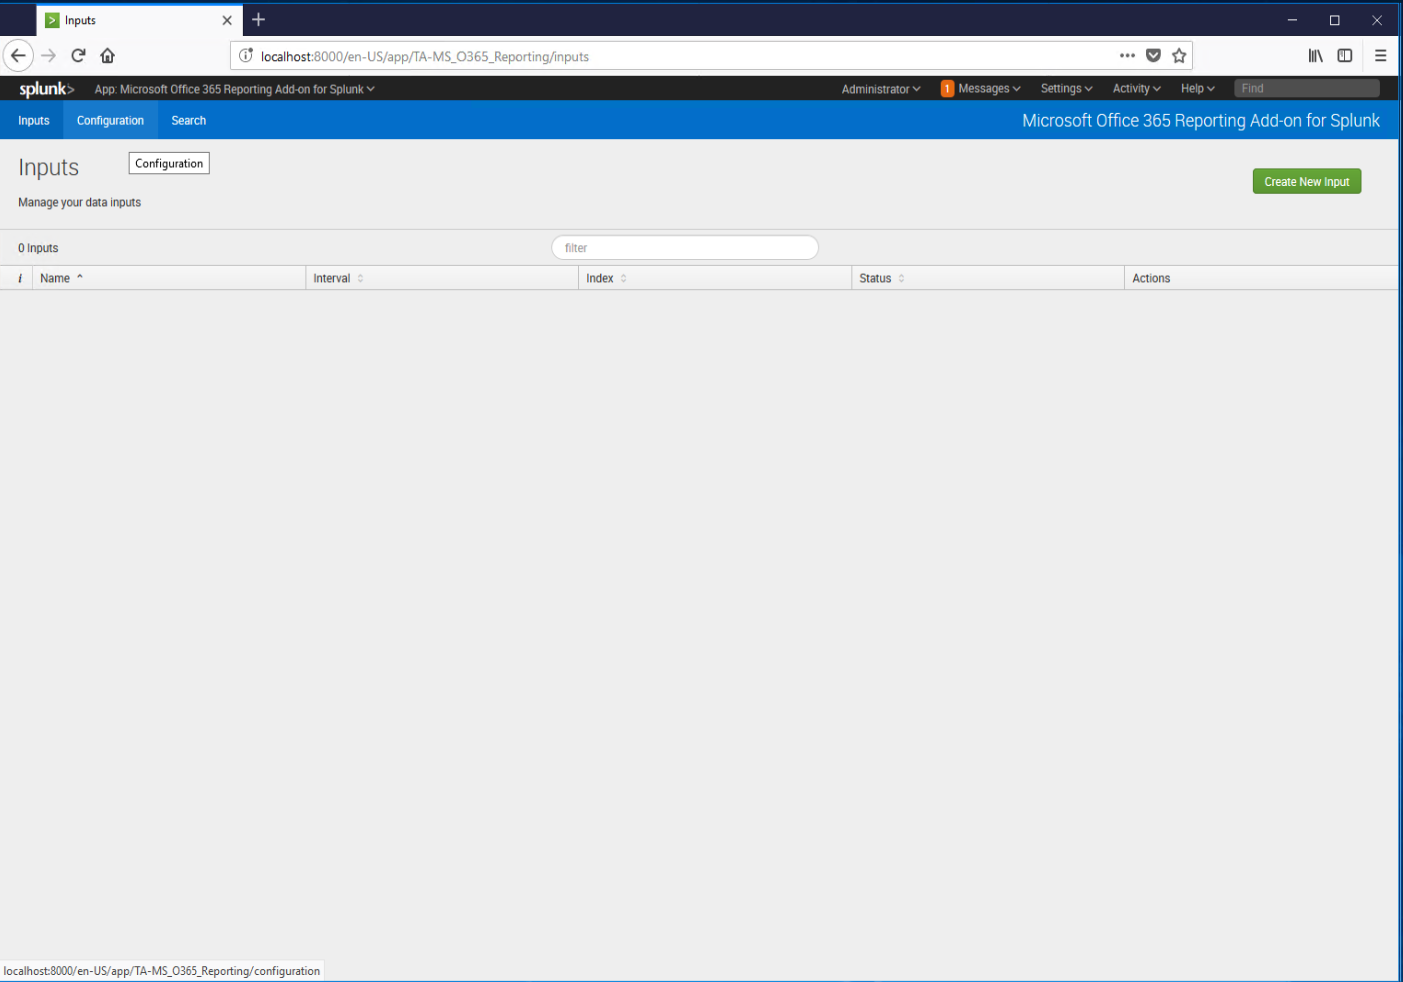
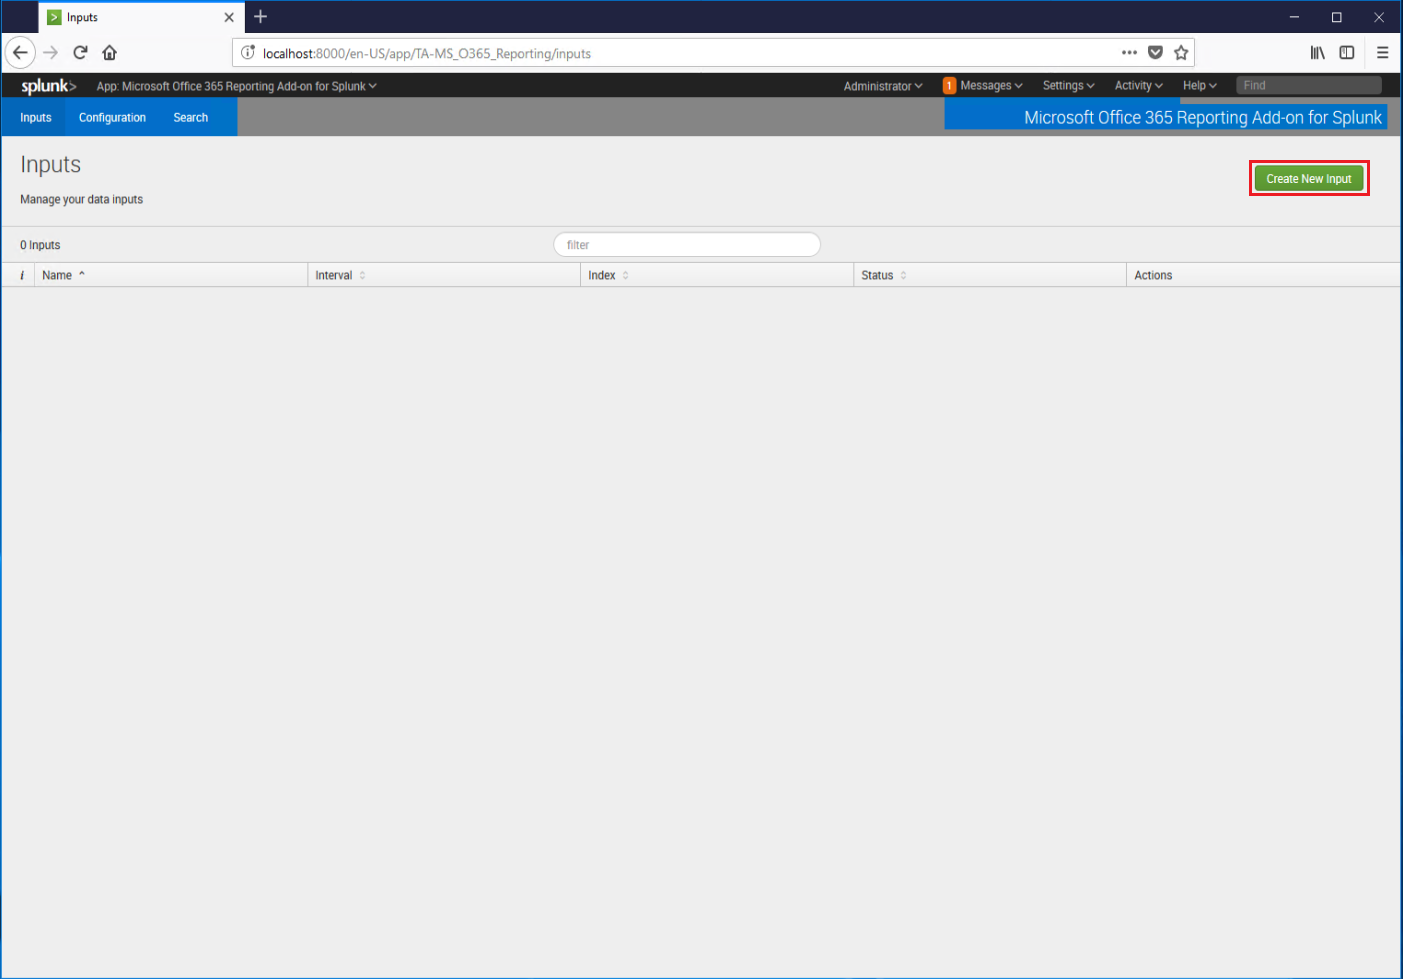
Click Inputs.
Click Create New Input.
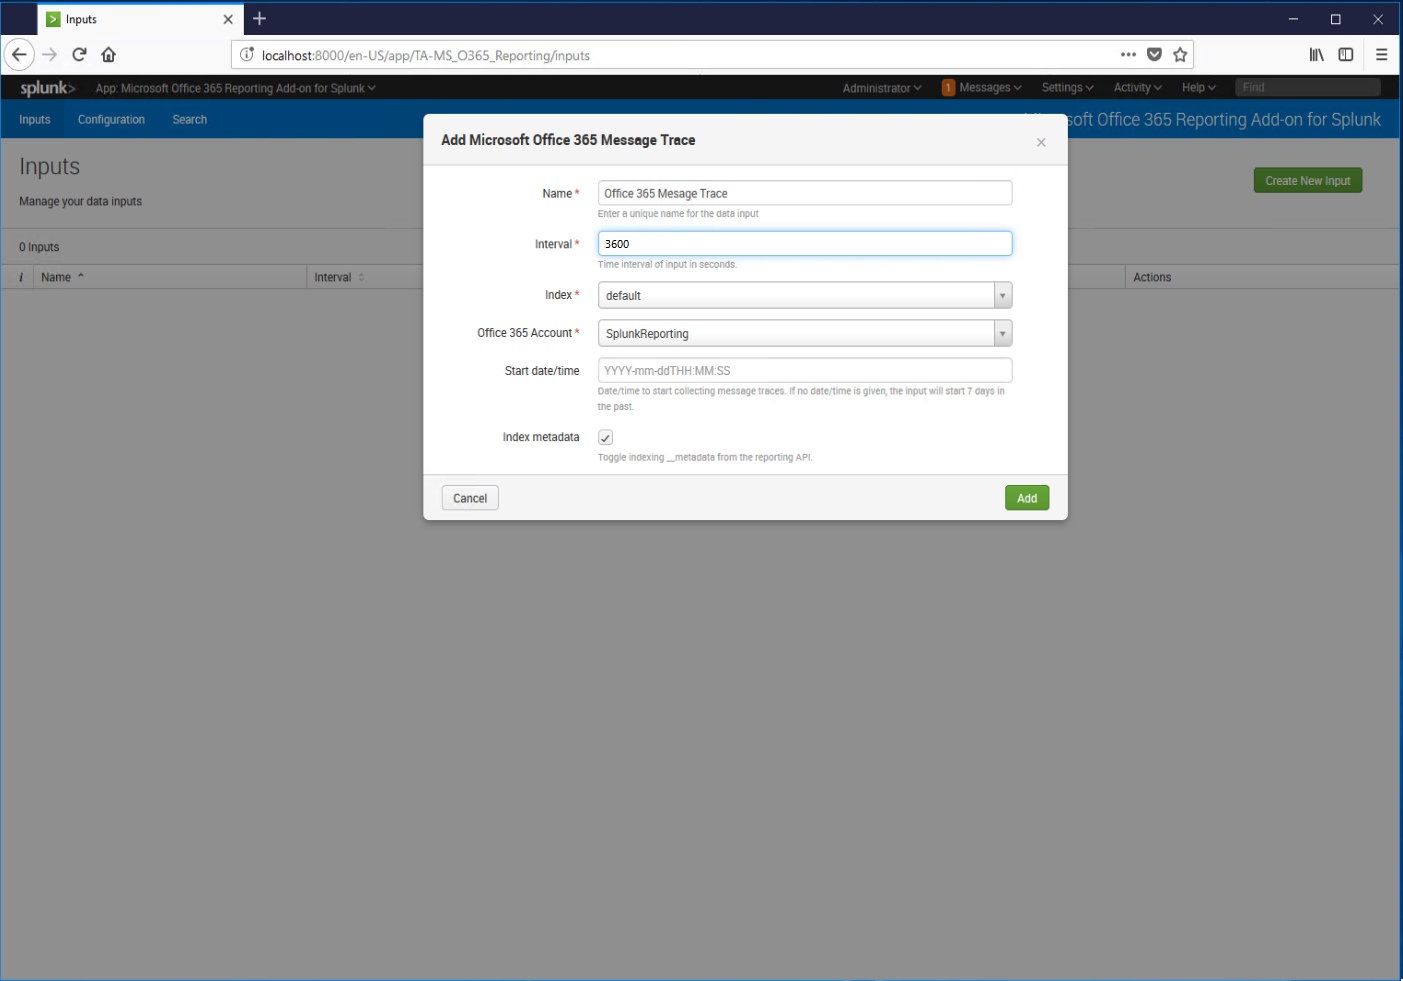
Give the input a friendly name, select an interval in seconds for the input to gather data, an index, an Office 365 account (from the previous step), and a start time. Click Add when finished. While Message Trace data can be returned from the portal for up to 90 days, the reporting API can only return it back 7. This is not an error with Splunk, but a design limitation of the Office 365 Reporting API.
 Note: The UI doesn't report the date limitation to you; you will just not see data appearing the portal. You can verify this error by checking %ProgramFiles\Splunk\var\log\splunk\ta_ms_o365_reporting_ms_o365_message_trace.log for the following data:
2018-05-06 12:57:07,204 ERROR pid=6992 tid=MainThread file=base_modinput.py:log_error:307 | HTTP Request error: 400 Client Error: Bad Request for url: https://reports.office365.com/ecp/reportingwebservice/reporting.svc/MessageTrace?$format=json&orderby=Received%20asc&$filter=StartDate%20eq%20datetime'2018-04-01T00:00:00Z'%20and%20EndDate%20eq%20datetime'2018-05-06T12:54:04.804000Z'Click Search.
Under What to Search, click the Data Summary button.
Select the Sourcetypes tab. You should see a source type for ms: o365:reporting:messagetrace, which will contain message trace data.
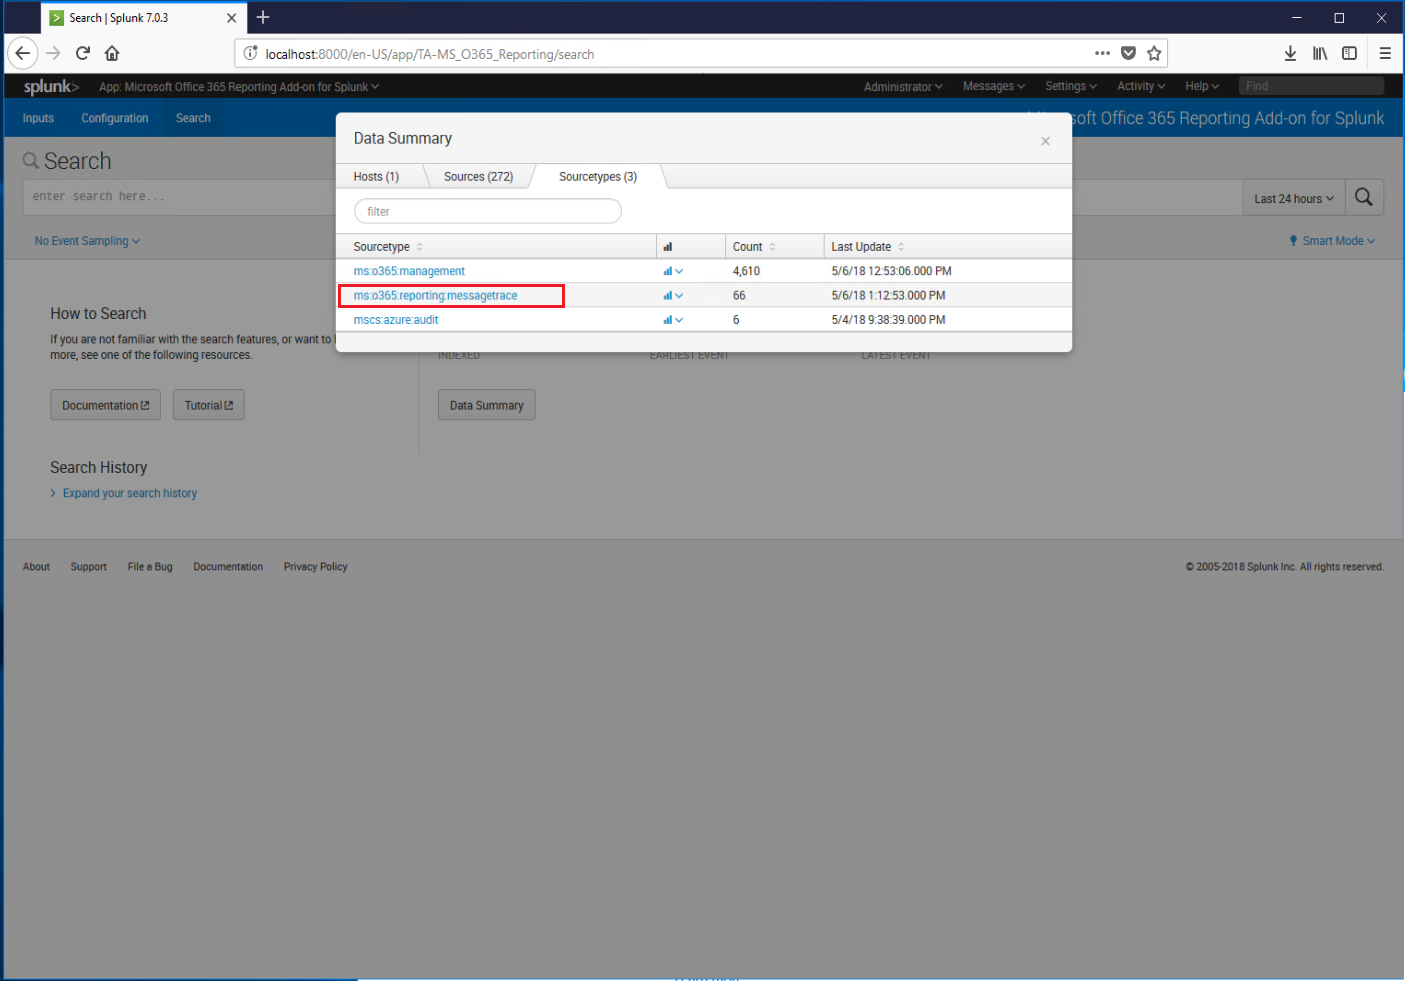
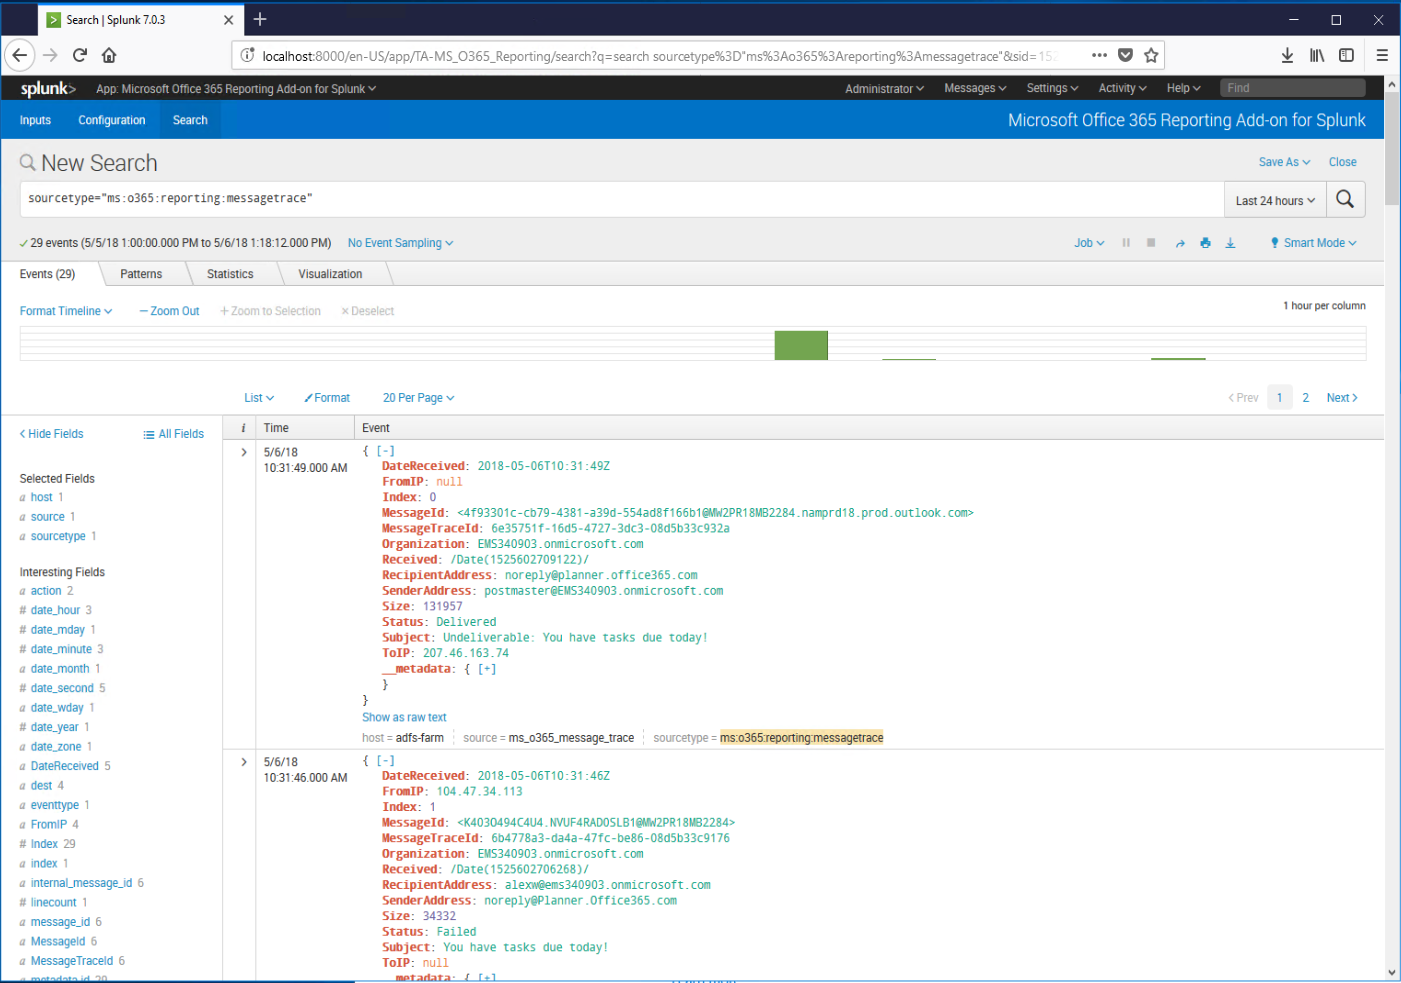
Click on the ms:o365:reporting:messagetrace link to view collected data.
Until next time, keep on Splunking.