Creating and Managing Security and Compliance Filters in the Real World [Part 2]
Picking up where I left off on part 1 of this post, I wanted go into what it would take to refine some roles for managing eDiscovery for larger organizations.
In this scenario, we're going to:
- Remove users from any existing eDiscovery roles or groups
- Create a security group to hold users that will perform eDiscovery searches
- Create a custom role group that has the appropriate eDiscovery roles and add the security group as a member
- Verify
If you didn't read the previous blog post on this topic, I'd encourage you to go back and do so, since I'm going to continue using the same users and compliance filters.
Connecting to Office 365
Since all of the configuration is performed from PowerShell, the first thing we need to do is connect to PowerShell for both the Security & Compliance Center as well as Exchange Online. It's important to note that the Security & Compliance Center does have some cmdlets that overlap the Exchange Online cmdlets. In my normal configuration, I use "-Prefix SCC" to differentiate the commands exported by the Security & Compliance Center so I know which ones I'm executing. For the purposes of this session, we're going to rely on the -DisableNameChecking and -AllowClobber parameters to allow the Security & Compliance cmdlets to take precedence over the Exchange cmdlets with the same names.
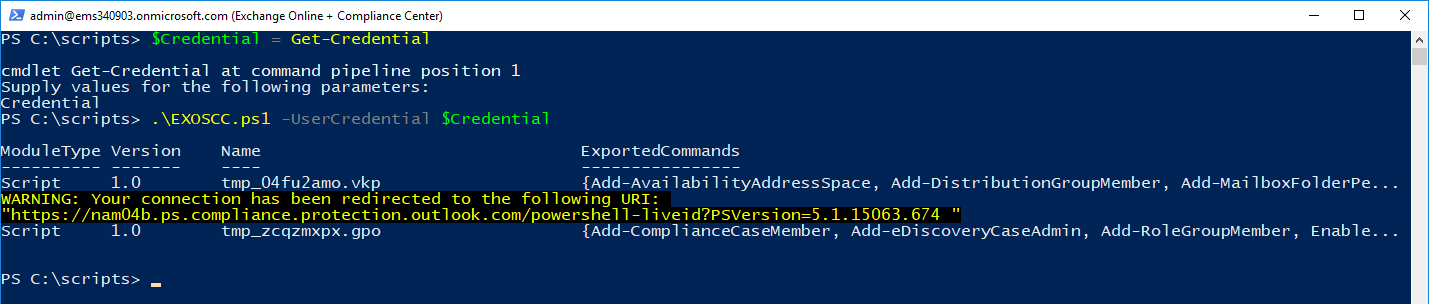
To do this, I'm just using a simple connect script. You can add this as a function to your PowerShell profile if that makes your life better. I just saved this code as EXOSCC.PS1, saved a credential object, and then ran it.
 param(
[System.Management.Automation.PSCredential]$UserCredential = (Get-Credential)
)
$Session = New-PSSession -ConfigurationName Microsoft.Exchange -ConnectionUri https://ps.outlook.com/powershell-liveid -Credential $UserCredential -Authentication Basic -AllowRedirection
Import-PSSession $Session -DisableNameChecking
$Session = New-PSSession -ConfigurationName Microsoft.Exchange -ConnectionUri https://ps.compliance.protection.outlook.com/powershell-liveid -Credential $UserCredential -Authentication Basic -AllowRedirection
Import-PSSession $Session -AllowClobber -DisableNameChecking
$Host.UI.RawUI.WindowTitle = $UserCredential.UserName + " (Exchange Online + Compliance Center)"
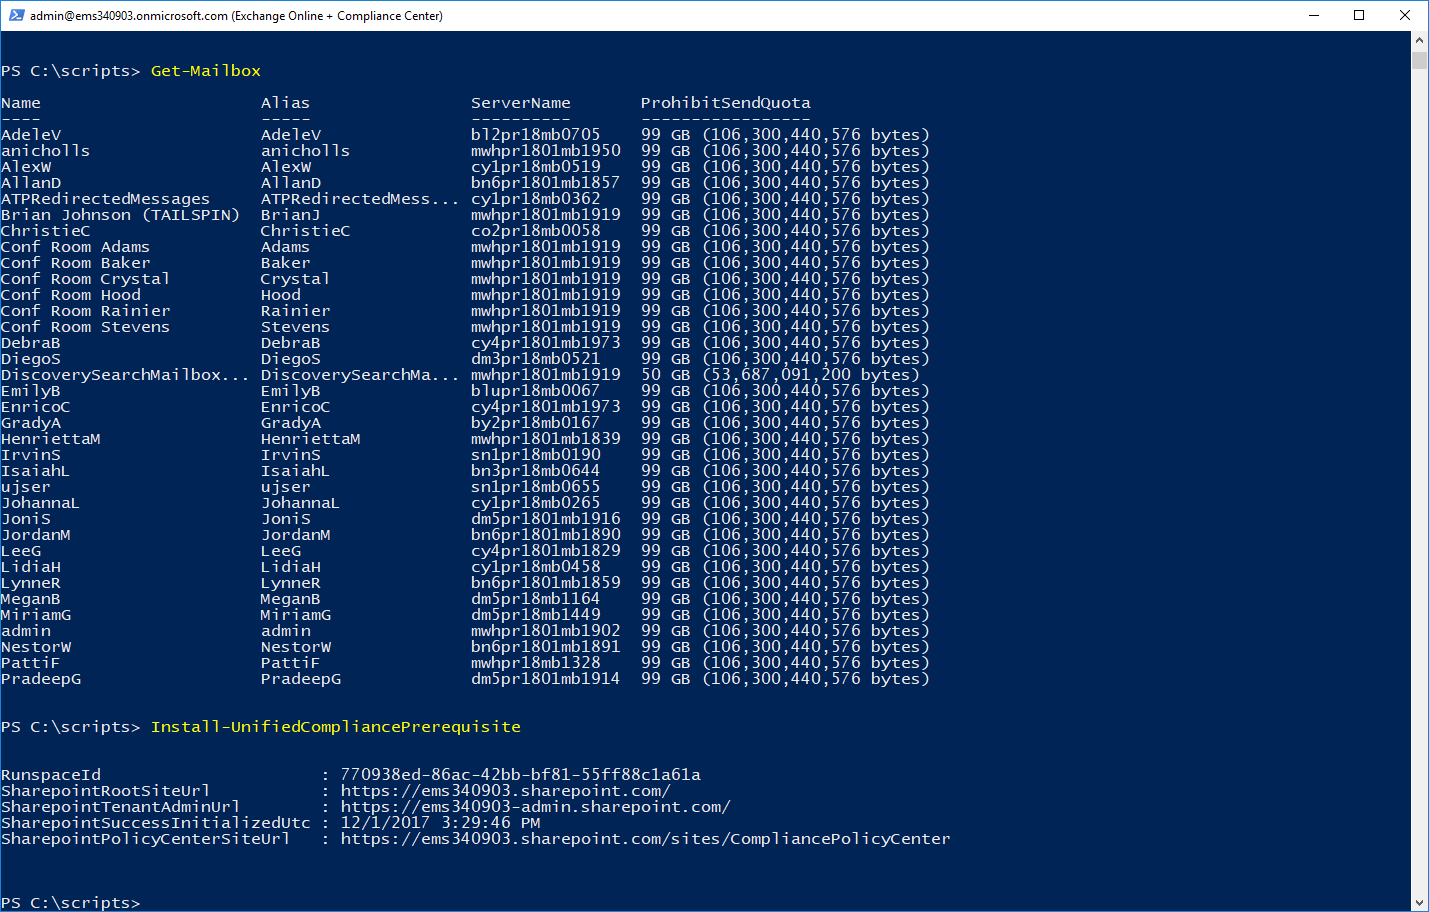
Once you're connected, verify that you have the cmdlets for both endpoints available to you. You can try something like Get-Mailbox to verify Exchange Online connectivity and Install-UnifiedCompliancePrerequisite to verify connectivity to the Security & Compliance Center:
We're going to be using the Management Roles cmdlets to create and modify the Security & Compliance Center cmdlets. Because we've overwritten the default Exchange cmdlets, you'll want to make sure you have the Security & Compliance version of Get-ManagementRole and Get-RoleGroup:
If the Exchange version is loaded, this is what you'll see:
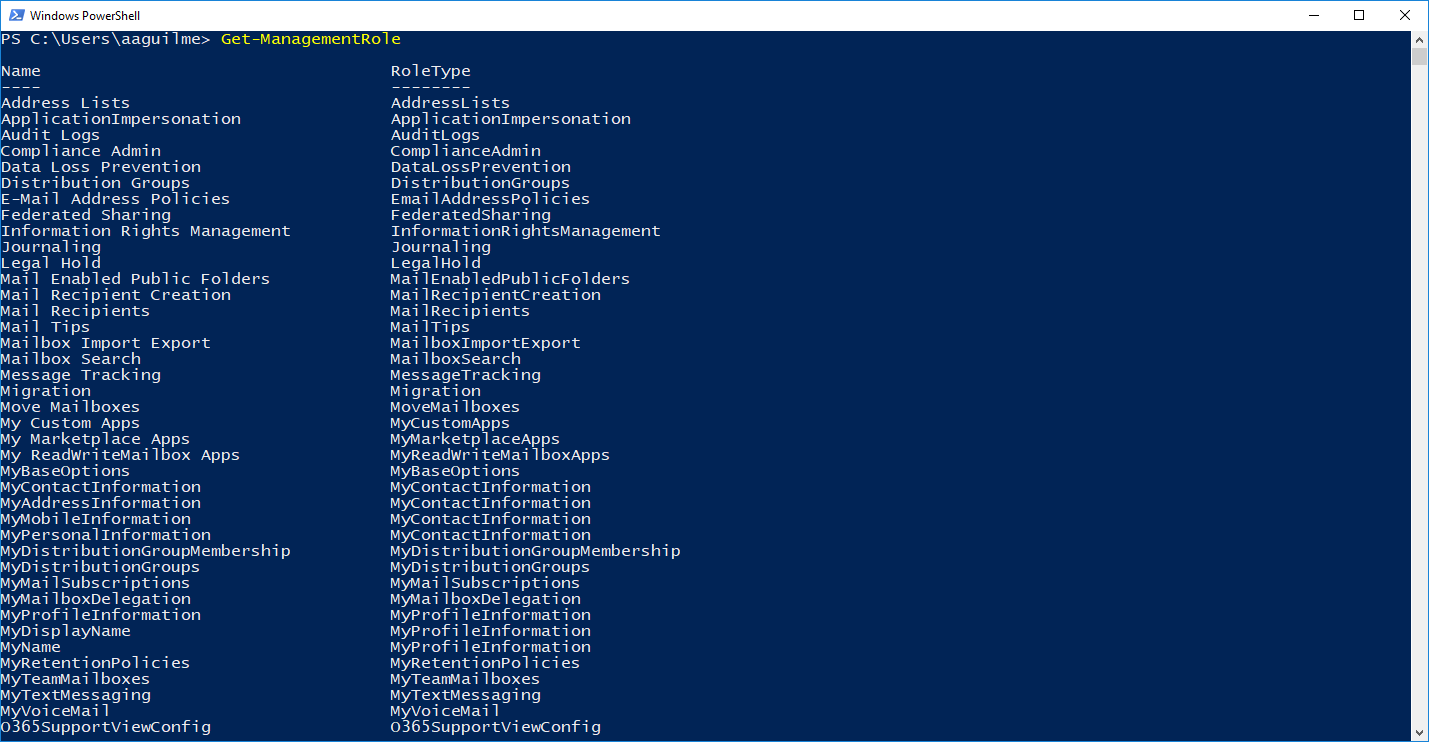
It's not what you need, so you'll have to backtrack and figure out how you got the wrong cmdlets loaded. Do not pass go. Do not collect $200. Do not delegate eDiscovery.
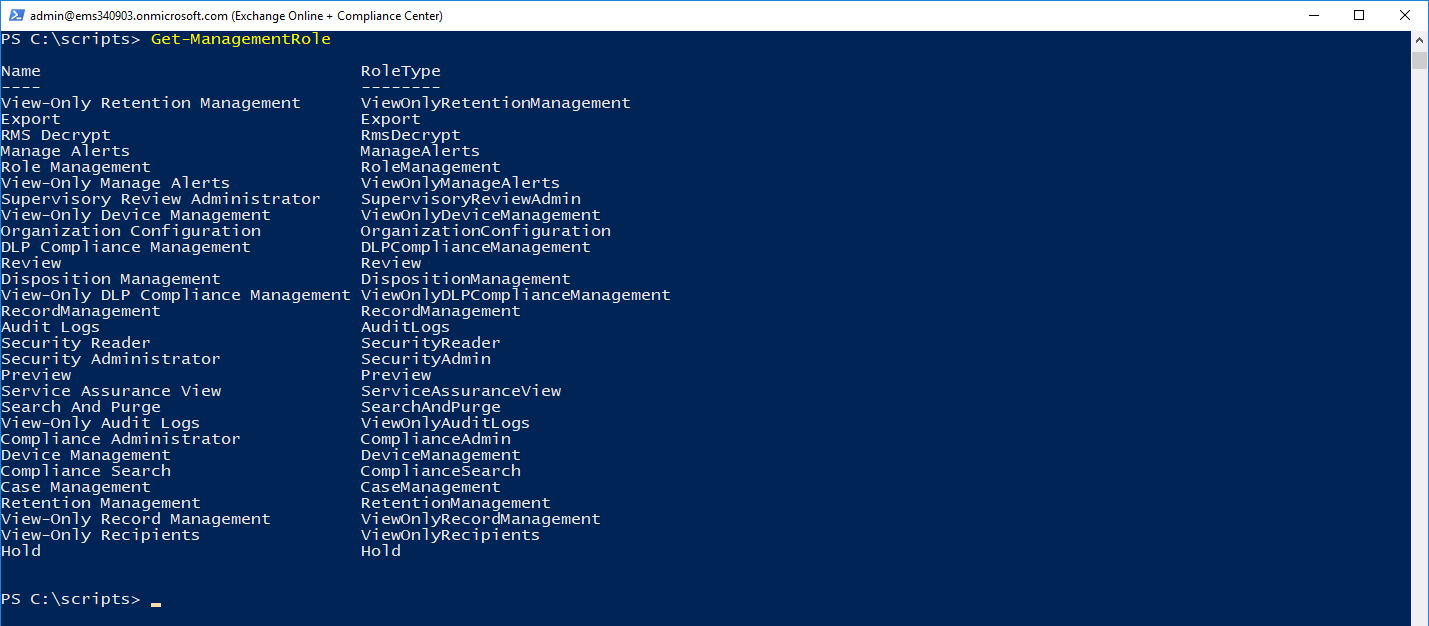
However, if you see this, things are looking up and you're ready to go:
Remove Users from Existing Role Groups
If you're starting with the same users/configuration from the previous post, you'll want to clear their role group memberships and remove any existing Security & Compliance Roles.
First, take a look at the role groups. The default role group that we used (that had the necessary permissions) is the eDiscovery Manager role group:
Get-RoleGroupMember eDiscoveryManager

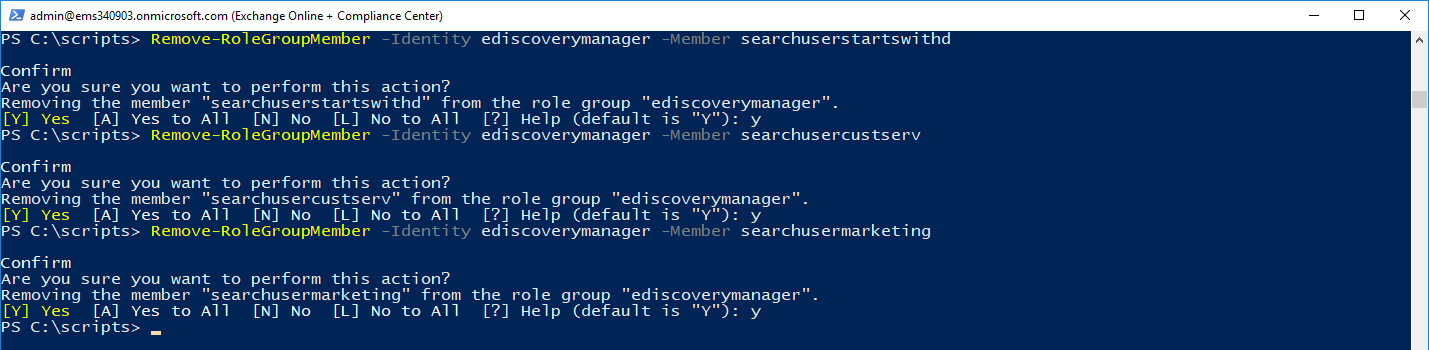
Remove the test users from the role group with the Remove-RoleGroupMember cmdlet:
 Remove-RoleGroupMember -Identity ediscoverymanager -Member searchuserstartswithd
Remove-RoleGroupMember -Identity ediscoverymanager -Member searchusercustserv
Remove-RoleGroupMember -Identity ediscoverymanager -Member searchusermarketing
Security Group
Create a mail-enabled security group--either on-premises and synchronized or cloud-based is fine. It can't be a Dynamic Distribution Group, since DDGs don't have a security token associated with them. Boo-fricken'-hoo.
To do this in my environment, I just added our members from the previous post into an array object, and then created a new mail-enabled security group with the array as the members property.
 $Members = @('searchusercustserv@ems340903.onmicrosoft.com','searchuserstartswithd@ems340903.onmicrosoft.com','searchusermarketing@ems340903.onmicrosoft.com')
New-DistributionGroup -Name 'eDiscovery Delegated Users' -Type Security -Members $Members -DisplayName 'eDiscovery Delegated users'

Role Group
Once you have the security group created with members, you can create a role group and add the members. When you create a role group, you must assign the roles at creation. If you don't assign roles, you won't get any errors, but you also won't get any role groups. It's quite the exercise in futility, if you're into that sort of thing. Note: You can also add your newly-created security group to an existing role group.
You'll want to identify the role permissions to add. In this case, we're going to add:
- Case Management
- Compliance Search
- Export
- Hold
- Preview
- Review
- RMS Decrypt
New-RoleGroup -Name "eDiscovery Delegated Users" -Description "eDiscovery Delegated Users" -DisplayName "eDiscovery Delegated Users" -Members eDiscoveryDelegatedUsers@EMS340903.onmicrosoft.com -Roles Export,Hold,'Case Management','Compliance Search','RMS Decrypt',Preview,Review

Verify
To verify, log into the Security & Compliance Center and follow the steps in the previous post to confirm that the searches work as expected.
Then, have a pizza party.