Bulk Adding Calendars to a Google Account for Migration
In my last Google migration post, I talked about creating a MigrationWiz project with the correct resource and folder mappings to support a large-scale project.
One of the requirements is that the resource calendar *must* be opened/mounted on the calendar of the admin user that you'll be using on the Google side. Again, a simple task if it's adding 2 or 3 calendars. But hundreds?
Fortunately, someone smarter than me built the Google Apps Manager command-line tool, which will let us do exactly that.
Here are the steps to getting off to the races:
- Download GAM and extract to a folder, such as C:\GAM.
- Create the authorizations files (client_secrets.json and oauth2service.json) by following these instructions (hint: you'll need to register another application in Google Apps). The Cliff Notes version:
Log into your GoogleApps domain (https://www.google.com/a).
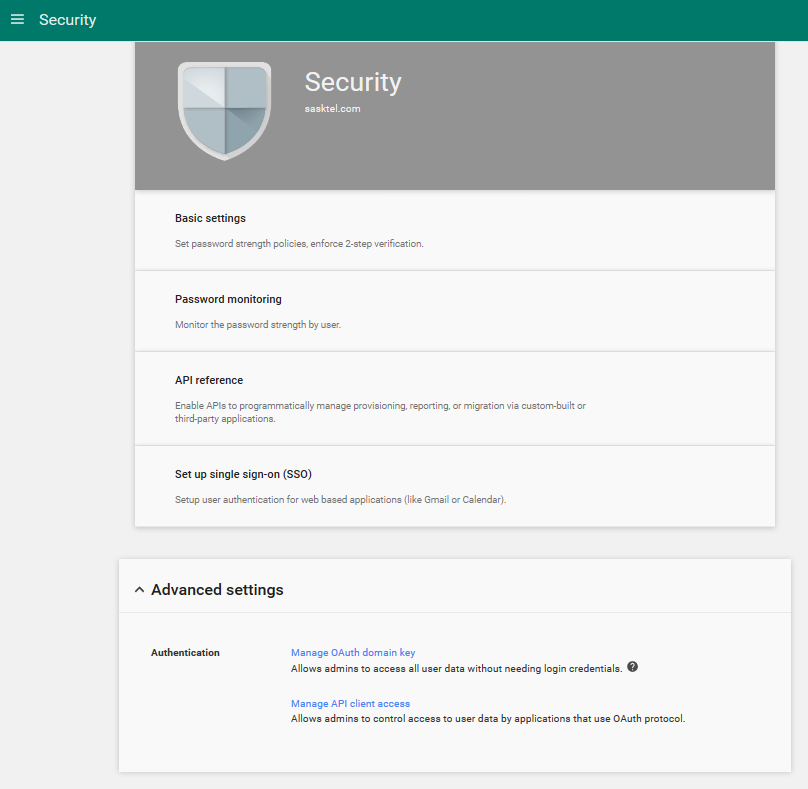
Click Security.
Click API Reference.
Click the checkbox to enable API access (if not already enabled) and click Save.
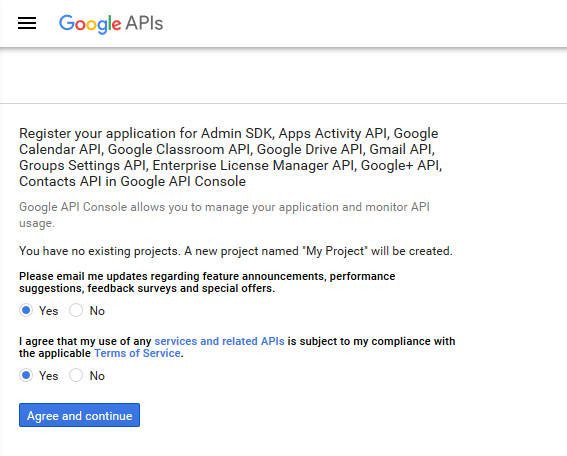
In a new browser tab, go to https://console.developers.google.com/flows/enableapi?apiid=admin,appsactivity,calendar,classroom,drive,gmail,groupssettings,licensing,plus,contacts to create a new Google API Project.
If you've never created an API project before, you'll get something that looks like this. Agree and continue to go to the next step.
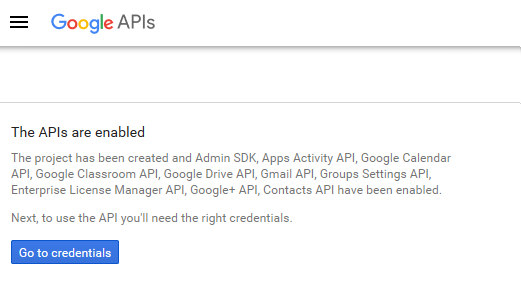
Once it's done, you should be notified that the APIs are enabled and you can continue. Click Go to credentials to continue.
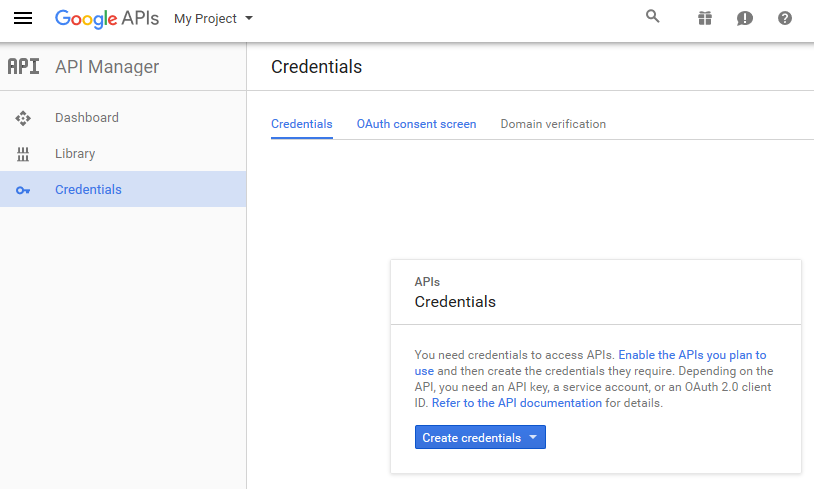
Click cancel.
On the left hand side of the screen, select the Credentials link, and then select the OAuth Consent screen link in the middle of the page.
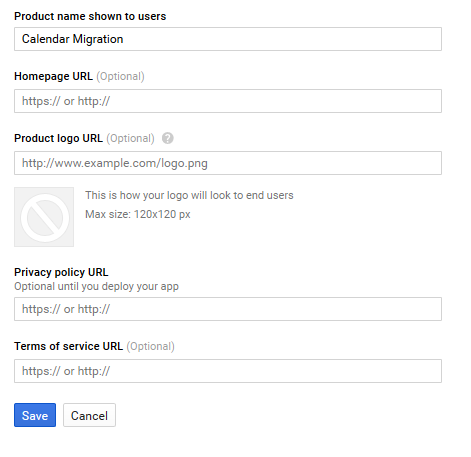
On the OAuth Consent screen, enter a value in "Product name shown to users" (you can use the same name as your project if you want) and then click Save.
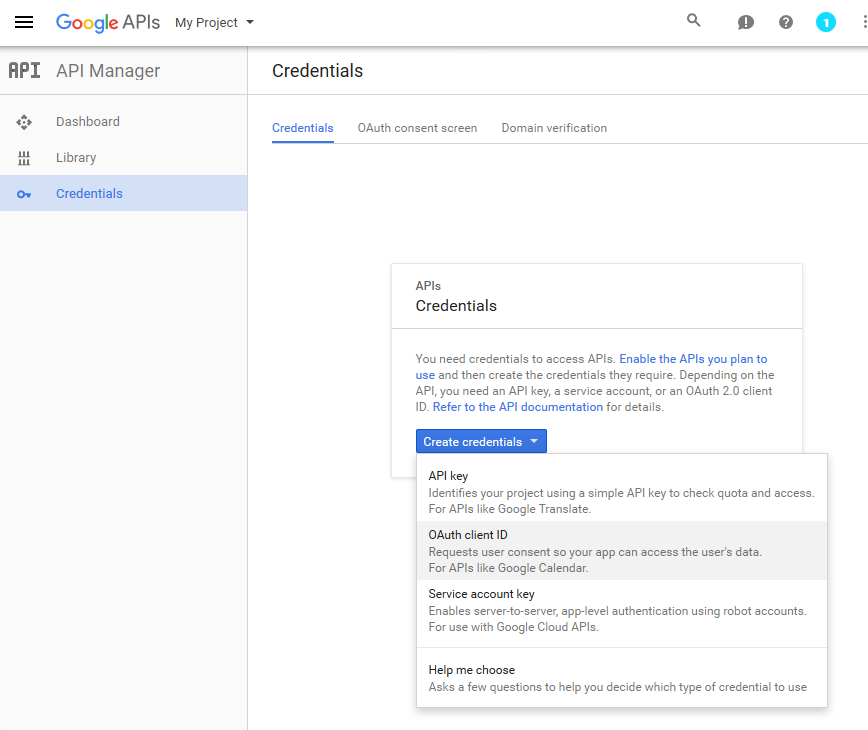
Click the Create Credentials button, and select OAuth Client ID from the drop-down.
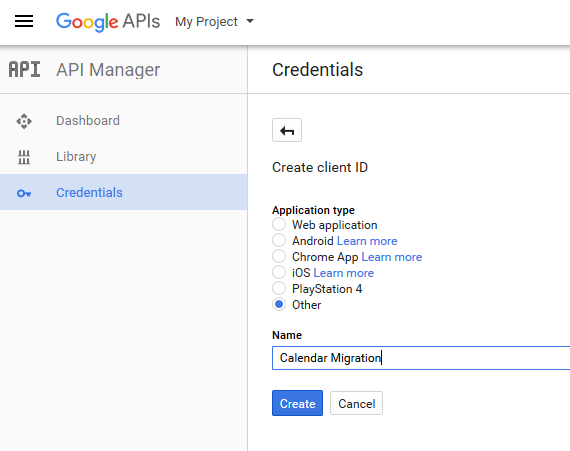
Select the Other radio button, enter a name, and then click the Create button.
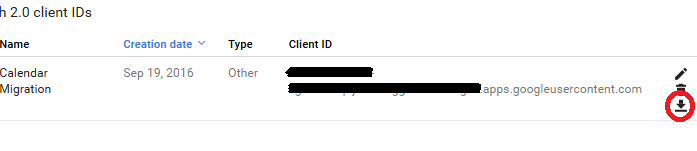
Download the Client OAuth Key using the download icon at the right of the page and save it to the same folder as the GAM binary, renaming as client_secrets.json.
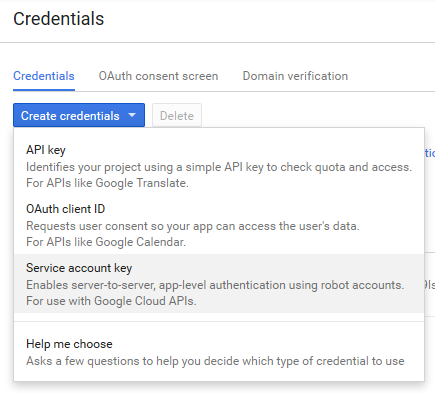
Click the Credentials drop down, select Service Account Key, and then select New Service Account.
Enter a service account name and account ID, and ensure the JSON radio button is selected. Click Create.
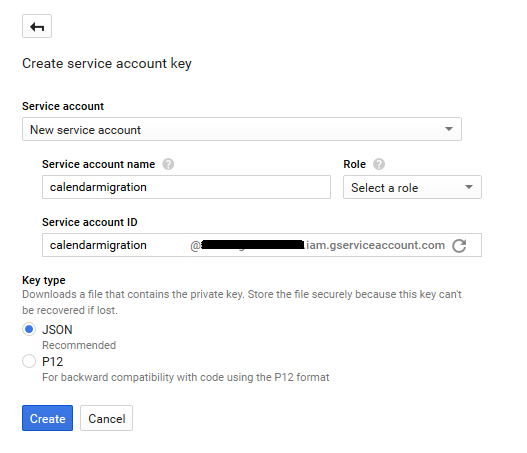
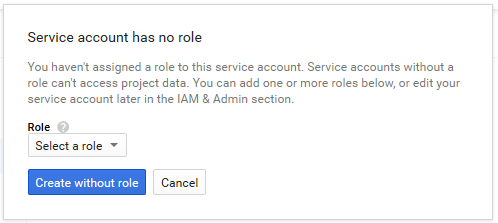
If you get a dialog box complaining about no role, in your most nihilistic voice announce that no one has any roles, and then click Create without role.
You'll immediately receive a prompt to download a file. Save it to the GAM folder, renaming it to oauth2service.json.
On the credentials page, in the Service account keys section, click the Manage service accounts link.
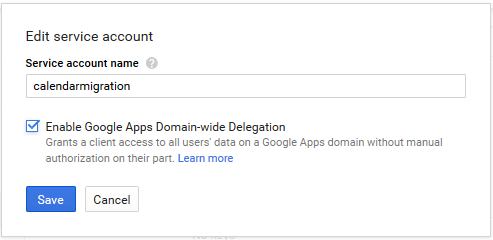
Click the service account, then select the ellipsis icon at the end of the row, and select Edit.
Select the checkbox Enable Google Apps Domain-wide Delegation and click Save.
Next to the Google APIs logo at the top of the screen, click the hamburger menu/card stack, and select API manager, and then select Credentials.
Select the Client ID for the type Other and copy it (Control-C) to your clipboard.
In your browser, select the Admin Console tab (which should still be on API Reference), then click the Show More link at the bottom of the screen. Click Advanced Settings, then click Manage API Client Access.
Paste the Client Id in the Client Name field.
Copy/paste the following data into the One or More API Scopes text box:
https://mail.google.com/,https://sites.google.com/feeds,https://www.googleapis.com/auth/activity,https://www.googleapis.com/auth/admin.datatransfer,https://www.googleapis.com/auth/admin.directory.customer,https://www.googleapis.com/auth/admin.directory.domain,https://www.googleapis.com/auth/admin.directory.resource.calendar,https://www.googleapis.com/auth/calendar,https://www.googleapis.com/auth/classroom.courses,https://www.googleapis.com/auth/classroom.guardianlinks.students,https://www.googleapis.com/auth/classroom.profile.emails,https://www.googleapis.com/auth/classroom.profile.photos,https://www.googleapis.com/auth/classroom.rosters,https://www.googleapis.com/auth/cloudprint,https://www.googleapis.com/auth/drive,https://www.googleapis.com/auth/plus.login,https://www.googleapis.com/auth/plus.me,https://www.googleapis.com/auth/siteverification,https://www.google.com/m8/feeds/contactsClick Authorize.
Go back to the Credentials tab, select the Client ID for the Service Account client, and copy it to the clipboard.
Go back to the Admin Console Manage API client access window in the browser, and then paste the client ID into the Client name field.
Copy and paste the following data into the One or More API Scopes text box:
https://mail.google.com/,https://sites.google.com/feeds,https://www.google.com/m8/feeds/contacts,https://www.googleapis.com/auth/activity,https://www.googleapis.com/auth/calendar,https://www.googleapis.com/auth/drive,https://www.googleapis.com/auth/gmail.settings.basic,https://www.googleapis.com/auth/gmail.settings.sharing,https://www.googleapis.com/auth/plus.login,https://www.googleapis.com/auth/plus.me,https://www.googleapis.com/auth/userinfo.email,https://www.googleapis.com/auth/userinfo.profileClick Authorize.
Launch a command prompt and change to the directory where the GAM binary and Google Authorization files have been copied.
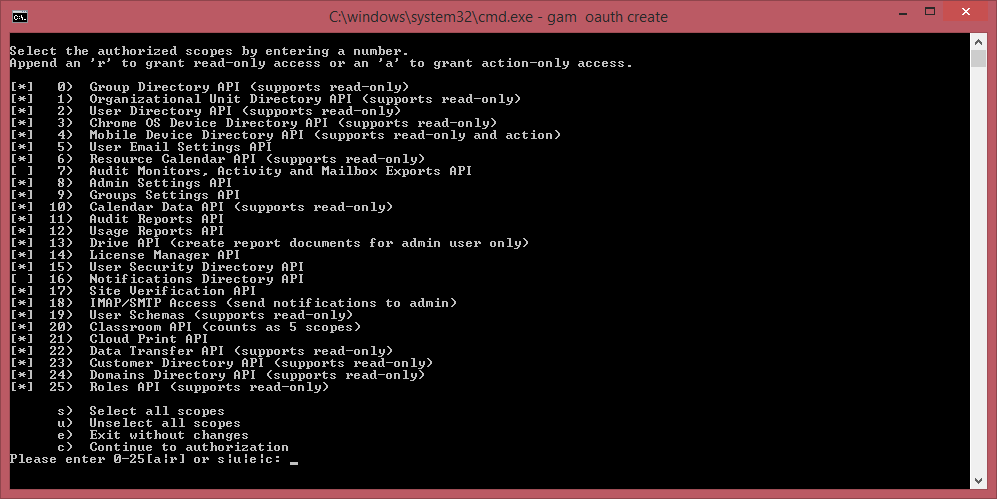
Type gam oauth create and press Enter.

At the command window, select c to continue.
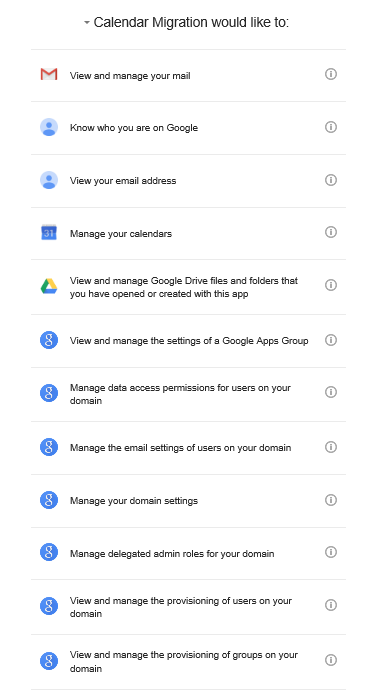
A browser window will pop up, and you should be asked to authorize the project you've created. Click Allow at the bottom of the screen to authorize access.
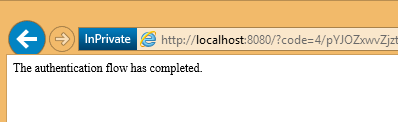
After authorizing, you should receive a message indicating that the authorization was complete.
You can then run the command to update a target user's calendar:
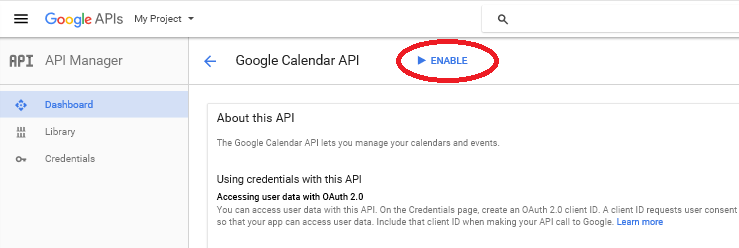
gam user adminmailbox@domain.com add calendar resource.calendar@resources.google.com selected trueIf you get a message similar to the following, you will need to enable Calendar access in the Google Admin portal.
ERROR: 403: Access Not Configured. Calendar API has not been used in project 578301497795 before or it is disabled. Enable it by visiting https://console.developers.google.com
/apis/api/calendar/overview?project=<project-id> then retry. If you enabled this API recently, wait a few minutes for the action to propagate to our systems and retry. - accessNotConfigured
- Then, bundle it all up in a script. You can use the GAM CSV import method, but since I'm a PowerShell kind of a guy, I figured I'd just take the CSV from my last post and re-use it here.
Launch PowerShell window and change to the C:\GAM directory.
  $Resources = Import-Csv GoogleResources.csv
 $GoogleAdminEmailAddress = "admin@domain.com"
 Foreach ($obj in $Resources)
 {
 Write-Host "Processing $($obj.GoogleAppsResourceEmail)..."
 .\gam user $GoogleAdminEmailAddress add calendar $obj.GoogleAppsResourceEmail selected true
 }
View the updated calendar in Google.
Happy migrating!