SCEP certificate enrolling using ConfigMgr 2012, CRP, NDES and Windows Intune
In order to check for a valid configuration and start enrolling certificates using ConfigMgr 2012 and Windows Intune, please validate your setup using the steps below.
Update: please consult the newer and more complete blog post:
PART 2 - SCEP certificate enrolling using ConfigMgr 2012, CRP, NDES and Windows Intune
Tasks to check on the NDES Server
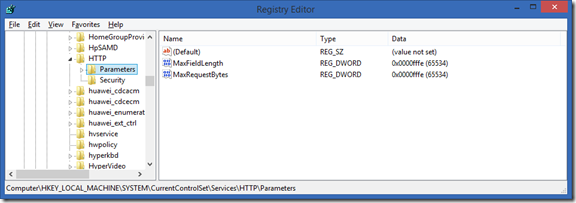
Use the registry editor to increase the IIS default URL size limit by setting the following registry keys:
Location: HKEY_LOCAL_MACHINE\ CurrentControlSet\Services\HTTP\Parameters
Set the MaxFieldLength DWORD key to 65534 (Decimal)
Set the MaxRequestBytes DWORD key to 65534 (Decimal)
You can also download the registry file from this location or compressed from here.
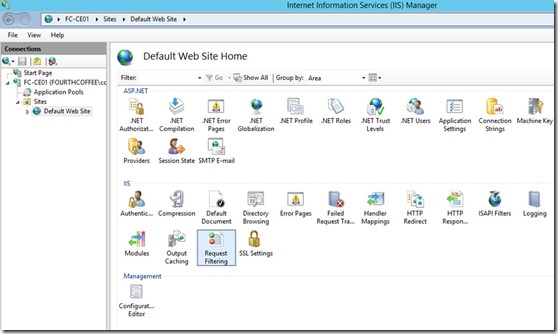
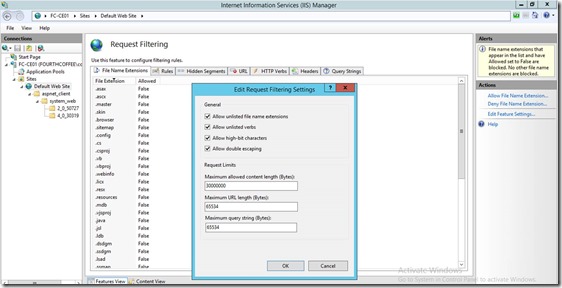
On the same server, in Internet Information Services (IIS) Manager, modify the request-filtering settings for the /certsrv/mscep application, and then restart the server. In the Edit Request Filtering Settings dialog box, the Request Limits settings should be as follows:
- Maximum allowed content length (Bytes): 30000000
- Maximum URL length (Bytes): 65534
- Maximum query string (Bytes): 65534
For more information about these settings and how to configure them, see Requests Limits in the IIS Reference Library.
Make sure to reboot the server after these changes, an IIS reset is not sufficient.
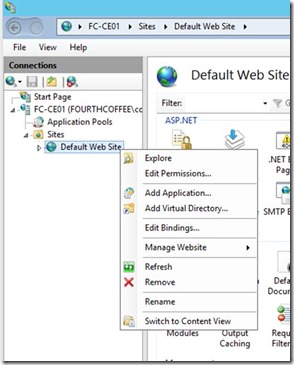
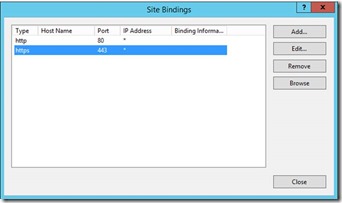
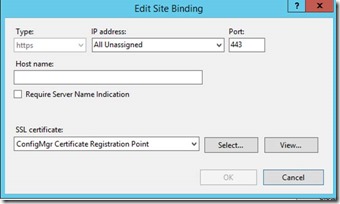
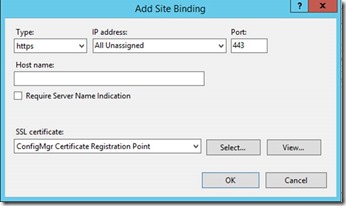
Assign the Certificate which will be used for NDES Server on Port 443 of the Default Website
If the port 443 does not exist, click “Add Port” instead of “Edit”
In case you pressed “Edit”
In case you pressed “Add”
Now open Internet Explorer and check access to
In this case you receive a Certificate error, this is expected (remember that in the Certificate Request we have provided Netbios, FQDN and not localhost)
On your ConfigMgr 2012 R2 server:
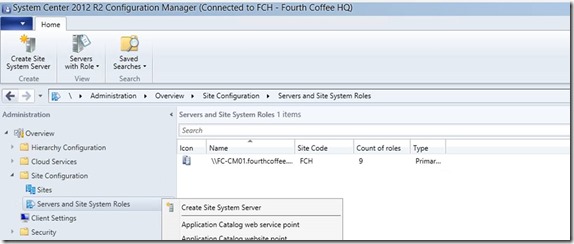
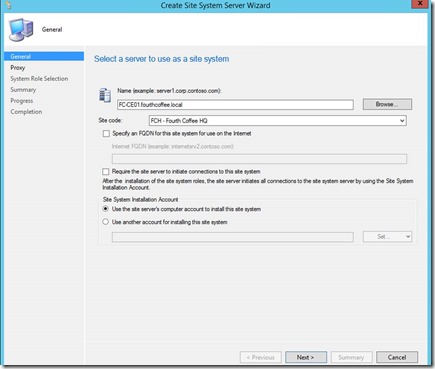
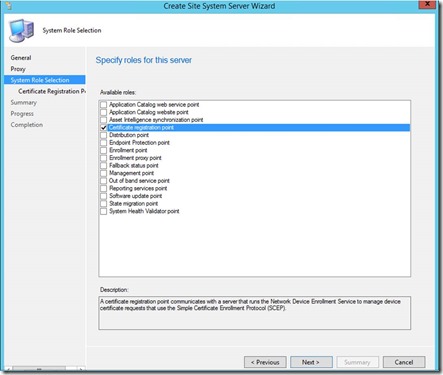
Create a new Site System Server if not yet part of your ConfigMgr environment
Provide Server name
You might want to provide a “Site Installation Account” if your Site Server does not have local admin rights on the target system
Select Certificate registration point as Site System Role
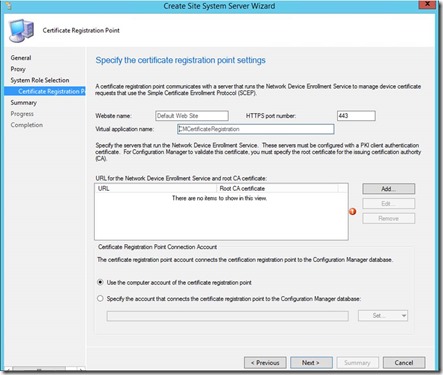
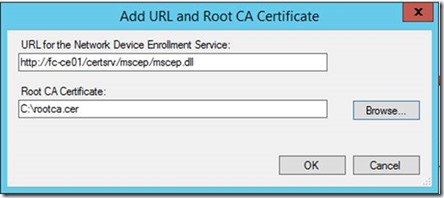
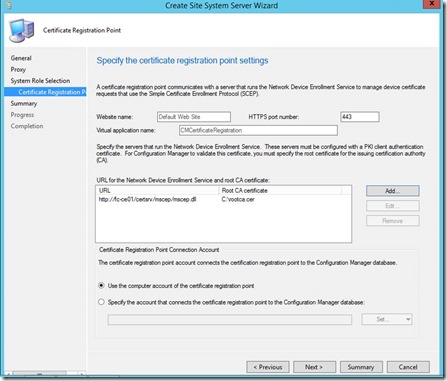
Add URL and Root CA Certificate. (This would be the Root CA Cert for the CA that signed the certificate that will be used for the NDES server policymodule client auth certificate)
Test if you can access the link using IE before https://<hostname>/certsrv/mscep/mscep.dll
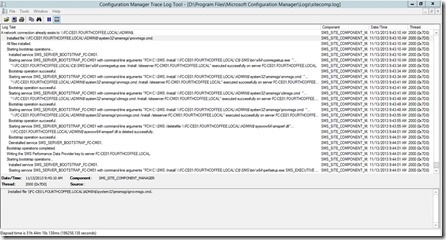
Monitor Sitecomp.log file if the site system role installation has been started
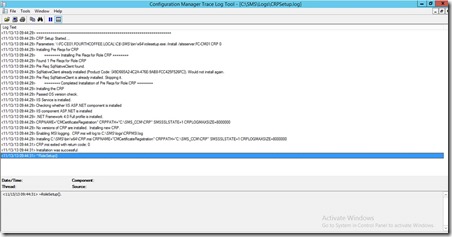
On the Site Server which has been selected to be Certificate Registration Point check CRPSetup.log
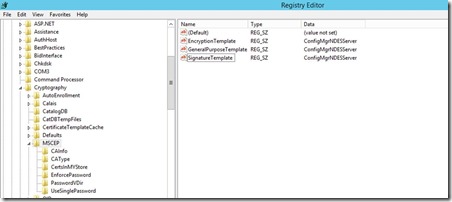
Change the Template Name used by MSCEP to the one we have created for NDES Server.
You need to run iisreset on the NDES server for changes to be processed.
NDES can use 3 different templates if you want to issue different certs for different reasons. Each registry key maps to the “Purpose:” specified on the Request Handling tab of the Certificate template:
- “Signature and Encryption” purpose maps to the registry key GeneralPurposeTemplate
- “Signature” purpose maps to the registry key SignatureTemplate
- “Encryption” purpose maps to the registry key EncryptionTemplate
Note: Make sure to restart IIS (the command is “iisreset”) after changing these registry keys.
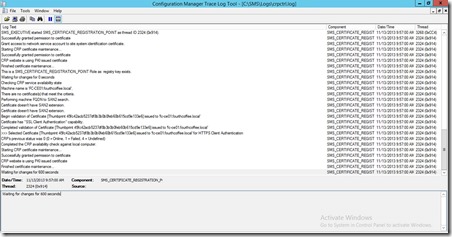
Restart the Certificate Registration Point component. Verify crpctrl.log to see if the component is running correctly
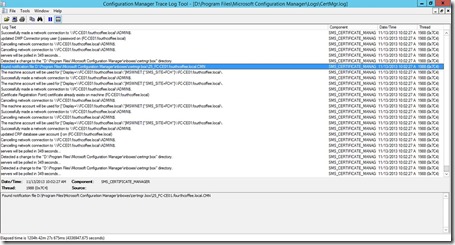
On the ConfigMgr Site Server check your CertMgr.log file
Note the entry updated CRP database user account() on … which will have caused the creation of the CRP*.cer file in Program Files\Microsoft Configuration Manager\inboxes\certmgr.box
This Certificate is required for Configuration Manager Policy Module installer. Copy this certificate to your NDES Server.
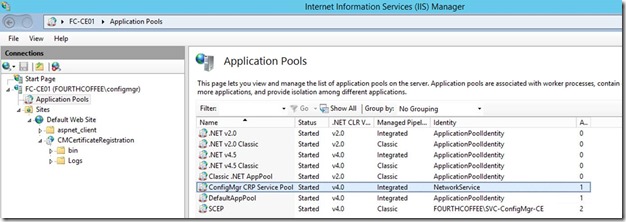
On the CRP server, in IIS you will now have ConfigMgr CRP Service Pool with CMCertificateRegistration application
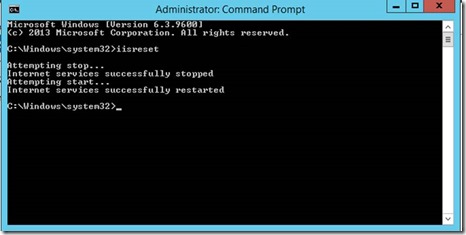
Depending on what you’ve changed, do an IISReset
Test NDES related Weblinks which should have following results now:
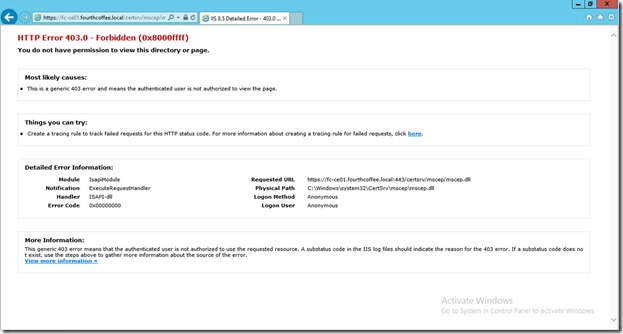
https://<fqdn>/certsrv/mscep/mscep.dll
Note this 403 error is expected!
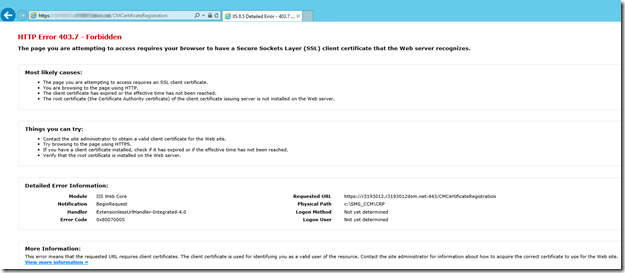
/CMCertificateRegistration">https://<fqdn>/CMCertificateRegistration
If you are testing this on the local server you should get a 403.7
If you are testing this from a remote PC/server you should get a 403 (access denied)
Please consider leaving a reply if this post helped you.
