Server 2012 Optimizing SMB shares for Hyper-v & Rapid Provisioning
Windows Server 2012 gives us the ability to use SMB 3.0 file shares as storage for hyper-v. You can store VHD's, virtual machine configuration files, and snapshots on the SMB 3.0 shares. By using SMB 3.0 the server has the ability to transmit more data simultaneously over multiple NIC's or paths. The beauty of SMB 3.0 is that all of this requires no extra configuration. All you have to have is a NIC in the server hosting the SMB share that supports RSS and your SMB client will automatically detect and use multiple network connections. To read why SMB 3.0 and multi-channel is so great please check out the following blog; https://blogs.technet.com/b/josebda/archive/2012/05/14/the-basics-of-smb-multichannel-a-feature-of-windows-server-2012-and-smb-3-0.aspx
Below is a quick example on how to build a VM using the native 2012 hyper-v cmdlts with a parent VHD that resides on an SMB 3.0 share and the child disk lives on a local drive attached to the hyper-v server d:\images\. The parent VHD below is just a sysprep'd vhd running Windows 2008 R2 Enterprise.
$Hypervhost = "hyper-v-host1"
$vmname = "testserver"
$ParentPath = "\\smbserver\ParentVHDs\ENUW2K8R2EESP1X64.vhd"
$childpath = "d:\images"
# Create the VM without a disk
New-VM –Name $vmname –MemoryStartupBytes 1024MB -Path $childpath\$vmname -Verbose
# Create the Differencing Disk
New-VHD –ParentPath $parentpath –Path $childpath\$vmname\$vmname.vhd -Differencing
# Add the disk to the VM
Add-VMHardDiskDrive $vmname -Path $childpath\$vmname\$vmname.vhd
# Start it
start-vm $vmname
Using the script above you can build a VM in a matter of seconds!
How to create your SMB share.
Considerations
How do you plan to use your SMB 3.0 shares?
If you plan to use your SMB share for a parent VHD scenario you should optimize the raid volume for reads. If the share will be used for a child VHD or just standard virtual machines the raid volume needs to be optimized for read+write.
Assumptions
Raid volumes have already been presented to the server.
File and Storage Services server role is already installed.
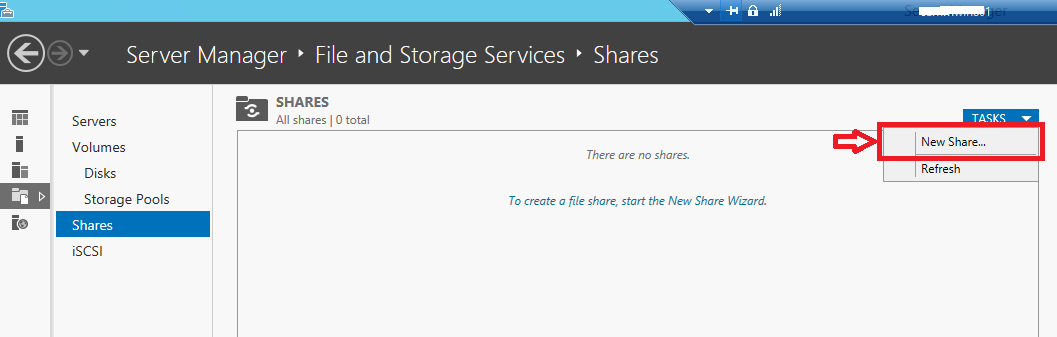
1. Open Server Manager --> File and Storage Services and select Shares --> New Share and click next.
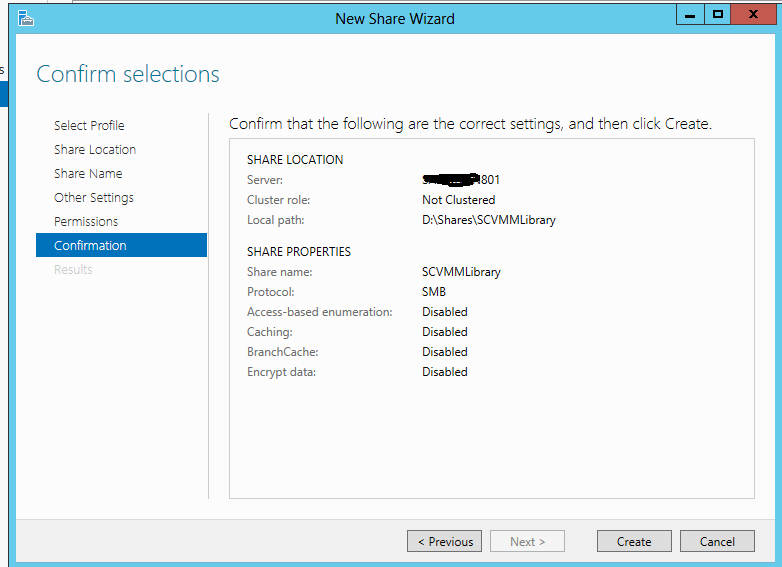
2. Under "Select Profile" select "SMB Share - Applications" and select next. Note the description indicates this is the best option for hyper-v

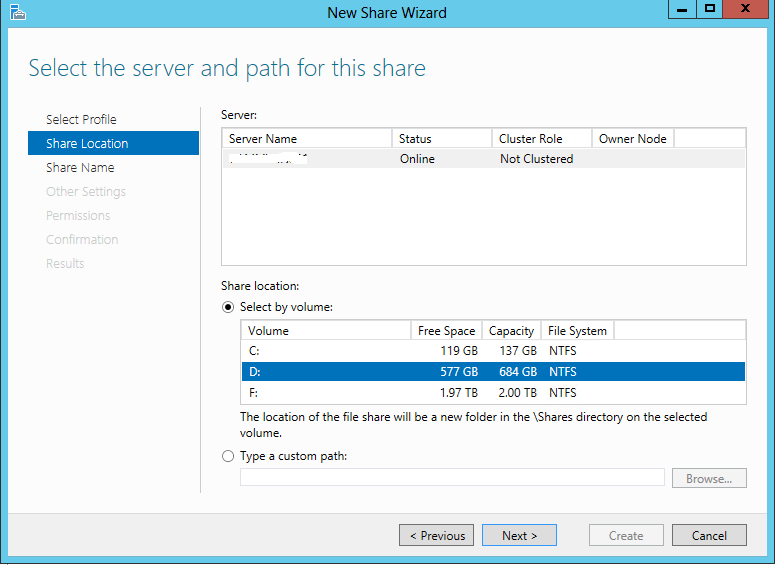
3. Type in your share location and click next.
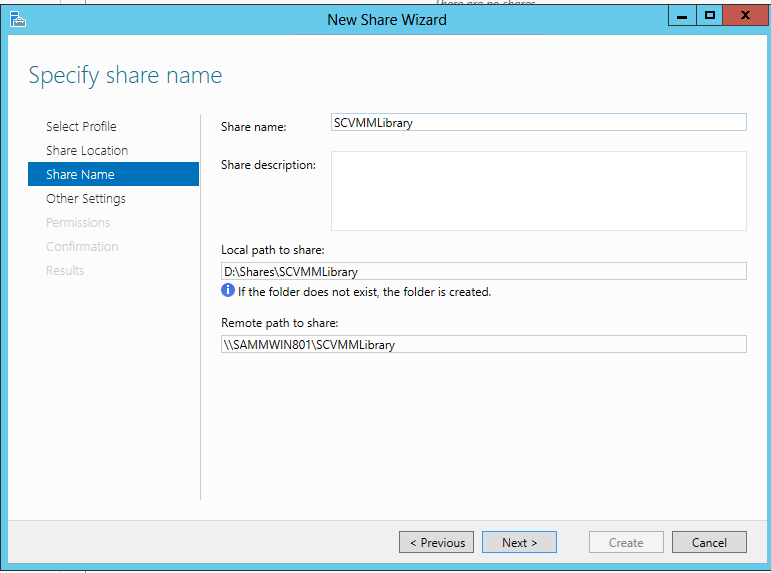
4. Type in your share name and click next.
5. In the "Other Settings" dialog select next.
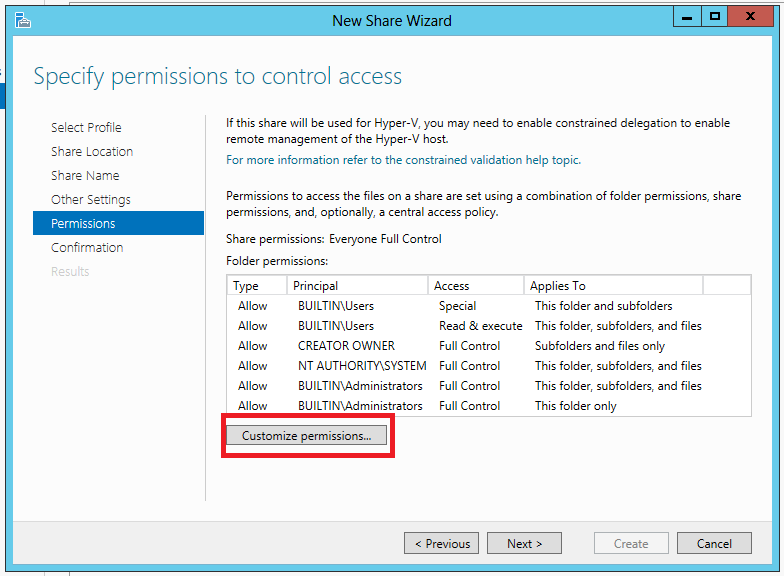
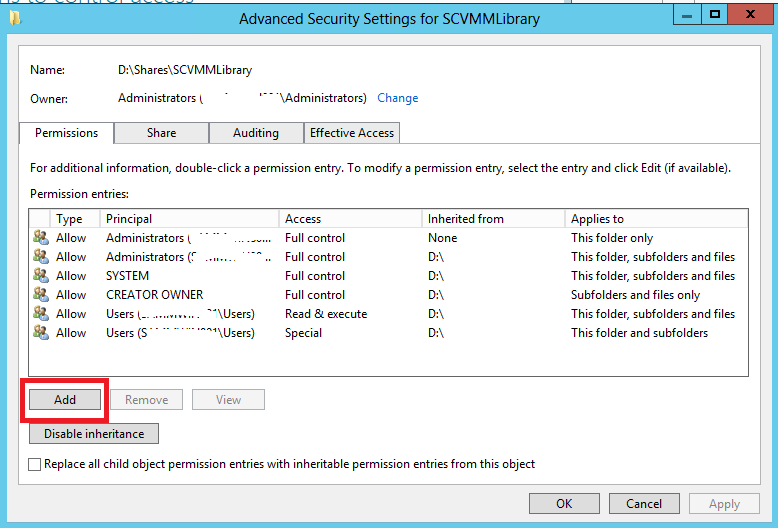
6. In the "Permissions" dialog select "Customize permissions" - This is where you are going to give the hyper-v host permissions to the share.
7. Click "Add".
Click "Select a principle" then click "Object Types..."
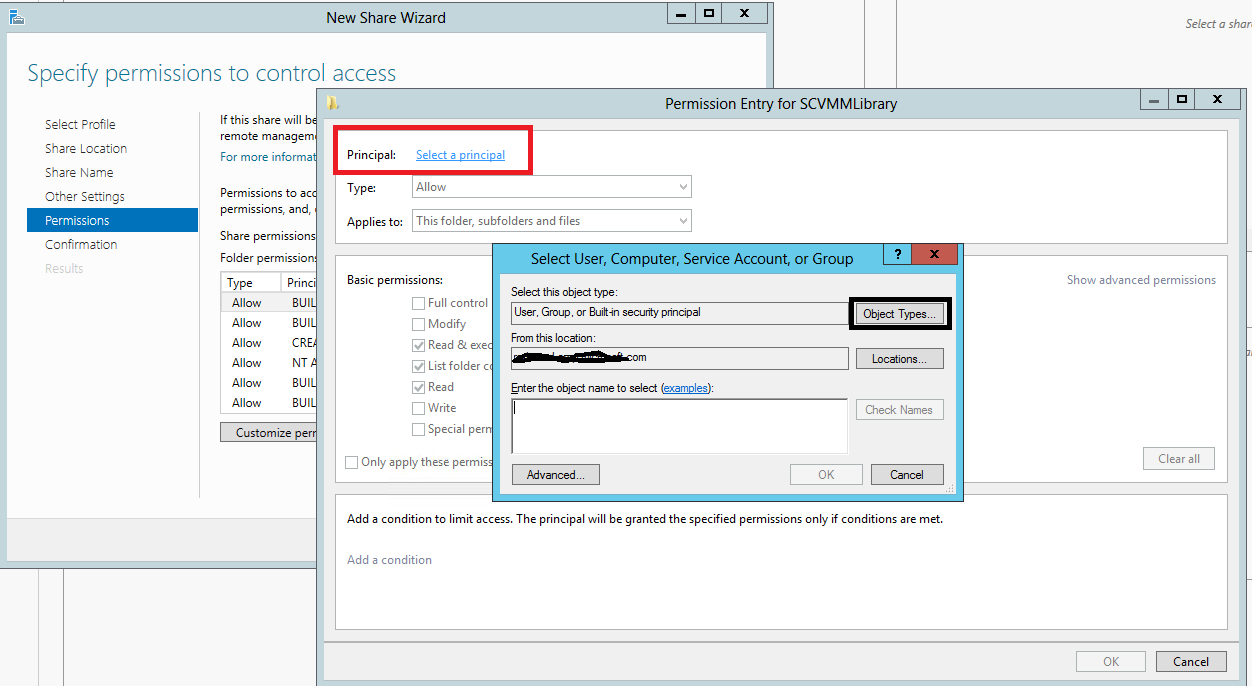
Select "Computers" and click ok. Search for your hyper-v computer name and click ok.

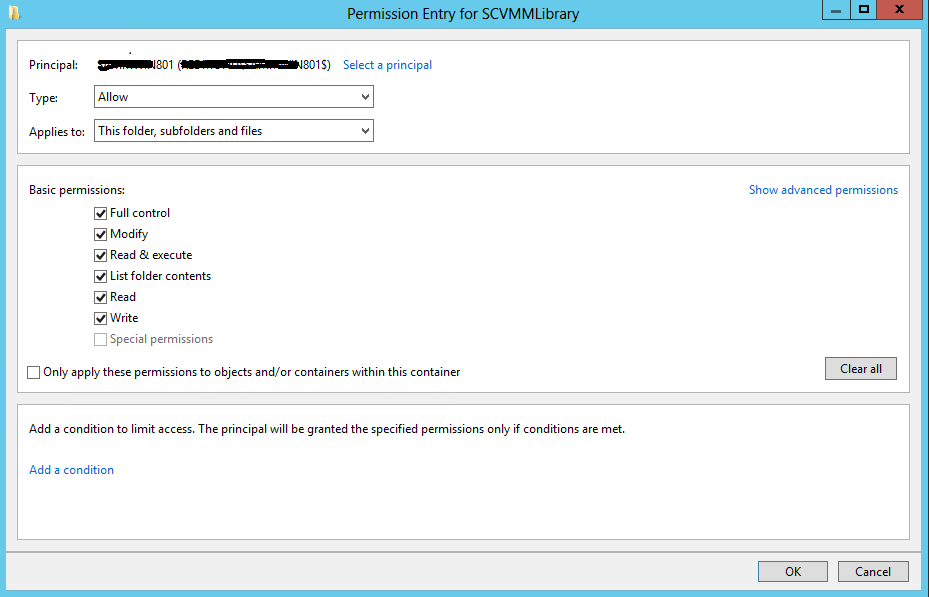
With your hyper-v server selected as the principle - Select Full Control and click ok.
Hope this helps!
Trent
CISSP, ITILv3, MCP
This posting is provided "AS IS" with no warranties, and confers no rights