Build a Specialized Search Experience in Minutes with SharePoint 2013
Audience: Search Admin/ITPro
Pre-requisite: This post assumes the reader has basic SharePoint 2010 Search Administration knowledge.
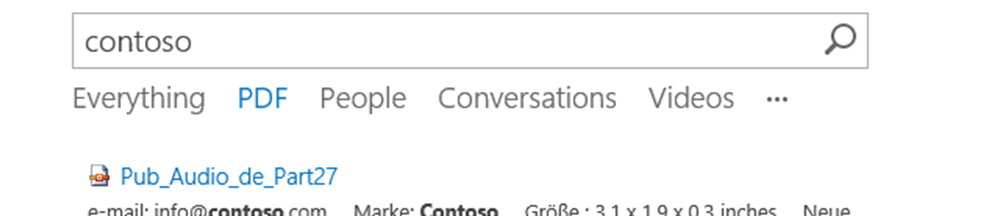
The Enterprise Search Center in SharePoint 2013 Preview searches nearly everything SharePoint crawls. That’s why its search results are labeled “Everything”:

But for specialized data or scenarios, you often want a specialized search experience to match. That’s what the links next to “Everything” are. For example, “People” takes you to People Search, which returns only People results, displays them differently, and responds intelligently to certain people-related queries such as searches for a phone number.
Building your own search experience is easy. The core of it is this:
Search Experience = Result Source + Search Results Web Part
A Result Source is the heart of a search experience. It guarantees results that meet specific conditions. For instance, the Local People Results source returns only People results. You can think of a Result Source as a SharePoint 2010 Federated Location plus a Search Scope.
The Search Results Web Part, and the page it’s on, is the face of a search experience. It sends queries to the proper Result Source. So People Search has a Search Results Web Part that sends queries to the Local People Results source.
Now, fully fleshed-out search experiences like People also use a bunch of other Search features, such as Result Types and Display Templates to change how results look, and Query Rules to respond intelligently to users. But their core is always a Result Source and a Search Results Web Part. And creating those takes only a couple minutes.
So we’ll give it a shot — let’s build a simple search experience for PDFs.
Create a PDF Result Source
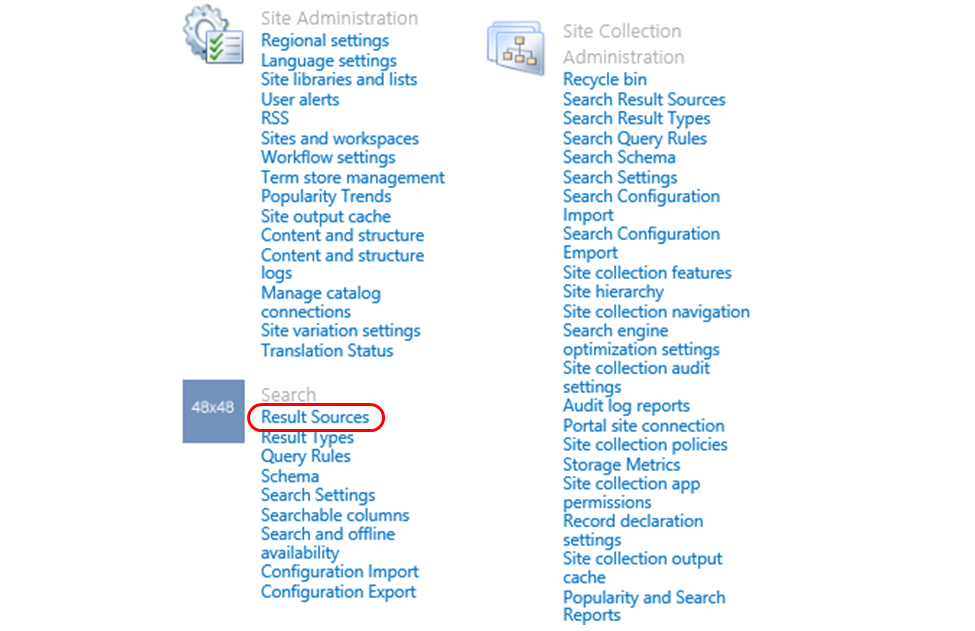
First, let’s create a Result Source that only returns PDF results. From your search center, click the gear icon, choose Site Settings, then click Result Sources.
Next, click New Result Source and set the following:
- The source’s name: PDF Results
- Its description: Results with file extension .pdf
- Because we want items crawled by SharePoint, keep the Protocol on Local SharePoint.
- Because we don’t want People results, keep the Type on SharePoint Search Results.
- Its Query Transform: {searchTerms} fileextension:pdf

Query Transforms are very powerful, so we’ll discuss them in depth in another post. For now, the key is that Result Sources use their transform to guarantee only certain results. The transform does this by replacingthe incoming query with whatever you type here.
Wait…replacing the query?
That’s right. And that means two things:
- To add a restriction to the incoming query, you need to include its query text as part of the transform. This is what {searchTerms} does. It’s a query variable that is automatically swapped out for the incoming query’s text.
- You can use Search syntax to restrict results. This is a lot easier than managing Search Scope Rules in SharePoint 2010 Products. Want only PDFs? Use {searchTerms} fileextension:pdf. Only PDFs not in a certain site? Use {searchTerms} (fileextension:pdf AND NOT site:path/to/site). And you don’t have to wait for anything to update, either.
Since we want only PDF results, use {searchTerms} fileextension:pdf.
Finally, click OK, and you’ve created your PDF Results source.
Create a Search Results Web Part
Remember that the core of a search experience is a Result Source plus a Search Results Web Part. So now let’s create a search page with that Web Part on it.
This is really easy: go to your search center, click the gear icon, choose New Page, and give it a name.
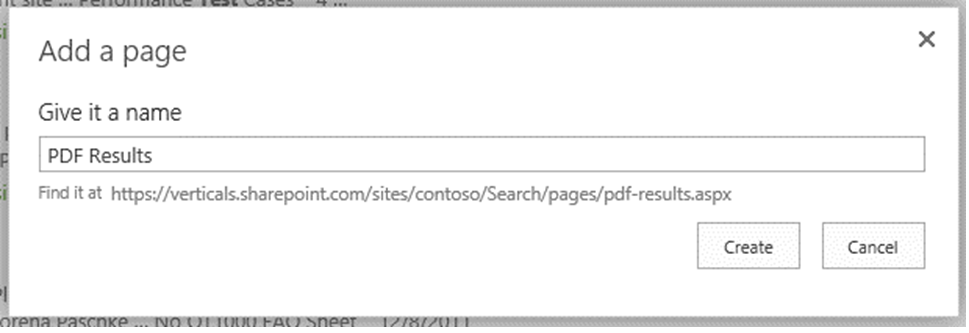
Clicking Create takes you to your new search page, with several Web Parts already there.
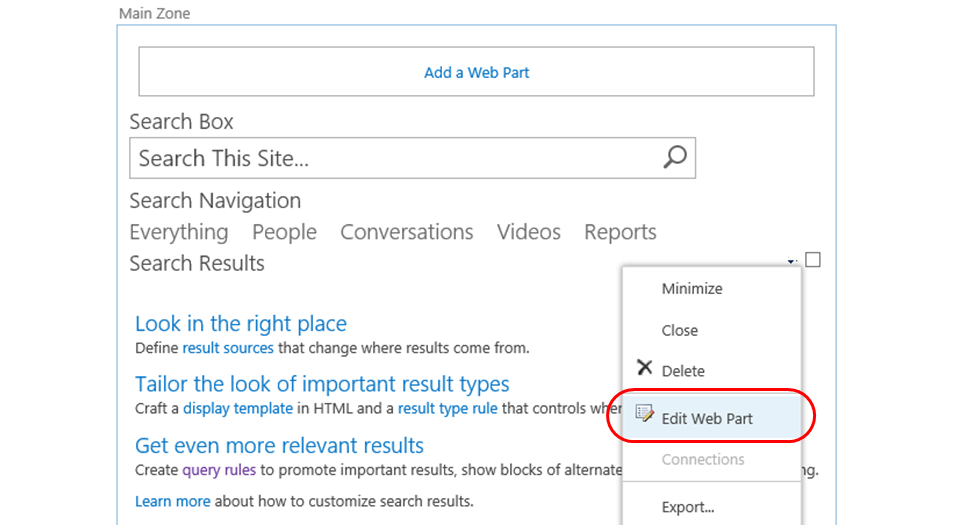
One of these is the Search Results Web Part. By default, it sends user queries to the Local SharePoint Results source. We need to change it so that it sends queries to your PDF Results source instead.
First, hover over the Search Results heading. Next, click the little arrow next to the checkbox that appears. Then select Edit Web Part.
This brings up the Web Part tool pane. We want to change the query that this Web Part sends, so click the Change Query button.
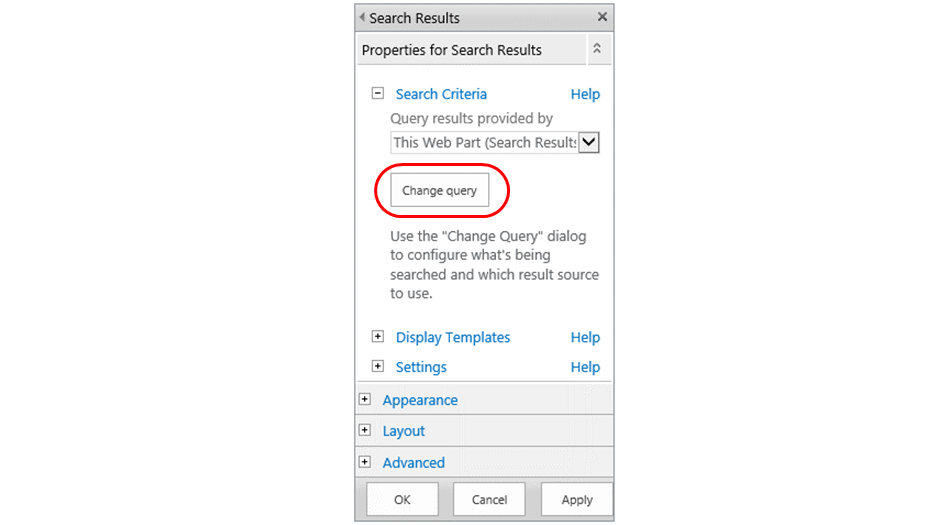
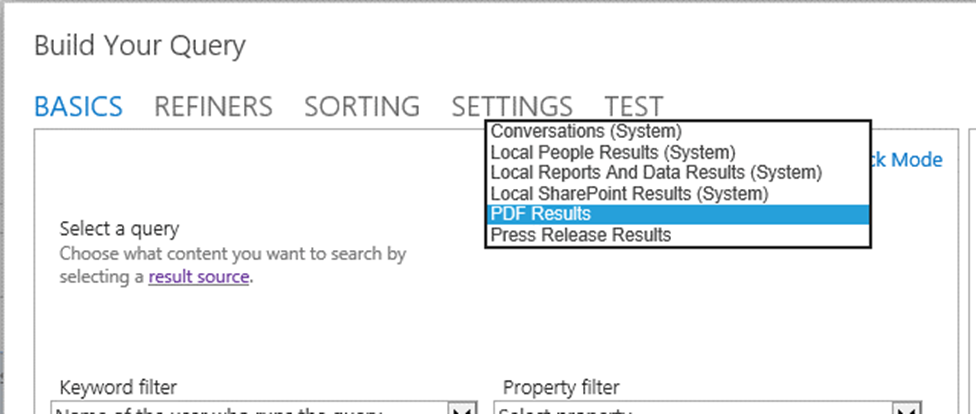
Doing so launches the Query Builder. This is a sophisticated tool used in several Search components for configuring Query Transforms. For example, when you configured your Result Source, you could have used the Query Builder to help.
Right now, we only need a very simple transformation: the Web Part should transform queries so that they go to a different Result Source. So pick PDF Results from the Result Source dropdown.
Click OK on the Query Builder, then OK on the Web Part’s tool pane, and finally publish your changes to the page (in the ribbon, select the Publish tab, then the Publish action).
Voila! You’ve created your first simple search experience! Any search you perform on this page will return only PDF results.
Fleshing Out Your Search Experience
This is the very simplest of specialized search experiences. SharePoint 2013 Preview provides a variety of tools to let you customize its look (Result Types and Display Templates), make it respond intelligently to users (Query Rules), and integrate it with your main Enterprise search.
We’ll cover all of these in future posts. For now, let’s at least add your PDF Search to the Search Navigation, next to People, Conversations, and the other standard search experiences.
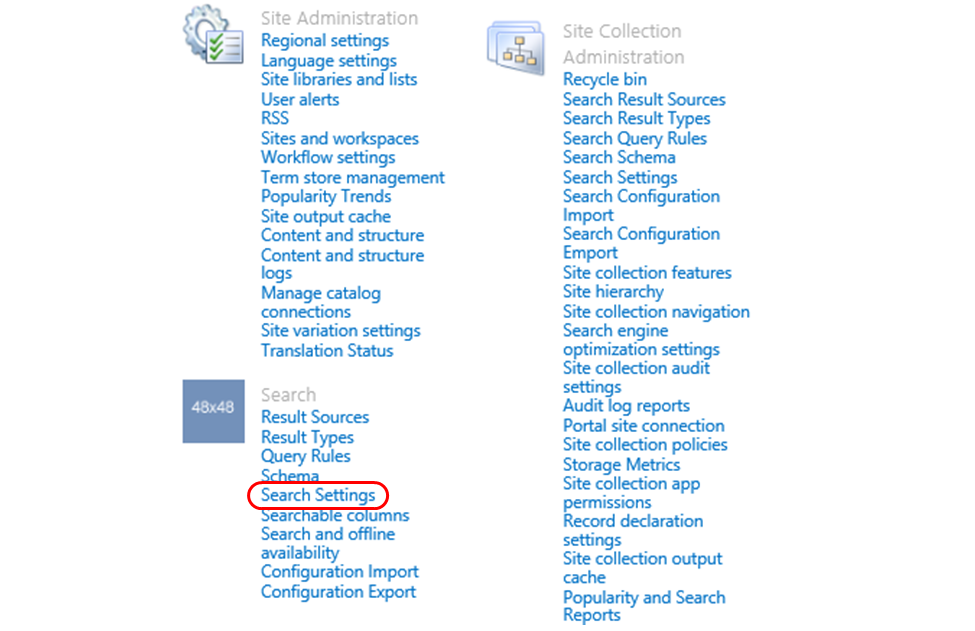
First, from your PDF Search, click the gear icon, choose Site Settings, then click Search Settings.
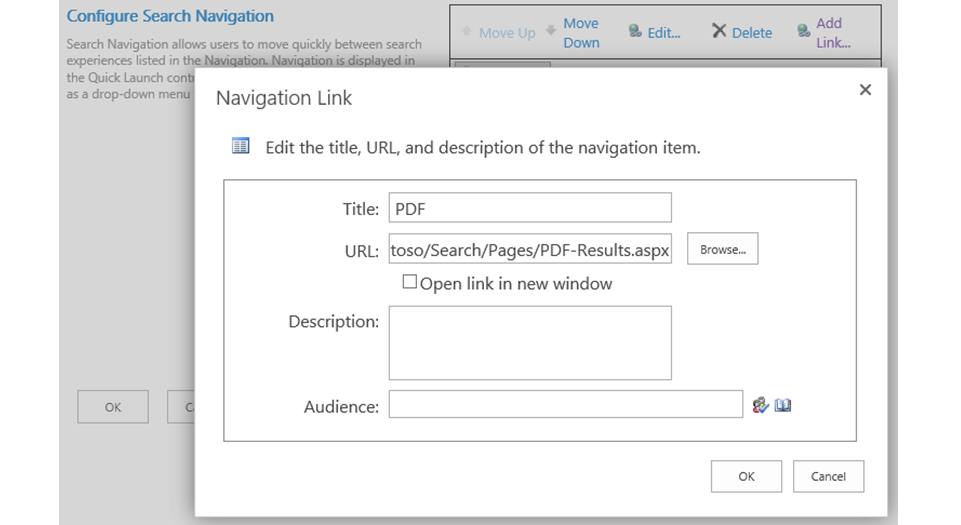
This page lets you configure Search Navigation links. Click Add Link, type a title, then click Browse and pick the search page you created earlier (look under your search center’s Pages).
Click OK to save your link, then select it and click Move Up until it’s just after the Everything link.
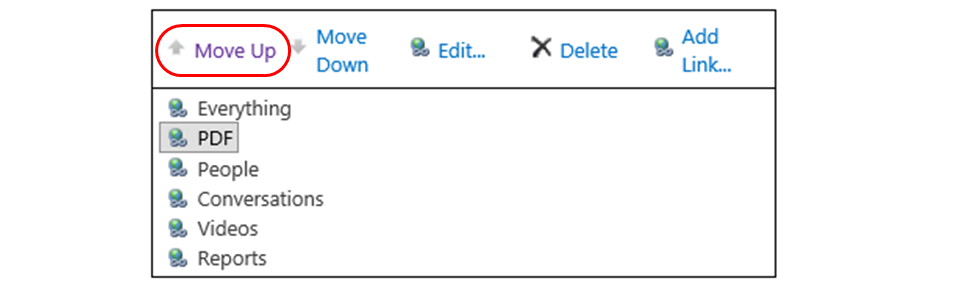
Finally, click OK, then try a search in your search center. You’ll see a link to your PDF Search, and clicking it will search just PDF files.
Now that you know how, creating a basic specialized search experience should only take a few minutes. Just remember:
- First create a Result Source to return only the right results.
- Then create a search page with a Search Results Web Part that uses your new Result Source.
- Finally, flesh out your search experience, such as adding it to Search Navigation.
Next time, we’ll talk about using another Search feature, Query Rules, to advertise your new experience in Enterprise search and make it respond intelligently to what your users want to do.