Installing Windows Server 2012 in Core Mode - Step by Step - Part 1
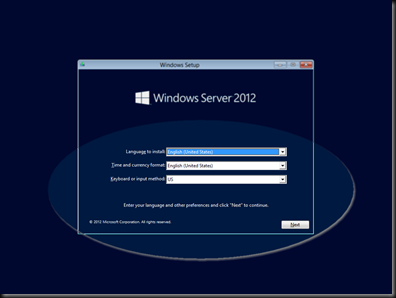
If you are like me, I have put off installing Windows Server in Core mode because frankly seeing the OS in a graphical interface helps me think. However, we are now living in an age where the remote configuration tools are so rich and simplified that it’s high time I got around to diving in to the GUI-less server mode. So let’s get started! You’ve already booted the server to the new Windows Server 2012 RTM DVD or ISO depending on where you are installing the server. You will first be presented with this screen, choose the language and such then click “Next”:
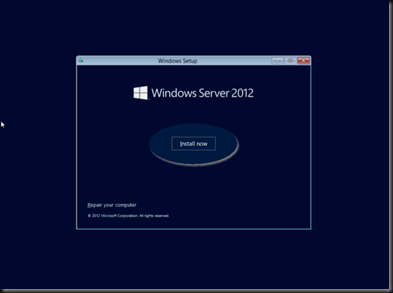
Now we need to click “Install Now” of course:
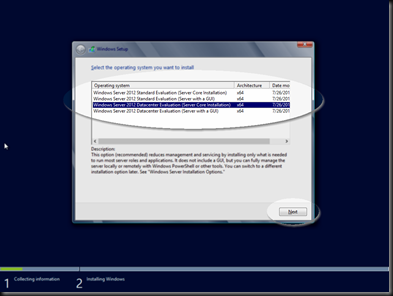
Next we need to choose which type of Server 2012 installation we prefer. In this scenario I choose Windows Server 2012 Datacenter Evaluation (Server Core Installation) x64. The difference between Datacenter and Standard is pretty simple. Datacenter gives you licensing for unlimited virtual machines, where as Standard only makes since if the server will only hold 2 virtual machines or less. Standard would also be used for a server that will not be a Hyper-V server but serve some other purpose like web, application or file services. To follow along in this lab select the one I show here and click “Next”:
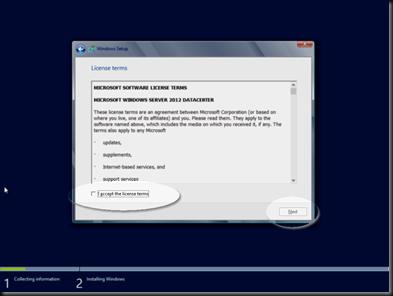
Now we need to agree to the Licensing terms, check the box for “I Accept…” and click “Next”:
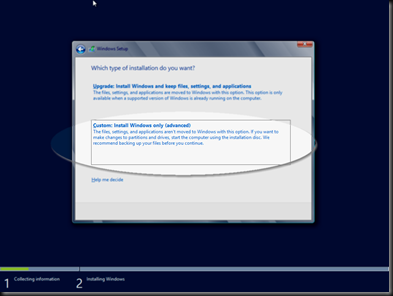
Now depending on whether this is an upgrade or fresh install choose the correct option. For this lab, select “Custom: Install Windows only (advanced)":
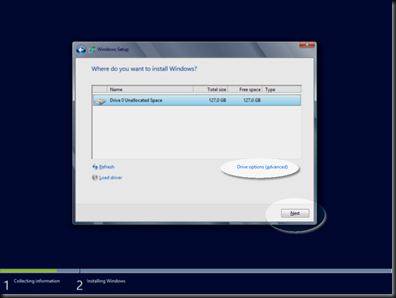
If you want to partition the drive click on “Drive Options (advanced)" otherwise click “Next”:
You should now be at the screen where the installation takes place. Go grab coffee and check out my some of my other labs for Hyper-V here.
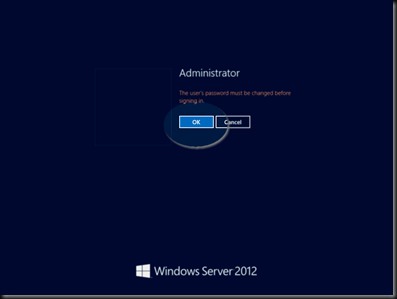
Once the server has booted up you will need to provide the default Adminstrator account with a proper password. Click “OK” enter a password twice and then proceed:
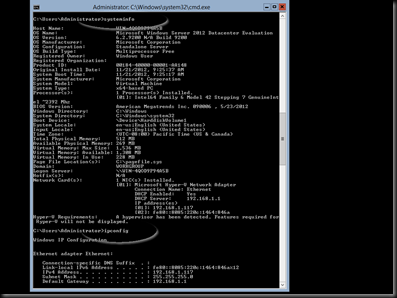
You will find yourself at a command prompt for a list of commands type in “help”. To check the system information type in “systeminfo” and hit the “Enter” key. Then also type in “ipconfig” and hit the “Enter” key.
Now we know the IP address so that we can connect to the server remotely with our management tools proceed on to Part II of this series where we dig into the Remote Server Administration Tool for Windows 8. Continue on to Part II!
