Install the Mailbox role for Exchange 2013 Preview
NOTE: Within the Exchange 2013 Preview you are not able to perform coexistence with Exchange 2007 or Exchange 2010. Exchange 2013 Preview is also not recommended or supportable within a production environment. We recommend installing this within a test lab only that will not affect your production systems.
Today we will be talking about installing a Mailbox Role. To have a fully functioning Exchange Server 2013 install you need to install both the Client Access and Mailbox roles within the organization (either on the same server, or separate like we are doing in this example) as they need each other to work.
The recommendation from the Product Group is to install Exchange 2013 Preview Mailbox Role first, and then the CAS role. If you are interested in learning how to install the CAS role check out this blog post.
Before we begin you need to make sure the prerequisites (Server 2008R2SP1 or Server 2012) are installed on the member server and that Active Directory / Schema was prepared and extended properly. If this has not been done, you should do this before installing the Mailbox role on your member server, as it will either fail or install with massive problems.
Installing Exchange 2013 Preview – Client Access Role:
1) You can start the installation by going inside of Windows Explorer (the GUI) to the path where you extracted the executable file you downloaded from TechNet Evaluation Center. Within the directory you should see a file called Setup.exe. Launch this file.
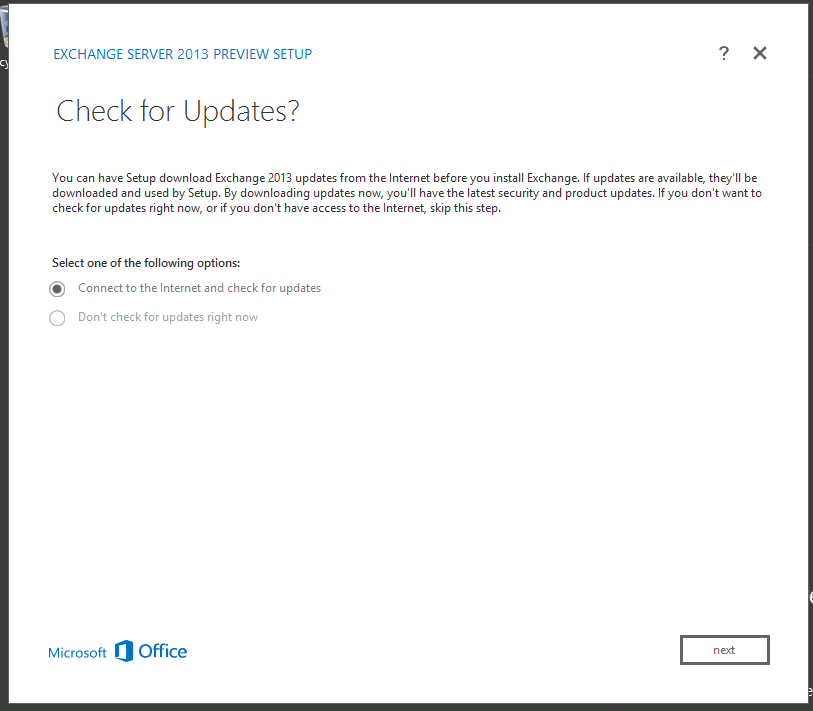
2) The first thing that will pop up is a prompt requesting you to download updates for the preview. There are no updates available, so you can simply skip this portion.
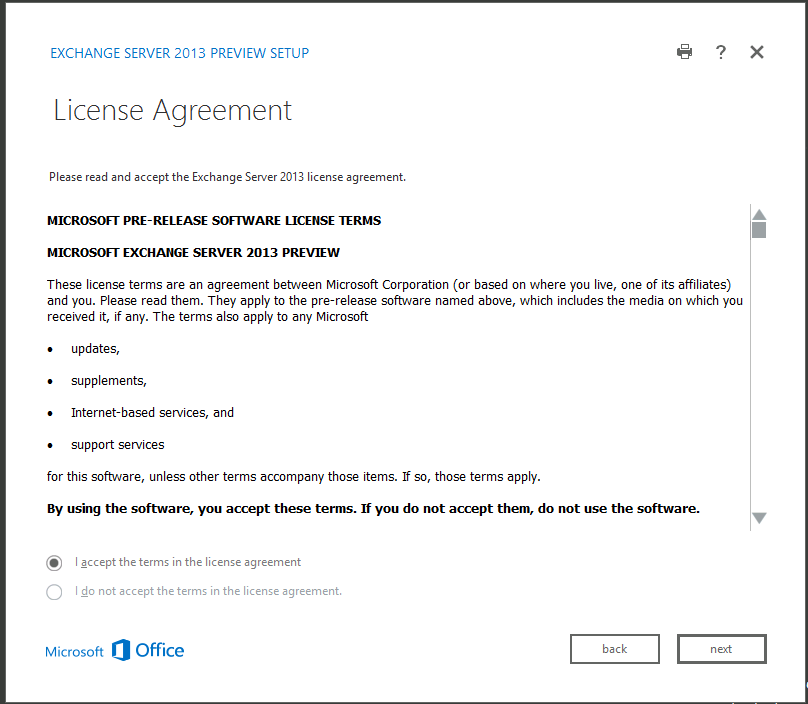
3) Read through the EULA and accept the terms.
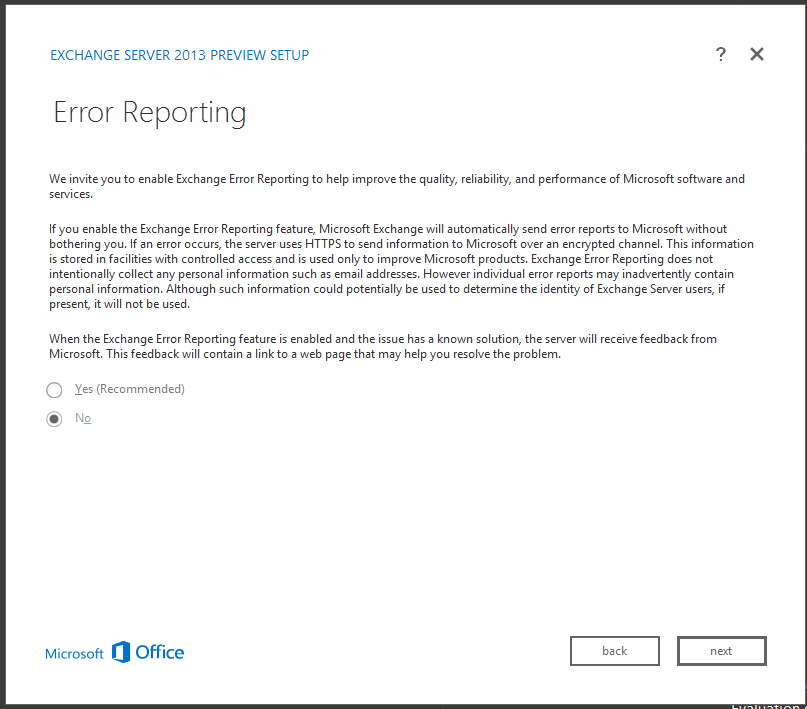
4) The next pane will ask you about the error reporting function. Basically, if something crashes within Exchange 2013 Preview, the logs and events will be uploaded to the Exchange Team at Microsoft via HTTPS (SSL based, of course) and then analyzed. You probably won’t hear back from them, but if the issue occurs enough amongst clients they will probably look into it and fix the issue that caused the crash. I would select Yes, but that’s your decision.
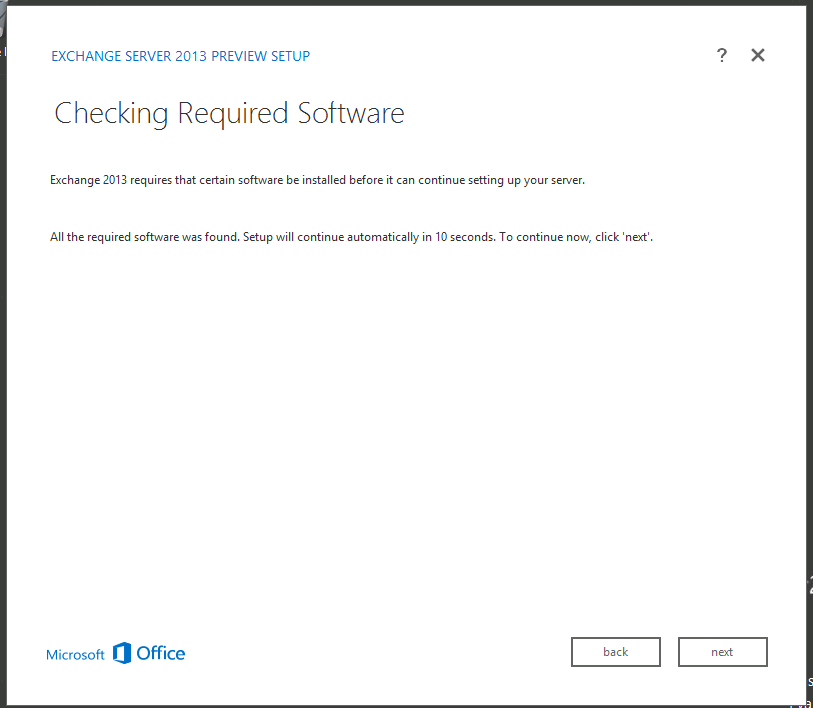
5) After clicking next again, you will see a prerequisite checker. If you followed the guides above for your server version, the check should tell you that everything is available. In the event that you are missing a piece of software required by the 2013 Preview, then it will prompt you to install it and give an error.
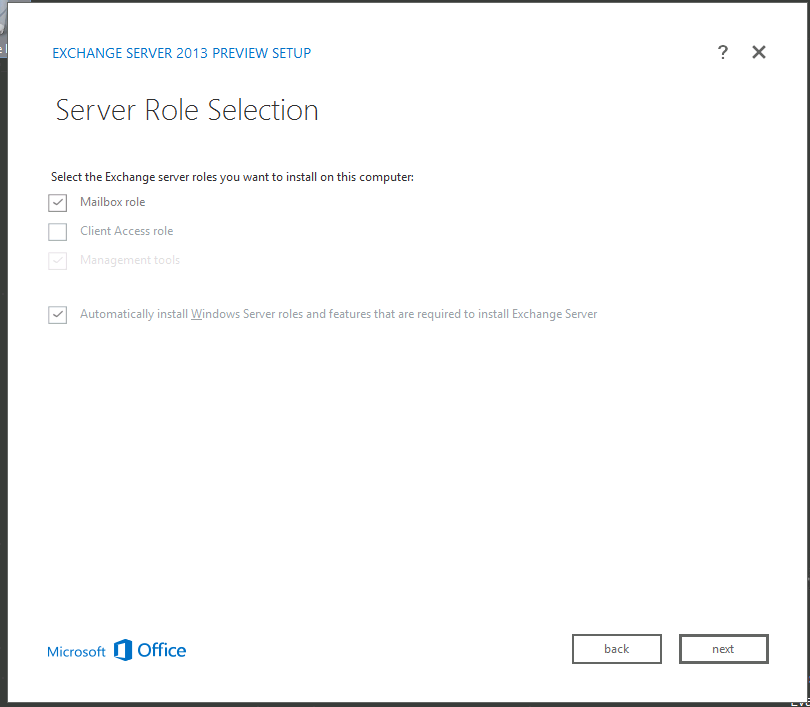
6) This is the point where we will chose our roles and install any other features needed for the roles. You can chose either the CAS, Mailbox or to install both by checking both checkboxes. NOTE: In the Exchange 2013 Preview there have been reported issue with continuing the install using the “Automatically Install Windows Server Roles and Features..” button if you did not prep your server (if you installed the prerequisites prior your fine). This is being worked on by the Product Group now, and should be fixed by Beta / RTM or future releases.
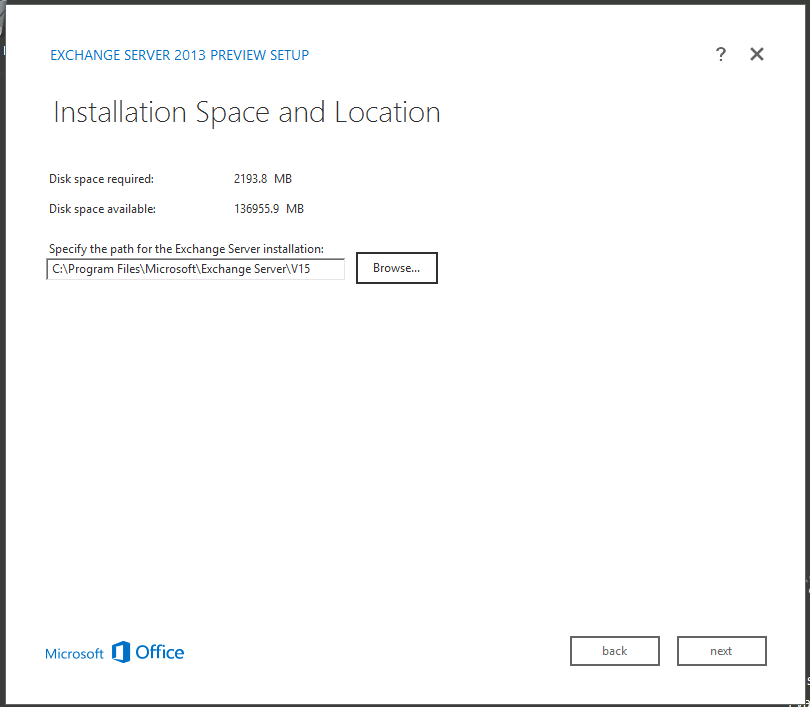
7) Choose your installation location, and make sure you have enough free space to install the Mailbox role.
8) A new feature we have added to Exchange 2013 Preview Mailbox Role is to do malware scanning. If you would like to learn more about this, you can read here. I would recommend enabling this to help prevent malware.

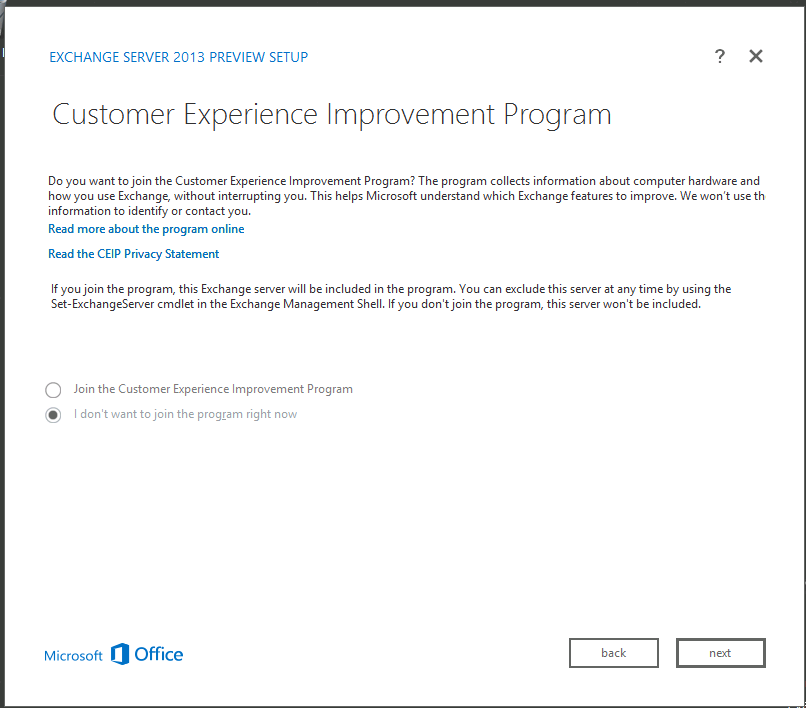
9) Choose to opt into the “Customer Experience Improvement Program”. This basically uploads your experience to Microsoft, including the way the installation went and the hardware used. This helps the Exchange Team essentially figure out what parts need improvement. I would recommend opting in.
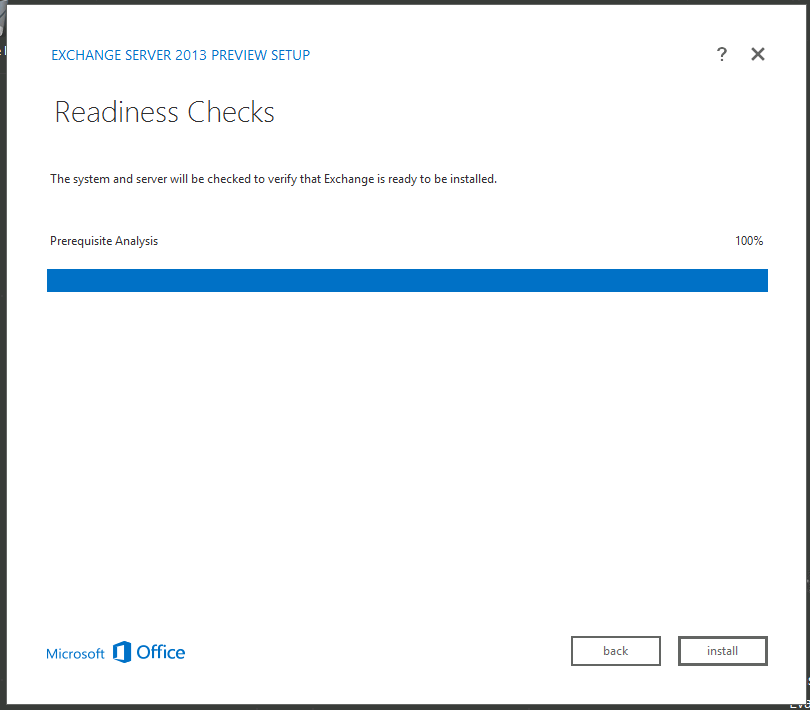
10) Readiness check to make sure that the system meets the requirements for installing your selected role. Pressing Next here will start the setup.
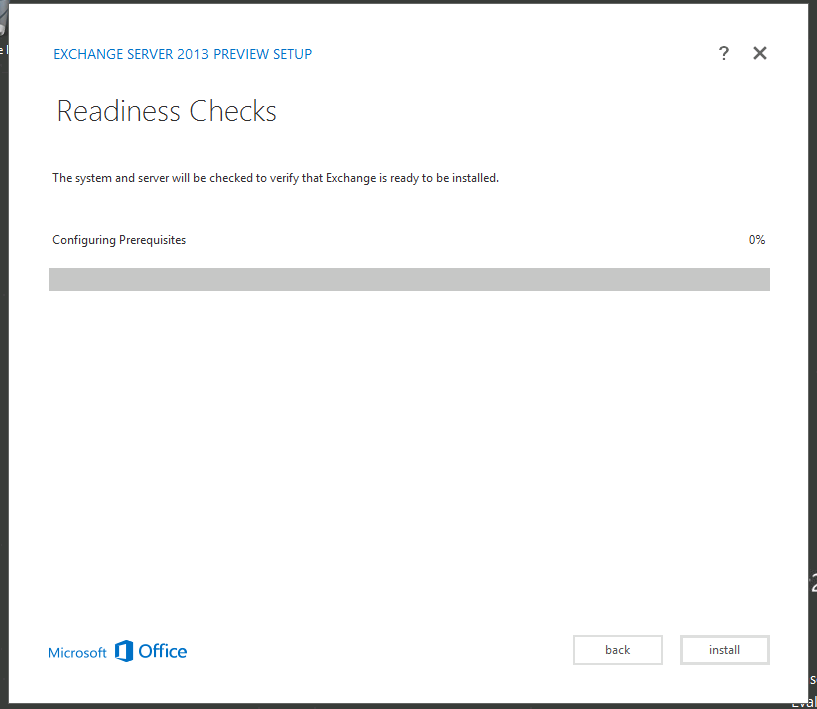
11) Setup starts
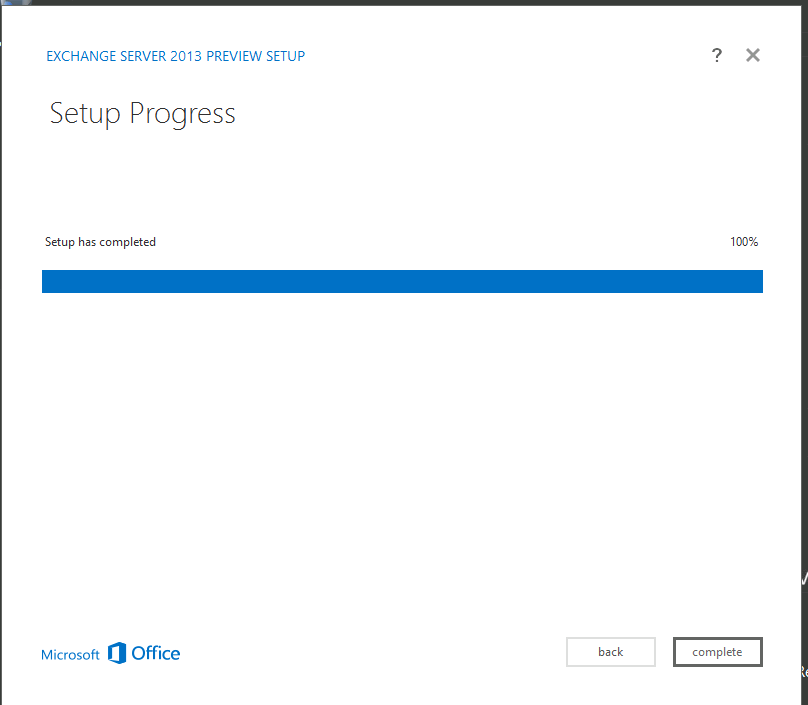
12) Setup finishes. You will see a screen like this below if there were no errors found during the setup process.
Verifying that the installation completed successfully
Now that we have the Mailbox role installed, and the installer stated it was successful how do we actually know it is installed correctly? We can do the following:
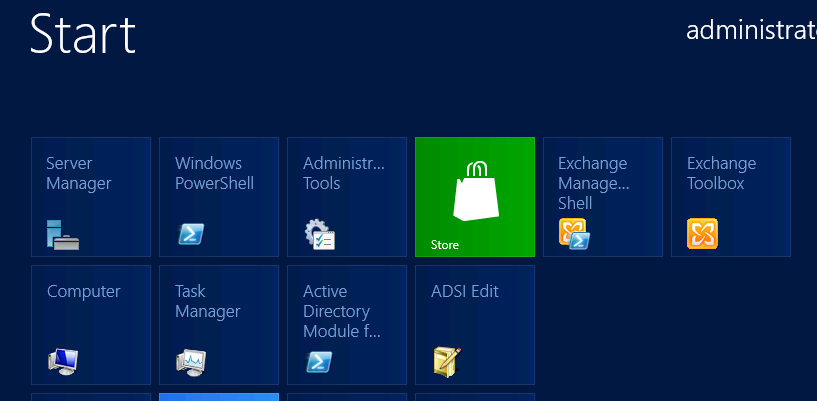
- · Confirm that the tools are installed.
- On Server 2008R2SP1 you should be able to navigate to Start – All Programs – Microsoft Exchange and find the Exchange Management Shell, Exchange Administrator Console and Exchange Toolbox located there.
- On Server 2012 if you go to the new Start menu you should see the Exchange Management Shell and Exchange Toolbox icon.
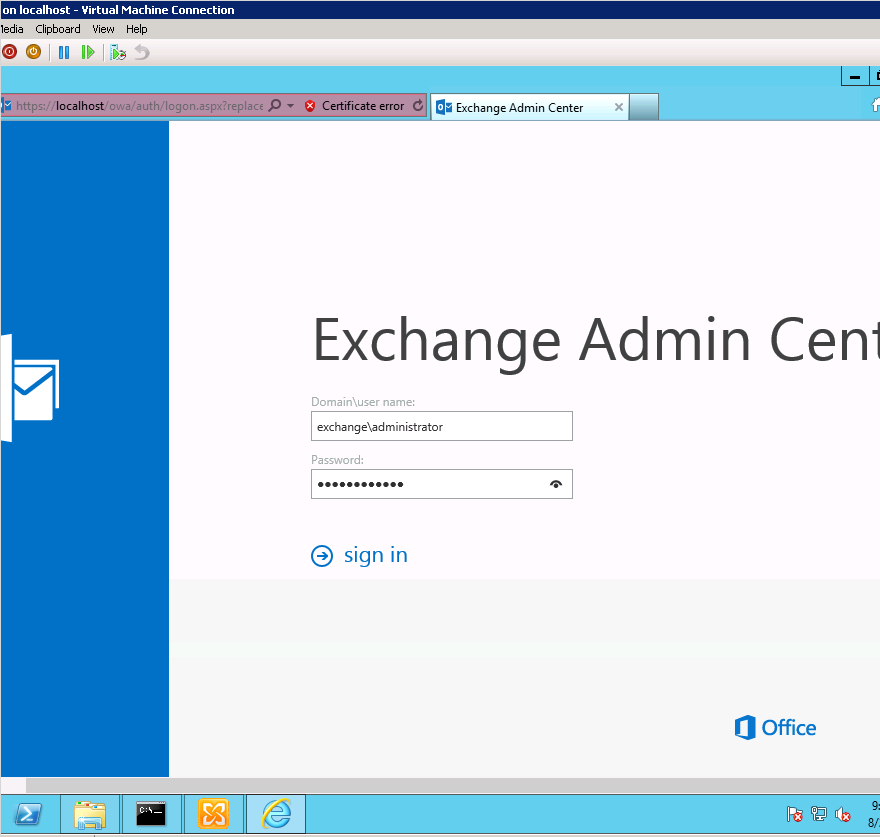
- · Confirm that you can get to the Exchange Administration Console (EAC).
- In Exchange 2013 we have removed Exchange Management Console (EMC). EAC is an evolution of ECP (Exchange Control Panel), which contains much of the same functionality of EMC except now it is web based and has a pretty awesome GUI (in my opinion).
- You should be able to navigate on the CAS within IE to https://localhost/ecp and the EAC console login should pop up
- If you have both the Mailbox and the CAS role installed, you should be able to log in with the Administrator (domain admin) account without an issue.
- NOTE: Without the Mailbox role within the organization, both EAC and EMS will not work. This is by design as the CAS role proxies the HTTPS request for both EMS/EAC to the Mailbox role, so if the CAS role or the Mailbox role is missing within the organization you should be able to log in with the default Administrator account, but don't expect to go to far (you will get a 404 Page Not Found).
- · Review the setup logs, and note of any [WARNING] or [ERROR] tags.
- The setup logs should be located at C:\ExchangeSetupLogs, and the log you want to review is ExchangeSetup.
- Things to note are if you see a [WARNING] tag, then a warning popped up but the installation continued as it was not critical enough to break the installation. The [ERROR] tag is used to denote a critical error typically and will stop installation.
Any questions? Comment below!
Thanks,
Adam F