Step-by-Step How to create new NSG in V2 Portal
While many of the details about NSGs can be found at https://aka.ms/Azure/NSG this blog will temporarily fill the gap of “how to” do this in the Azure Portal, versus with Azure PowerShell or ARM templates.
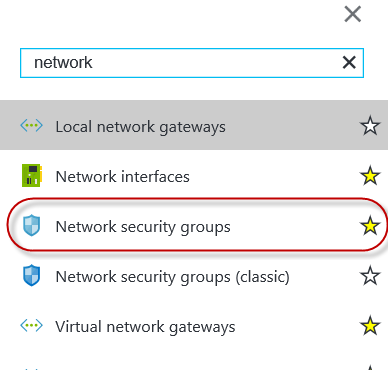
1. First, make sure that NSG is in your menu. Just click Browse on the lower left of the portal.azure.com.
2. Then type Network, until you see Network security groups. Click the start to the right so it is highlighted in yellow, and then the option will appear in your menu on the left.
PRO TIP! Once you have setup your menu in the Azure Portal, make sure you always use the same browser, if you have multiple ones installed, as the custom menu settings will not persist and are tied to the browser where they were created. Since I keep three browsers for compatibility checking, I quickly found this out after setting up many shortcuts, and then logged into my portal with a different browser and they were all gone!
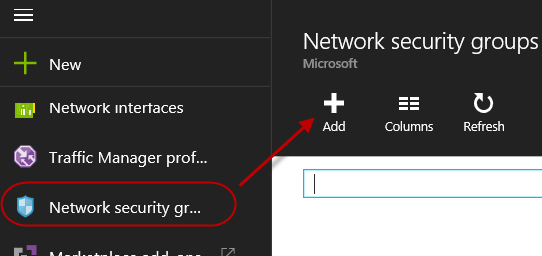
3. Click the new Network Security Group icon in your menu on the left, and then click Add at the top of the menu
4. Complete the information in the following fields, and then click Create.
a. Name
The Resource Group Name must follow these naming conventions

b. Resource Group
Create a new one or click Select existing to use one you already made.
c. Location
Select the region to where this will likely be applied. In ARM resources in the new V2 portal, NSGs can be applied on NICs or Subnets, so think about where those resources live. Associating with the NIC is new in Azure Resource Manager.
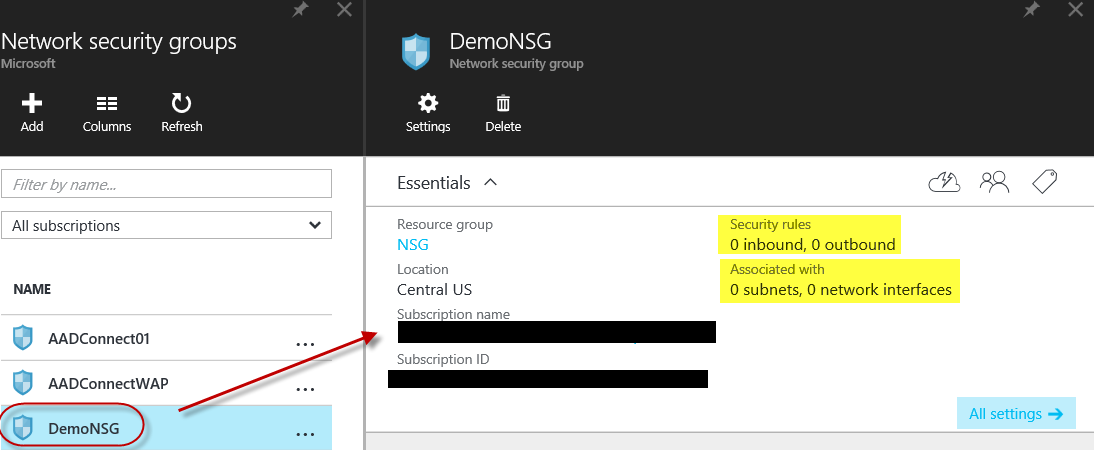
Now that you have created the NSG, select in in your menu. You will see it is empty of rules and not associated with anything else.
5. To the right, look at the Settings. You will see options to create both Inbound and Outbound Rules, plus the ability to add to Network Interfaces or Subnets.
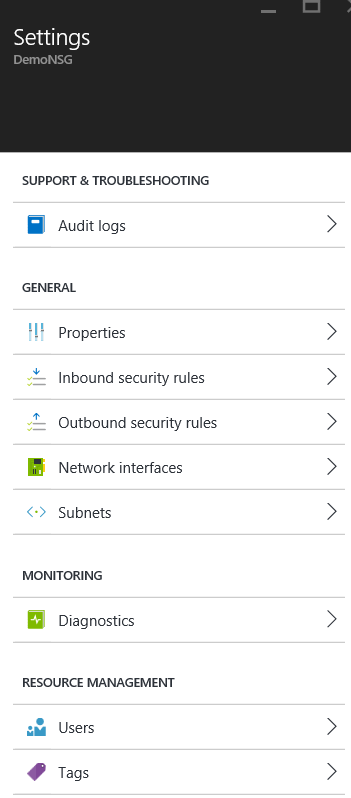
The rest of the steps are well documented in Create Rules in an Existing NSG. In addition to monitoring capabilities, the Users option will give you RBAC capabilities, while Tags lets you organize or search your Azure Resources or group them for billing.
There you have it!
Here are some additional resources in my blog to help you in your journey into the cloud!
https://aka.ms/Azure/Shortcuts https://aka.ms/Azure/IaaSOpsGuide