Deploying KB2607070 on Win7 SP1 SCE managed clients
An update has been released to resolve issues where System Center Essentials updating Windows 7 SP1- based computers with locally published content may fail with error 0x80070570. Please refer to https://support.microsoft.com/kb/2607070 for more details and download.
This hotfix is expected to be installed individually on all Win7 SP1 machines which are managed by SCE server. However, you can use Software Deployment’ feature in SCE Server to deploy these packages on all Win7 SP1 machines in a single go. Please see "How to Deploy" section below.
Command line parameters for the Package -
These are the command line parameters available for WindowsUpdateAgent30-x86(KB2607070).
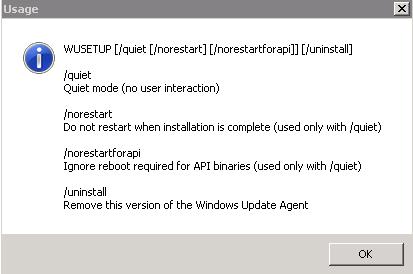
This option helps you to deploy the hotfix on Win7 SP1 machines from SCE server itself in an unattended way.
Notes –
- I recommend restarting the system after installing this hotfix. If you use /norestart option, system won’t reboot; however patch will not be functional and you might still encounter 0x80070570.
- How to verify whether package is installed successfully?
- Extract the package WindowsUpdateAgent30-<x86> /x: C:\temp
- Check the binary versions of windows update binaries in the extracted folder C:\temp. For example - wuaueng.dll, wuapi.dll, wups.dll etc. will be at version 7.6.7600.243.
- When you install the KB2607070, these binaries would be updated in the system folder (say for example %windir%\system32) after reboot.
How to Deploy
Install directly on all Win7 SP1 machines which are managed by SCE server
This is a straight forward install of any typical Microsoft hotfix. You can download the package and launch WindowsUpdateAgent30-x86(KB2607070) on Win7 SP1 client systems in your SCE environment. Installer will prompt for a reboot if installed in an attended mode. If you use /quiet, it will not prompt for a reboot but then you would need to reboot the system in order to get the patch applied and functional.
What will happen when you use Default Deployment Procedure in SCE using ‘Software Deployment’ feature?
Kindly refer to this TechNet link for additional details on how to create and deploy software packages.
- This update is a windows update agent itself and hence turns off windows update followed by an immediate turn on. As soon as this process ends, package payloads are updated in the system.
- Log file shows "user cancelled the installation" because of this, but after restart package would be up and functional.
- As windows update is restarting during the update, the state of the previous install is not retained into its database and hence package gets reoffered.
If you install using DISM mechanism as explained below in the blog, you won't encounter these issues and you can overcome them. However, patch gets deployed correctly with an explicit reboot if you follow default flow of local publishing and deploying the package from SCE console. To do that,
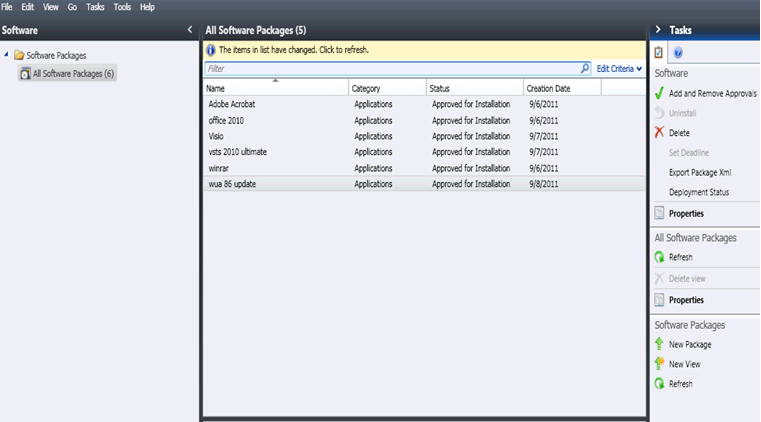
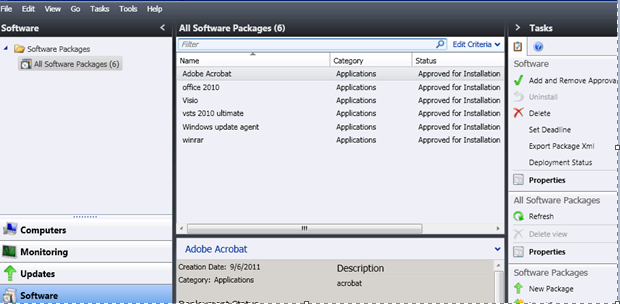
- In the System Center Essentials console, please click on software.
- Click on “New Package” in the “Software Packages” section of “Tasks” pane. (Highlighted)

3. Please download KB2607070 locally onto your machine from download center.
4. In the New Software Package Wizard provide thepath toWindowsUpdateAgent30-x86.exe in the textbox under “Deploy a package from stand-alone setup file” option and click “Next”.
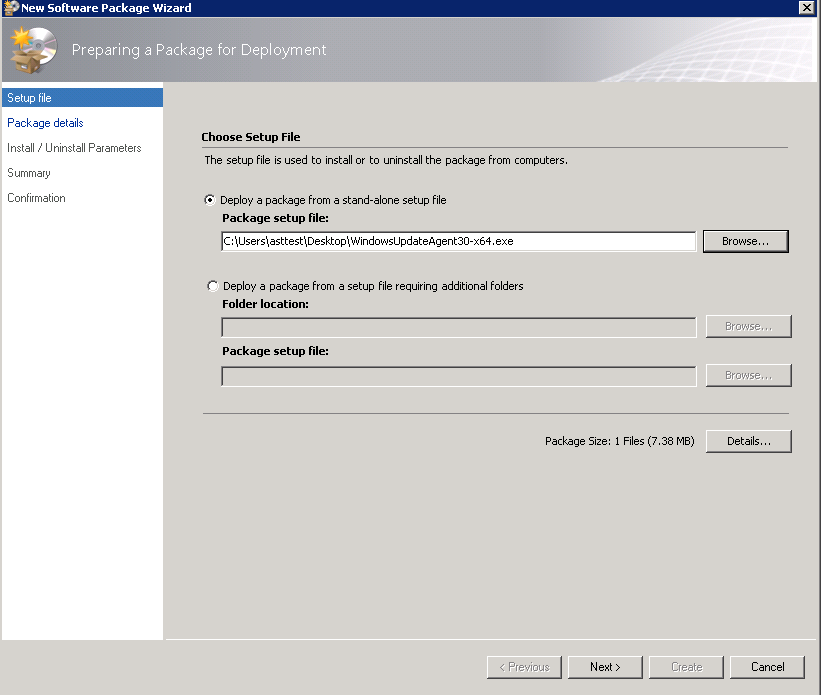
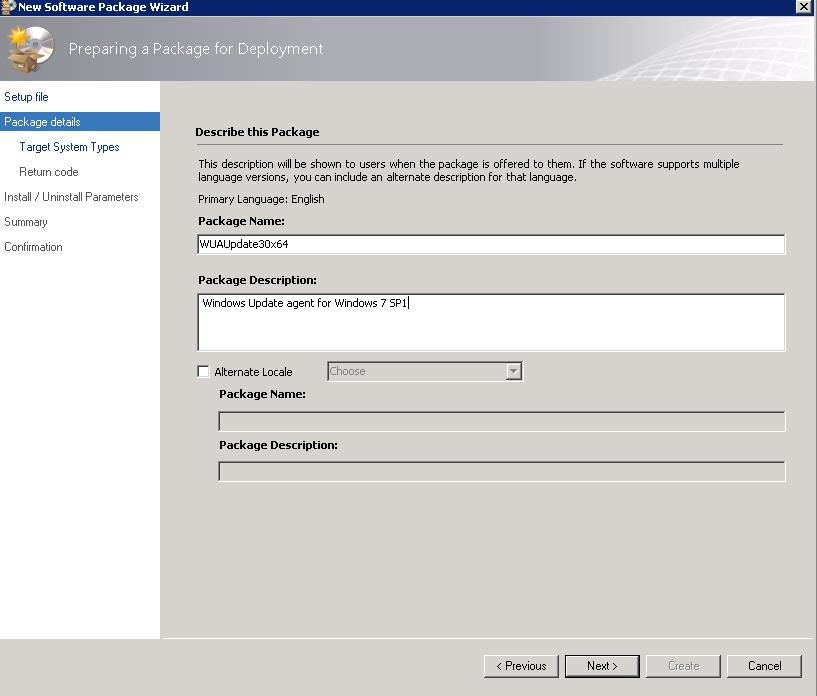
5. Provide package name and package description in the next page of the wizard and click Next.
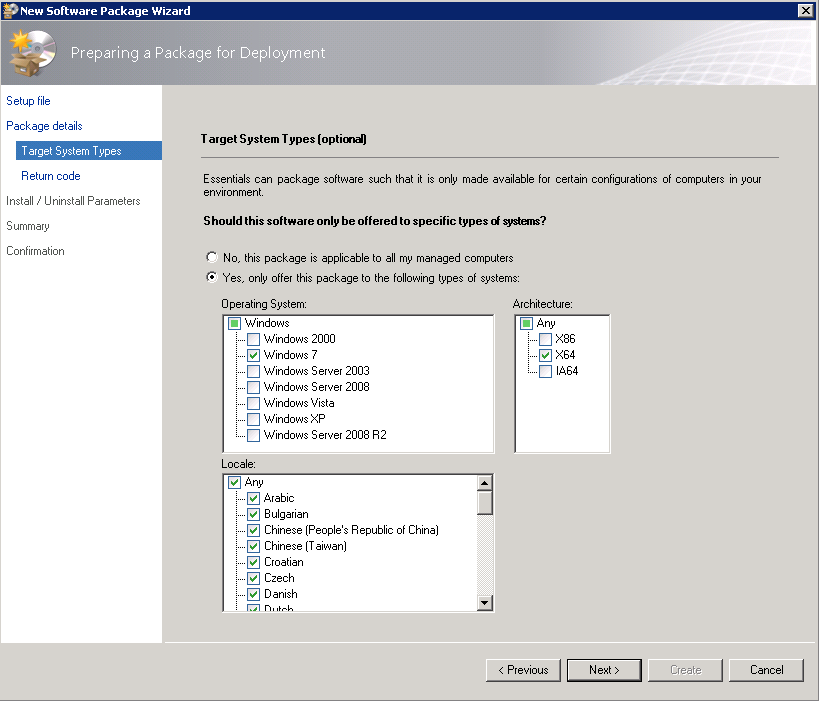
6. Apply necessary settings in the Target System Types page and click next
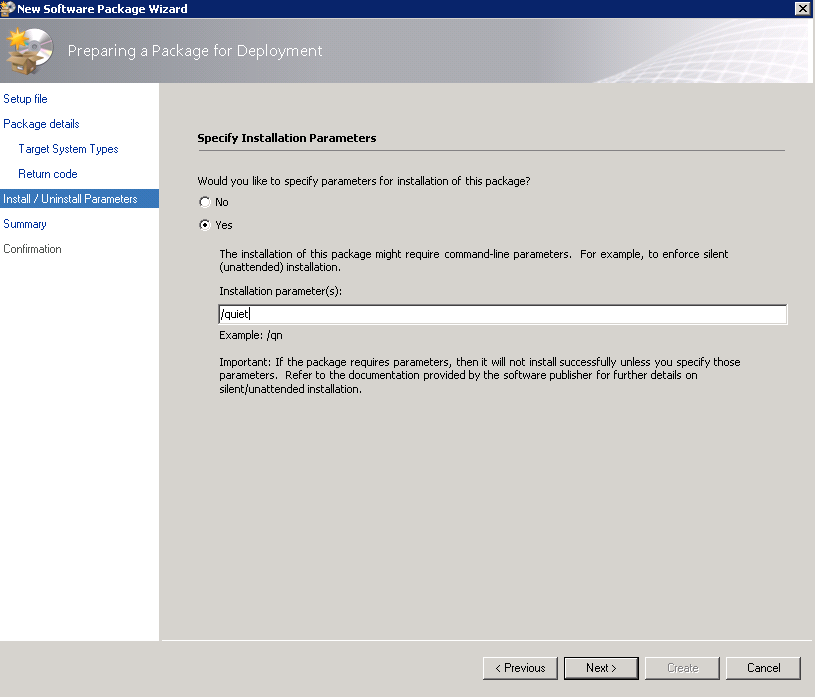
7. In the “Install/ Uninstall Parameters” page for quiet installation provide “/quiet” switch in the “Installation Parameter(s) ” and click next
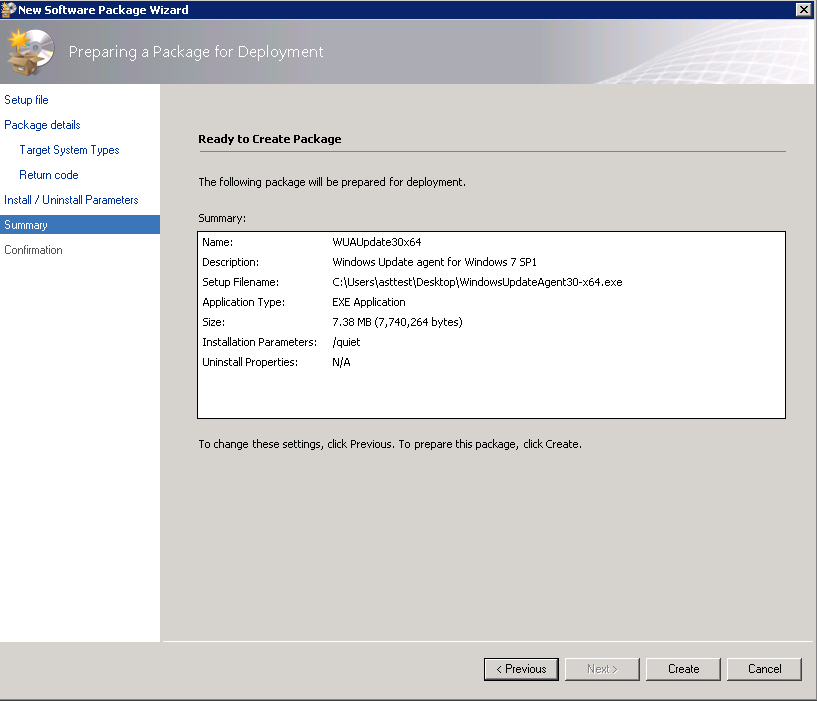
8. Click Create buttonin theSummary page, this creates a package.
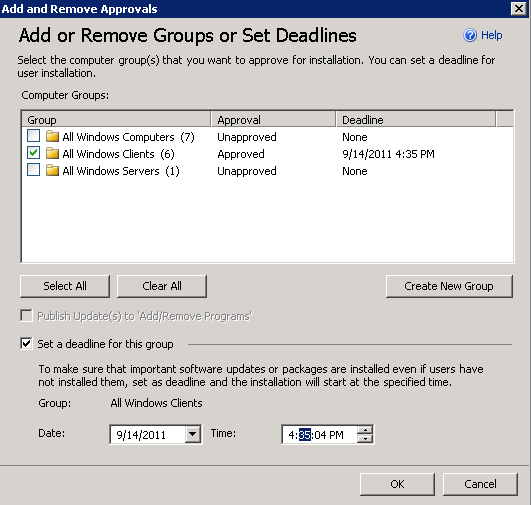
9. Select appropriate group of computers in Add and Remove Approvals wizard and click ok, by default Win7 SP1 clients will be listed under “All Windows Client” group.
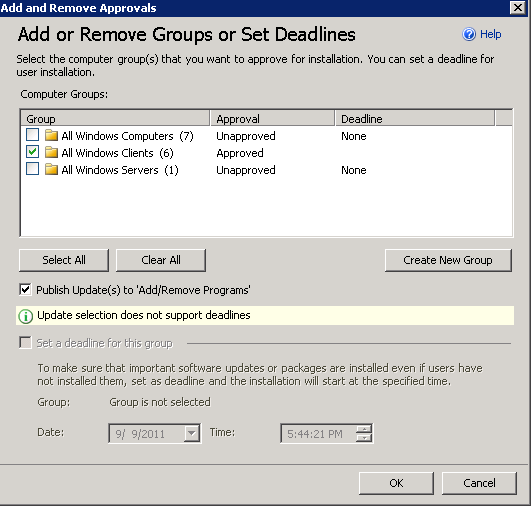
With these steps, you have published the package for managed Win7 SP1 machines. Now these Win7 SP1 machines can have the published WindowsUpdateAgent30-x86.exe (KB2607070) package available in the Windows Update window.
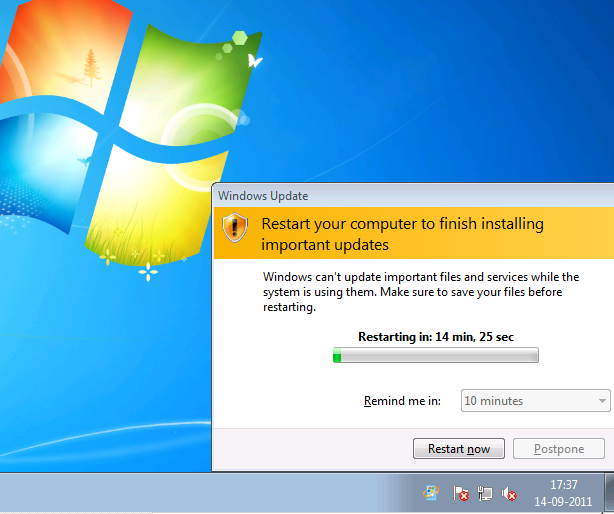
Admins can set a deadline and this hotfix would be pushed on the user systems even if they don’t install it explicitly. (See highlighted below)
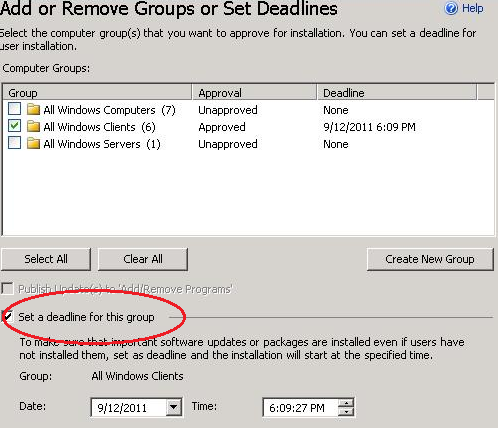
Within few minutes of a specified deadline when package offering is complete, please reboot individual Win7 SP1 systems.
Otherwise, users on managed computers can always install the hotfix on the system before the deadline by obeying the below steps-
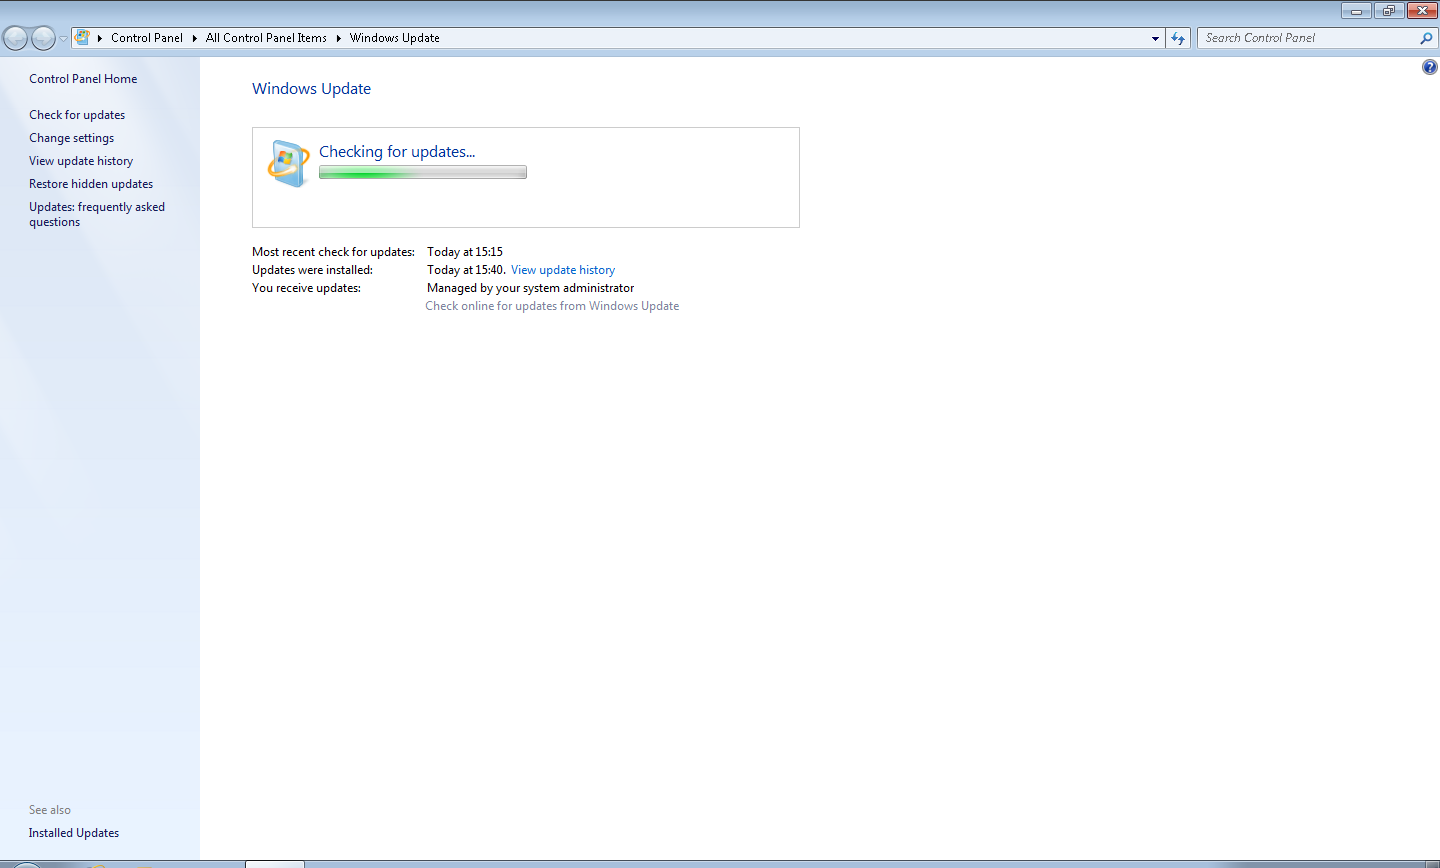
- Open Windows Update on the client machine.
- Check for new updates in the Windows Update Window
3. Select the update deployed on the SCE server and click OK.
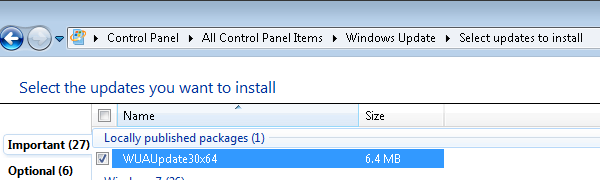
4. Click Install Updates button.
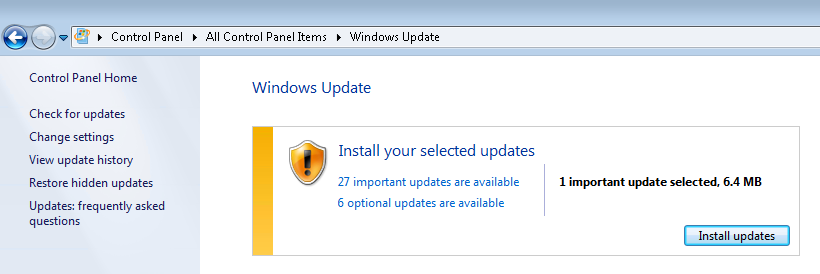
5. This will install the update on the client machine by closing the Windows Update client window.
6. We need to restart the client machine for this update to get affected.
Installation using DISM (Deployment Image Servicing and Management) -
* This is based on approach proposed by LGS on SCE TechNet Forum*
You can use an open source tool called RunIt.exe where as DISM is available in system32.
- Download WindowsUpdateAgent30-x86.exe to your desktop.
- Create an empty folder (extracted) on the desktop.
- Extract the exe to an empty folder(extracted) on the desktop, using following command “WindowsUpdateAgent30-x86.exe /x”, provide the path click OK on the prompted UI.
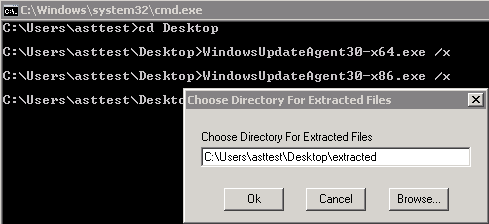
4. Click OK when extraction is complete.
5. Create an empty folder (WUA Update) on desktop.
6. Download runit.exe from web and copy it to newly created WUA Update. Move/Copy 'extracted' folder to WUA Update.
7. Open System Center Essentials.
8. Go to "Software" Click on the “New Package” under “Software Packages” section in “Tasks” pane.
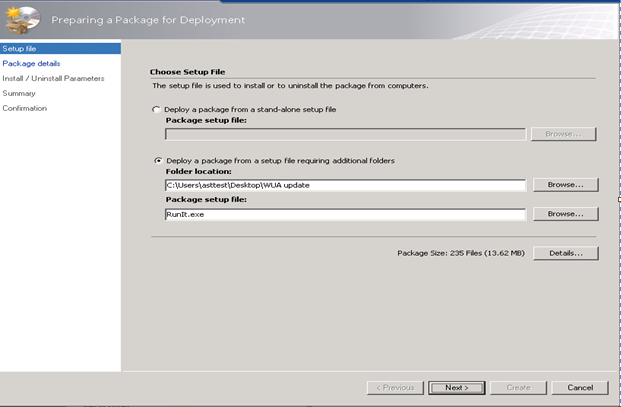
9. Select the “Deploy a package from a setup file requiring additional folders” radio button in the New Software Package Wizard.

10. Provide the Folder Location by browsing to the folder WUA update. Click Ok.
11. To provide the Package setup file, click Browse beside package setup file text box.
12. Select RunIt.exe and click Open. Click Next in the wizard
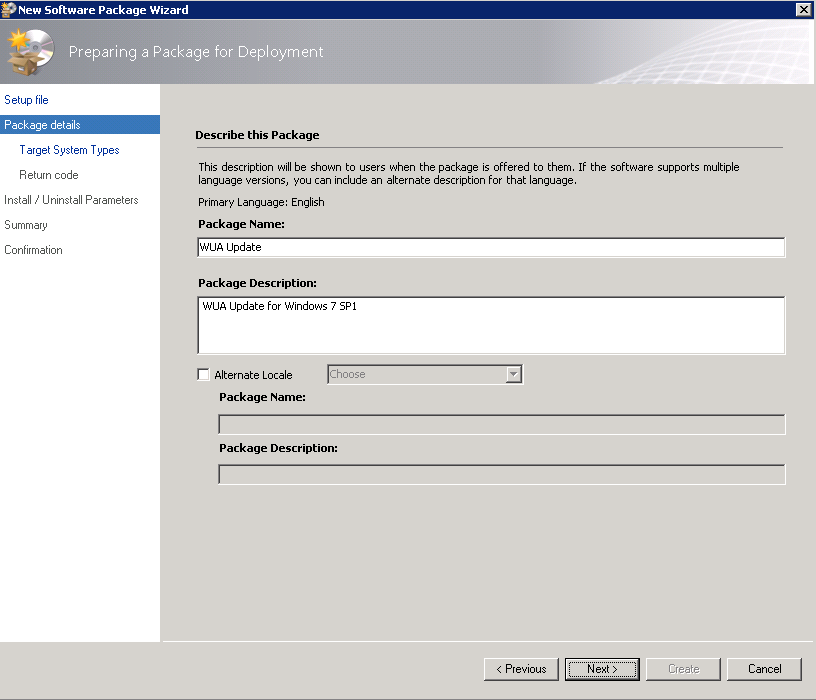
13. Provide Package Name and Package Description and click Next.
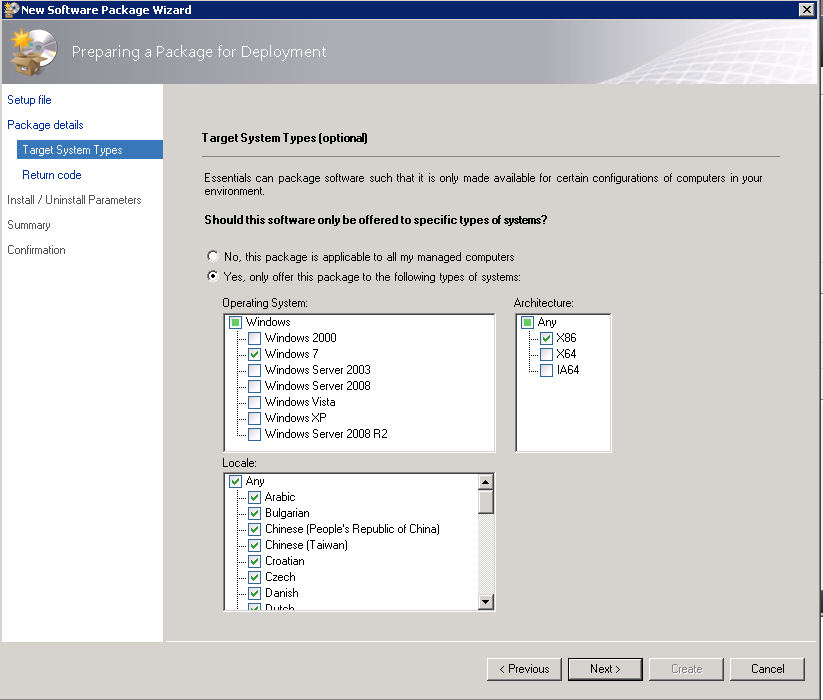
14 . Select appropriate target system types as mentioned below and click Next.
15. Map 3010 return code with Success With Reboot, by providing details(Code and Value) and clicking on Add.
16. Click Next.
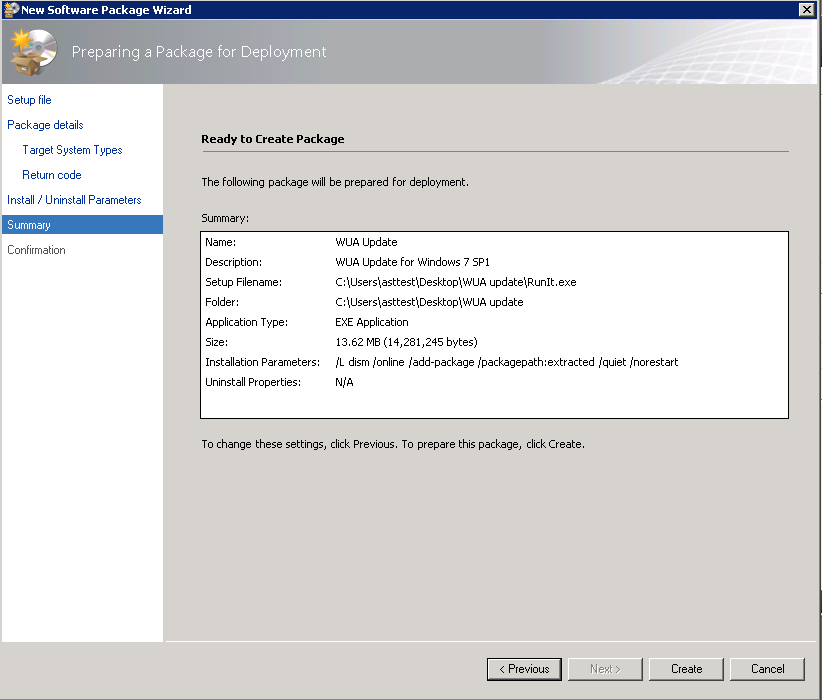
17 . Provide the installation parameters as mentioned below and click Next.

Install Parameters are - /L dism /Online /Add-Package /Packagepath:extracted /quiet /norestart.
Internally Windows update triggers following command. RunIt.exe /L dism /Online /Add-Package /Packagepath:extracted /quiet /norestart
RunIt.exe : invokes the exe file specified after parameter “/L” with the remaining parameters(/Online /Add-Package /Packagepath:extracted /quiet /norestart)
Dism: it is an exe file provided by Windows used for Servicing and management of Deployment image.
Online: Specifies that the action is effect on current windows running image Add-Package: adds the packages specified by PackagePath parameter to the Image /quiet and /norestart: these parameters will be used by the package while install happens on next reboot.
18. Click Create on summary page.
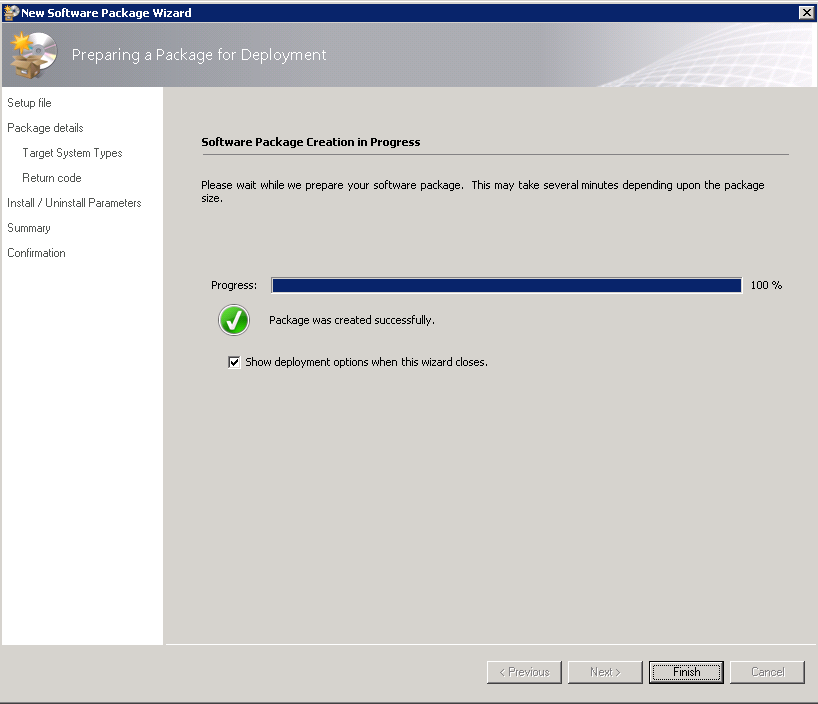
19. Package Creation would get progressed and then click Finish.
20. Add and Remove Approvals window appears. Select appropriate options in this window and click Ok.
21 . Within few minutes after the deadline exceeds, you would observe a restart prompt on your machine.