Tips for installing clients to Windows SteadyState PCs
The post below was something I submitted to my SMSandMOM blog but I thought you might also like to see it since it'll help you make any kind of update you wanted to make permanent on a SteadyState PC.
-----
We've received a couple calls on this so I thought a quick post might help just in case you're using Windows SteadyState in your environment. Anjana Kaku Tyagi wrote up the example below, and while the example is for the SMS client you should be able to use the same procedure for any permanent additions you'd like to make:
========
To install the SMS client on a SteadyState PC simply follow these steps:
1. The first step is to reboot the computer so that any recent changes are undone.
2. Next install the SMS client on the machine as you normally would.
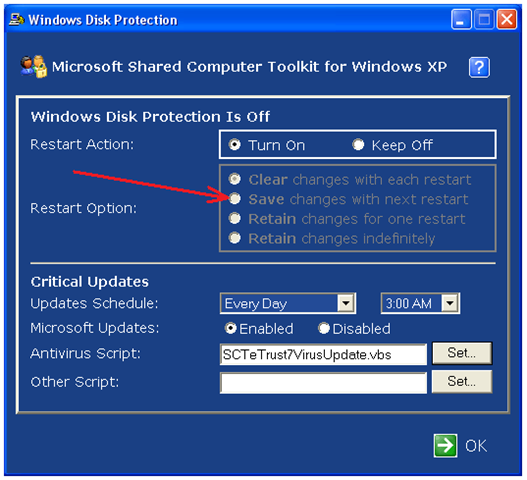
3. Change Windows Disk Protection Settings on the PC to "Save Changes with Next Restart"
Note: For more information see Chapter 6: Windows Disk Protection at https://technet.microsoft.com/en-us/library/bb457134.aspx
4. Restart the computer. At this point the SMS client should be permanently installed on the machine.
5. Change the Windows Disk Protection Settings on the PC back to undo the changes on restart to make the state on the PC remain intact:

For machines that are joined to the domain, the same settings could be implemented using the group policy adm template SCTSettings.adm located in Microsoft Shared Computer Toolkit\bin directory. To configure disk protection settings through a script we also have a diskprotect.wsf that comes with the install.
For reference please see the following: Utility Spotlight The Shared Computer Toolkit
https://technet.microsoft.com/en-us/magazine/cc160970.aspx
========
Thanks Anjana!
J.C. Hornbeck | Manageability Knowledge Engineer