Navigate your Visual Studio Team Services projects like a file system
I've been using Visual Studio Team Services (VSTS) for almost all my development projects.
VSTS is a cloud service for collaborating on code development. It provides an integrated set of features that you access through your web browser or IDE client, including:
- Git repositories for source control of your code
- Build and release management to support continuous integration and delivery of your apps
- Agile tools to support planning and tracking your work, code defects, and issues using Kanban and Scrum methods
- A variety of tools to test your apps, including manual/exploratory testing, load testing, and continuous testing
- Highly customizable dashboards for sharing progress and trends
- Built-in wiki for sharing information with your team
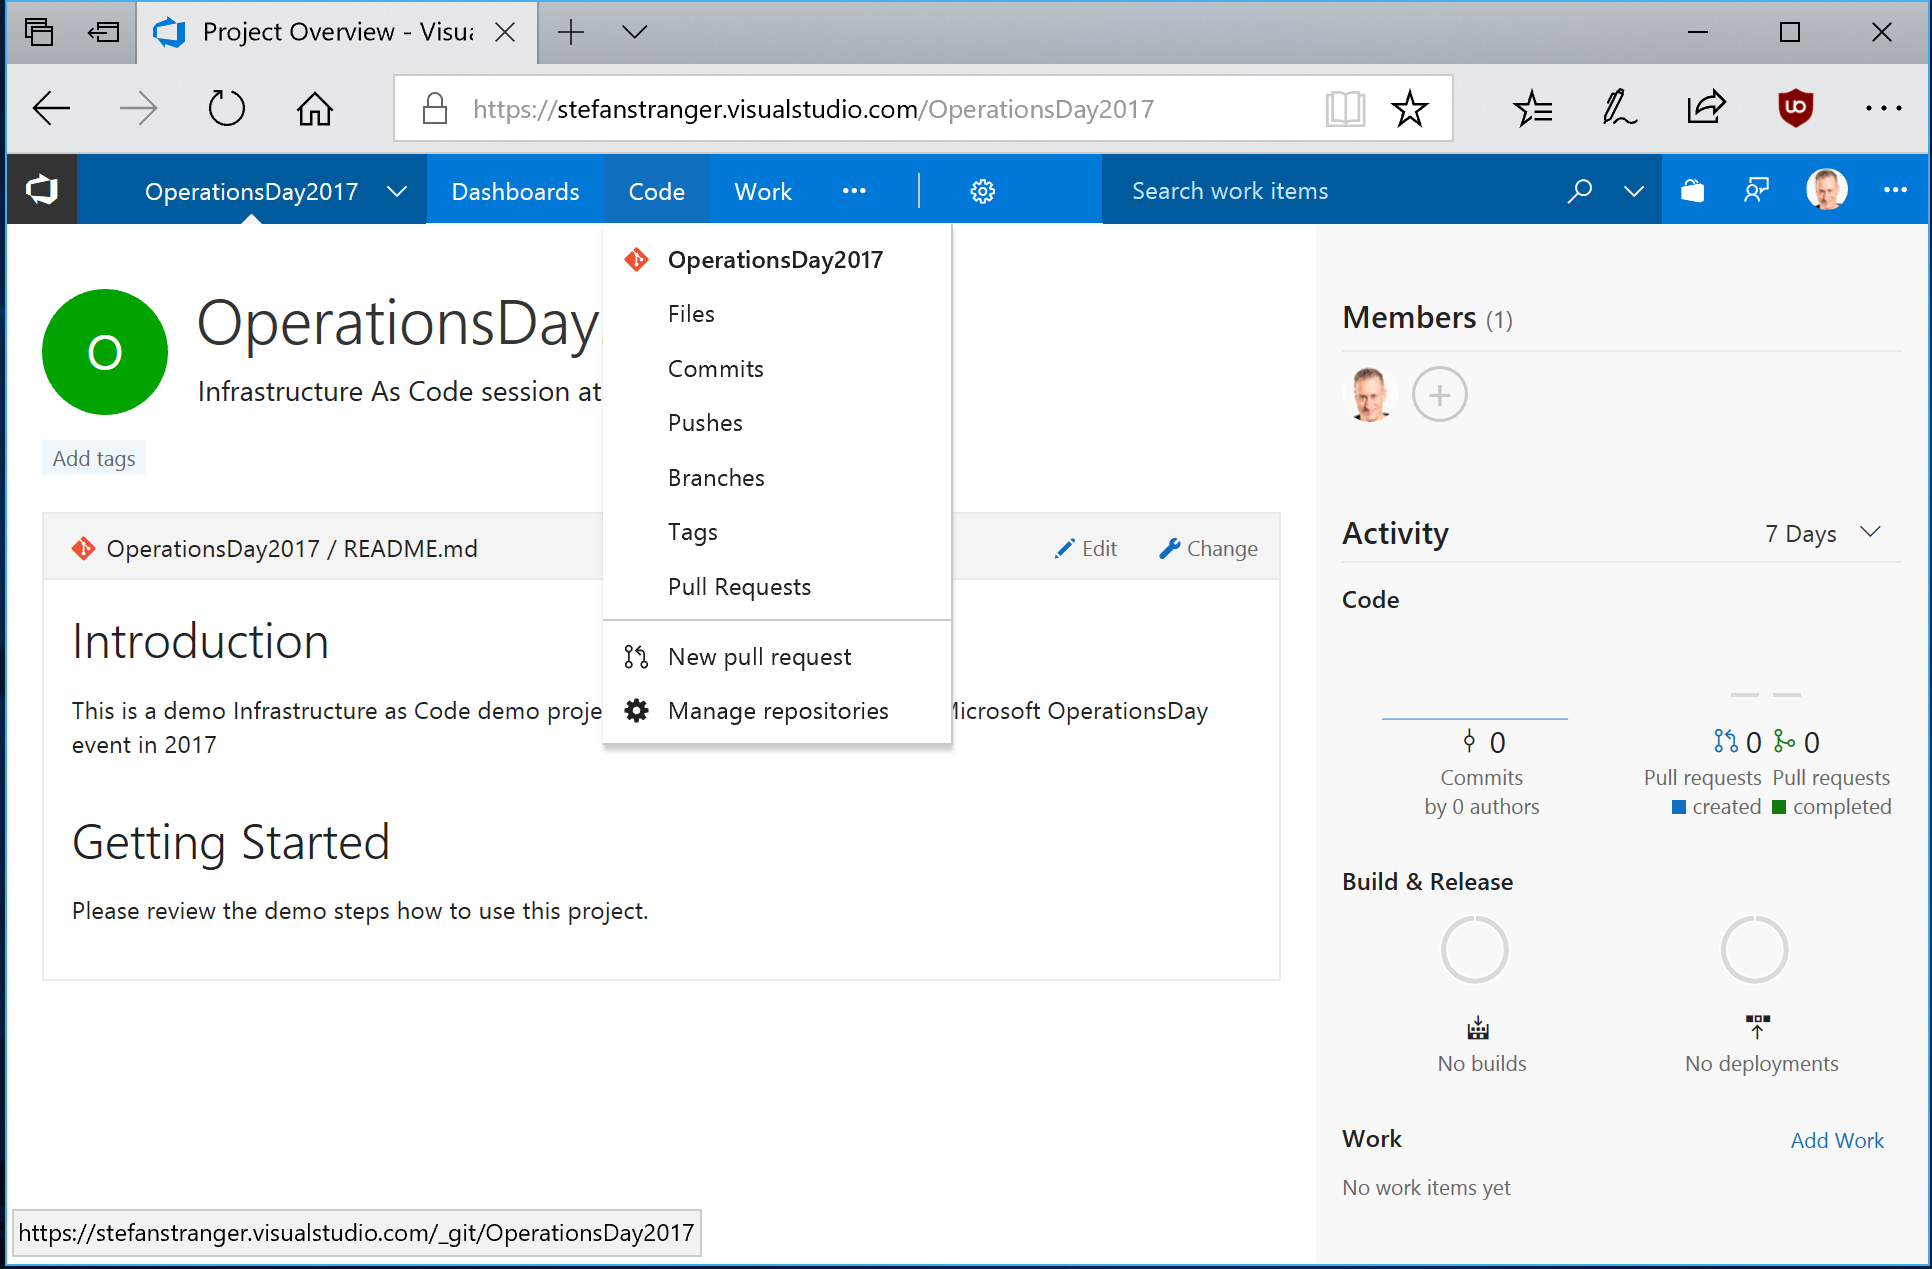
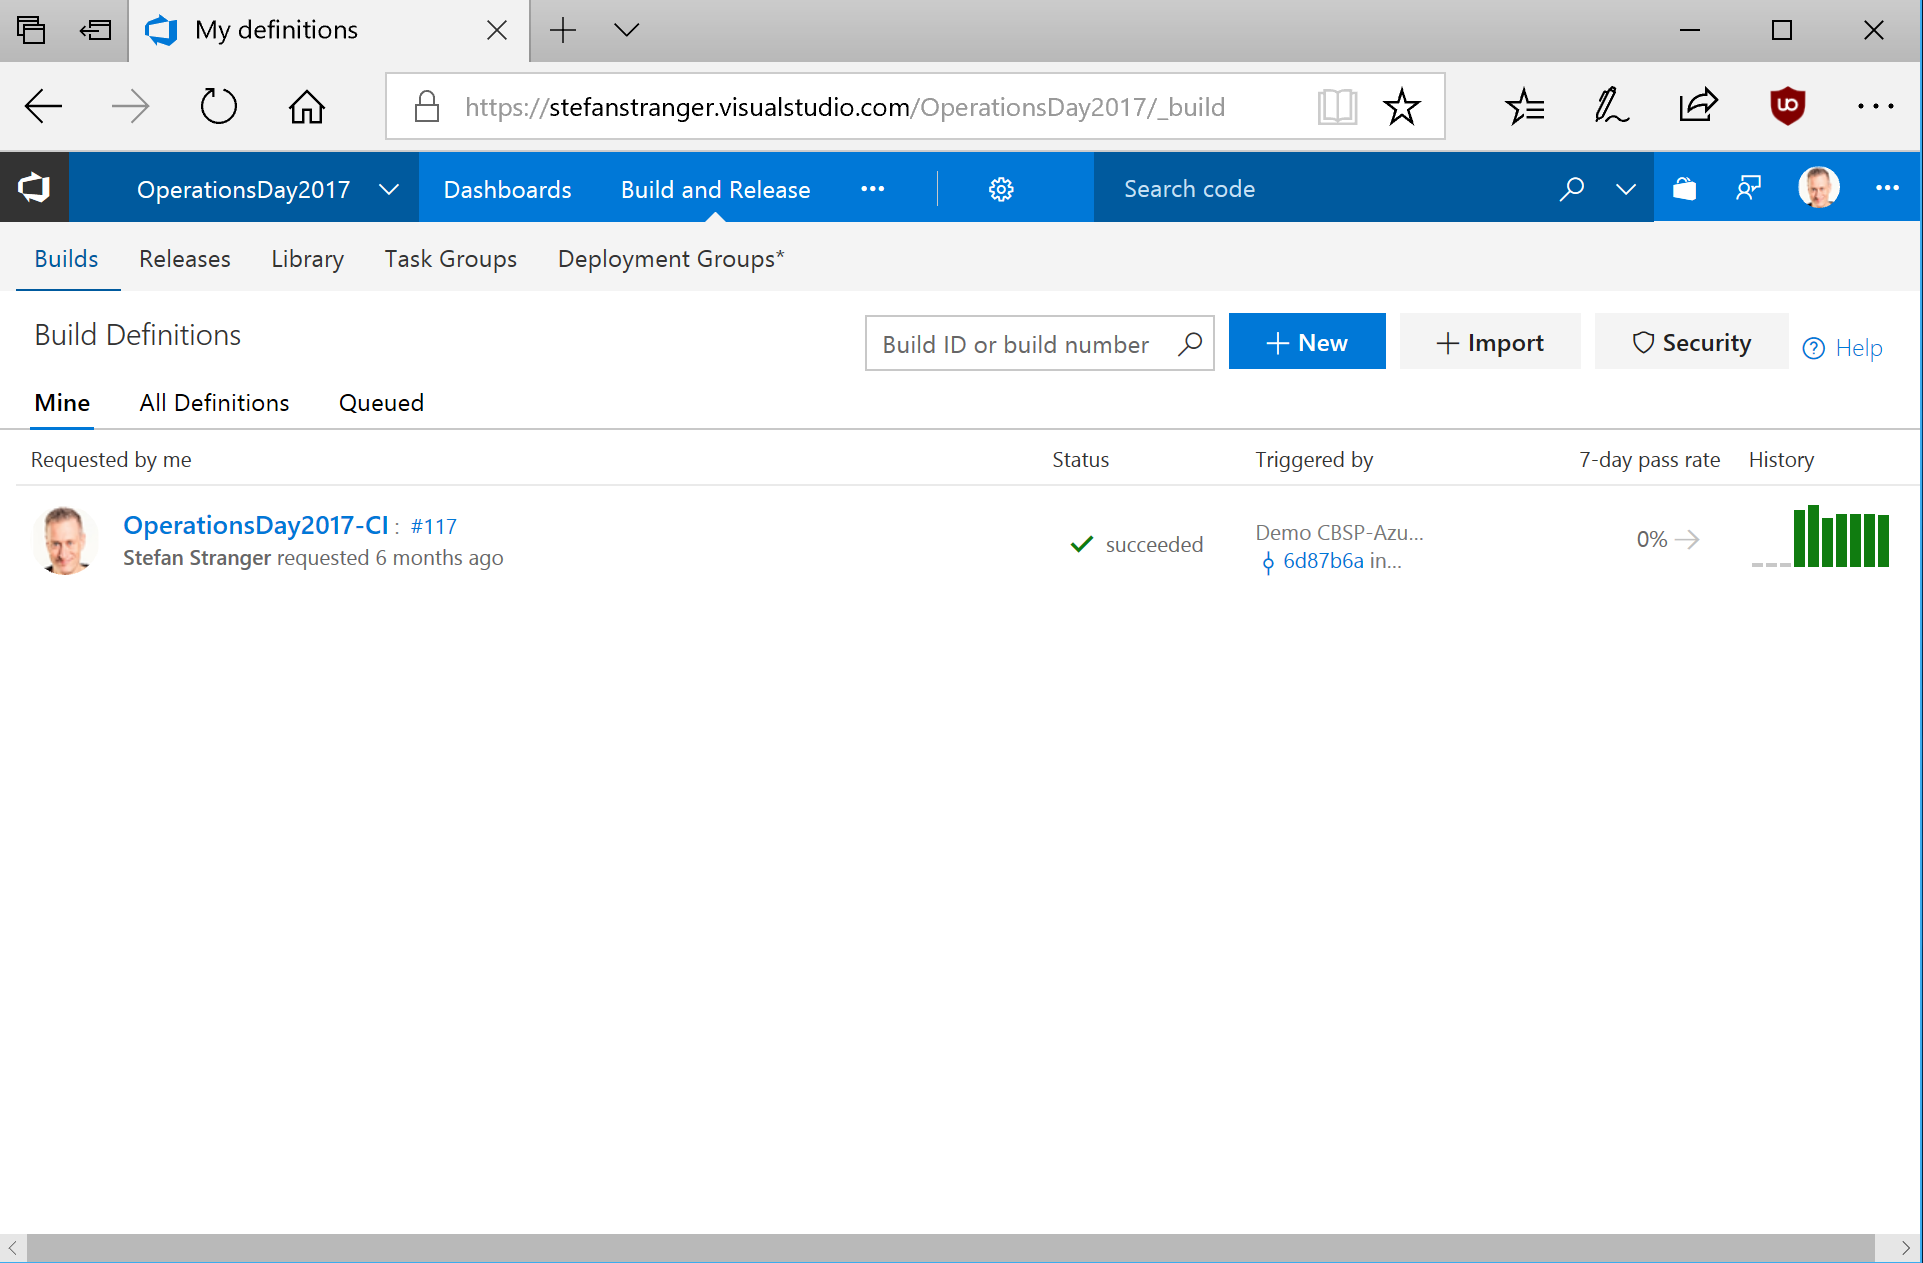
Most of the developers would probably be managing VSTS from the Git commandline (source control) and the VSTS Portal.
VSTeam PowerShell Module
VSTeam is a PowerShell module that exposes portions of the REST API for Visual Studio Team Services and Team Foundation Server.
It is written in pure PowerShell and can be used on Mac, Linux or Windows to connect to TFS or VSTS. To install VSTeam you can use the Install-Module cmdlet. Just make sure on Windows you run PowerShell as administrator and on Mac or Linux you sudo your PowerShell session. Then simply issue the following command.
Install-Module VSTeam
With this PowerShell Module you are able to manage your VSTS and TFS server from the PowerShell commandprompt.
While this is already a pretty cool way to manage you VSTS/TFS Projects, Builds, Release etc, it can be even cooler and easier to manage your projects. Meet Simple Hierarchy in PowerShell (SHiPS)
Simple Hierarchy in PowerShell (SHiPS)
SHiPS is a PowerShell provider that allows any data store to be exposed like a file system as if it were a mounted drive. In other words, the data in your data store can be treated like files and directories so that a user can navigate data via cd or dir. SHiPS is a PowerShell provider. To be more precise it's a provider utility that simplifies developing PowerShell providers.
Would it not be cool to navigate your VSTS/TFS Projects from the commandprompt using SHiPS on top of the VSTeam PowerShell Module?
Meet the new VSTeam module which integrates SHiPS functionality with the PowerShell VSTeam module.
SHiPS and VSTeam PowerShell module
To get started with the VSTeam PowerShell Module with SHiPS functionality download the latest version from the PowerShell Gallery:
Install-Module VSTeam -scope CurrentUser
The VSTeam PowerShell Module needs a personal access token for VSTS or TFS. More information on how to create a Personal Access Token can be found here.
High-Level steps to get started with VSTeam and SHiPS:
- Open PowerShell host
- Import VSTeam PowerShell Module
- Create VSTeam Profile
- Add VSTeam Account (and create SHiPS drive)
- Navigate the SHiPS VSTeam Drive
Step 1 and 2. Open PowerShell host and import VSTeam PowerShell Module. 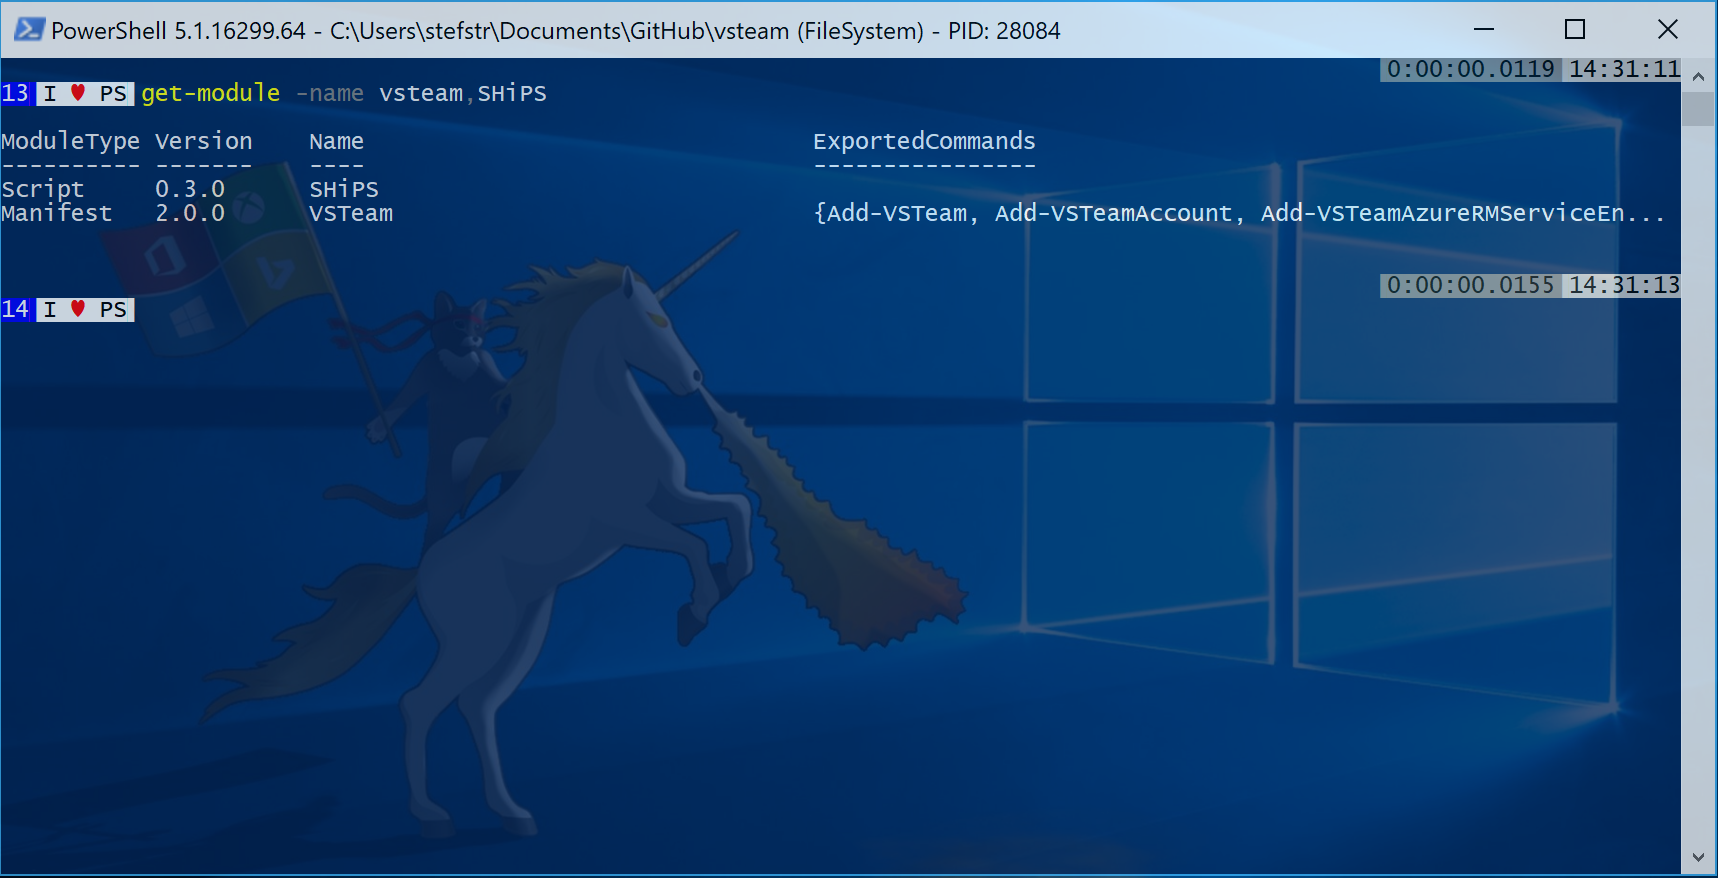
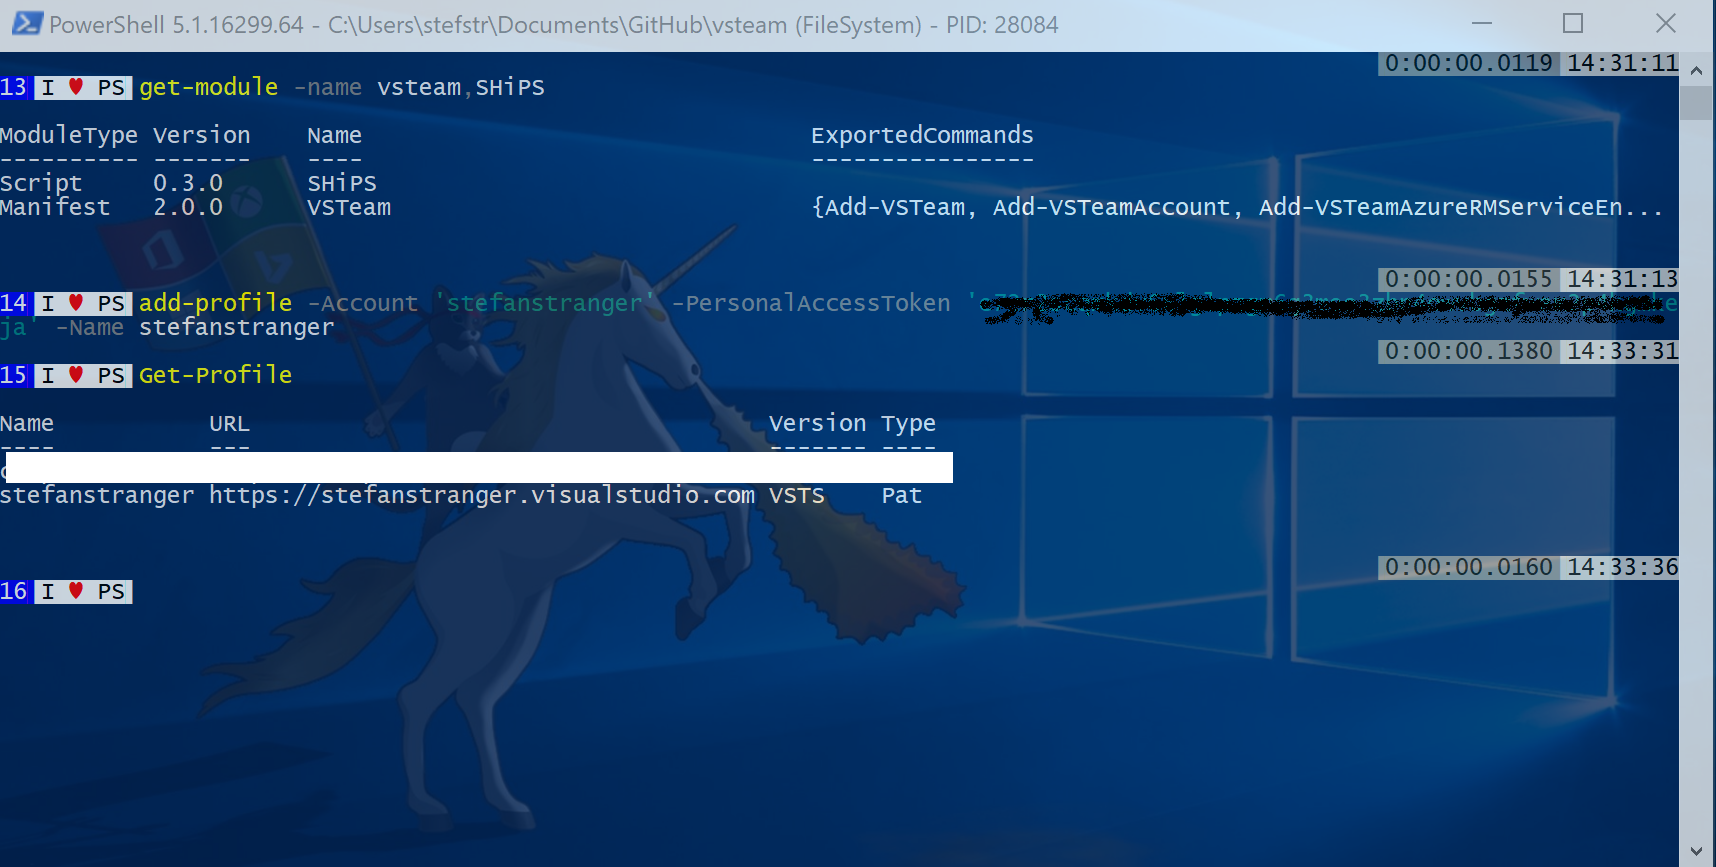
Step 3. Create VSTeam Profile
Add-Profile -Account '[VSTSOrTFSAccountName]' -PersonalAccessToken '[personalaccesstoken]' -Name '[ProfileName]'
Step 3. Add VSTeam Account and create SHiPS Drive
Add-VSTeamAccount -Profile [profilename] -Drive vsteam
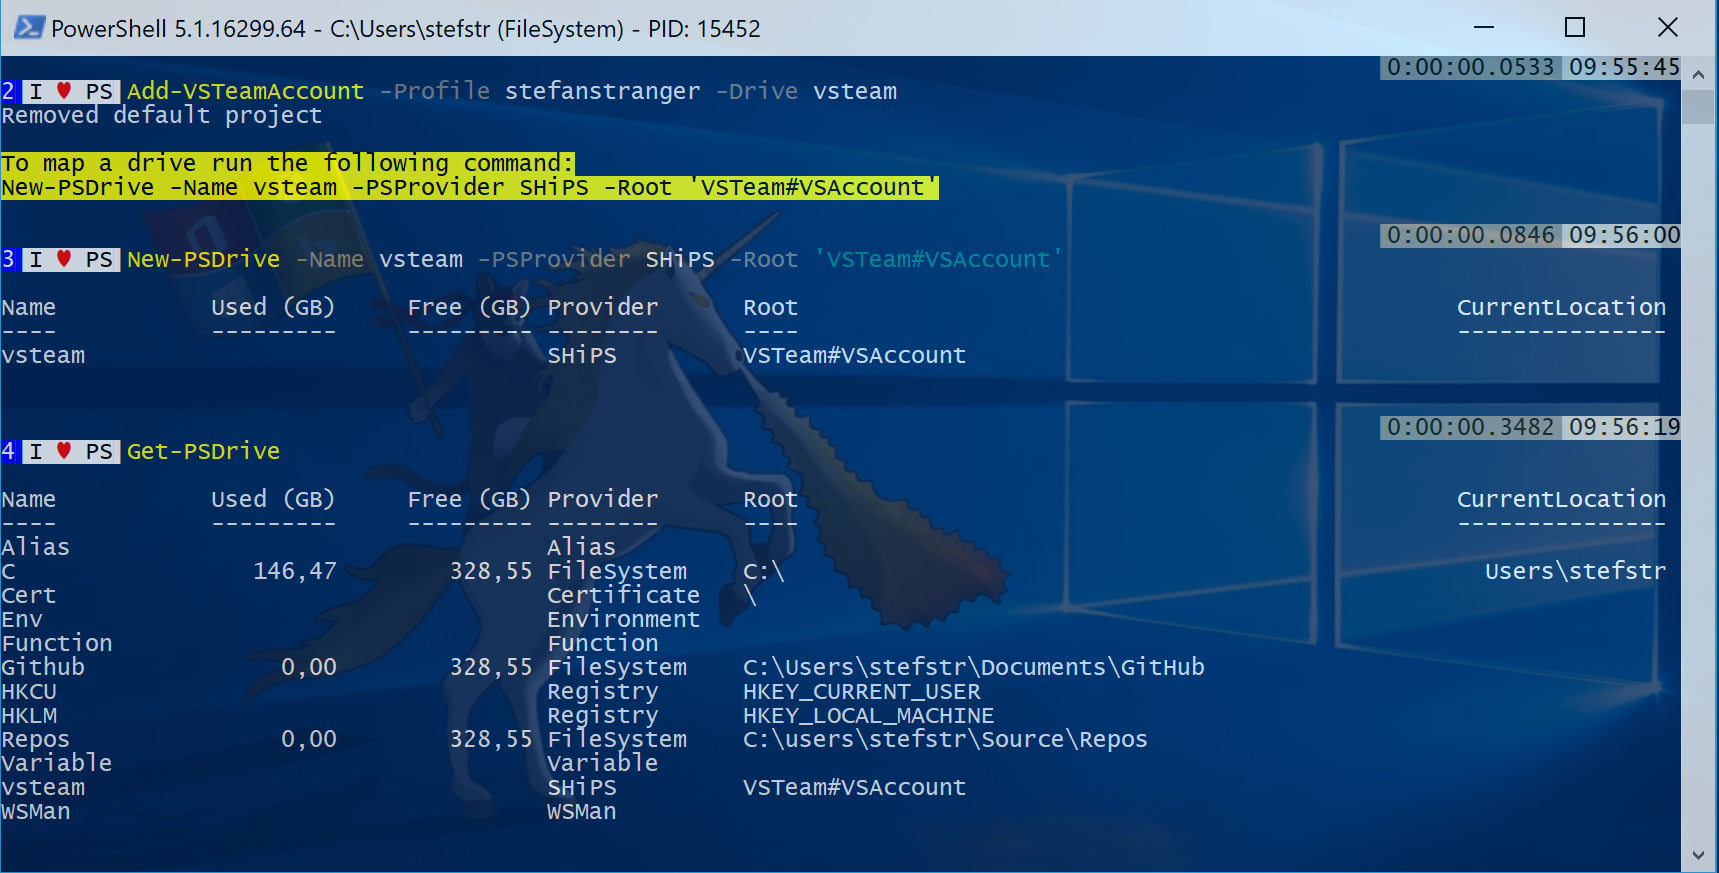
Copy the yellow output 'New-PSDrive -Name vsteam -PSProvider SHiPS -Root 'VSTeam#VSAccount' to your host and run the command.
Step 4. Navigate the SHiPS VSTeam Drive
 #region navigate to you VSTeam SHiPS drive
cd vsteam:
#endregion

#region list vsteam account projects
Get-ChildItem
#endregion

#region navigate to project
cd OperationsDay2017
#endregion

#region list folders for Project
Get-ChildItem
#endregion

#region list Builds for Project
cd Builds
#endregion

#region list Build properties
Get-ChildItem .\117 | Select *
#endregion

#region list Build properties using Get-Item
Get-Item .\117 | Select *
#endregion

#region list Unsuccessful Builds
Get-ChildItem | Where-Object {$_.result -ne 'succeeded'}  | Format-List *
#endregion

#region list Release for Project
Get-ChildItem ..\Releases
#endregion

#region list Release properties
Get-ChildItem ..\Releases\Release-51 | select *
#endregion

#region find all rejected releases for specific requestor
Get-ChildItem ..\Releases | Where-Object {$_.createdByUser -eq 'Stefan Stranger'} |
    Where-Object {$_.Environments.status -eq 'rejected'} |
    Select-Object createdByUser |
    Group-Object -Property createdByUser -NoElement
#endregion

#region find all rejected releases grouped by creator
Get-ChildItem ..\Releases |
    Where-Object {$_.Environments.status -eq 'rejected'} |
    Select-Object createdByUser |
    Group-Object -Property createdByUser -NoElement |
    Sort-Object -Property Count
#endregion

#region overview of failed releases per release definition
Get-ChildItem ..\Releases |
    Where-Object {$_.Environments.status -eq 'rejected'} |
    Select-Object createdByUser, @{'L' = 'Name'; E = {$_.Environments.releasedefinition.name[0]}} |
    Group-Object -Property Name |
    Sort-Object -Property Count -Descending
#endregion
Remark:
Currently the SHiPS Module only supports the following cmdlets:
- Get-Item
- Get-ChildItem
Screenshot Navigate VSTeam Account with VSTeam PowerShell Module with SHiPS functionality 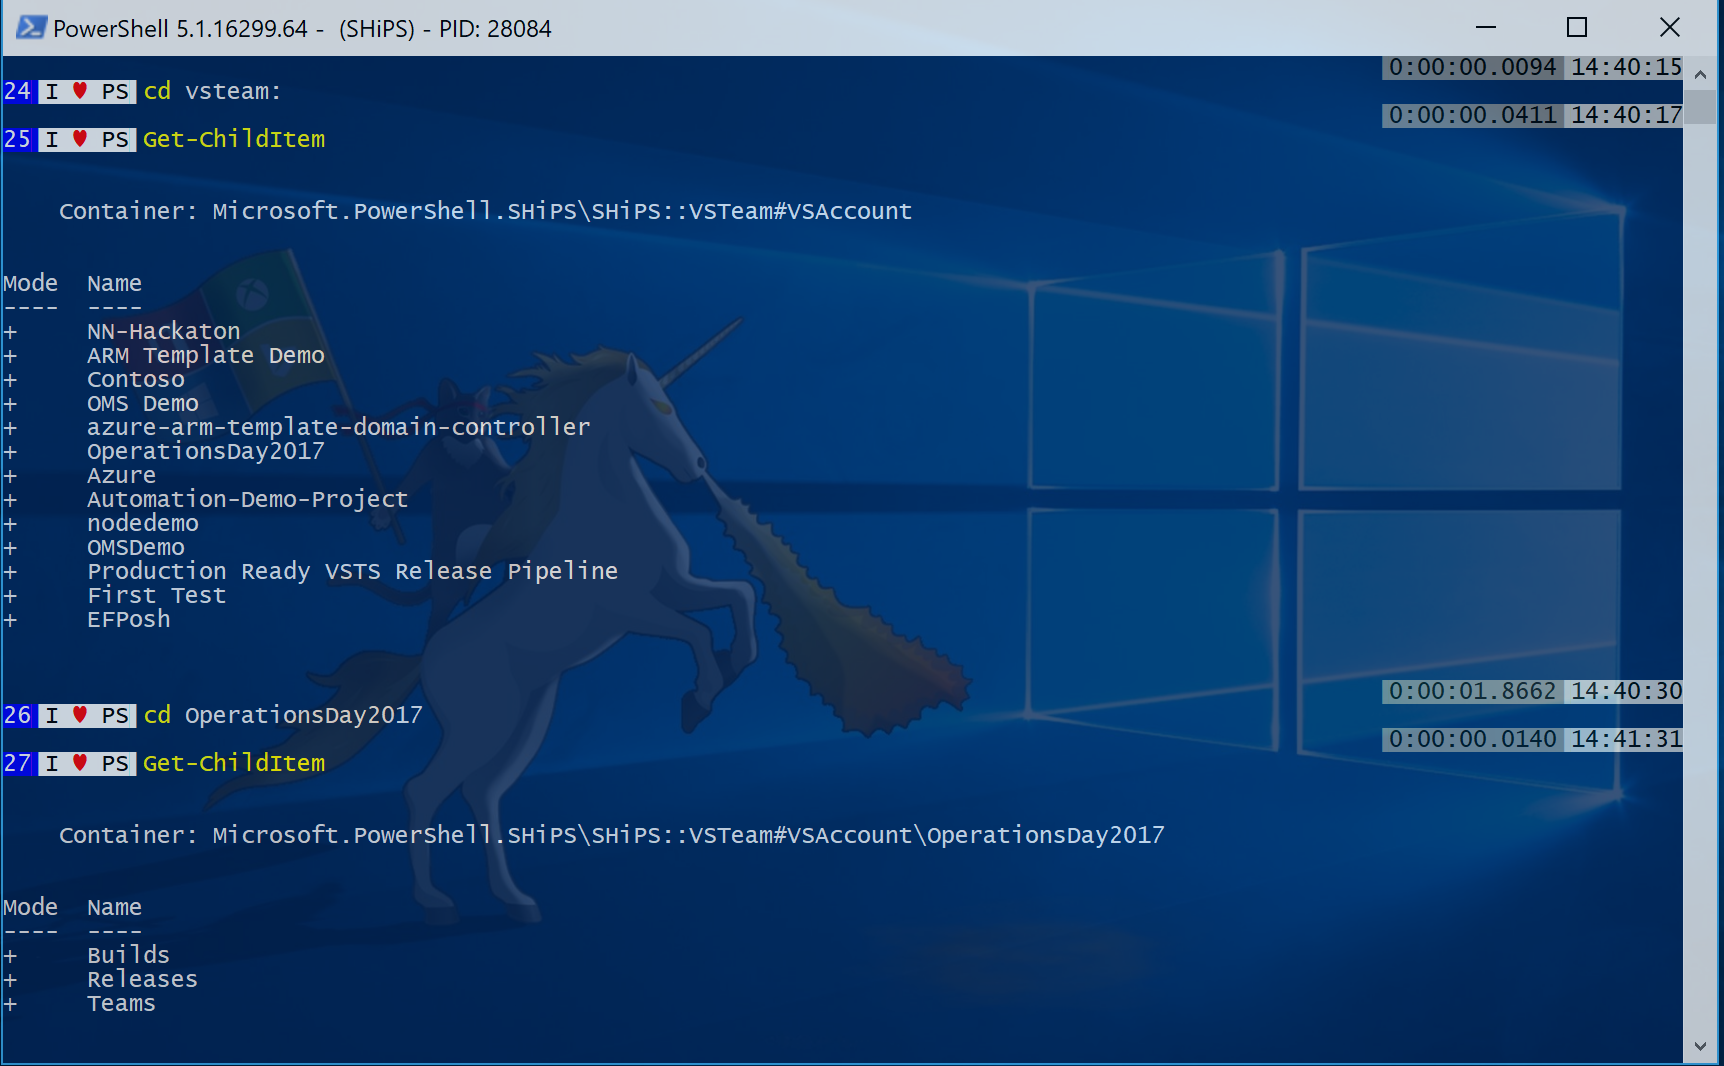
Screenshot Build Properties 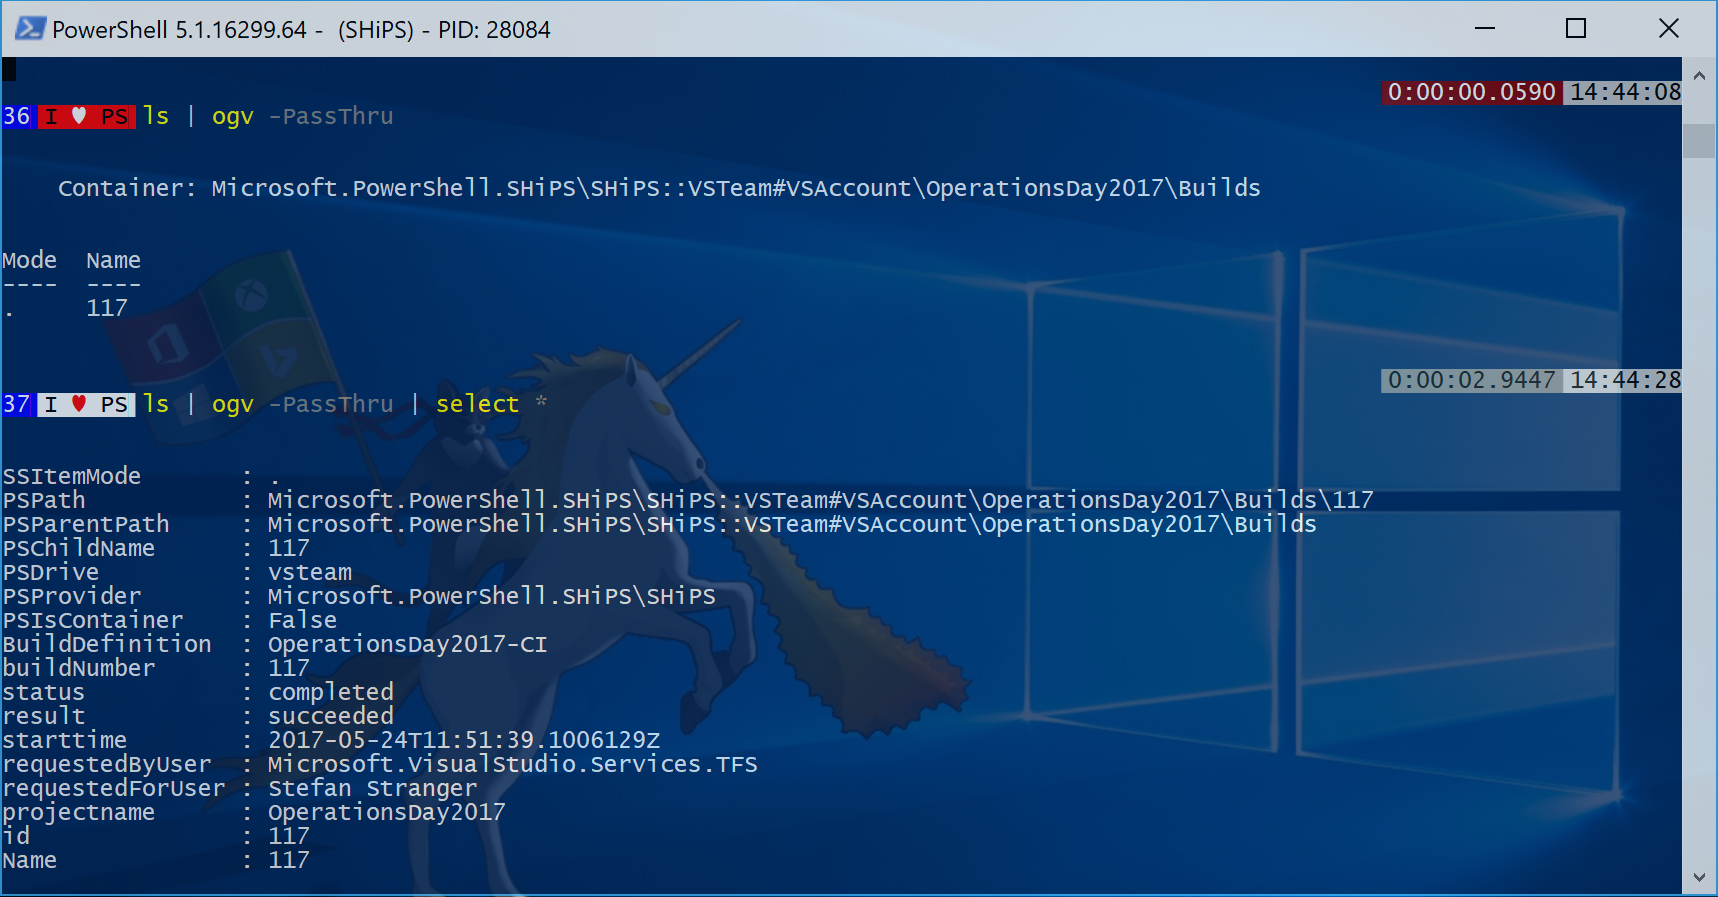
You can check the announcement from Donovan Brown here.
References: