Azure Logic Apps - Schedule your Runbooks more often than every hour
In my last blog post I explained how you could use Azure Scheduler to have your Runbooks run more than every hour.
But I learned from Tao Yang via Twitter that you could also use Azure Logic Apps to have your Runbooks scheduled more often than every hour in Azure Automation.
In this blog post I explain how to use Azure Logic Apps to schedule your Runbook to run more often than the default minimum setting of 1 hour in Azure Automation.
But first I will explain what Azure Logic Apps are.
Azure Logic App
Logic Apps provide a way to simplify and implement scalable integrations and workflows in the cloud. It provides a visual designer to model and automate your process as a series of steps known as a workflow. There are many connectors across the cloud and on-premises to quickly integrate across services and protocols. A logic app begins with a trigger (like 'When an account is added to Dynamics CRM') and after firing can begin many combinations actions, conversions, and condition logic.
Azure Automation Runbook
Let's first create a simple PowerShell Script Runbook with the following script.
 [CmdletBinding()]
param(
    $firstname,
    $lastname
)

Write-Output "Hello $firstname $lastname"
This Runbook has two parameters firstname and lastname and when you test this Runbook you should get the following output.
Publish the Runbook when you are happy with the result.
Now we need to create a Logic App in Azure.
Configure Logic App
Open the Azure Portal if you have not opened the Portal yet.
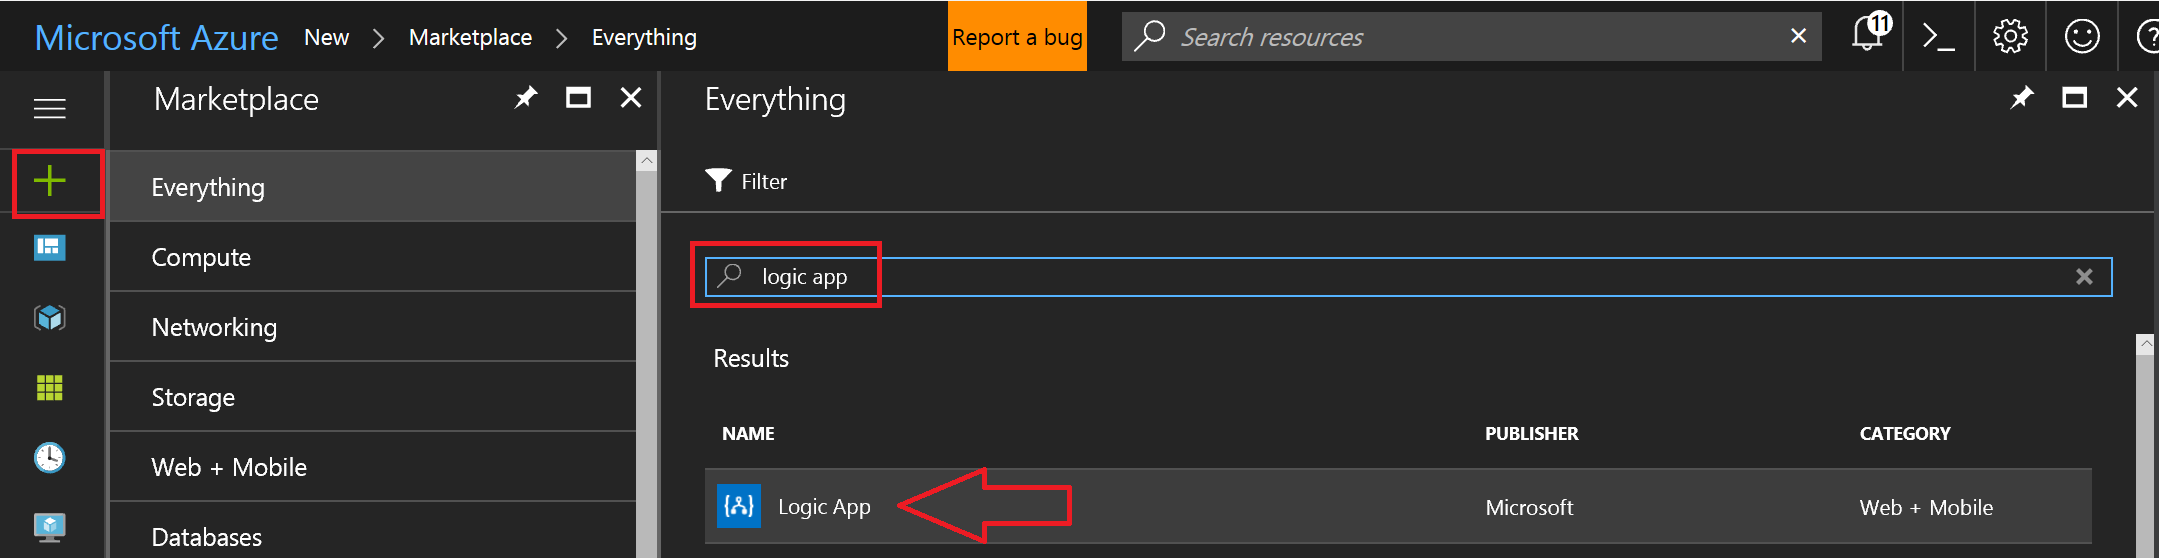
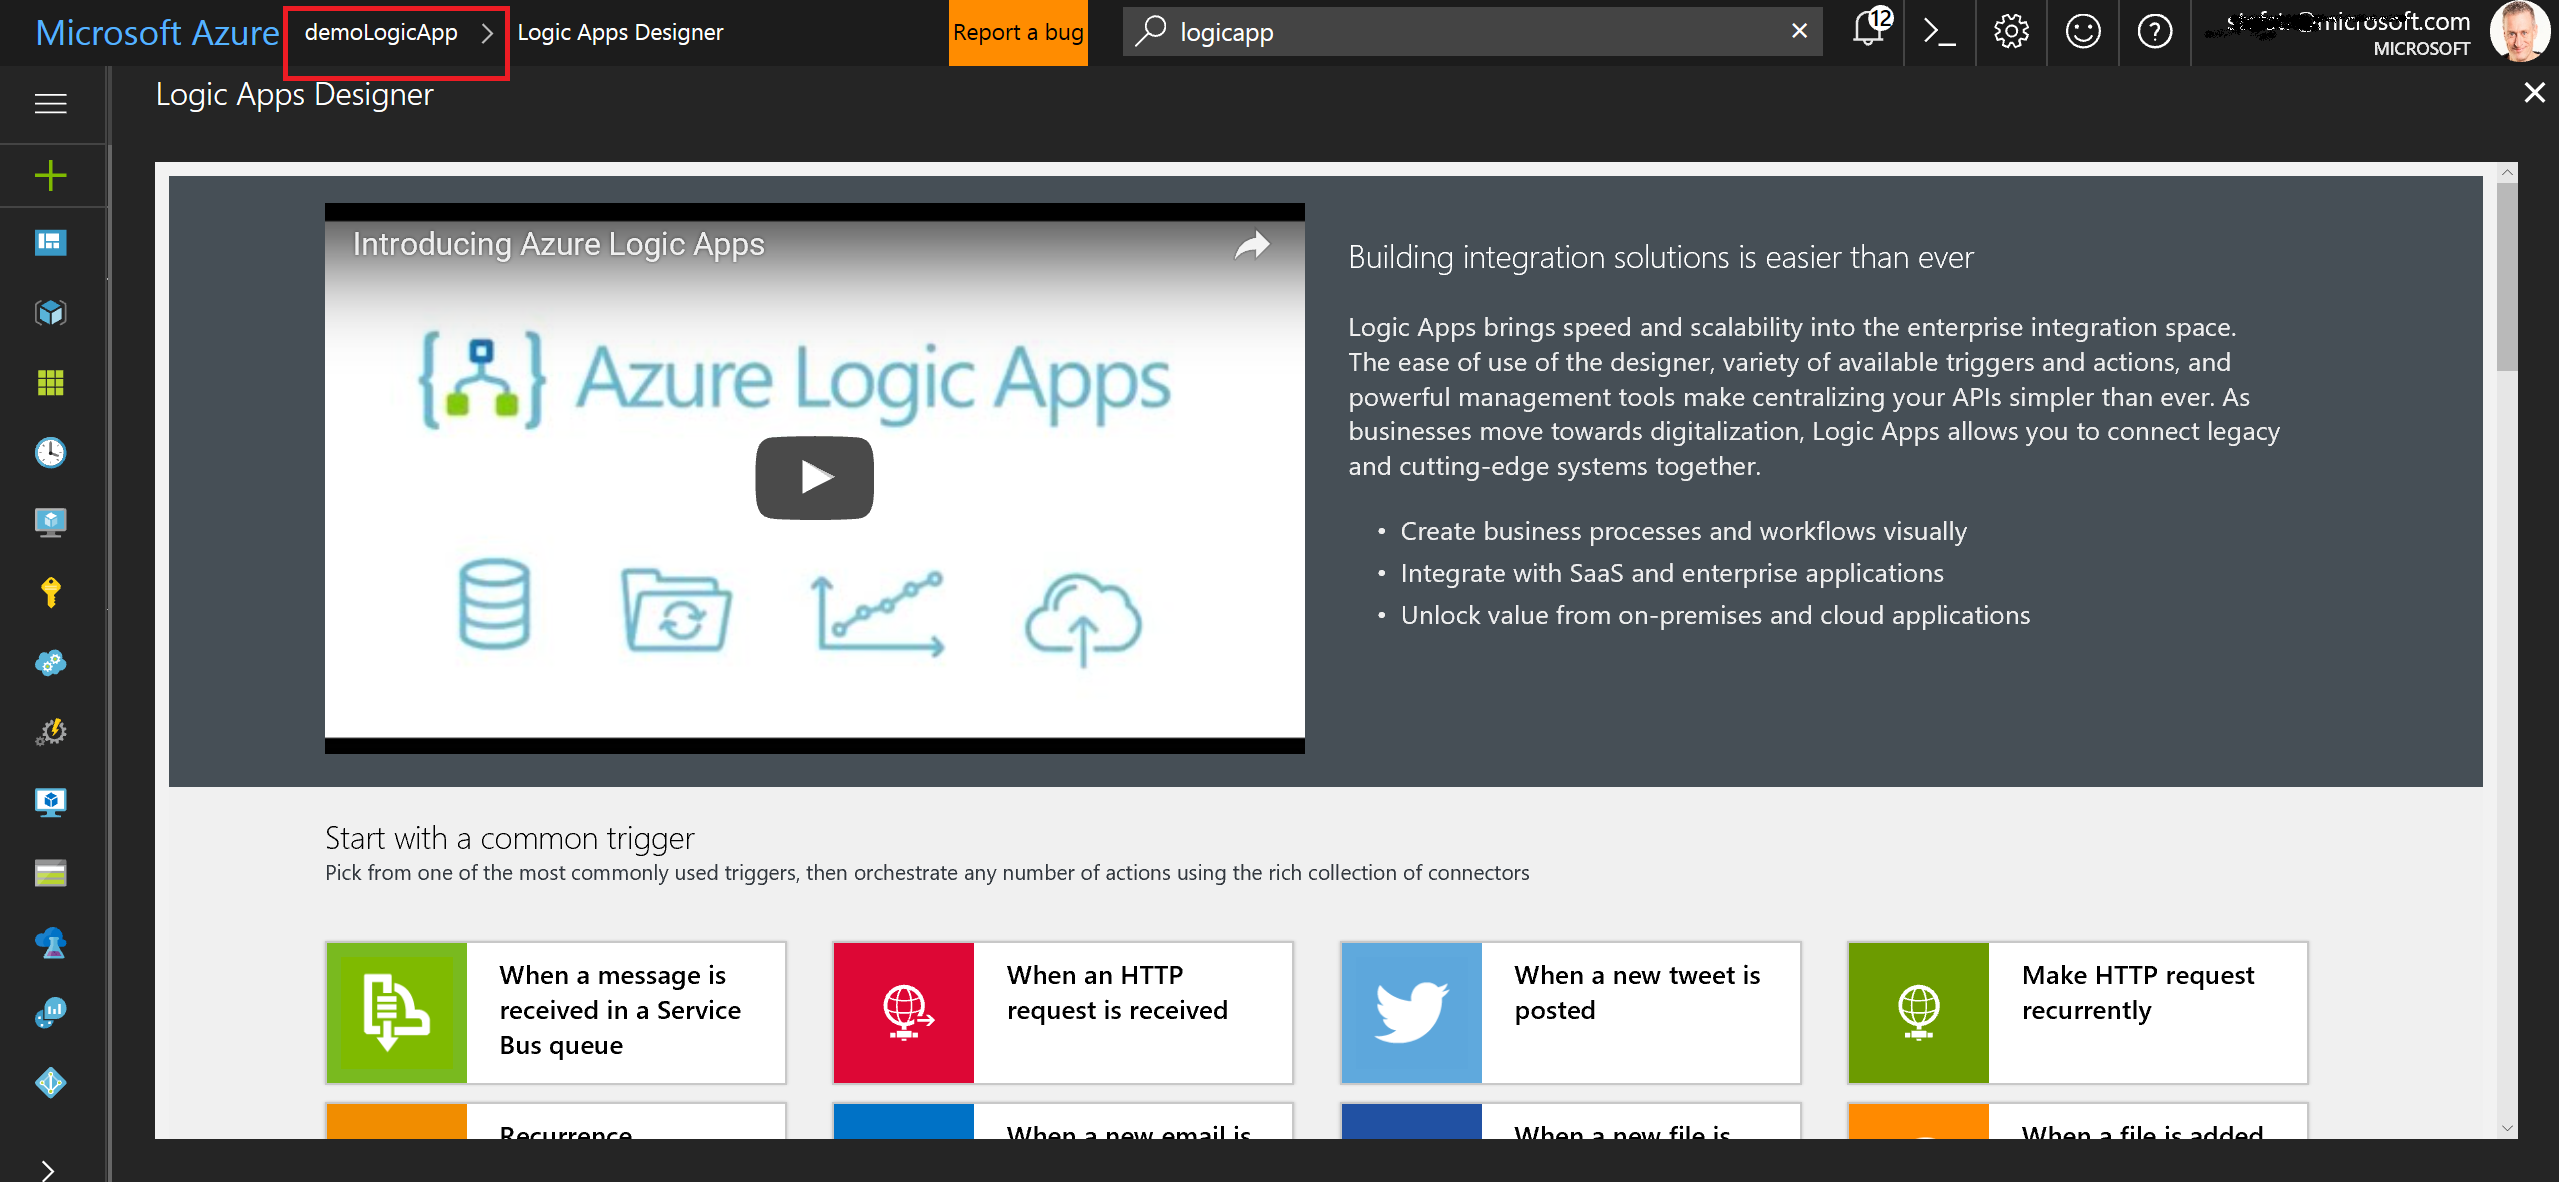
Step 1. Search for Logic App
Click on the Plus sign in the Portal and search for Logic App.
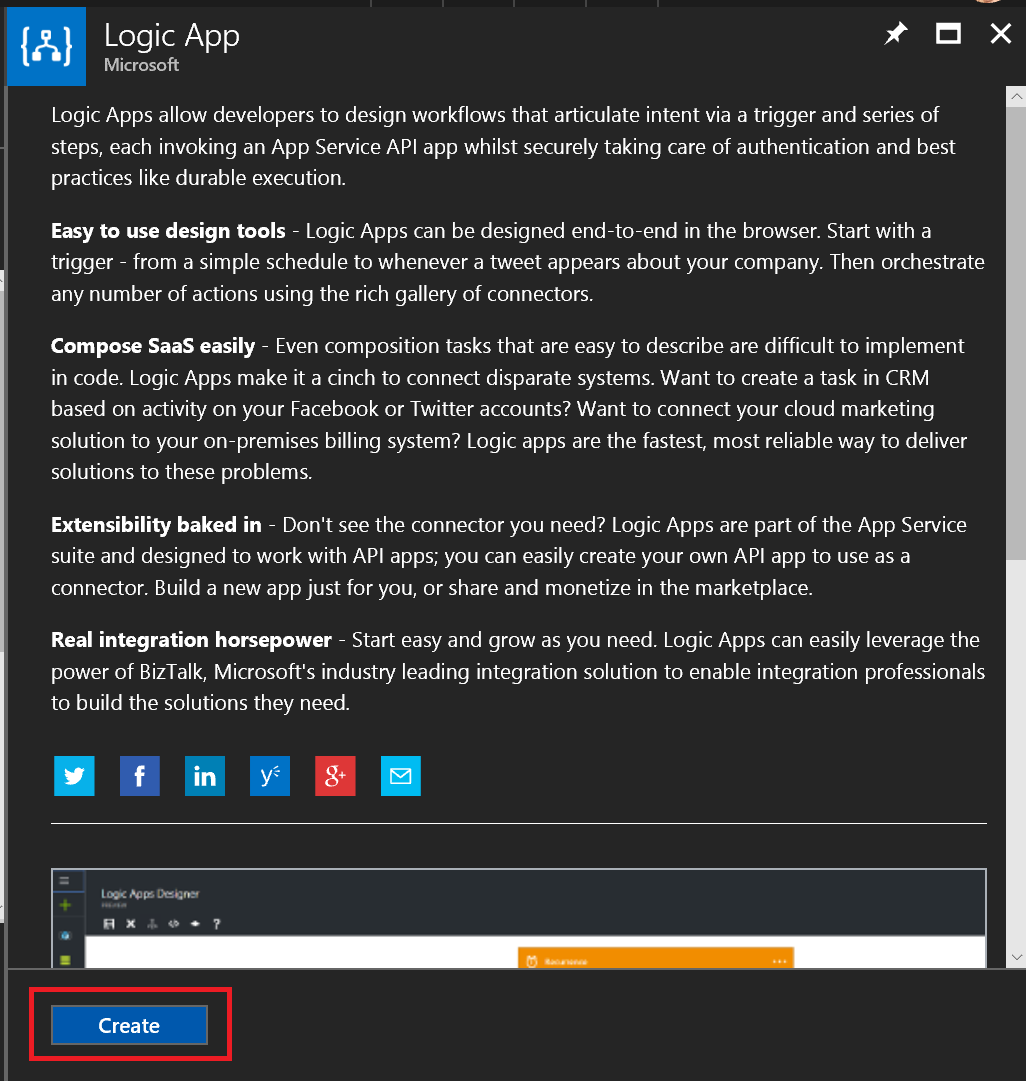
Click on Create button to continue with the creation of the Logic App.
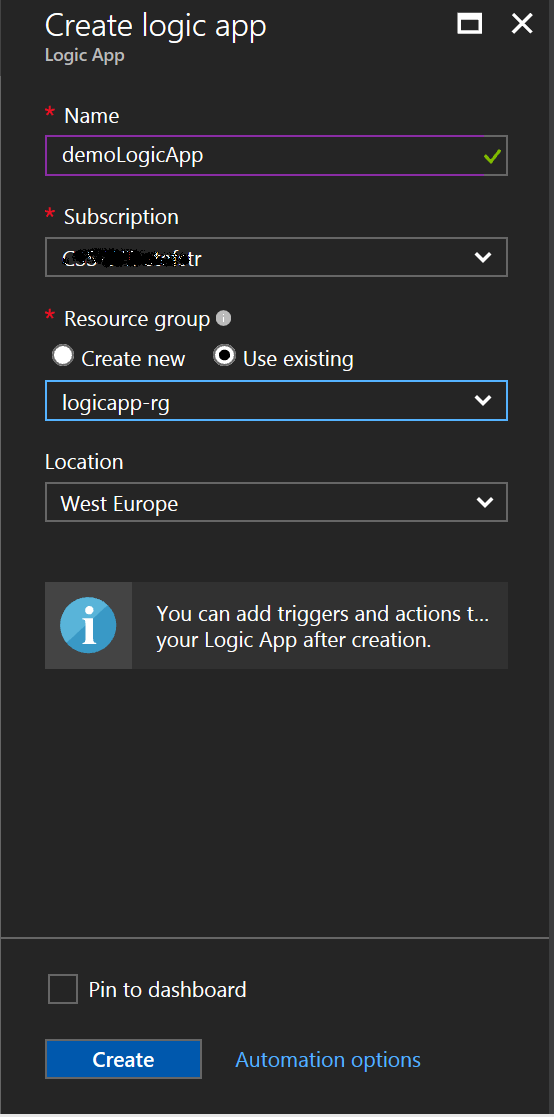
Step 2. Configure Logic App
Enter properties for Logic App and click on Create button.
Step 3. Open Logic App Designer for Logic App
Configure the trigger Recurrence. Select the Recurrence trigger to have the Runbook scheduled as a first step in the creation of the Logic App.
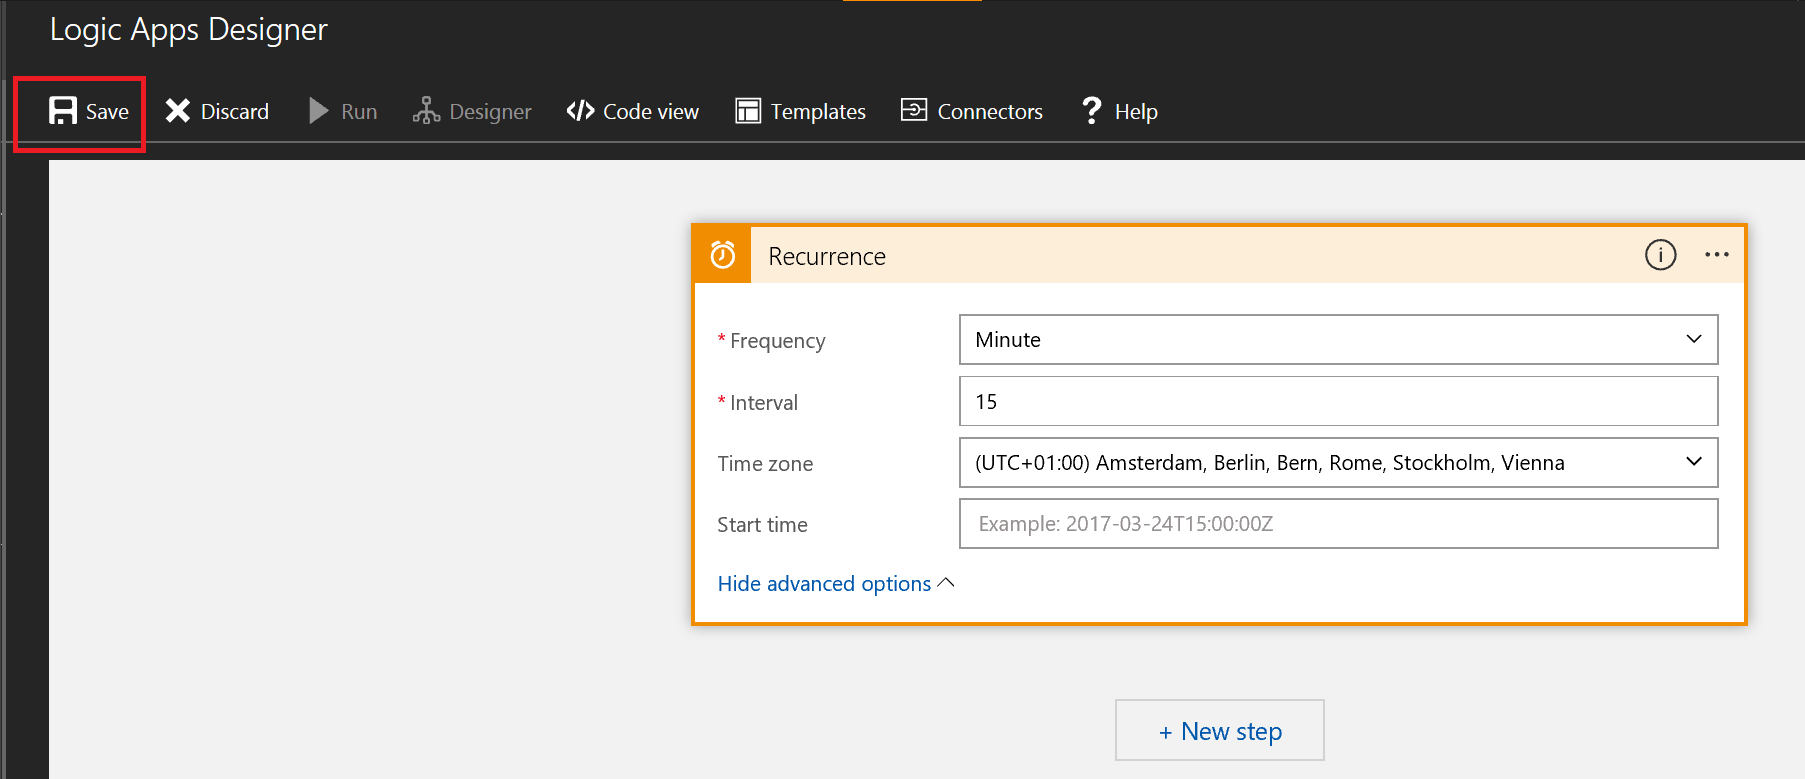
Configure the Recurrence interval according to your preferences.
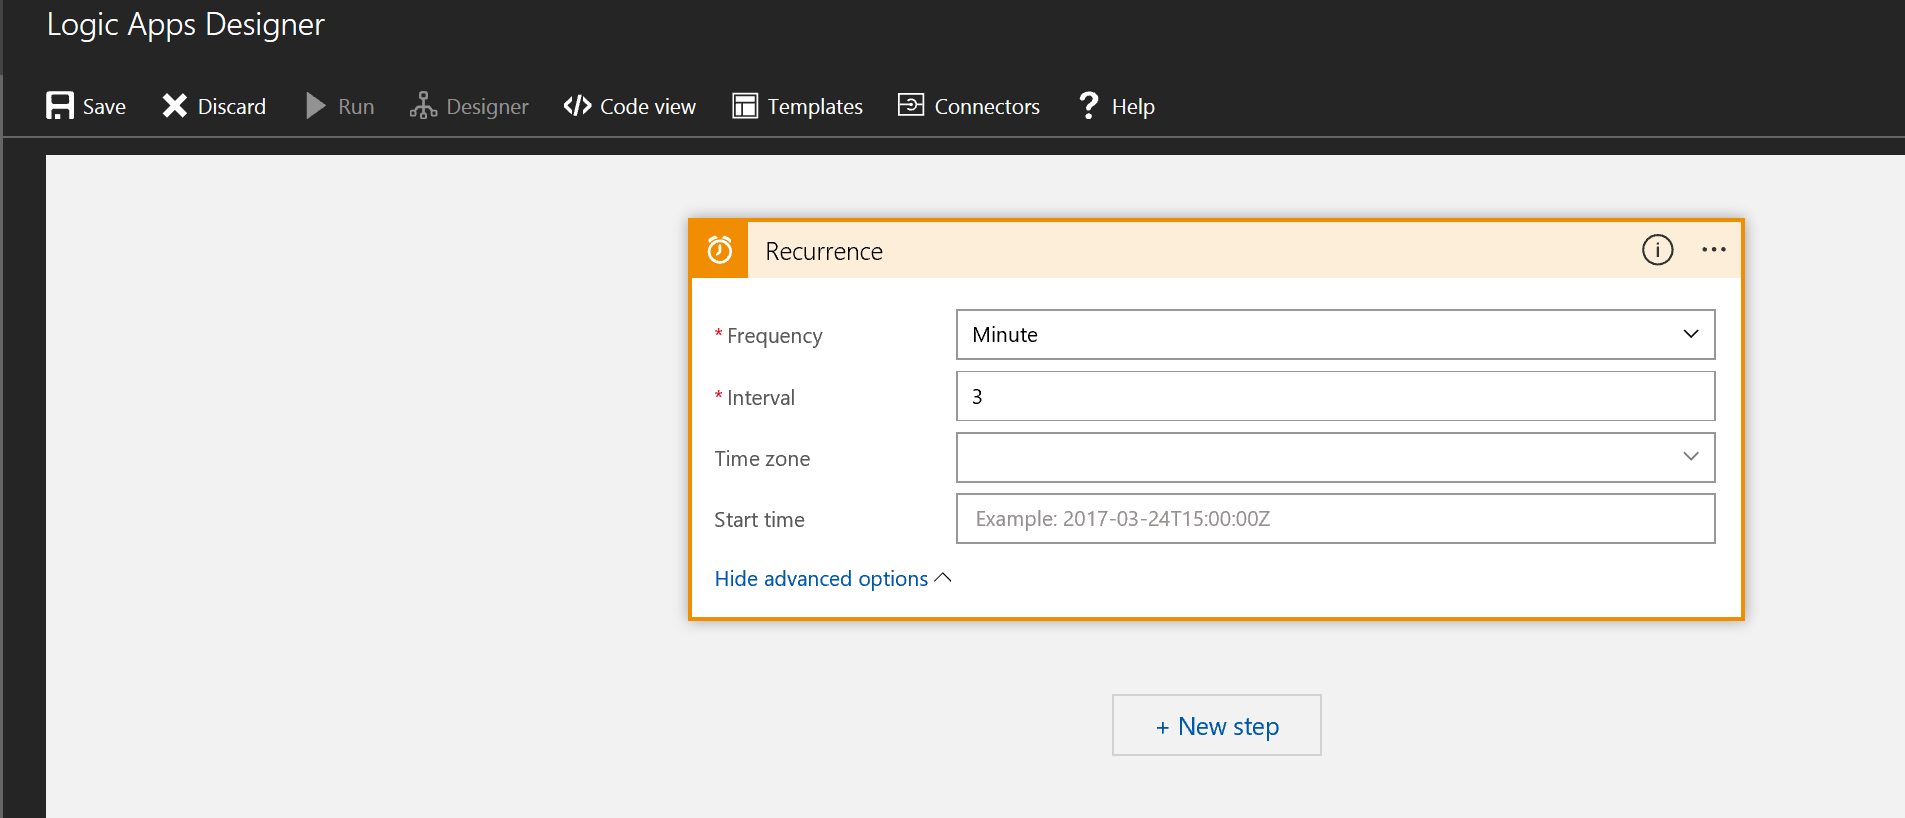
Save your settings before we configure the next step in the Logic App.
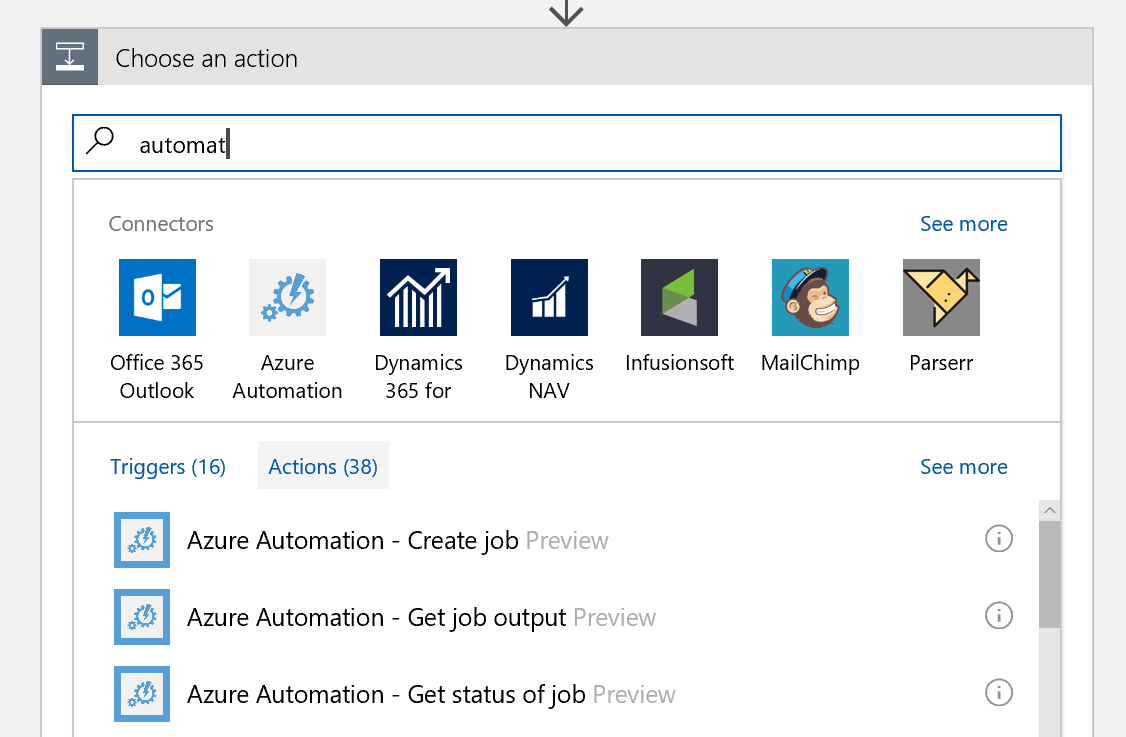
Step 4. Add Azure Automation Create Job Action.
Click on Add Action to configure the next Action.

Search for the Automation Connector and select the Create Job Action.
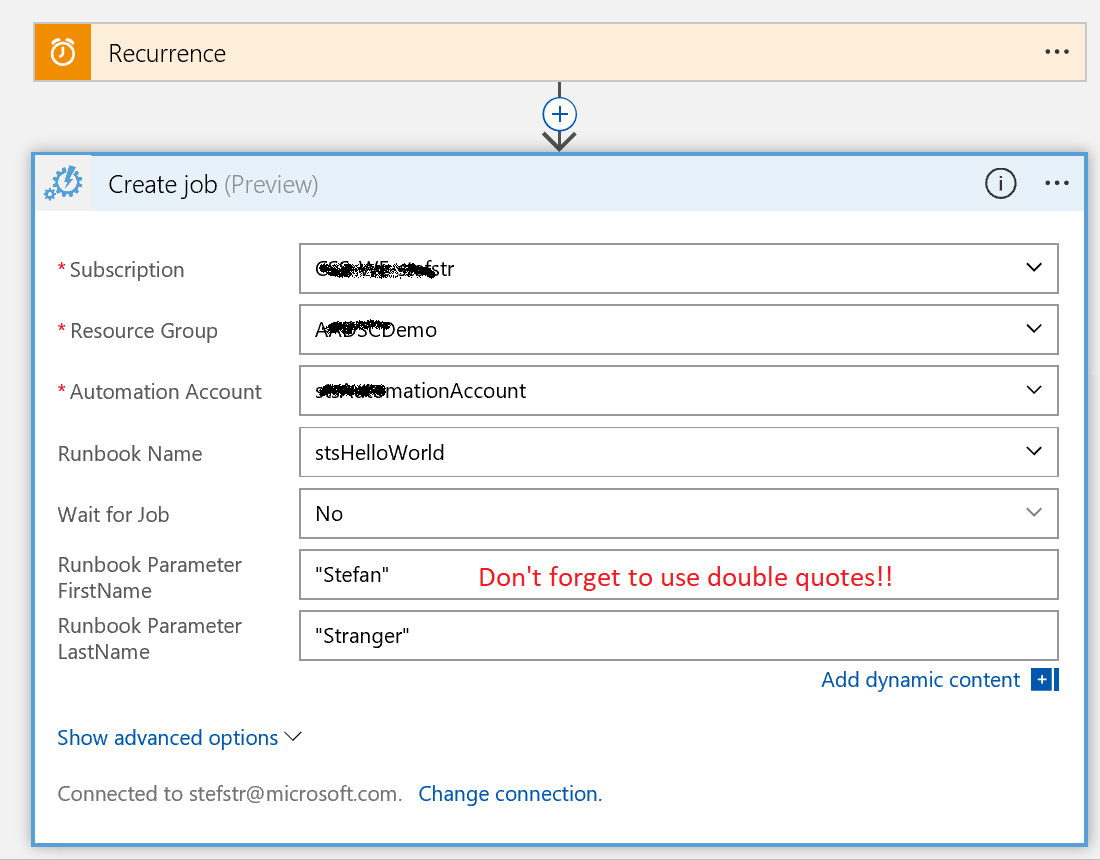
Step 5. Configure the Create Job Settings.
Enter the correct settings for the CreateJob Action and save the Logic App.
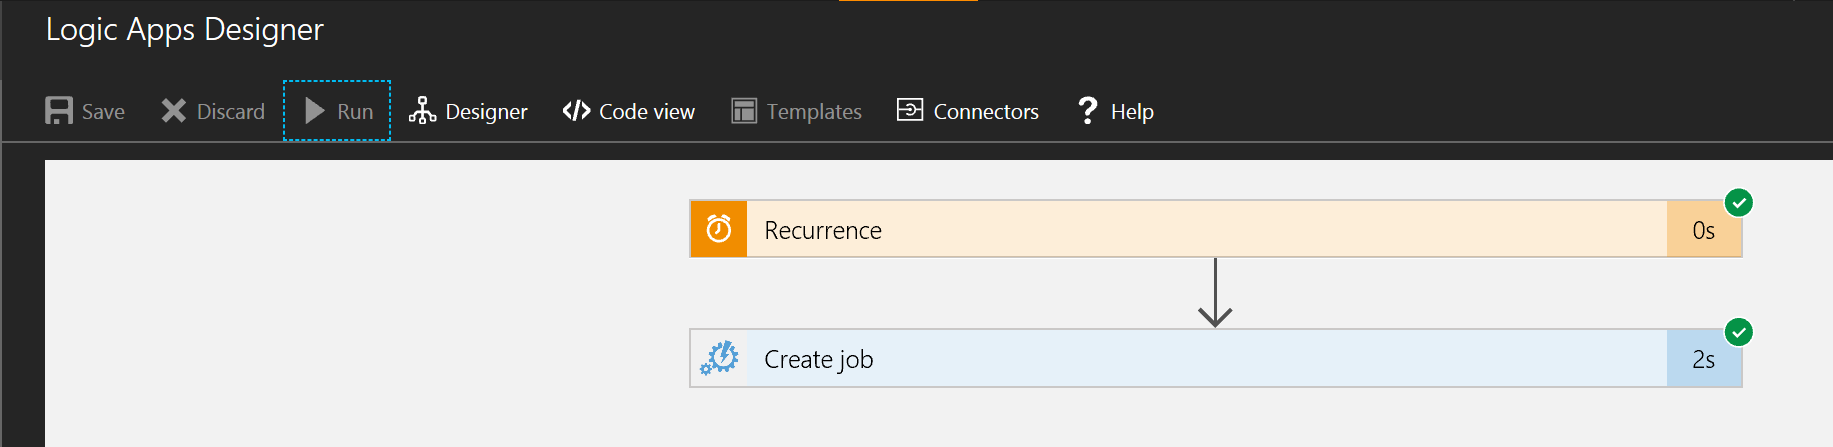
Step 6. Test Logic App.
After the Configuration you can test the Logic App by selecting the Run option.
If everything works ok you see the green check marks.
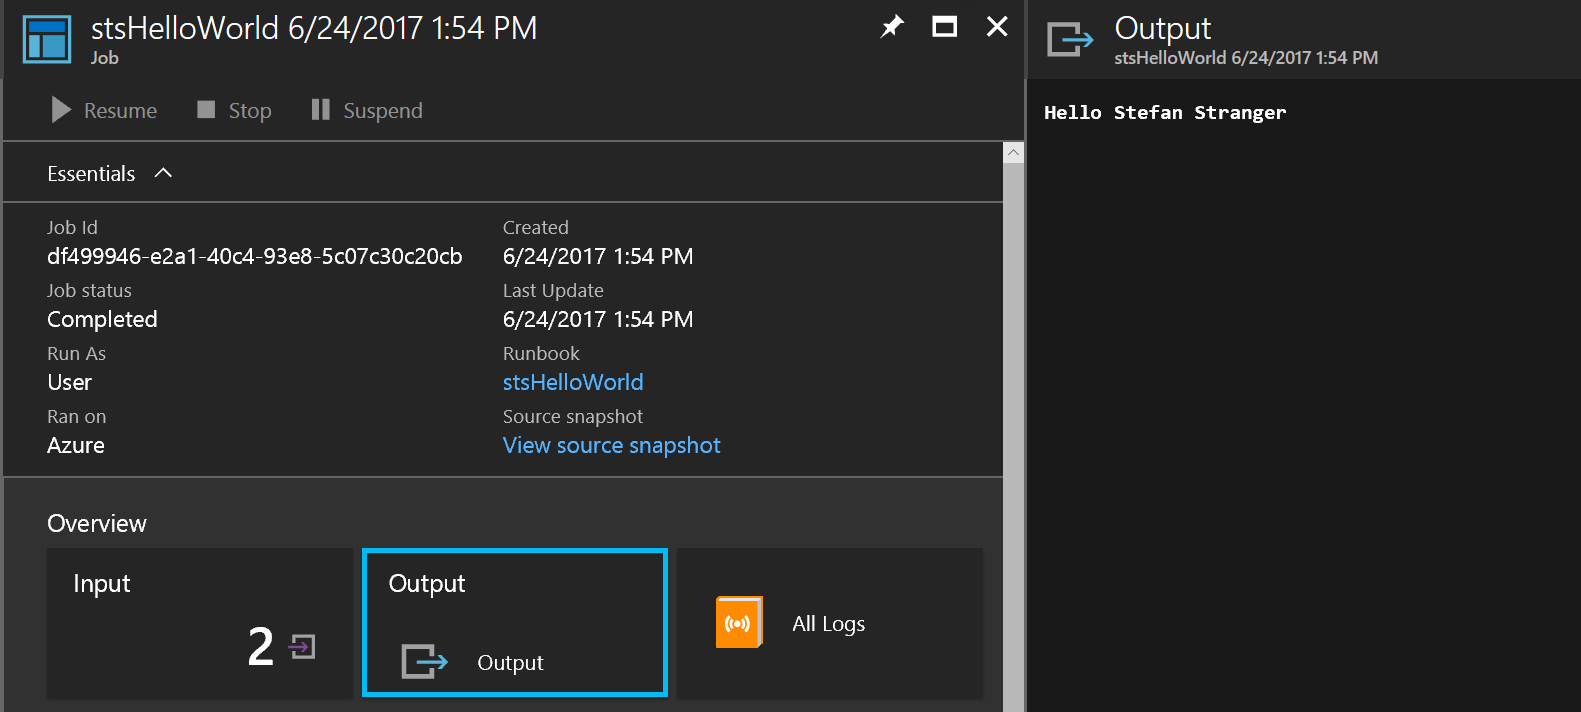
Step 7. Check Runbook Job output
The final check is verifying the Job Output.

Hope you learned something new. Thanks Tao Yang for sharing this to me!
References: