AADSync - Configure filtering Part 2
Continuing from our previous post AADSync - Configure filtering Part 1 we will now look at using expressions on target attributes to decide who should get provisioned to the cloud. Will still use lessons learned from part one to make sure that our expression is properly being evaluated.
A list of functions that can be utilized can be found here (Click Here)
Scenario:
In my new discussion with the business we want to control who and what makes it to the cloud. In this we only want to create users that have the office items PPG or MS Value this attribute in AD is ‘physicalDeliveryOfficeName’ . If the value is null or any other value ignore .
lets set the stage:
Like AADSync - Configure filtering Part 1 we will install AADSync with all the default rules – without running initial sync steps. I've also configured the active directory management agent to one OU like in part 1
Now for the Fun !
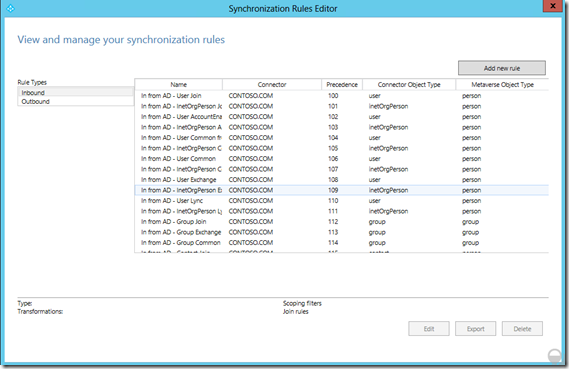
Open Sync Rule Editor – This step we will configure the users we want to sync
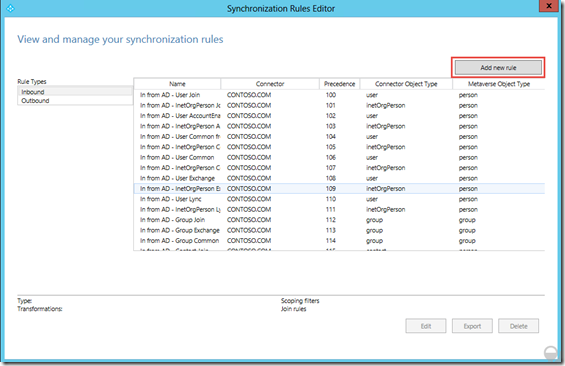
Click New Sync rule
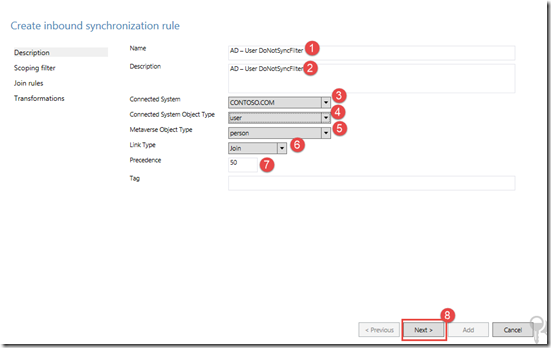
Give the rule a descriptive name(1), such as In from AD – User DoNotSyncFilter, select the correct forest(3), User as the CS object type (4), and Person as the MV object type(5). In Link Type select Join (6)and in precedence type a value currently not used by another Synchronization Rule, e.g. 50.(7) Click Next (8)
In the next step we will be leave scoping filter and join rules empty as this rule will apply to all user objects and we will let our expression do the work Click Next twice
Click Add Transformation, Select the FlowType to Expression and select the Target Attribute to sourceObjectType. In the Source, Type in the following expression: this is
the same one used here with a slight modification. later in the article we will change it again to support the business with multiple departments
IIF(IsNullOrEmpty([physicalDeliveryOfficeName]),NULL,IIF([physicalDeliveryOfficeName]<>”PPG”,”DoNotSync”,NULL))- The expression we are using is the IFF statement
- IIF(exp condition, var valueIfTrue, var valueIfFalse
- (1) IsNullOrEmpty([physicalDeliveryOfficeName]),NULL = If true we pass NULL,
- (2) IIF([physicalDeliveryOfficeName]<>”PPG”,”DoNotSync”,NULL
- In this comparison we look at the attribute and using the VB compare operator <>(Not Equal to).
- This say if the physicalDeliveryOfficeName Not Equal to “ PPG” , If true then the value is “DoNotSync” , If false value is NULL and we will continue to process of the default sync rules for this value
- The expression we are using is the IFF statement
Click Add and save the rule
Now that reopen the sync rule as we want to make a change to the adjustment to the expression to fit our business rule
IIF([physicalDeliveryOfficeName] = "PPG" || [physicalDeliveryOfficeName] = "MS",NULL,"DoNotSync")Now that we that we have our expression rule we will go an preview the user objects in picture 1 above.

Using the Preview method we did in part –1. we look at all our users and see if we have expected outcomes
As tested we see the users that should be created in the cloud using default rules and the objects that are blank or have something other than MS,PPG objects will be marked with “DoNotSync” thus not created in the cloud
AADSync can be a very powerful tool with the use of expression or even negative filtering. The two article I have written drives into the testing of the use of the tool so you know what your sending through the system.


