OpenText: Multiple Instances or a Single Instance of SQL Server - Part 4: Uninstalling Instances
[Prior Post]
In the prior post of this series, I recommended not uninstalling the other SQL Server instances unless you are planning to reuse the license elsewhere. Reasons to retain the instance include:
- It can take a significant amount of time to do compared to disabling.
- It will only free up a little disk space.
- If you made a mistake in consolidating databases to one instance, you will have to reinstall the removed instance and restore the prior configuration.
In this post, I will walk you through a visual step-by-step on how to do this. Installation documentation often does not include instructions on how to uninstall.
Uninstalling SQL Server Instances
- Open Control Panel and select Programs and Features.
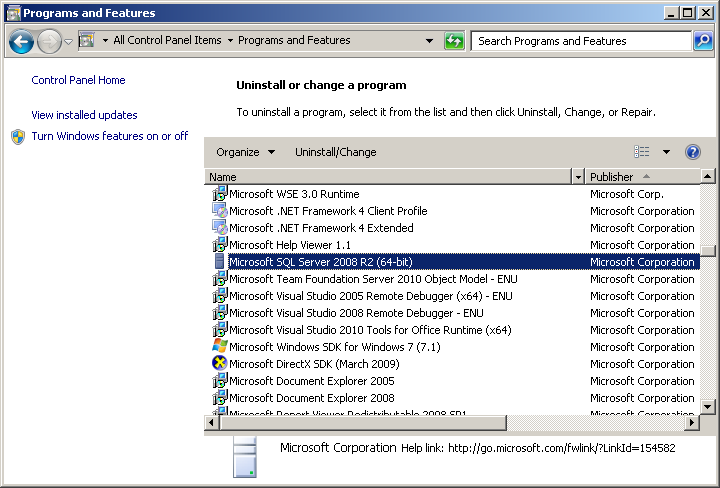
- Scroll down until you find Microsoft SQL Server. Double click this item. The SQL Server change dialog will appear.
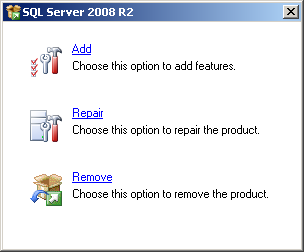
- Click Remove. A command window (DOS - box) may momentarily flash on screen). A Please wait ... dialog may appear for several minutes
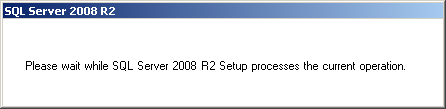
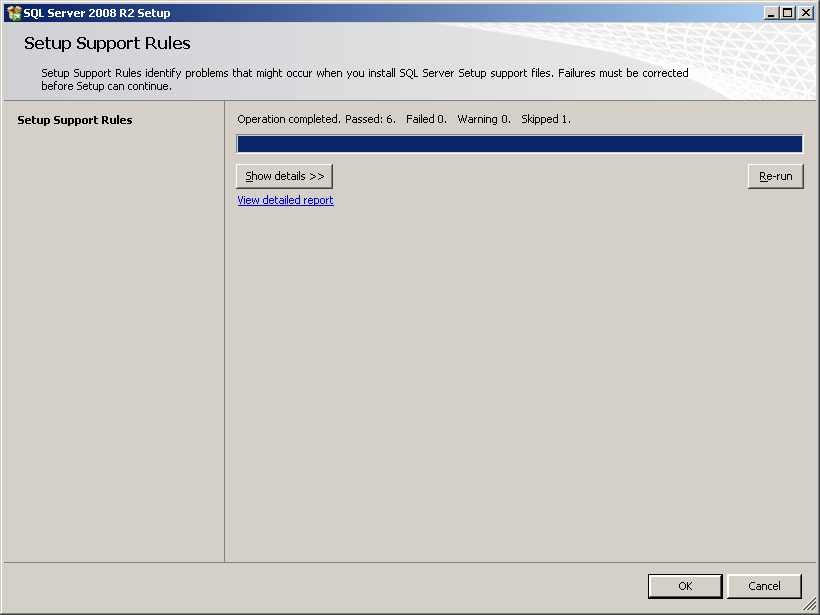
- The Setup Support dialog will appear. Click [OK]. You will see a Please wait.. . again.
- The Remove SQL Server dialog will appear.
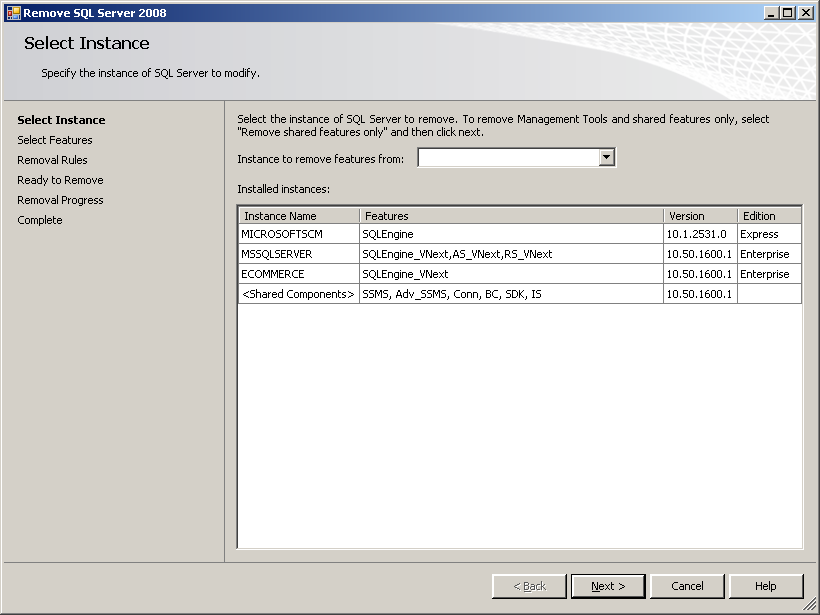
- Select the instance to remove in the drop down list. For this example, I am selecting MICROSOFTSCM. Then click [Next]

- The Select Features dialog will appear.
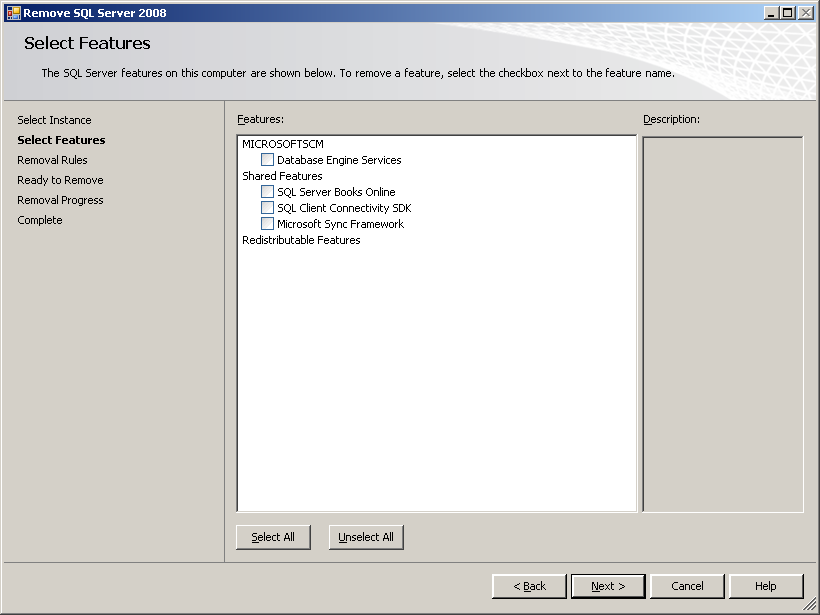
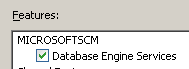
- Check the Database Engine Services checkbox (and any additional item that may appear under the instance name).
- Click [Next]. After a few seconds, the Removal Rules dialog will appear.

- Click [Next] and the Ready to Remove dialog will appear.
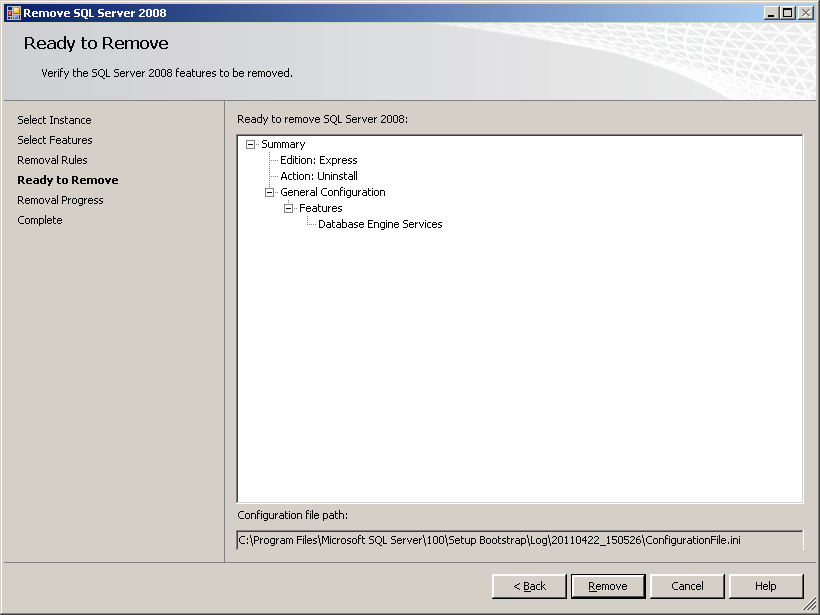
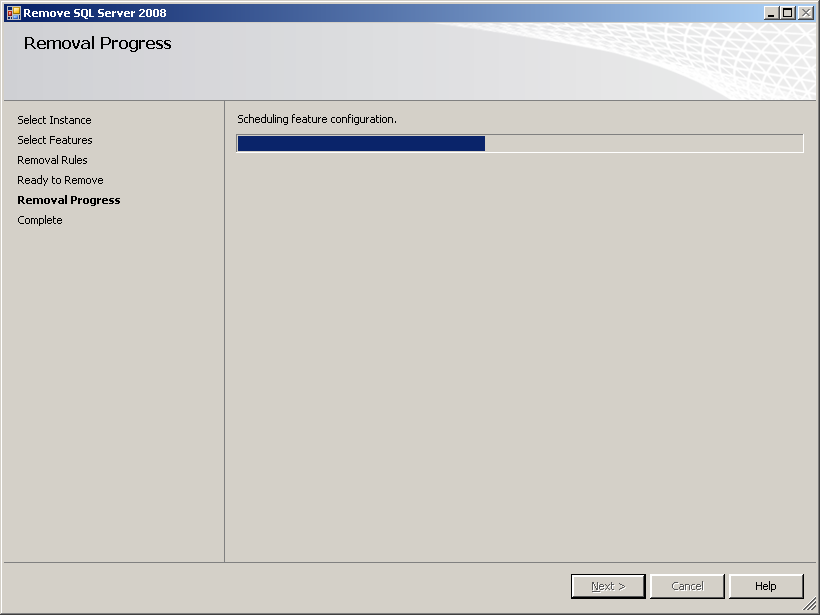
- Click [Remove]. The Removal Progress dialog will appear for a few minutes while the install is removed.
- Click [Next] when it completes. The Complete dialog will appear.
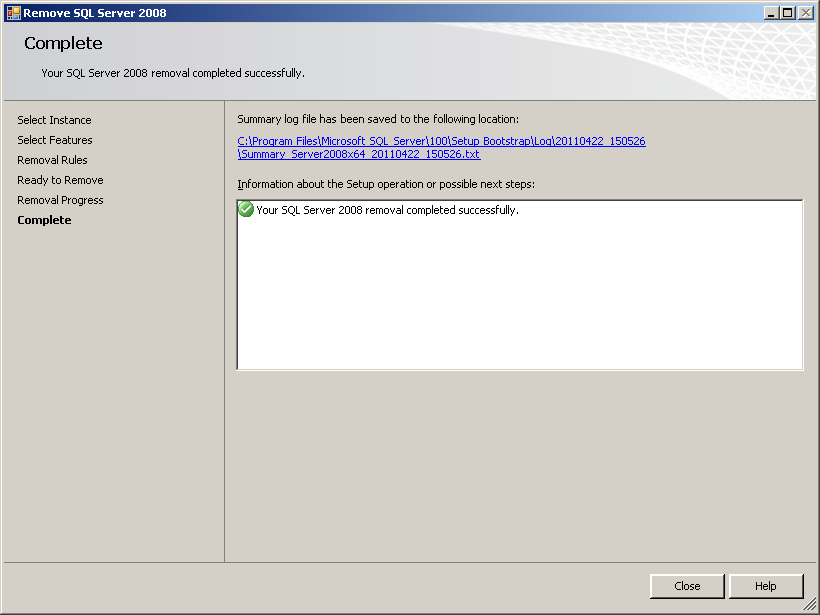
- Click [Close] and you are done.
You have now removed the unneeded instance. If you open Administrative Tools / Services, you will find that the instance is no longer listed.