Audit and Control Management Server 2013 – Application Configuration
The following is a brief tour of the Microsoft Audit and Control Management (ACM) Server 2013 website that can help you with the configuration and administration of the application.
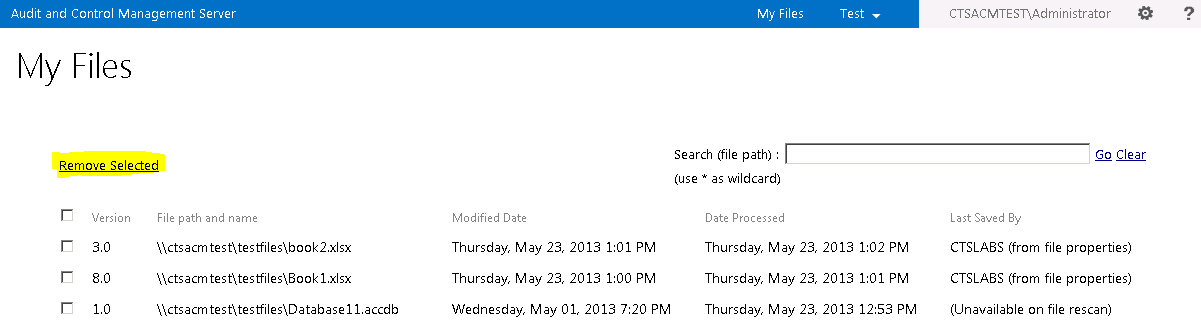
The My Files page lists all files under control in ACM. Clicking Remove Selected removes any selected files from ACM:
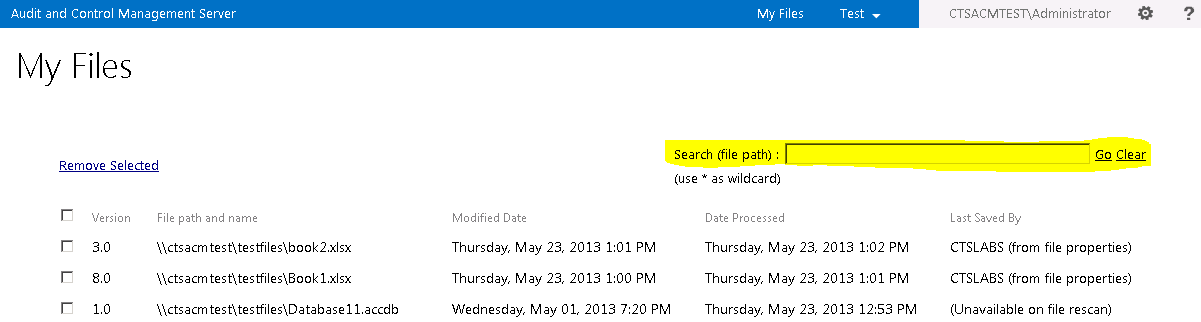
You can search for a file using the Search box. Make sure to use the wildcard * to get proper results, such as *Q3Statement.xlsx so it includes the entire file path:
If you click on a file path:
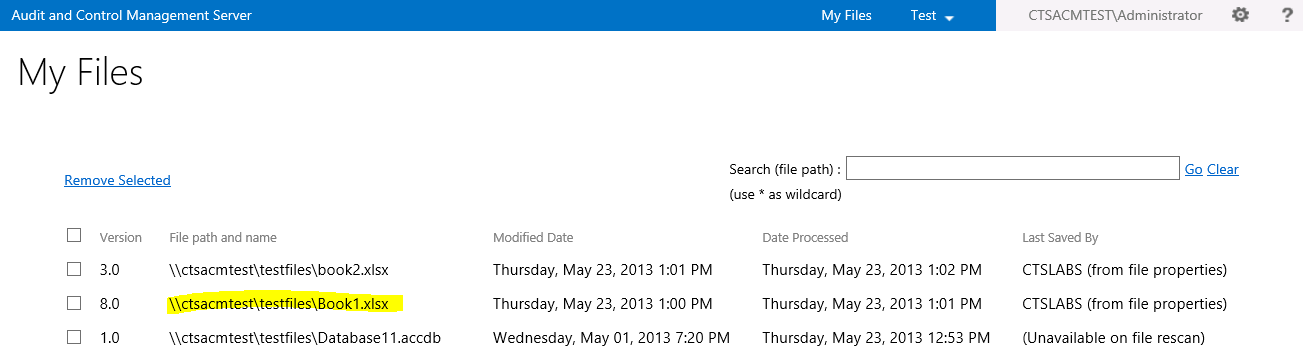
It takes you to the audit trail on the Change History page which gives a summary of the changes by giving the number of changes for each audit type.
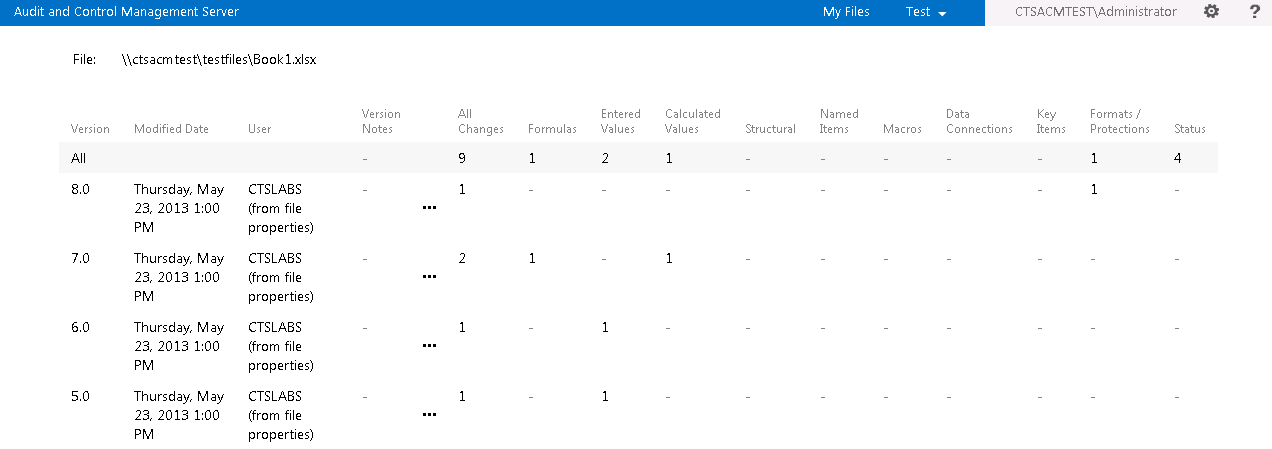
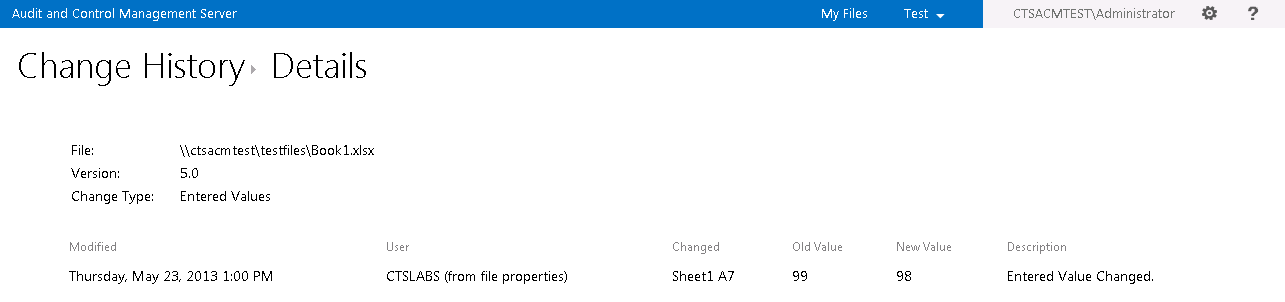
Clicking on one of these numbers gives additional detail regarding the changes on the Details page:
A drop down menu allows you to select the Site:

Clicking on the ellipsis for a version on the Change History page gives you a menu with a couple options:
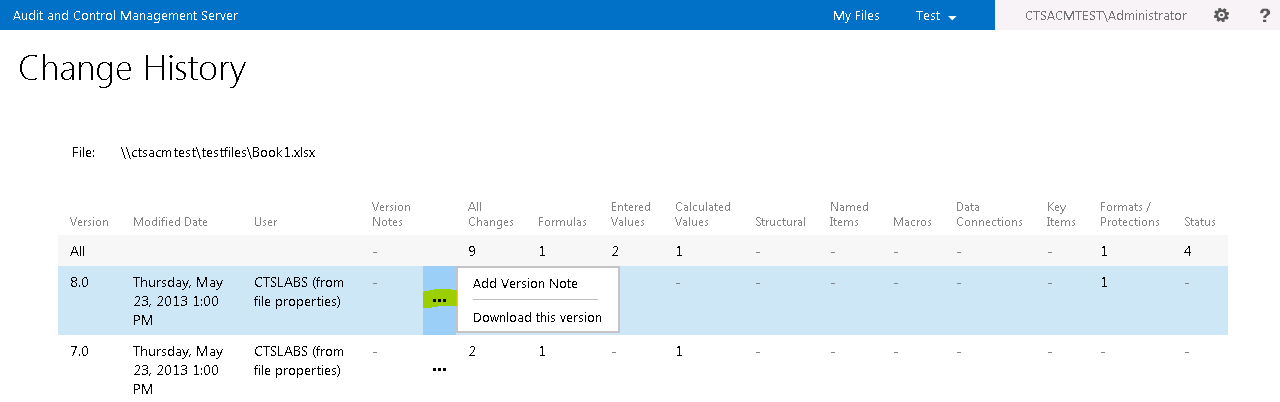
Clicking Add Version Note takes you to the Add Version Note page where you can enter a note regarding this version:

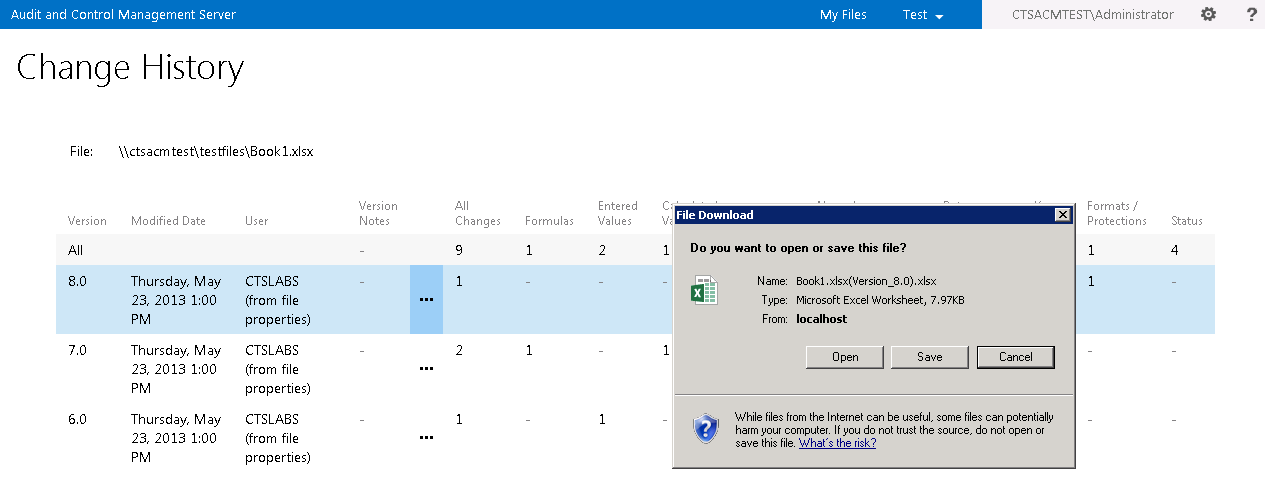
Clicking Download this version allows you to download the version to your local machine:
Clicking on the gear icon brings a drop-down menu with some setting options:

Clicking Site Settings takes you to the Site Settings page:

Clicking on Site administrators on the Site Settings page takes you to the Site Administrators page where you can specify which users have full access to the site to make changes to all site settings:

Clicking on Processing folder on the Site Settings page takes you to the Processing Folder page where you can specify the processing folder path:

Clicking File processor aliases on the Site Settings page takes you to the File Processor Aliases page where you can specify a processor alias (used with substserver processor parameter in the settings configured with ACM Service Manager):
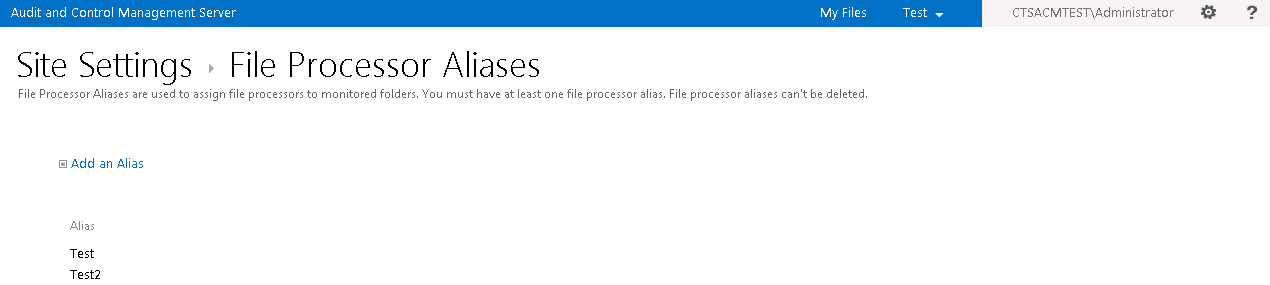
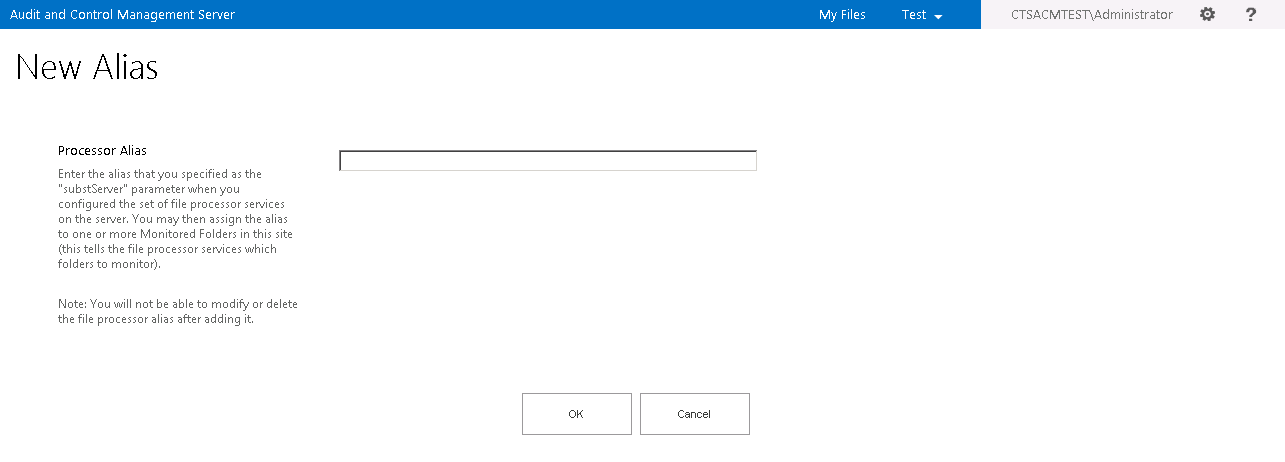
Clicking on Add an Alias takes you to the New Alias page where you can add a new alias:
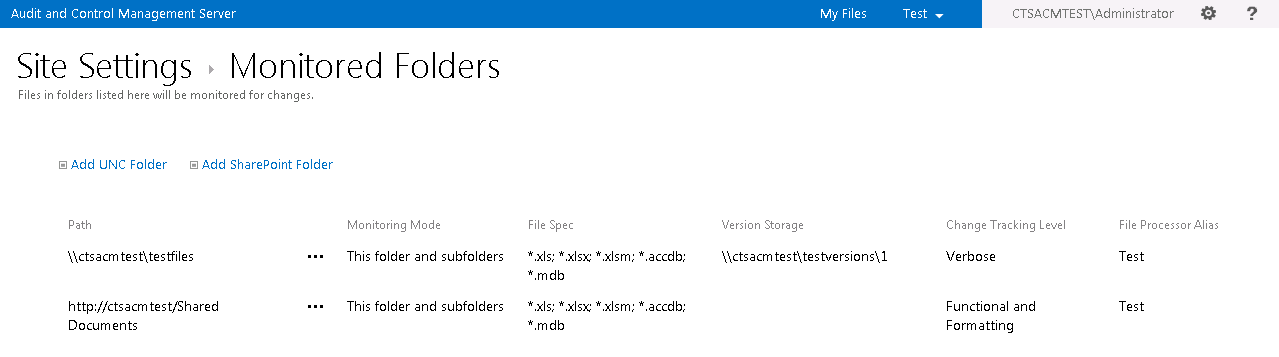
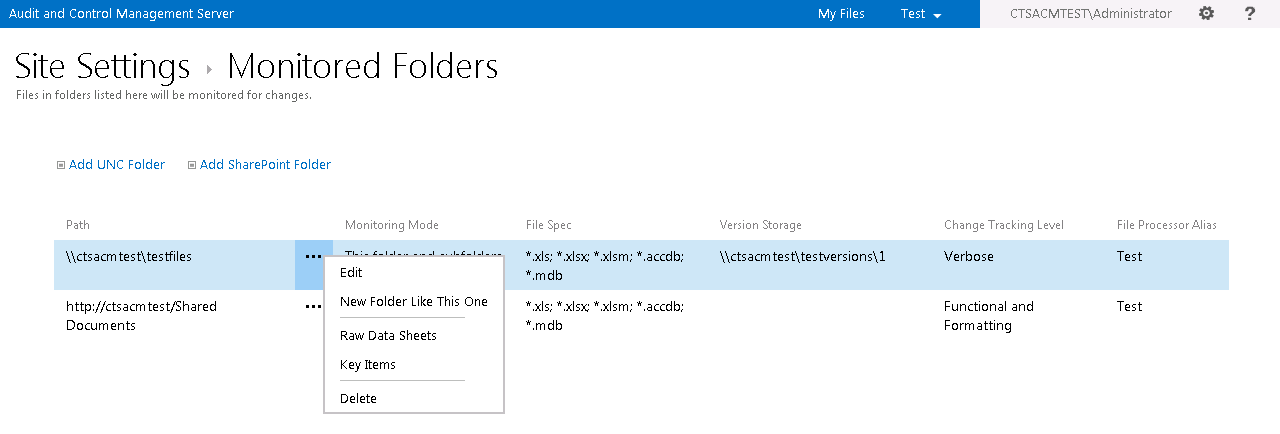
Clicking Monitored Folders on the Site Settings page takes you to the Monitored Folders page that lists all the network shares and SharePoint libraries being monitored:
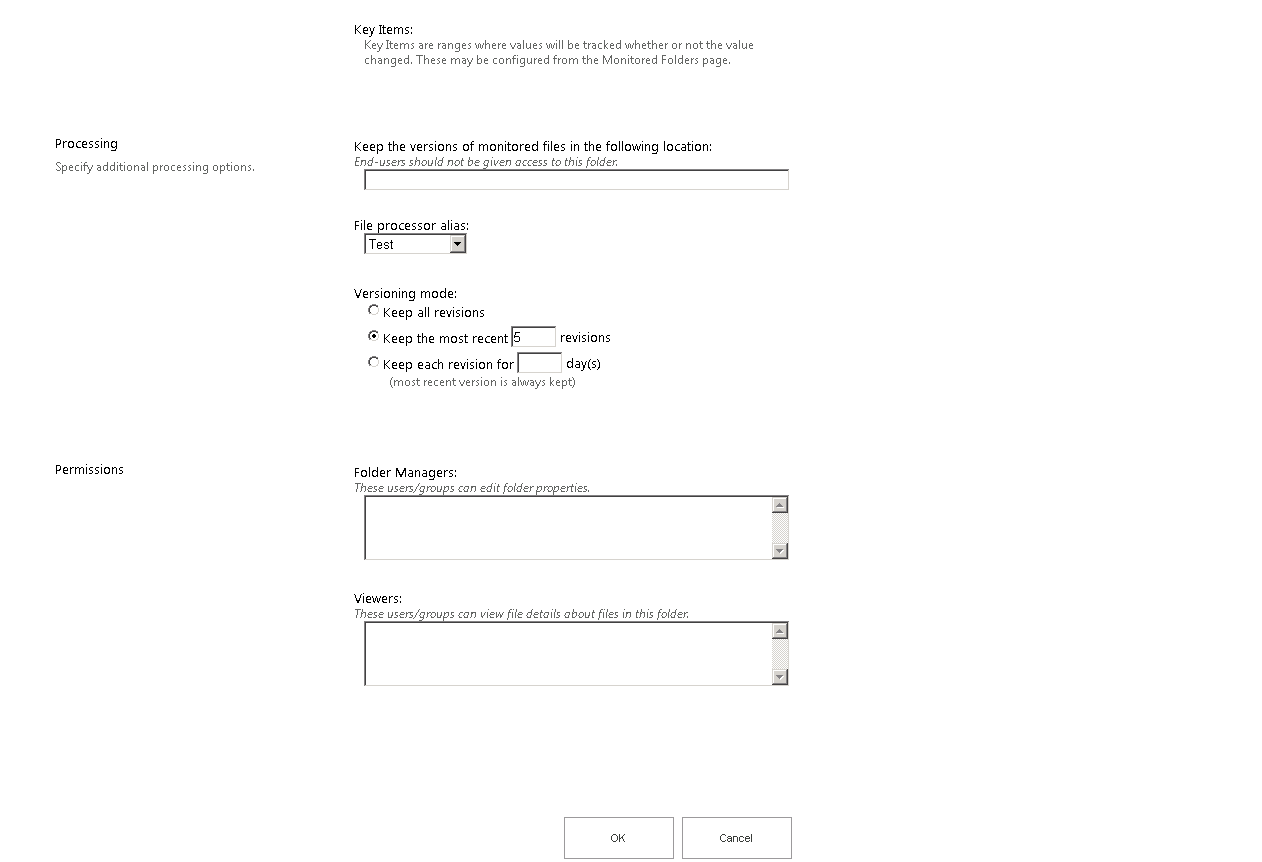
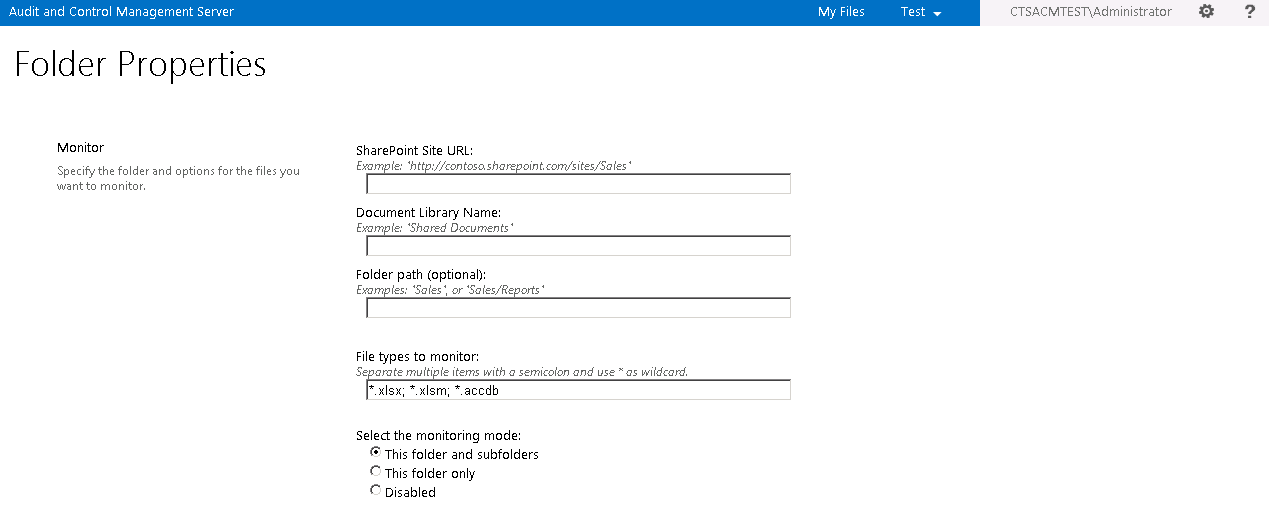
You can add a network share by clicking Add UNC Folder, which takes you to the Folder Properties page. You can also configure Change Tracking, Processing options, and Permissions on this page:
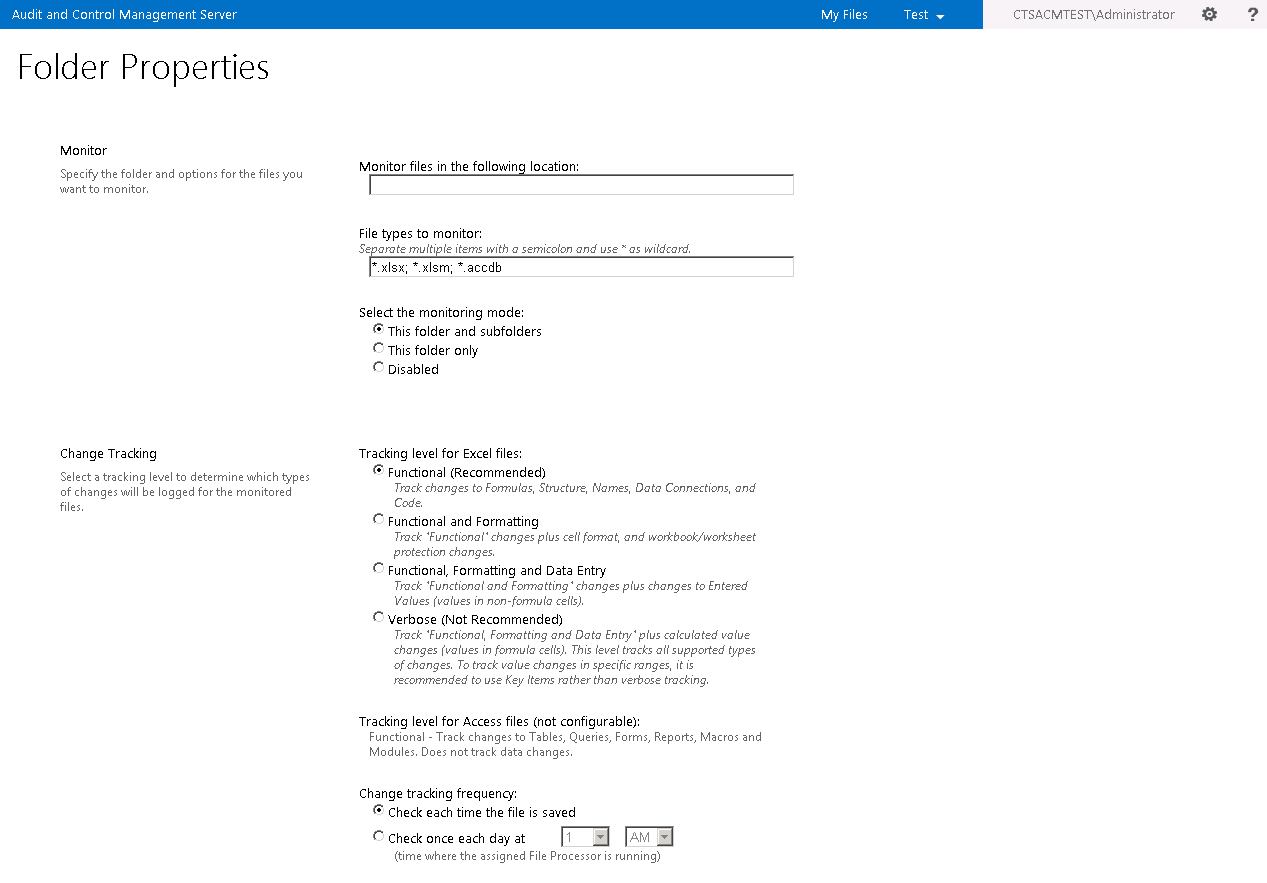
You can add a SharePoint library by clicking Add SharePoint Folder, which takes you to the Folder Properties page. The options are the same as the Folder Properties page for network shares, except for some settings in the Monitor section where you configure the SharePoint folder:
On the Monitored Folders page, clicking on the ellipsis displays a menu with some options:
 \
\
Clicking Edit allows you to edit the Folder Properties of the folder. Clicking on New Folder Like This One creates a new folder with all the same settings on the Folder Properties page, where you can edit any settings as needed before creating the new folder configuration. Clicking on Delete deletes the monitored folder configuration from ACM.
Clicking on Raw Data Sheets allows you to add worksheet names that you don’t want to check for structural changes:
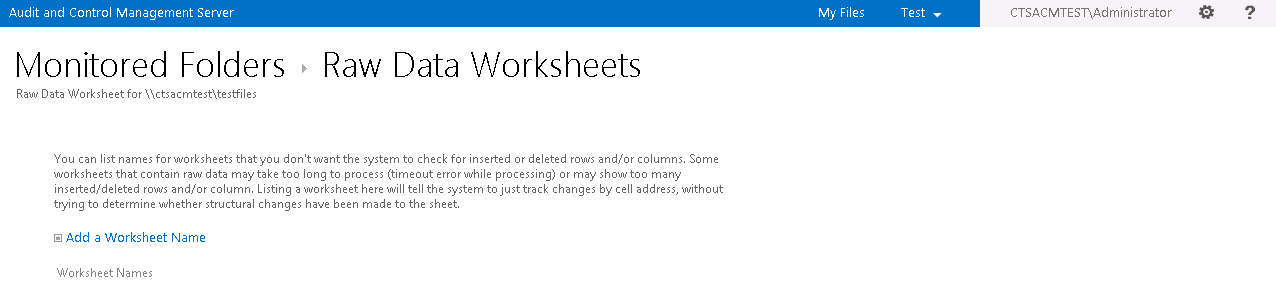
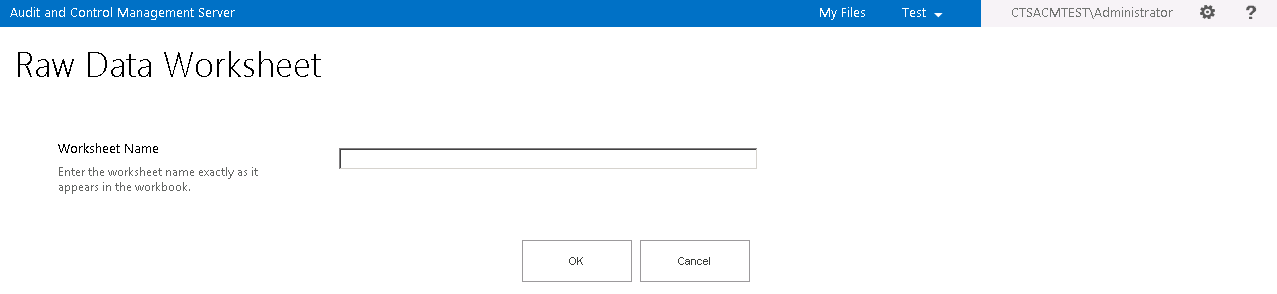
Click Add a Worksheet Name to add a new worksheet:
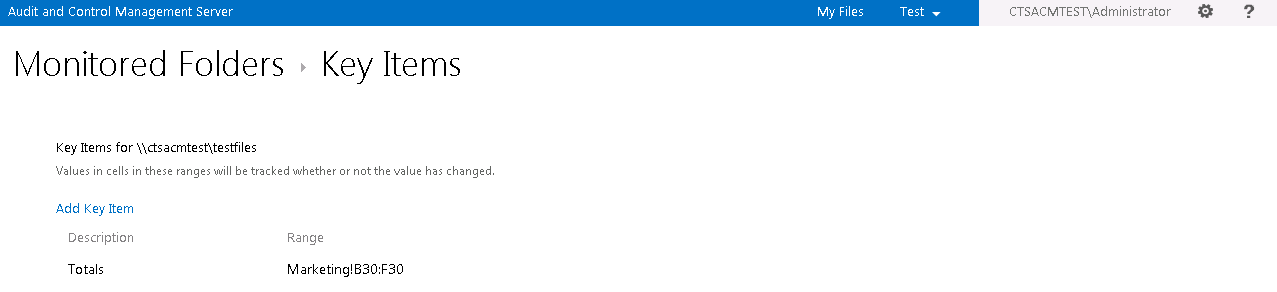
Clicking on Key Items in the options menu on Monitored Folders takes you to the Key Items page which lists ranges that will always be tracked, whether or not the value has changed:
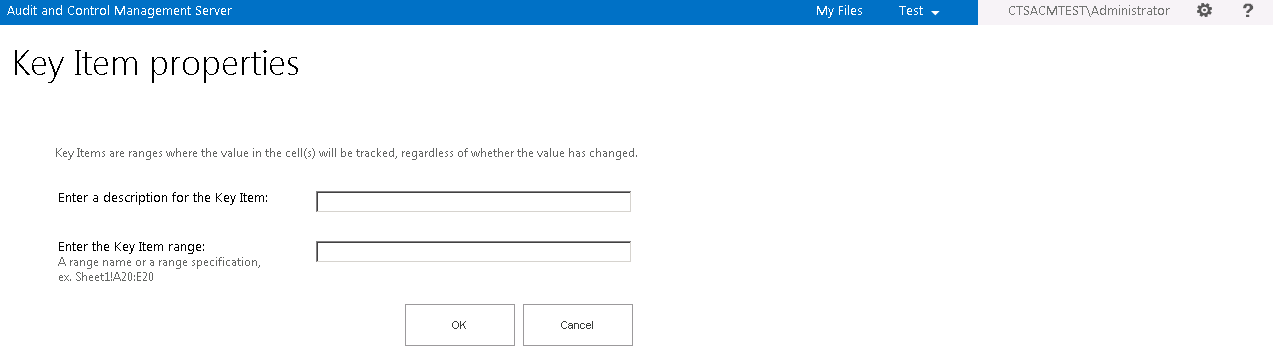
Clicking on Add Key Item takes you to the Key Item properties page where you can add a key item:
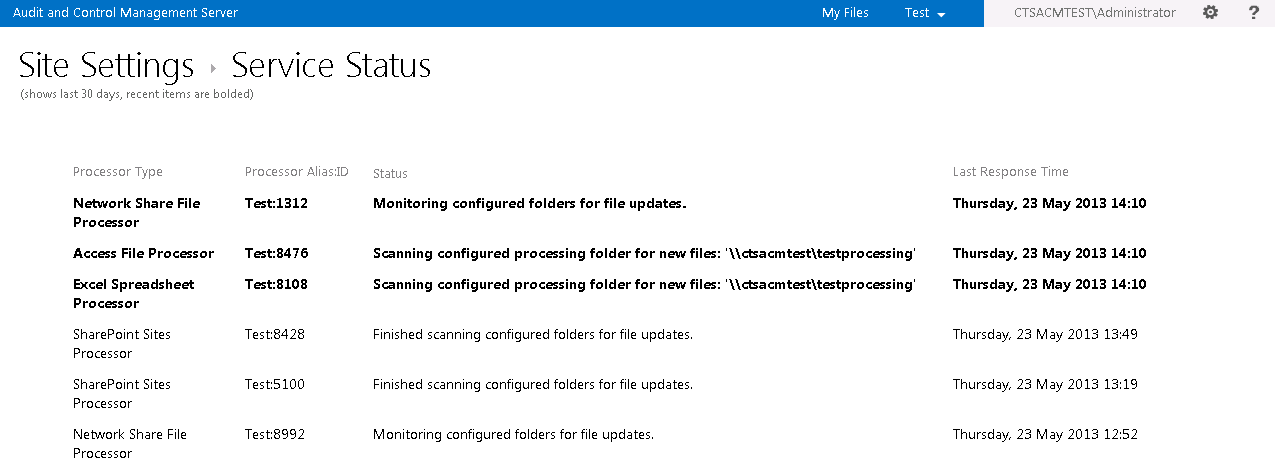
Clicking on Service status on the Site Settings page takes you to the Service Status page, which shows which ACM services are running on the system and what the status is of each:
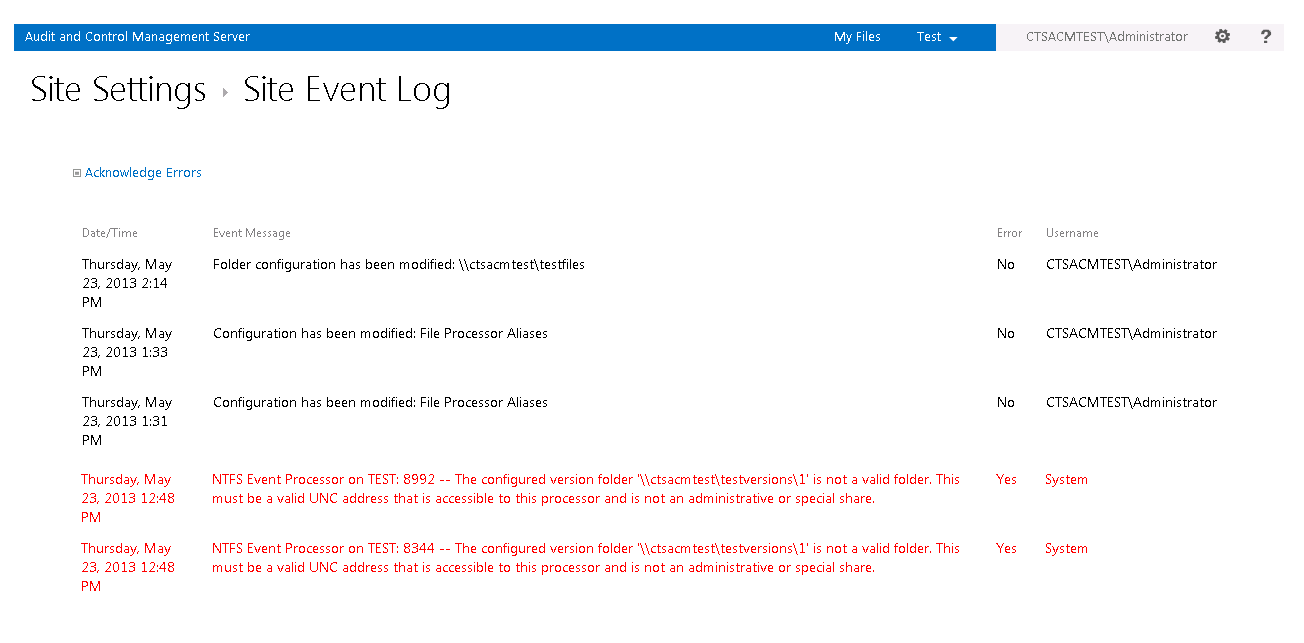
Clicking on Event log on the Site Settings page takes you to the Site Event Log page that lists errors configuration changes. Clicking on Acknowledge Errors clears errors. The events will not be removed from the Event Log, but the event will no longer be marked as an error in red. Also, if the error prevented the system from processing a file, it will re-submit the file for processing.
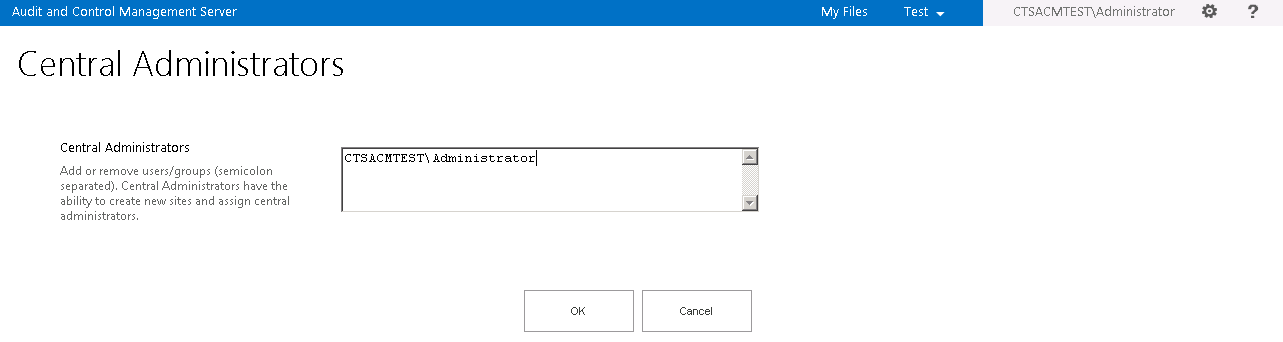
Clicking Central Administrators in the site options menu takes you to the Central Administrators page. Here you can specify which users can create new sites:
Clicking Add a new site in the site options takes you to the New Site page where you can create a new site:

Clicking on the question mark takes you to the help documentation for ACM:

Additional configuration documentation can be found here: https://technet.microsoft.com/en-us/library/jj650846.aspx