How Microsoft 365 Enables Me to Rebuild My PC over Lunch
Introduction:
I often get asked by my co-workers how I am able to rebuild (refresh or "re-image") my PC in under an hour, and complete what some would call a very daunting and time consuming task over a lunch hour. This can be whenever I purchase a new PC and need to get it connected to my company, or when I periodically rebuild my existing PC. In this blog post I will explain the process I go thru and how Microsoft 365 (specifically Azure Active Directory, Office 365 and Windows 10) enable me to do this anywhere and anytime.
Note: This blog post applies to both purchasing a new PC, and for when re-installing Windows 10. For purposes of this blog, I will be re-installing Windows 10 Pro.
Important: In this post I will show you my experience when rebuilding, however, I will not explain technical concepts such as how Azure AD Join, Favorites Sync, or BitLocker key storage in AzureAD or how other technologies work. I will save those deep dives for future blog posts (promise those are coming soon!)
Machine Specs: The machine I will be using is a laptop with 8GB RAM, Core i5 processor and, 256GB SSD with a hard wired ethernet network connection.
High Level Summary of this Blog Post:
- Install Windows 10 Pro
- Choose "My Organization Owns this PC"
- Authenticate and join PC to Azure Active Directory
- Enable BitLocker
- Install Office Pro Plus
- Done!
Before we get started, it's important I cover some key concepts of my work style:
- Data Storage: All of my data is stored in Office 365 and not locally on my PC. Files in OneDrive for Business, SharePoint team sites, Office 365 Groups, Yammer,etc. I prefer not to sync data locally to my PC and prefer to always access the "online" version. This helps me to avoid complexity in my setup and enables me to work in a predictive manner.
- Office Apps: I prefer to use Outlook Web App for email, Word, PowerPoint and Excel Online for productivity (web based). However, for more advanced tasks I will switch between the web app and the desktop version (i.e. large Excel spreadsheets or large PowerPoint presentations). This enables me to work in a more predictive manner and more efficiently.
- Note: The one exception to this rule is Skype for Business, where I use both the mobile client for calls throughout the day, and the desktop client for meetings. Although with Microsoft Teams, my workflow is quickly changing to that application using both the web version and the mobile client.
- Keep it Stock: I prefer to use Microsoft Edge as my web browser. As for all other apps in the OS, I prefer to use what comes as the factory defaults and don't have a need to install any 3rd party apps. Regarding corporate apps I have a few Windows Store style apps I use, but the rest are all web based.
- OS Customizations: While there's many personalization I can make to Windows, I personally prefer (and discovered) I don't need them to be productive.
- Labs: I have a Office 365 tenant, and Azure tenant I use for my lab which is all accessible via a web browser and PowerShell.
- Other: In my job duties, I mostly use Microsoft Office, Office 365 web apps and other corporate web applications on a daily basis. I am also highly mobile, and am often productive using a variety of Office, Microsoft Teams, Skype for Business, OneDrive, Yammer, and other Microsoft applications on my smartphone.
Of course, there's more to my story of how I choose to work but this is the main concepts I follow. I may add more to this blog post on over time to discuss my work style in more detail. If you want to know more, please ask below in the comments and I'll add it to the post.
Step 1: Install Windows 10 Pro :
Using a Windows 10 Pro UEFI USB drive or stick (or .ISO on a Hyper-V Virtual Machine), boot the machine from USB and proceed with the on-screen instructions for the Windows Installer.
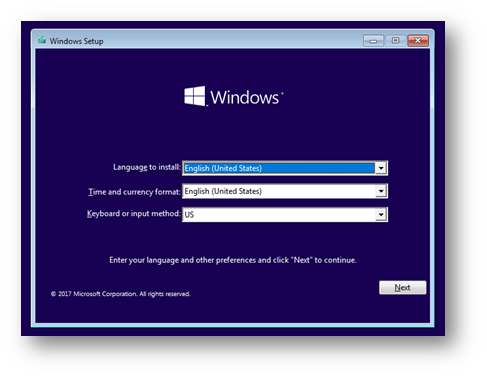
Click Next 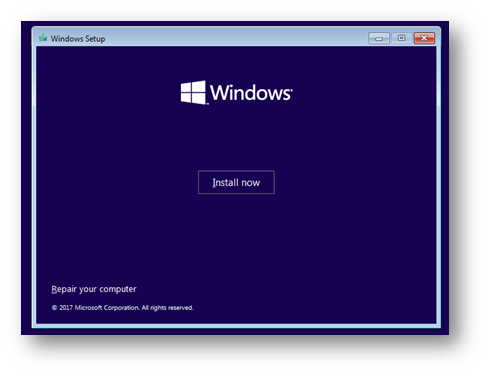
Click Install Now 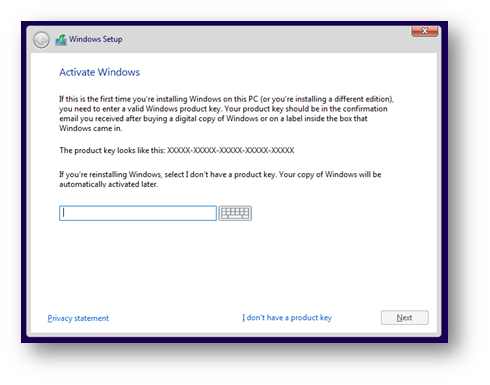
Type in the Product Key and click Next 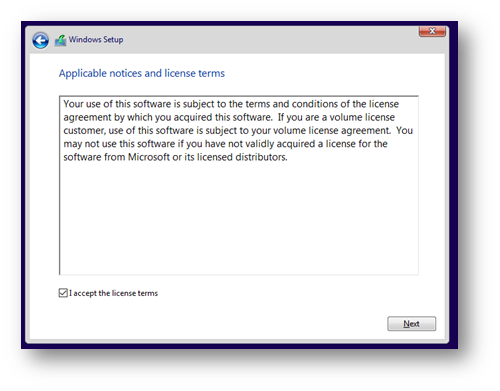
If you accept the license terms click Next 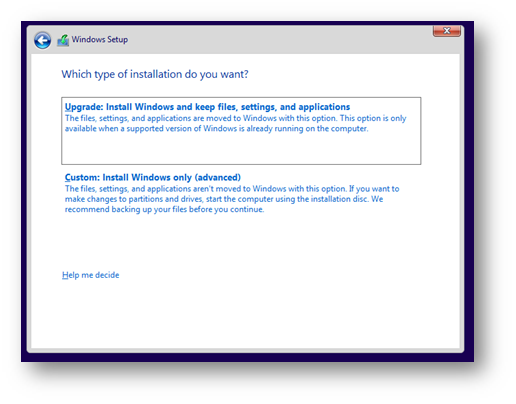
Click Custom: Install Windows only (advanced) 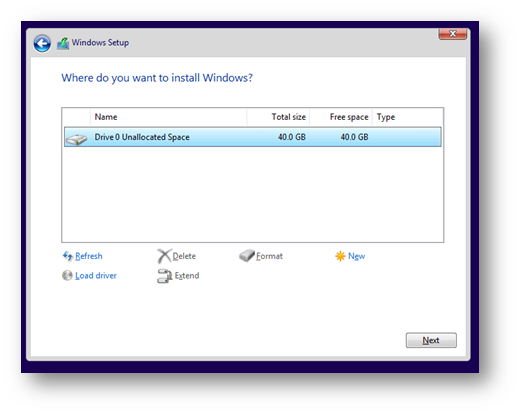
Click New 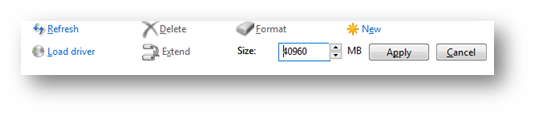
Click Apply 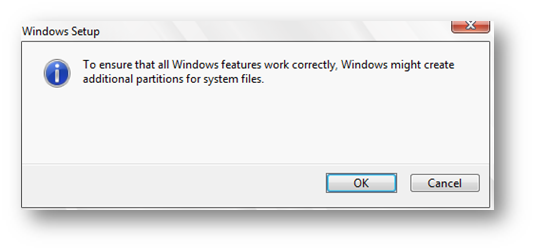
Click OK 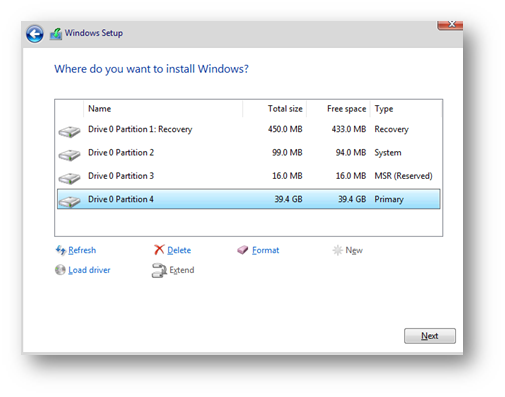
Click Next 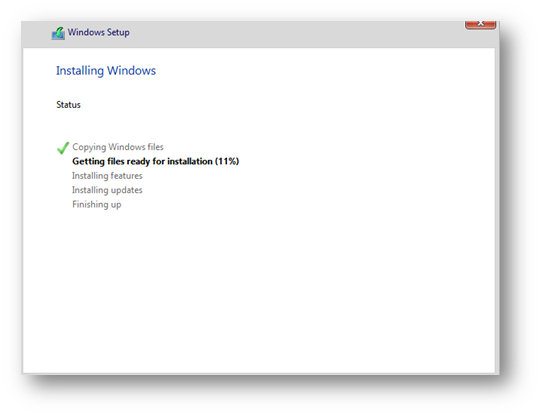
The install process took about 7 minutes to complete, including the actual install of Windows.
Step 2: Out of Box Experience in Windows 10
After installing Windows 10, or purchasing a new PC that has Windows 10 pre-loaded, you will be presented with the "Out of Box Experience" or "OOBE" wizard. In Windows 10, Cortana is available to walk you thru the process of configuring and customizing your PC. Once the PC is powered on, follow the instructions on screen:
Select your region and click Yes 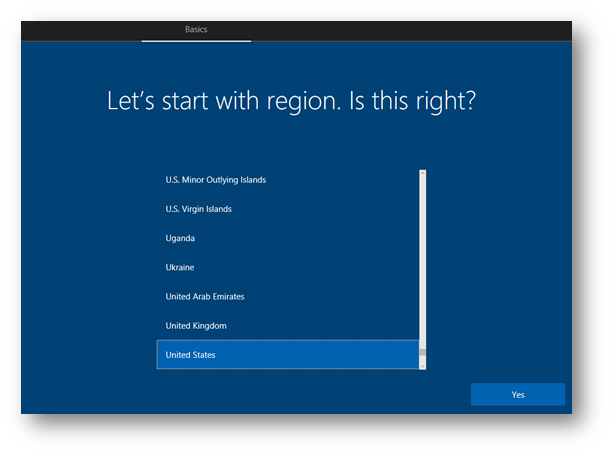
Choose your keyboard layout and click Yes 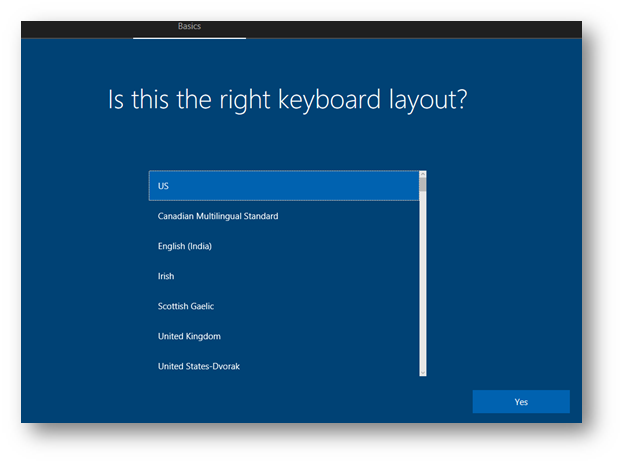
Next, select a secondary keyboard layout or click Skip 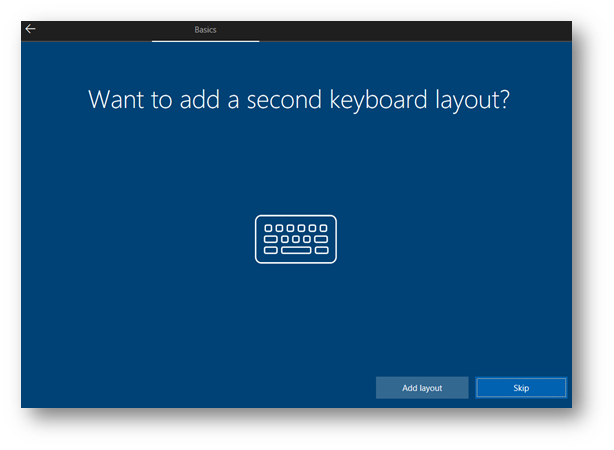
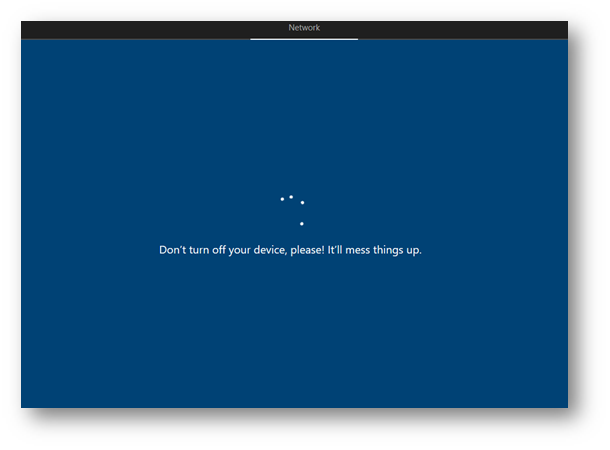
Next, Windows will check for updates. If it discovers new updates it will automatically install and restart the computer:
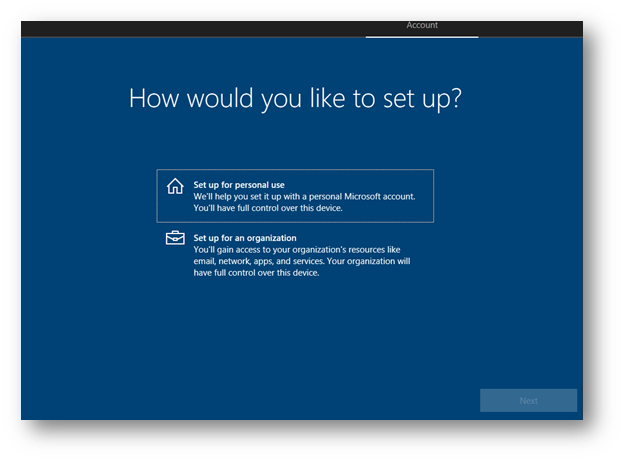
Next after the PC has rebooted and the update process has completed, select Setup for an Organization and click Next:
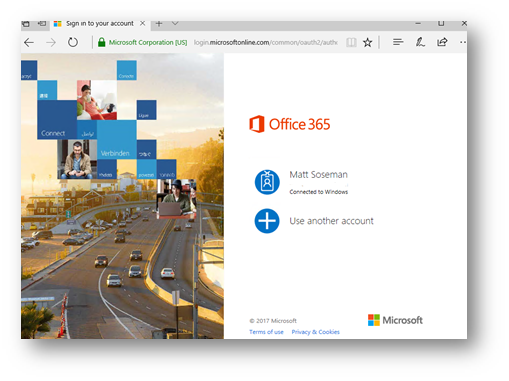
On the Sign In with Microsoft screen, I will type my email address and click Next 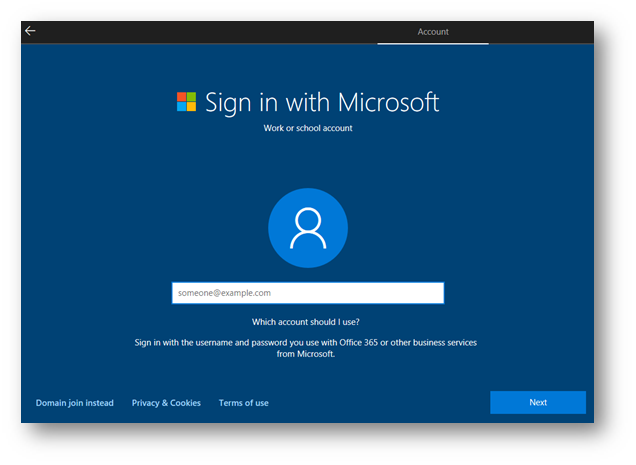
It will then take me to the sign-in page for my company. Here I will type in my email address, password and click Sign In 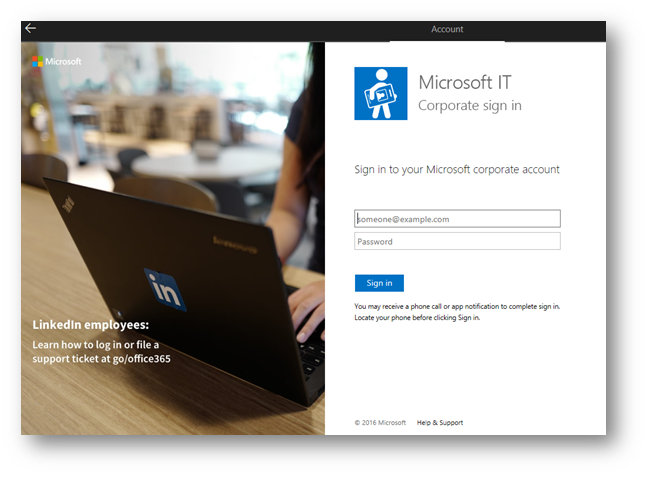
My company requires Multifactor Authentication, here I will click Sign in with your phone 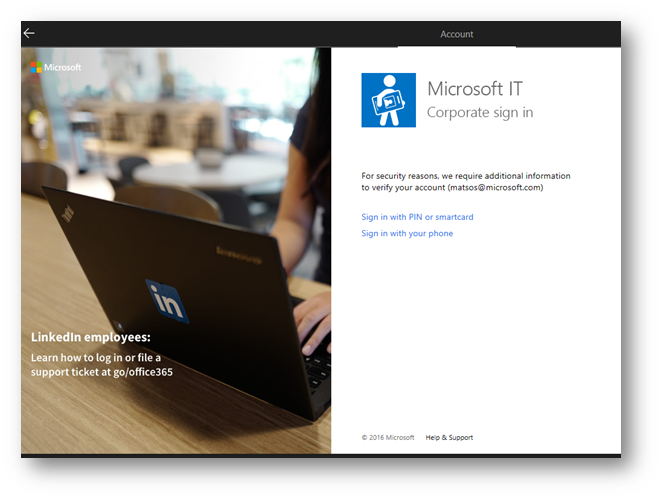
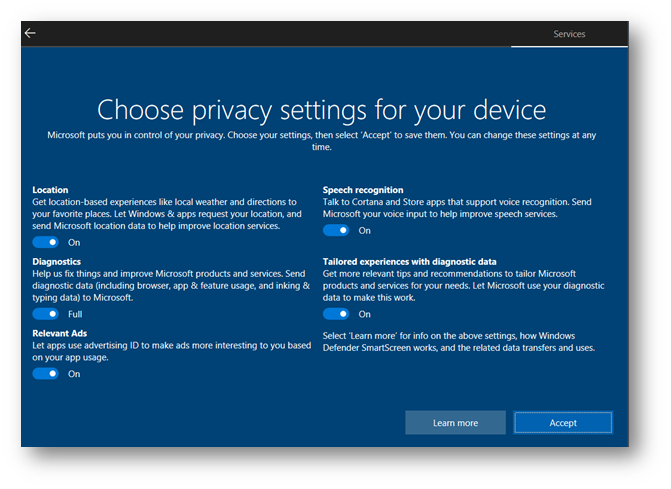
Using the phone authenticator app on my mobile device, I was prompted to authenticate and approve the request. Now, back on the laptop, I have authenticated and am now presented with customizing my privacy settings. Click Accept when ready.
Due to policy, I am required to configure Windows Hello for Business and am required to configure a PIN for the device. Click Set up PIN 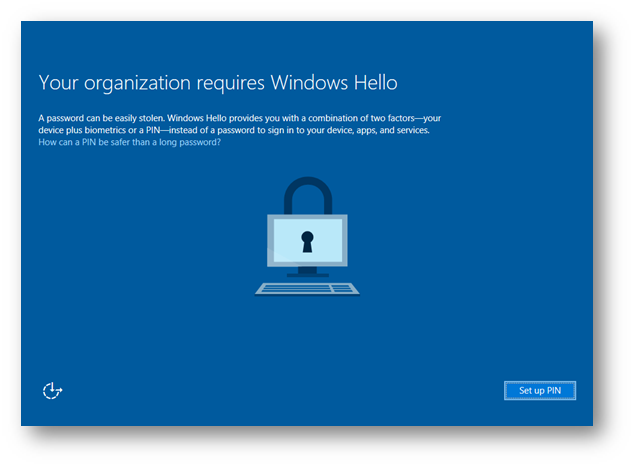
Enter a PIN and click OK
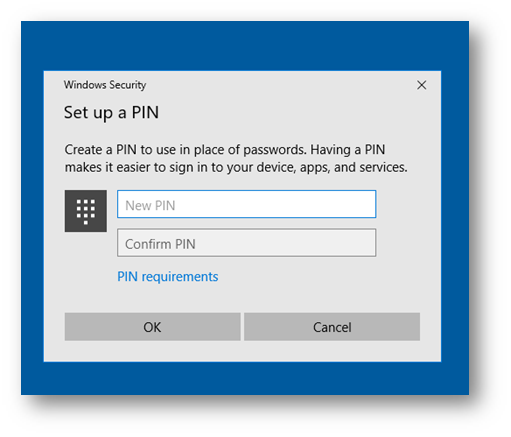
Once the PIN is created click Finish 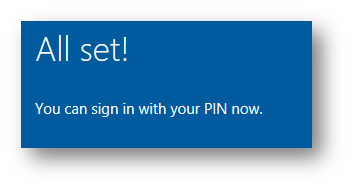
After a few moments, you will be automatically signed into Windows.
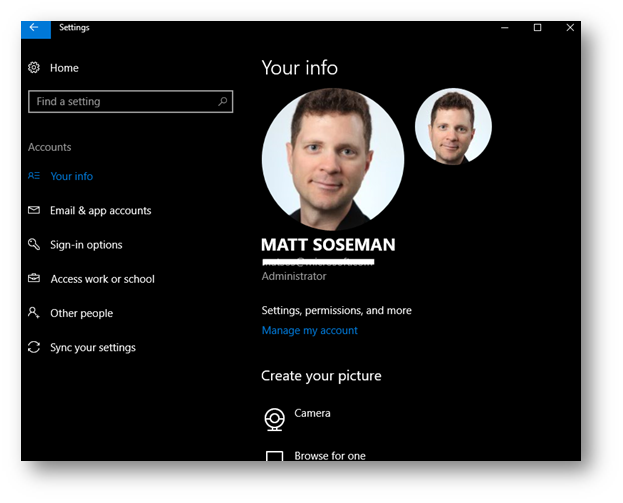
Now, let's validate that my machine was successfully joined to Azure Active Directory and that I am pulling policy . Browse to Settings -> Accounts -> Your Info and notice my work email address is visible, my corporate photo from Azure AD and that I have been granted local administrator rights.
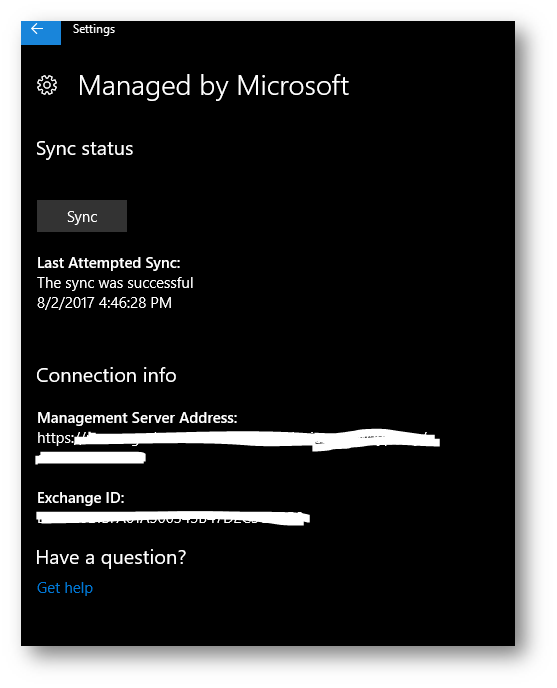
Next, on the left side click Access work or school. Click the Info button
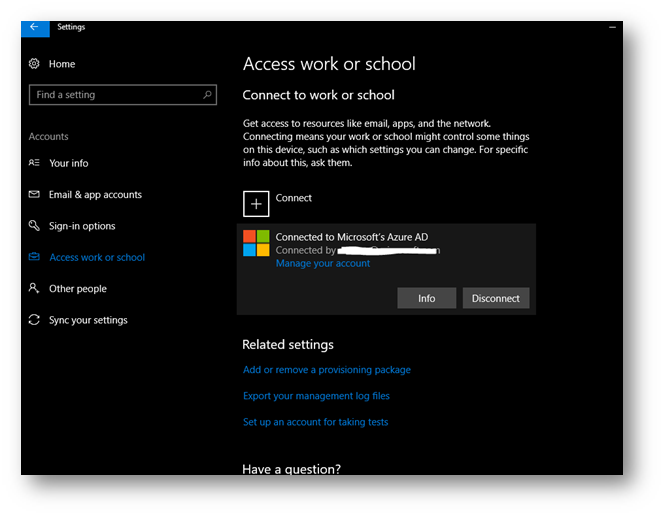
Take note of the last attempted sync. Exit Settings.
To show that I am pulling policy, I will click on the network icon in the system tray, notice I am pulling the VPN profile for my company.

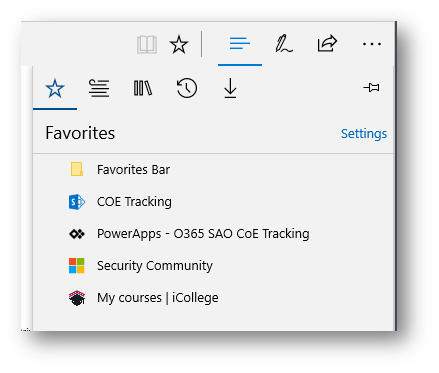
Within Microsoft Edge, notice my favorites are also synchronized:
Step 3: Enable BitLocker
I still need to Bitlocker enable my PC to safeguard it just in case it is lost or stolen. From Windows Explorer right click the hard disk and choose Turn on BitLocker

Click Save to your cloud domain account then click Next 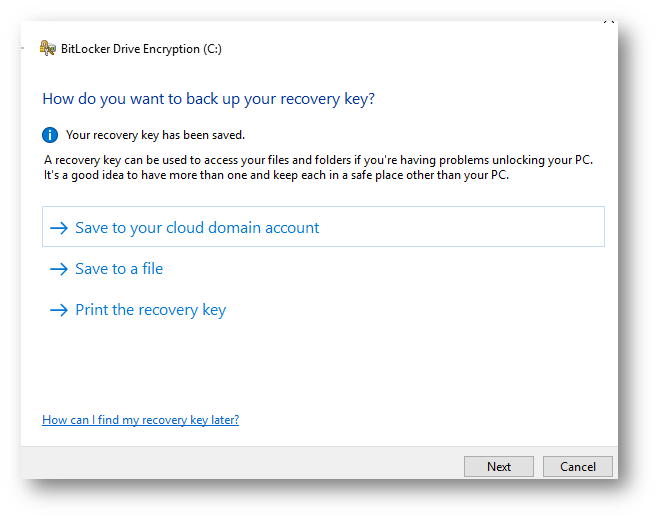
Keep the defaults and click Next 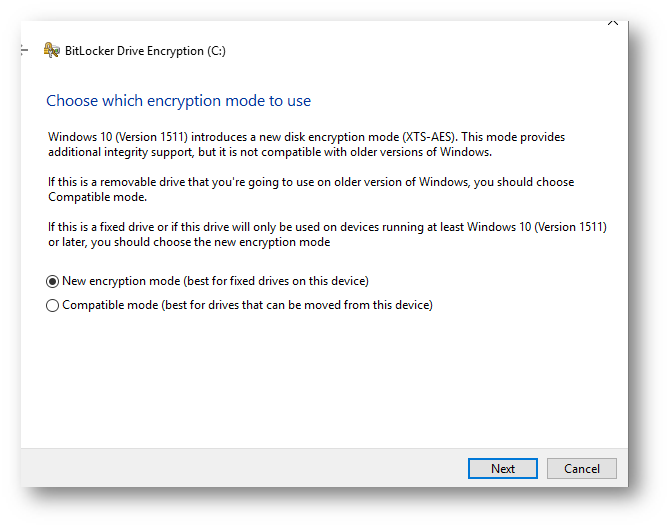
Keep the defaults and click Continue 
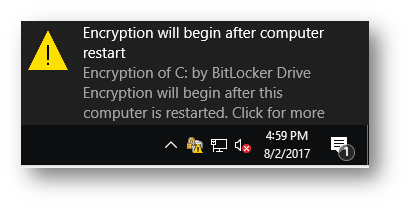
A new toast notification will appear in the system tray. Reboot the PC.
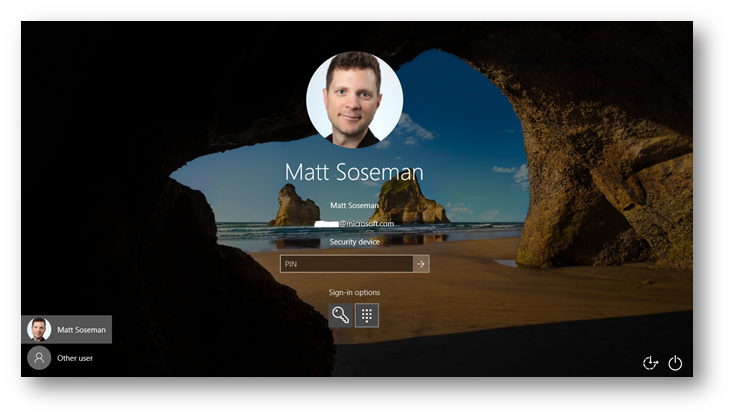
After reboot notice on the sign in screen, my username/password are my Azure AD credentials (email address and Windows Hello PIN)
Once logged back in, BitLocker encryption will start: 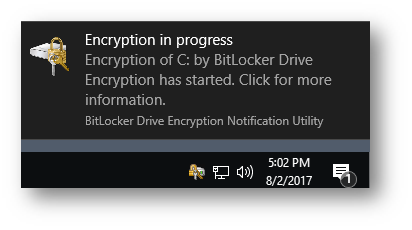
Step 4: Install Office Pro Plus
Open Microsoft Edge and browse to www.portal.office.com and login:
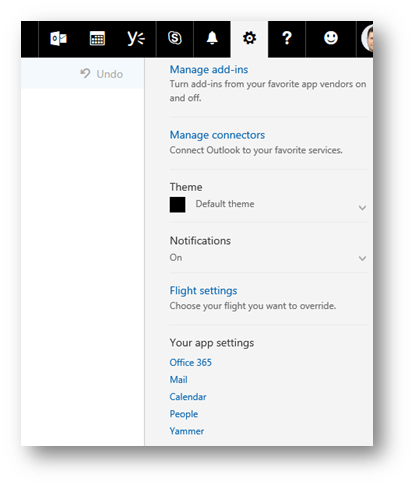
In the upper right corner, click the gear icon and click Office 365 under Your app settings:
Click Install Software: 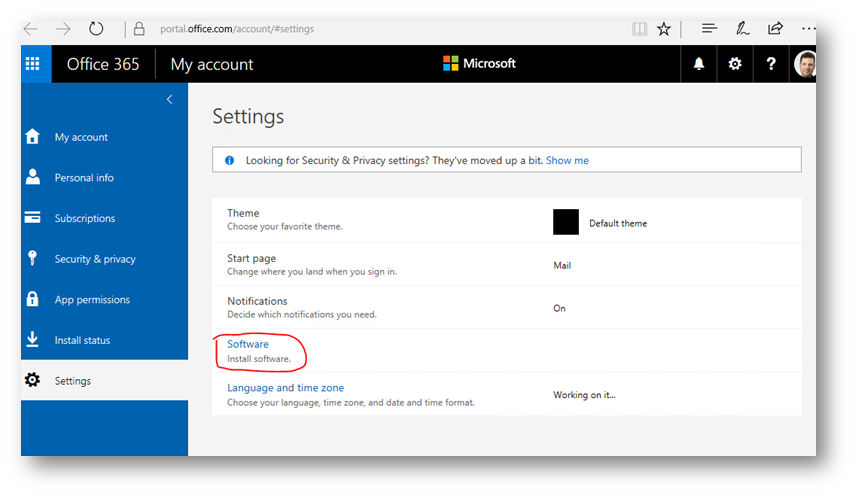
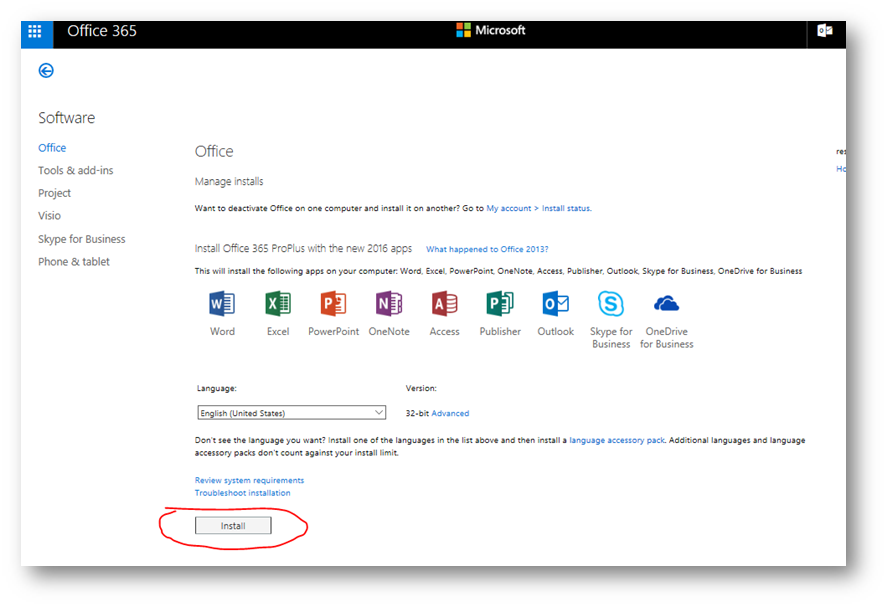
Accept the defaults (32-bit) and click Install:
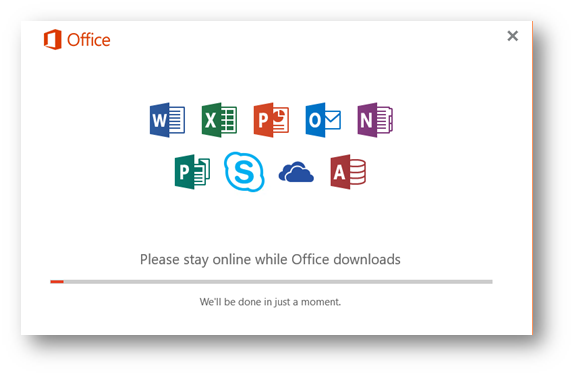
Click Run when prompted to run the installer:

The installer will execute – this process will take ~10-15 minutes (or longer) depending on network bandwidth available.
Important: Depending upon your Office 365 license SKU you subscribe to (i.e. E5) your users could be entitled to installation rights of Office Pro Plus on their PC, Mac and mobile devices.
Once the installer has completed click Close 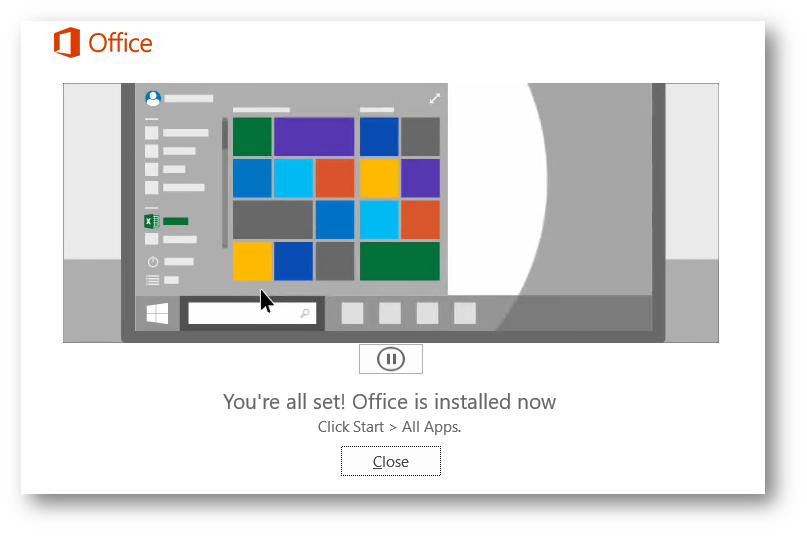
Step 5: Windows Updates and Office Updates
At this point, ~35 minutes have passed. I am technically all setup and can begin working normally. However, I may want to go ahead and run thru Windows Updates and Office Updates (which could take some time) or let the system automatically update based on my schedule I have configured.
Conclusion:
As you can see, this complete rebuild was done in under an hour but was possible with the power of Microsoft 365 and a little bit of a paradigm shift of my workstyle (i.e. storing files in the cloud, not customizing the OS, etc). Enjoy!