Connect Polycom VVX Phone to Cloud PBX in Office365 (Skype for Business Online)
In this blog post we will explore how to connect a Skype for Business 3PIP phone to Cloud PBX in Skype for Business Online in Office365. This will allow users to not only use the Skype for Business client on their PC but can also use a physical desk phone with the same call control features available in the PC (soft) client.
For purposes of demonstration I will be using a Polycom VVX 400 VoIP phone, however any phone from the list of supported phones below may be used. Enjoy!
Total Time Required: 15 minutes
Requirements:
- Cloud PBX is properly enabled and configured for your Office365 tenant (see this blog post for a tutorial)
- A supported 3PIP phone for Skype for Business Online with the appropriate version of software installed. (see this Microsoft article for more information on supported devices, software and other requirements)
- Compatible Power over Ethernet (PoE) capable switch or compatible OEM supplied power supply. (Review your phone's technical documentation for more information)
- Better Together over Ethernet (BToE) software provided by the OEM. (Polycom's can be downloaded from here)
- Two Ethernet cables.
- PC with an available Ethernet port.
- Optional: An enterprise provisioning system for the phone (OEM supplied 'provisioning server', Event Zero UC Commander, etc) for advanced configuration (i.e. mass provisioning, enabled advanced features such as DSCP markings for Quality of Service, etc)
IMPORTANT: BToE may be used for a seamless sign-in experience, and full integration with the Skype for Business client on the desktop. However, you may also sign-in directly on the phone and use without integration with the Skype for Business desktop client, if desired. (i.e. for use in areas without a PC)
Setup the Phone:
First, we need to setup the phone and configure it.
IMPORTANT: This section for "Setup the Phone" is based on a Polycom VVX 400. Your experience may vary based on the OEM of the phone. Please refer to your phone's documentation and OEM for more information.
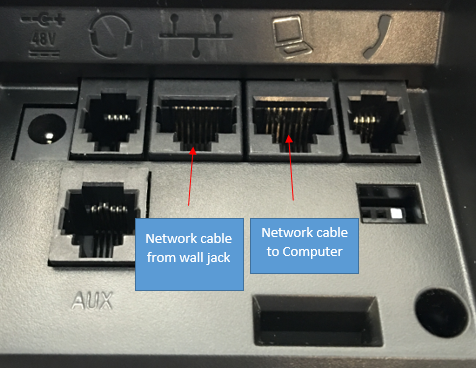
Step 1: Connect the phone to the Local Area Network (LAN) and PC.
- Plug one Ethernet cable into the LAN port on the back of the phone and connect the other end to the LAN (network jack connected to a network switch)
- Plug the other Ethernet cable into the PC port on the back of the phone, and connect the other end to the Ethernet port on the PC.
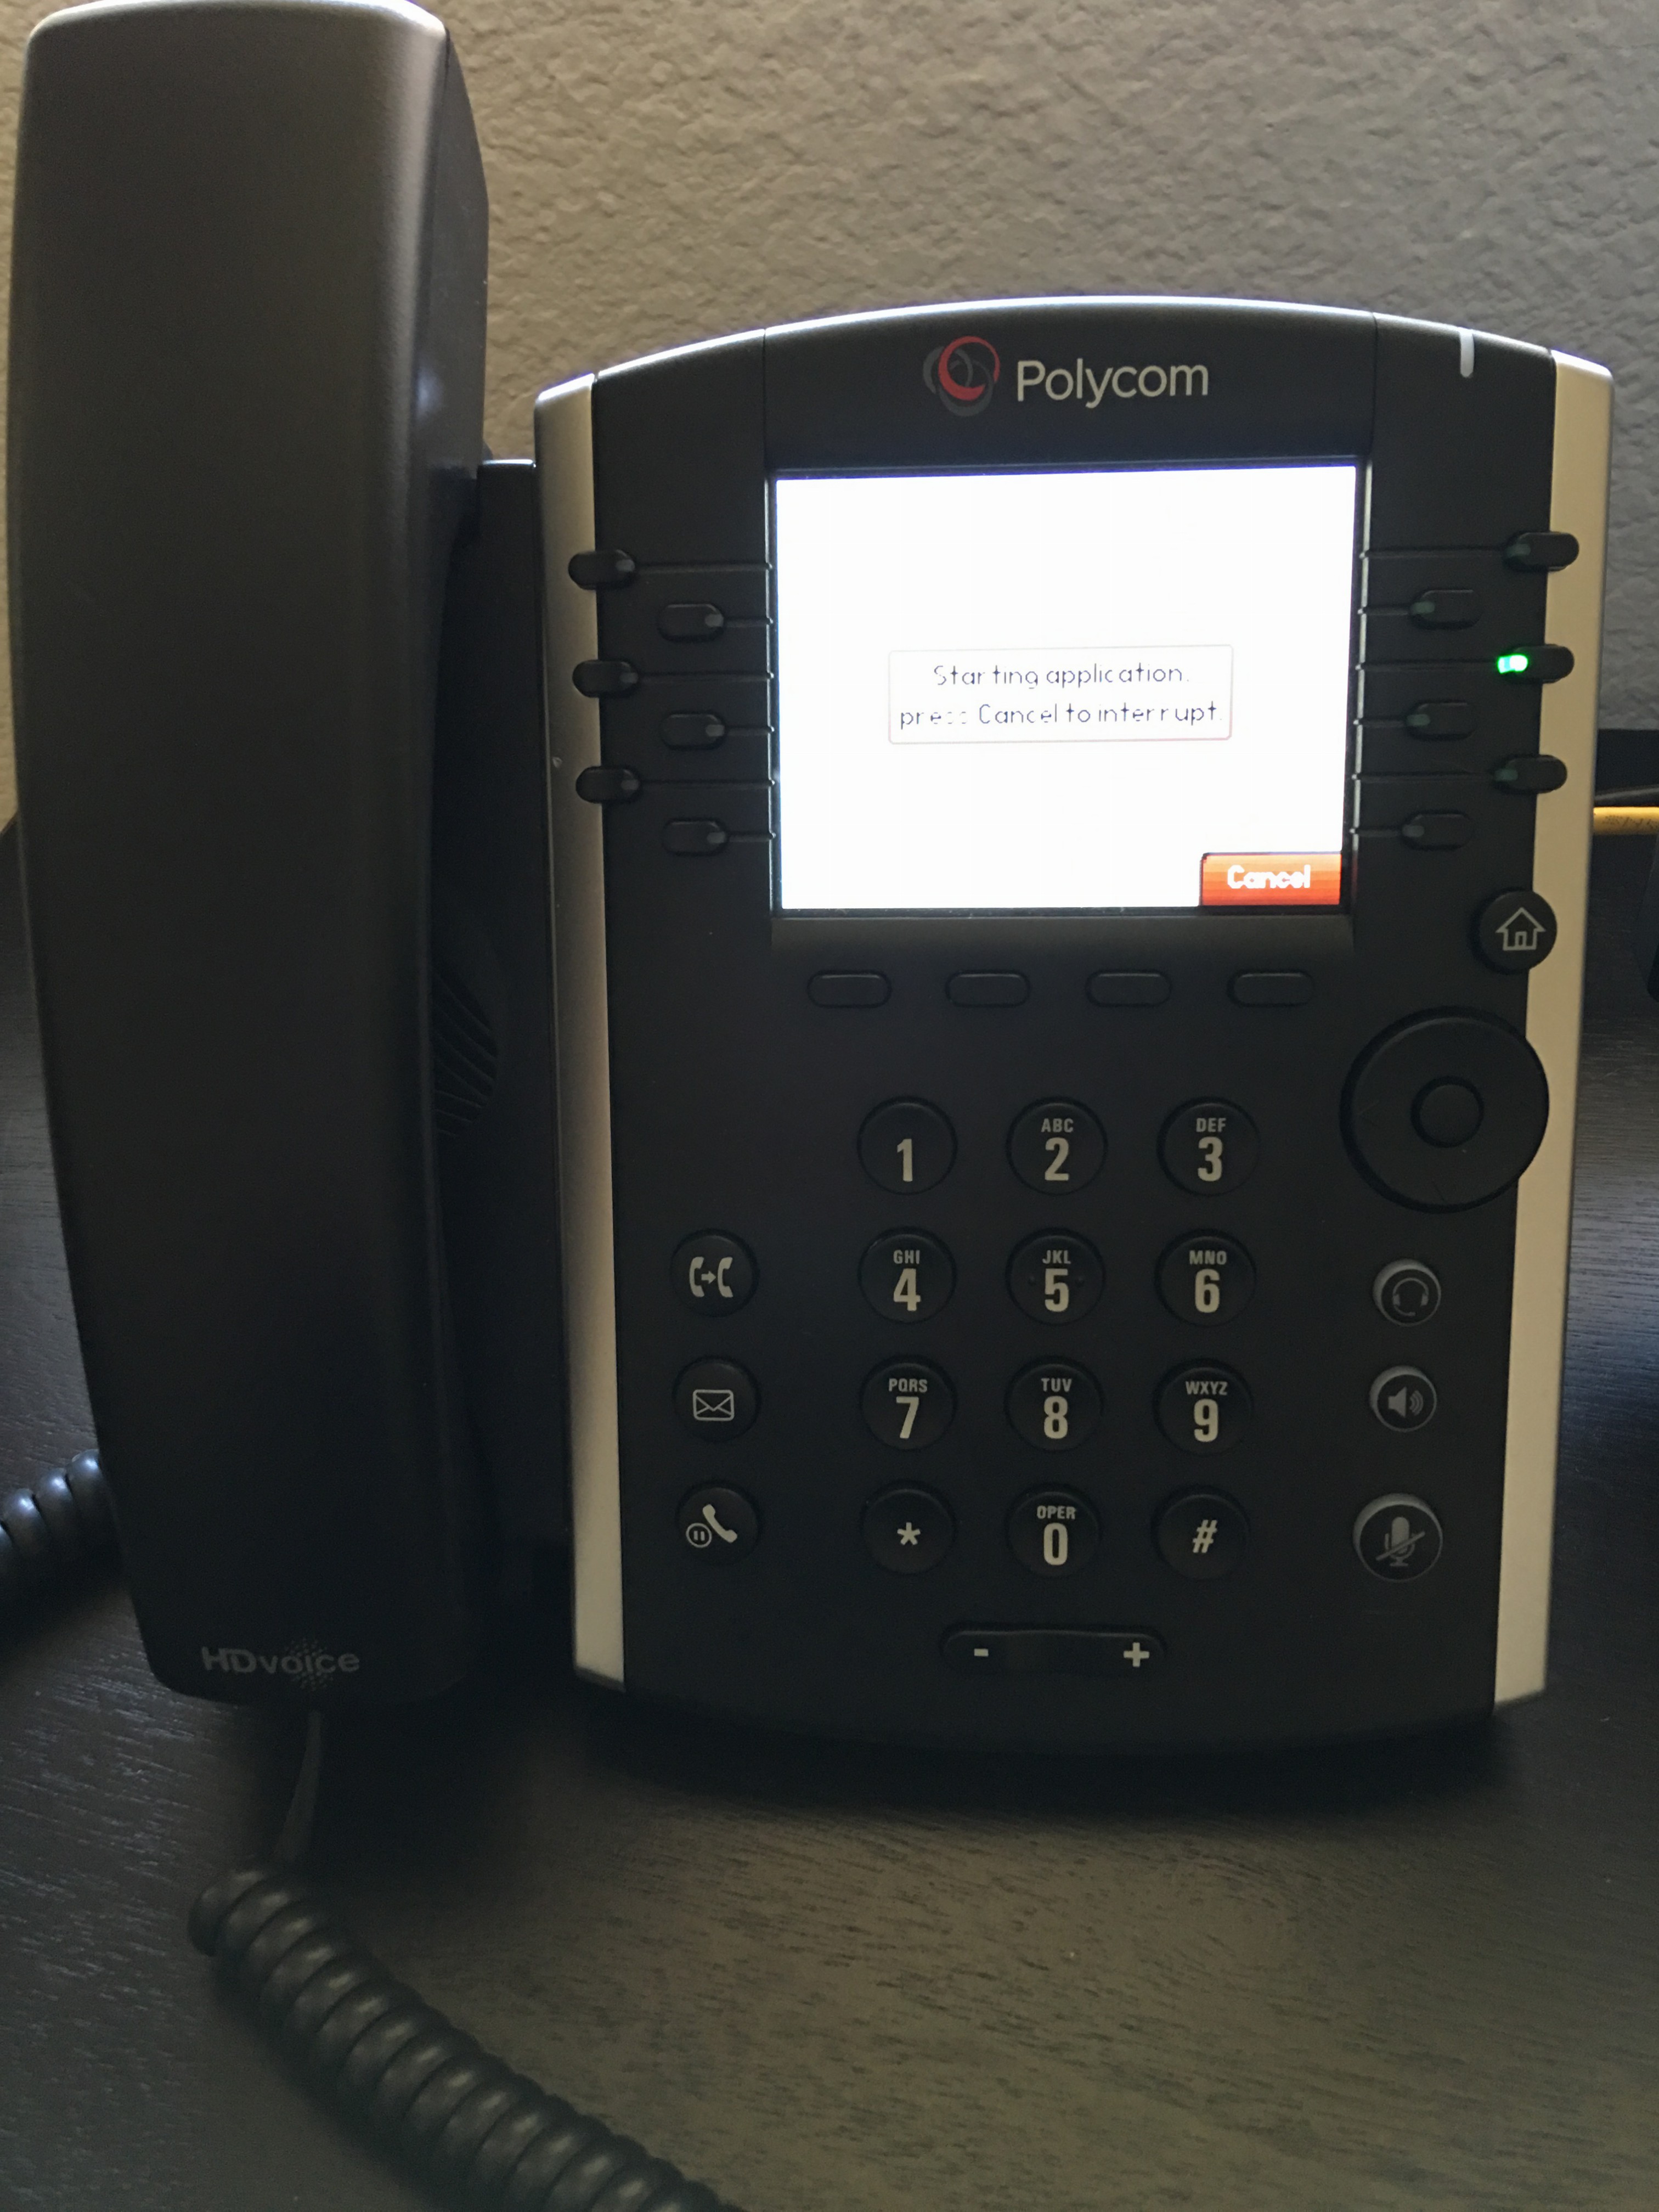
Step 2: If the LAN has a Power over Ethernet (PoE) switch, the phone will power on. If not, connect an OEM provided compatible power supply to the phone. Please allow a few moments for the phone to power up:
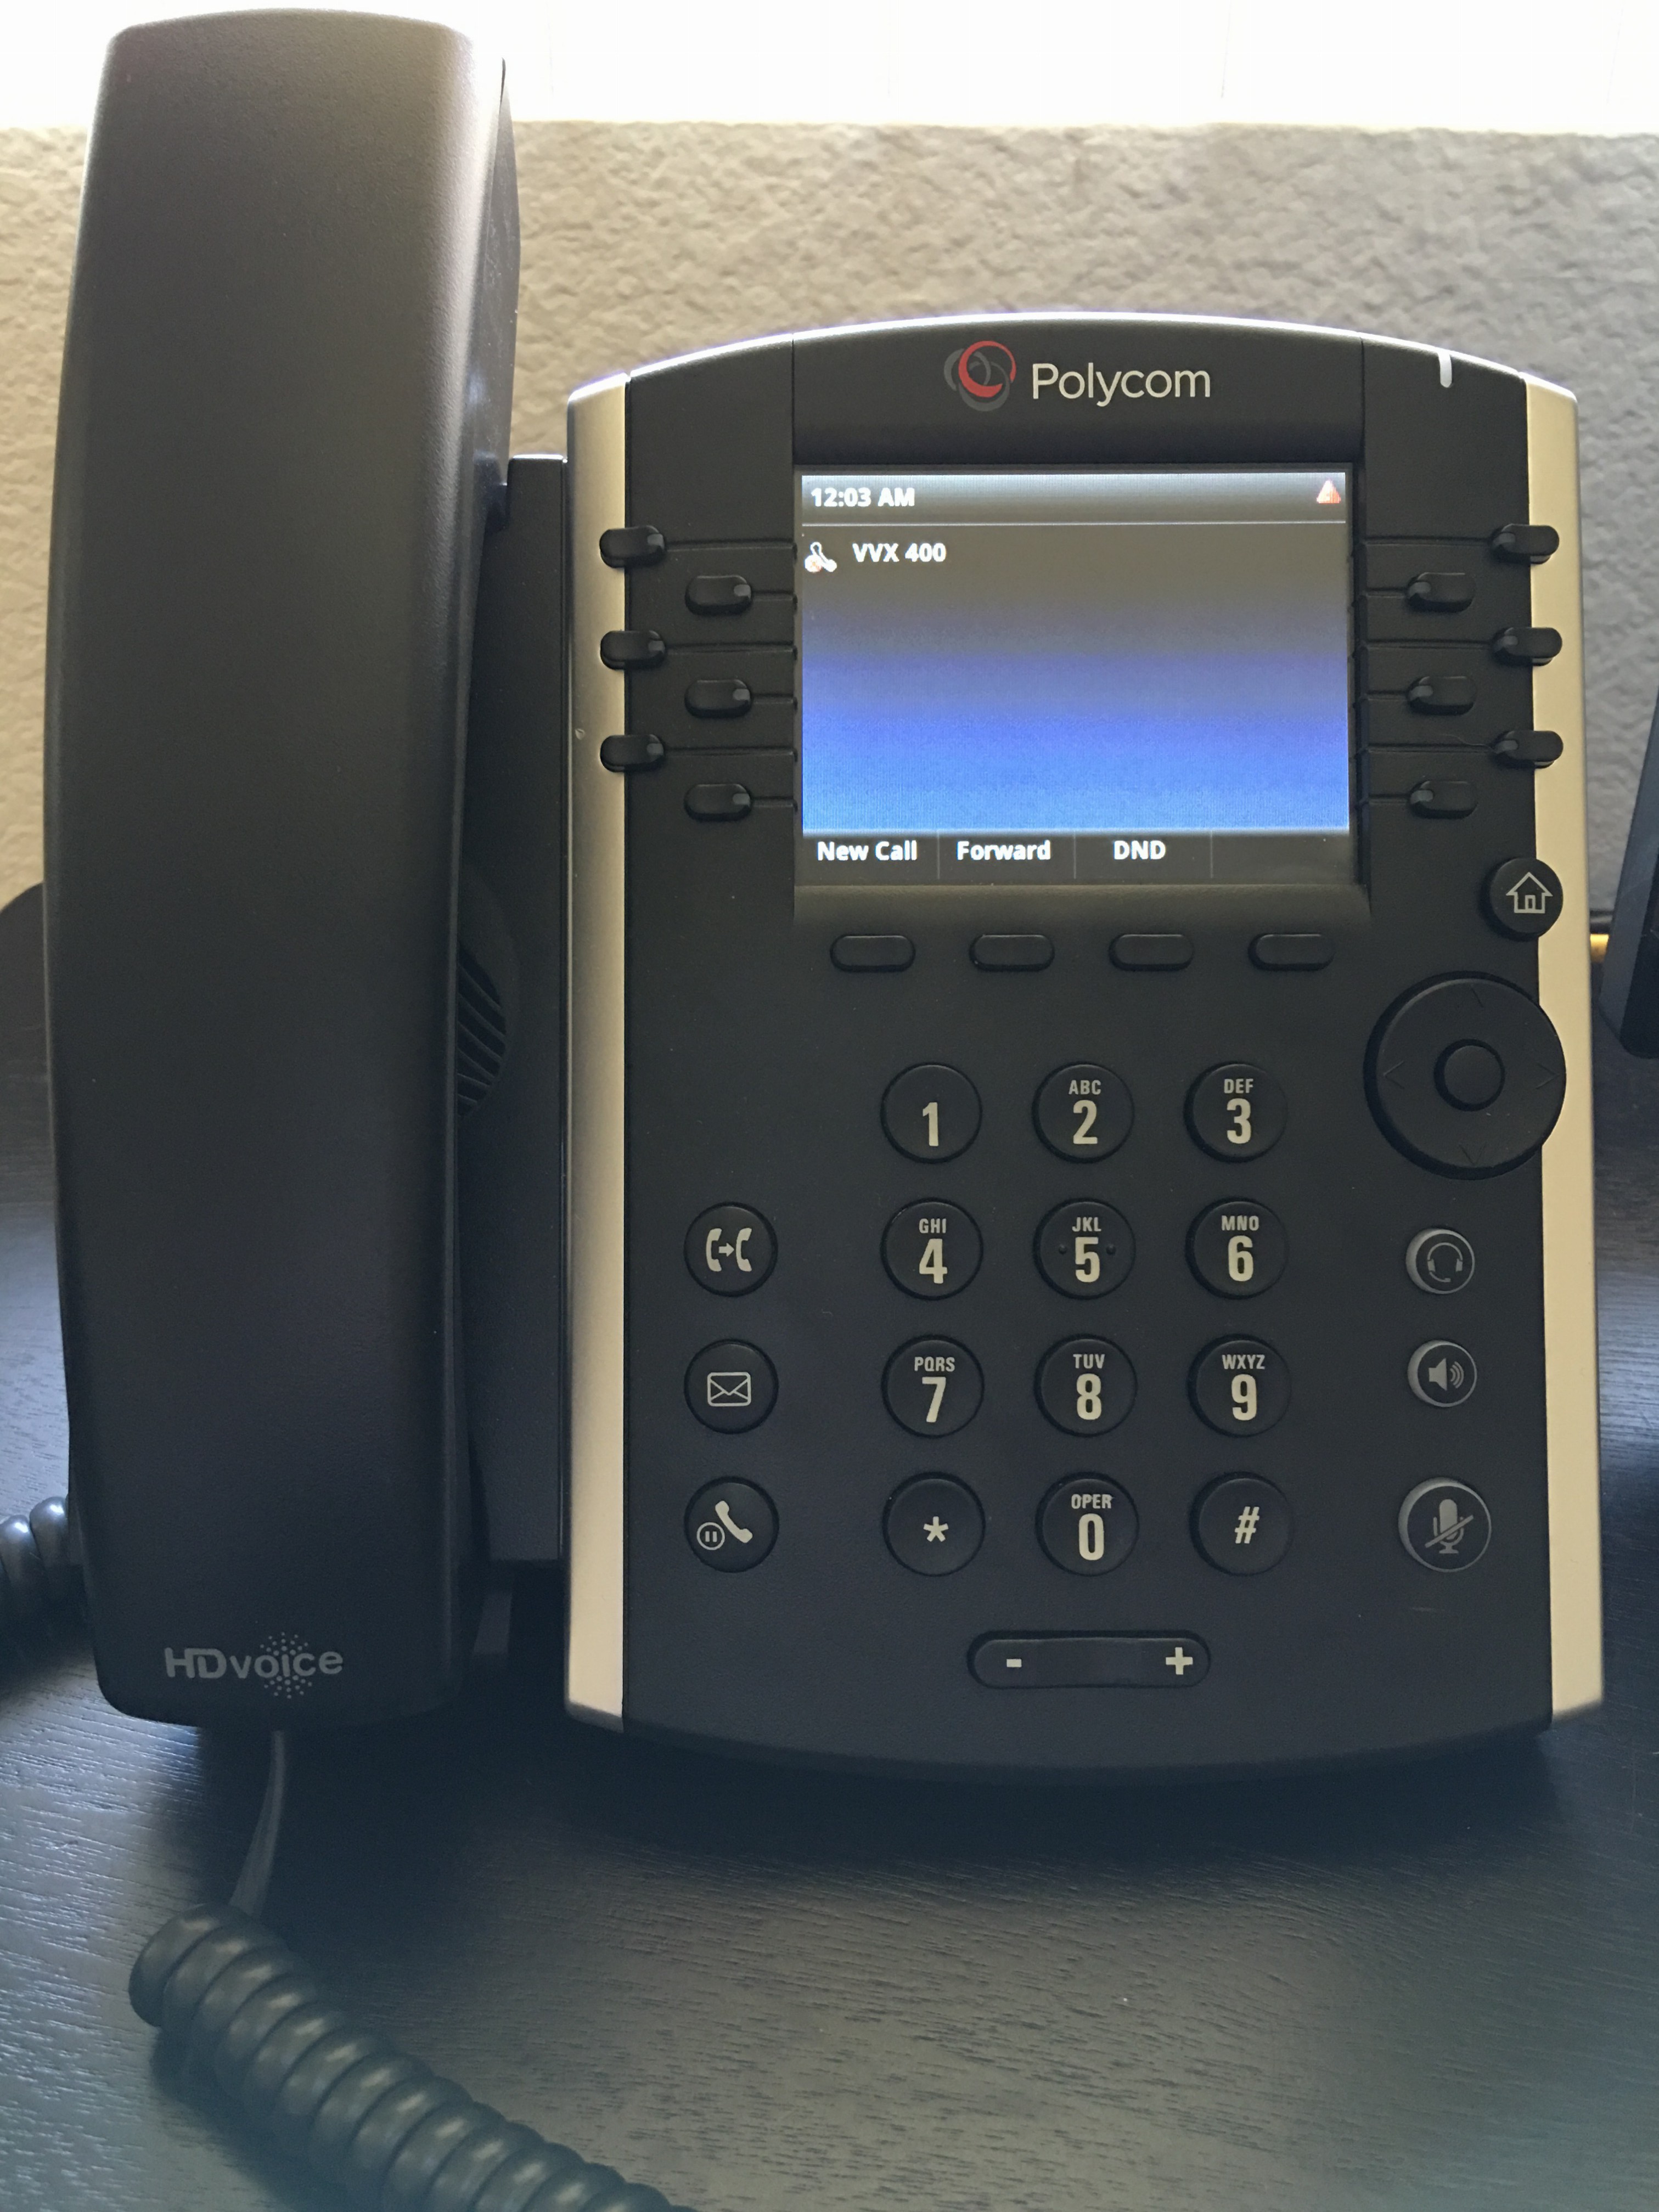
Step 3: Once the phone is finished booting up, the home screen will be displayed.
Step 4: Configure the phone for "Lync" mode.
- Press the Home button (button with a house icon on it). Using the directional pad, select the Settings icon.
- Select Advanced
- Type the administrator password (if not set, check your phone's documentation for the default password) and press Enter
- Select Administration Settings
- Select Network Configuration
- Scroll to the bottom of the screen to Base Profile. Change Base Profile from Generic to Lync. When finished press the Back key
- When asked to Save Config select Save Config. The phone will reboot. Please allow a few moments for this process to complete
- After the phone has finished the reboot process, press the Home button and select the Settings icon.
- Select Features.
- Select BTOE.
- Ensure BTOE shows as Enabled (if it does not, press the Select button and choose Enabled)
Setup the PC:
Step 5: Download the Better Together over Ethernet (BToE) from the Polycom website and install on the PC. (If your phone OEM is different, please refer to the phone's documentation and OEM for additional information.)
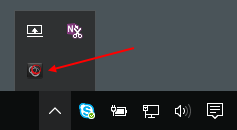
Step 6: The BToE application will be placed in system tray when installed and launched.
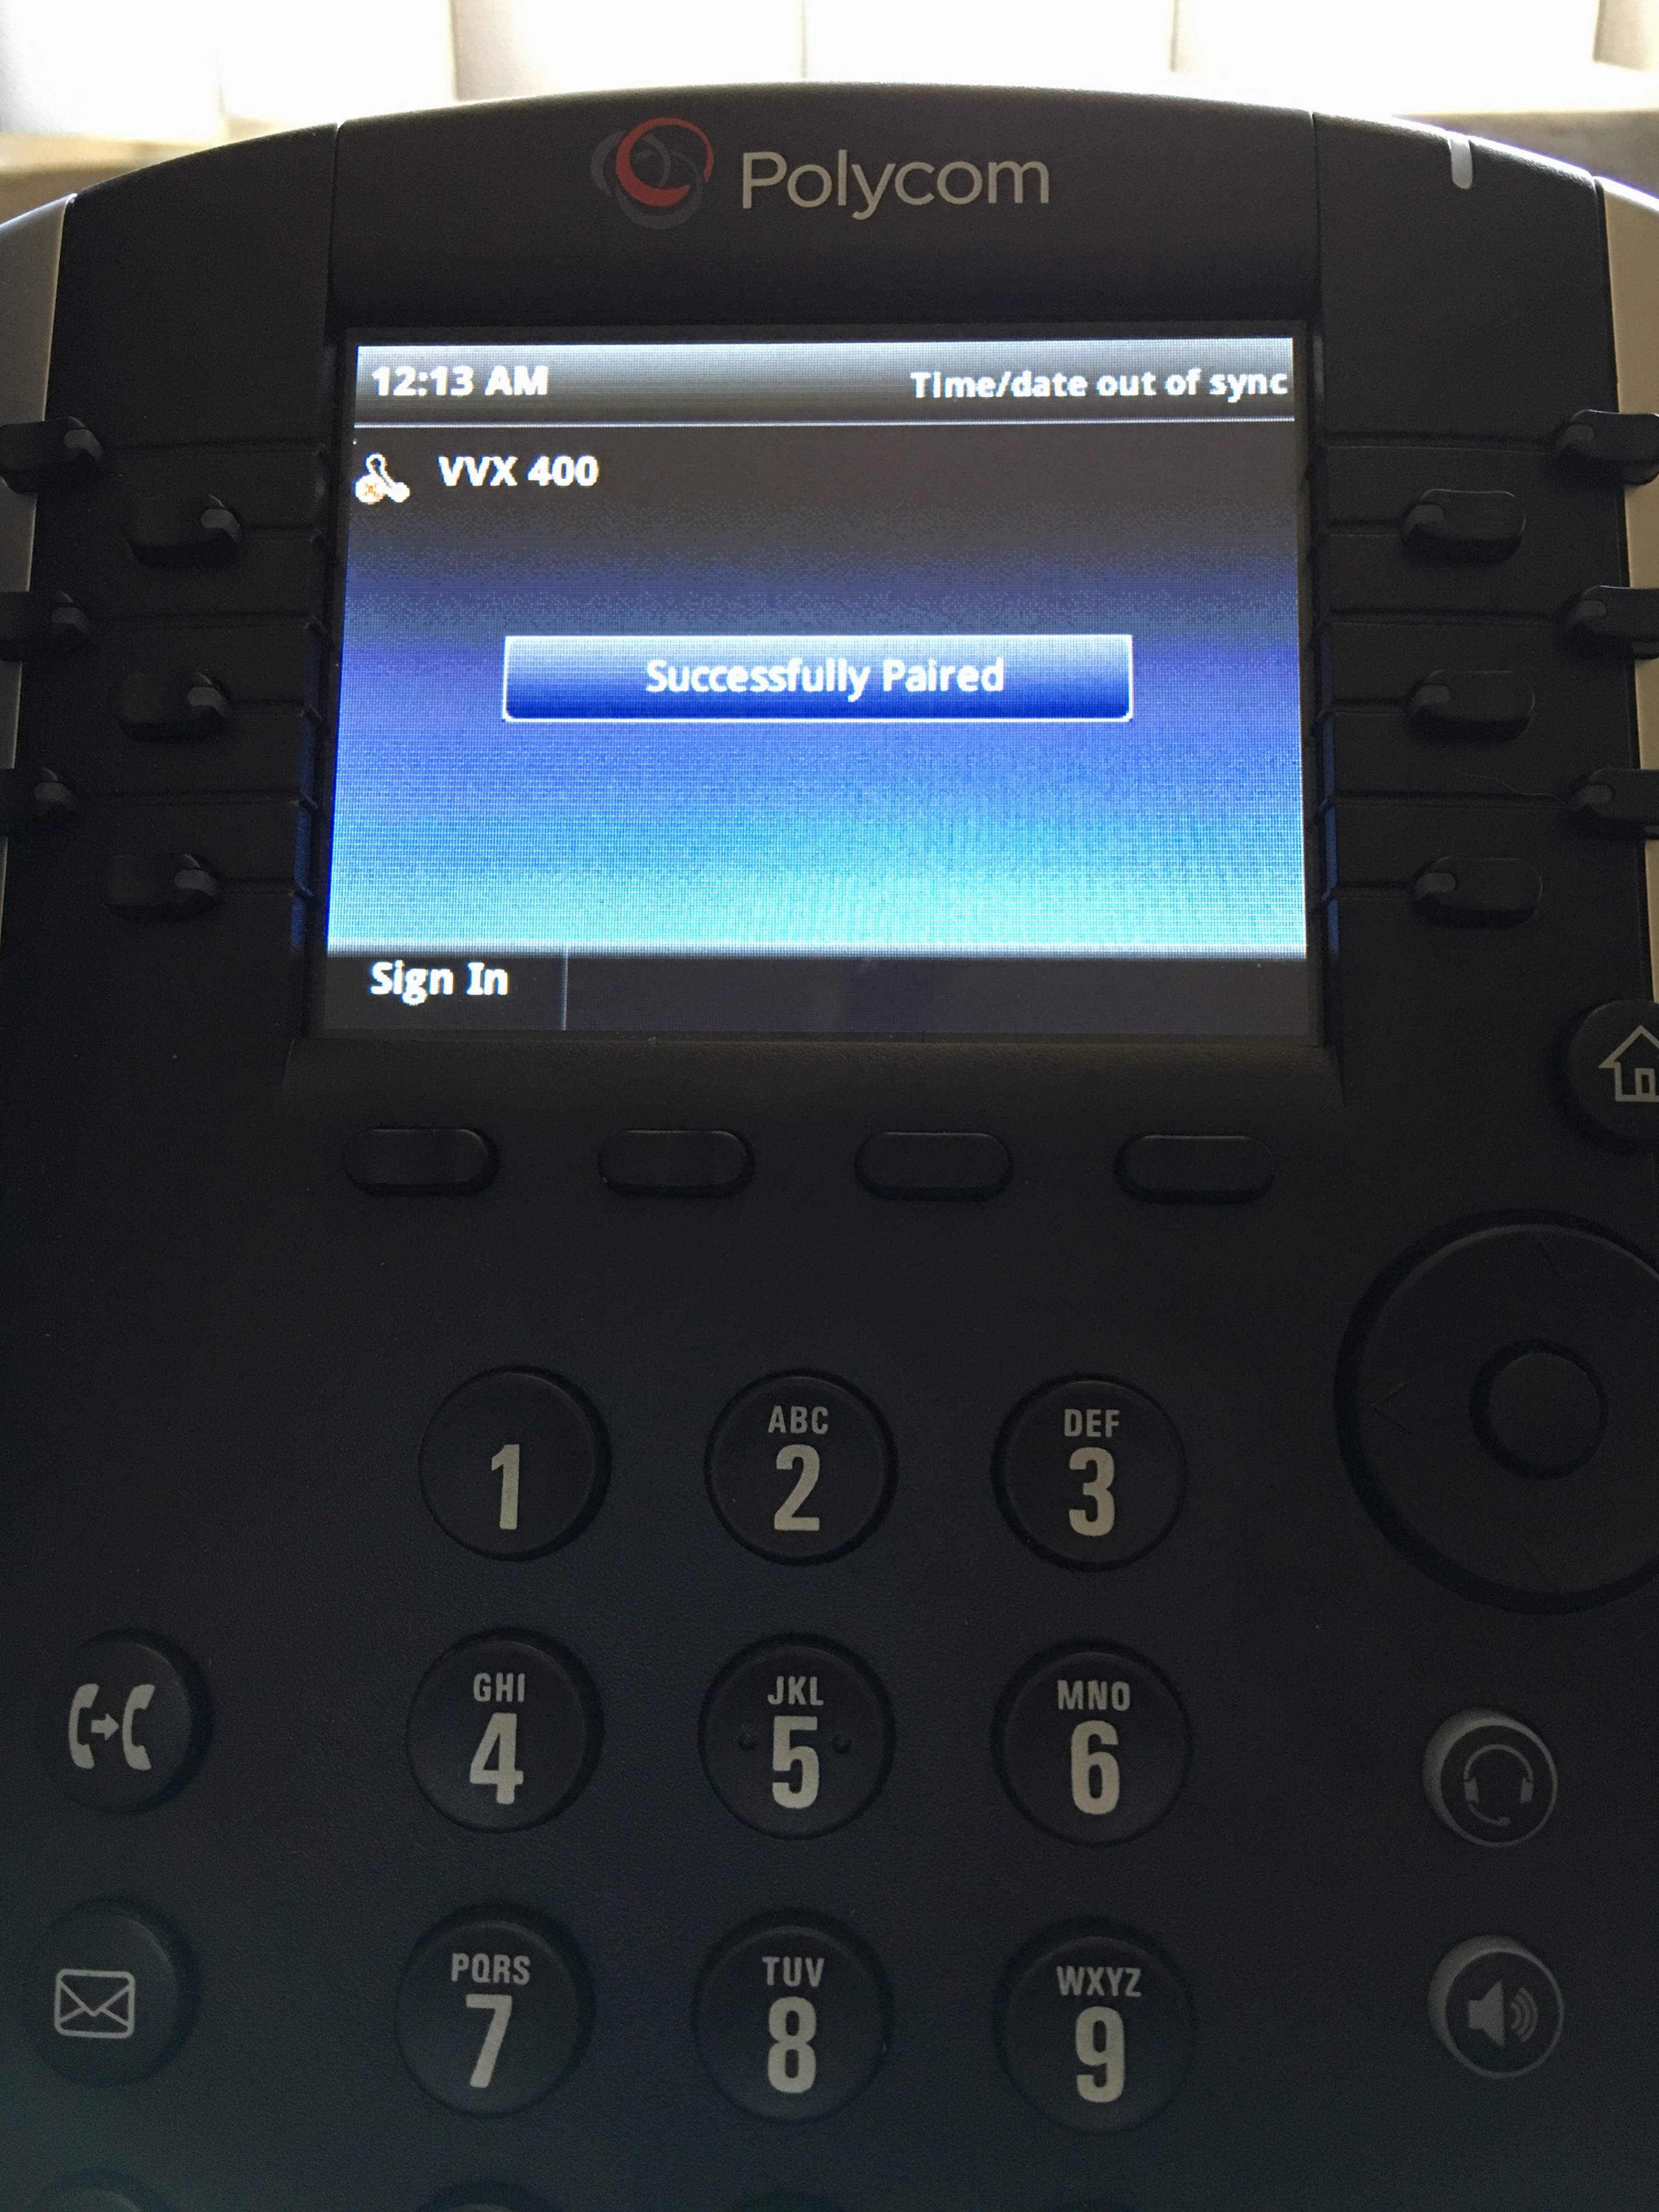
Step 7: When the BToE application is started, and the phone is connected a" Successfully Paired" message on the phone will be displayed along with a notification from the Polycom application on the PC of "Paired"

Login to the Phone and Skype for Business:
Step 8: Login to Skype for Business on the PC

Step 9: On the phone (from the main screen) press the Sign In button and select Paired Lync Client... the phone will display the following message: "Enter Login Information on Paired Lync Client"
Step 10: The Skype for Business client will prompt for login credentials. Ensure both the Sign-In Address and User Name fields contain the user's email address and click OK 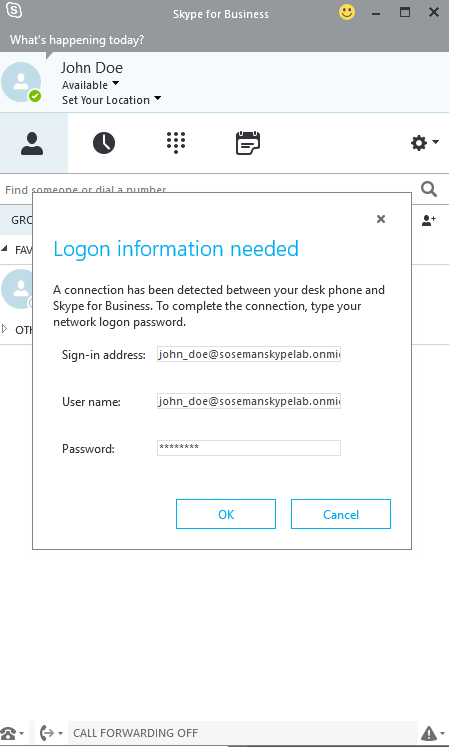
Step 11: The phone will attempt to sign in. Note, this process will take a few minutes to complete.

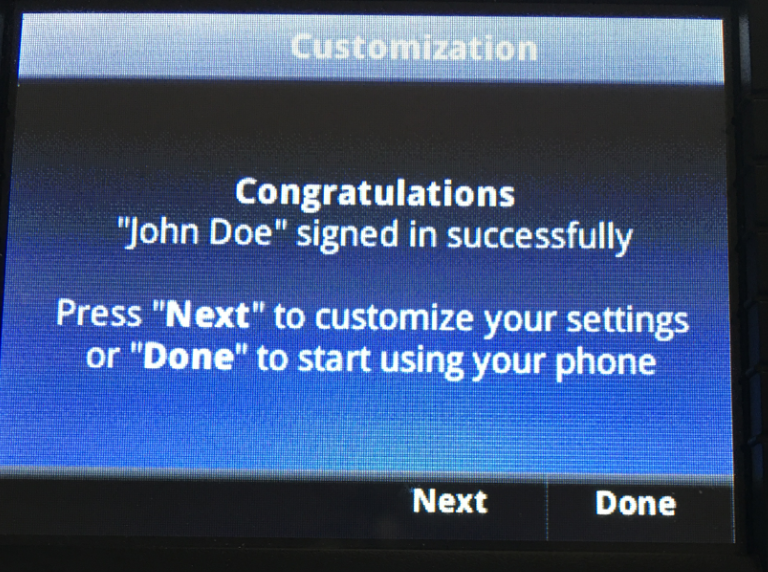
Step 12: When the login process is complete, the following message will be displayed. Press the Next button
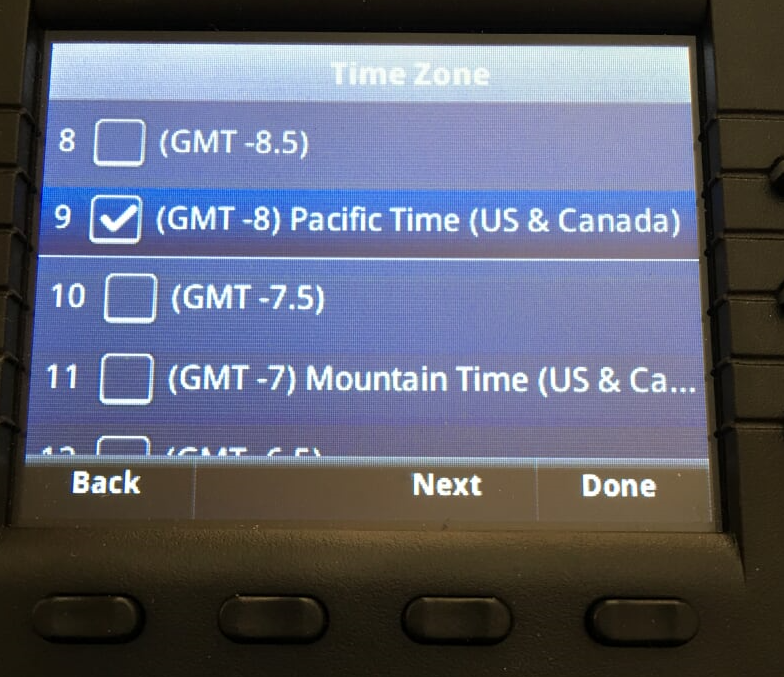
Step 13: Select the Time Zone, and press the Done button
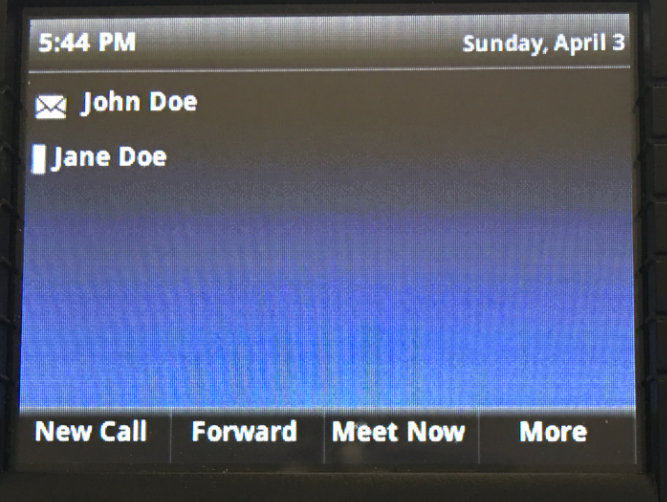
Step 14: The phone sign-in is now complete and you will be returned to the main screen. (Note, the envelope next to John Doe indicates new voicemail messages. Jane Doe is listed as she is marked as a Favorite in Skype for Business)
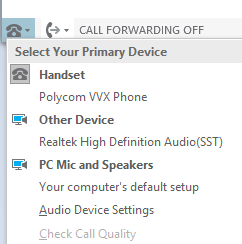
Note The Skype for Business client will display the phone as a new audio device:
Phone integration with Cloud PBX and Skype for Business Online is now complete. It is that easy!
Testing:
Now that the Polycom phone and Skype for Business client are in a paired state, it is necessary to make an outbound and inbound test call to ensure integration with the PC and the device is functioning as expected.
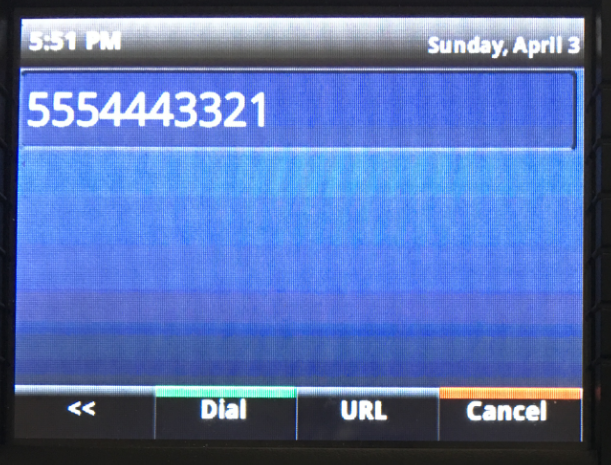
Step 15: From the phone, dial a phone number (i.e. your cell phone) and press Dial. (Note, if Dial is not selected, the phone number will be dialed and the phone will go off-hook after a few seconds automatically.) This will place an outbound call to the dialed number.
Step 16: On the PC, a new call window in Skype for Business will be launched. Once connected confirm there is two-way audio. Hang up the phone when finished.

Step 17: From another phone line (i.e. your cell phone) place a call to the phone number assigned to the user logged into the Skype for Business client and phone. Answer the phone by picking up the handset or pressing the speakerphone button.

Step 18: On the PC, a new call window in Skype for Business will be launched.

Step 19: Once connected confirm there is two-way audio. Hang up the phone when finished.
Step 20: Repeat Step 19 and leave a voicemail message.
Feature Testing:
Many features are available on supported 3PIP phones with Cloud PBX. A couple of my favorites are voicemail, conferencing, calendar and call control among others. (For more information, see my CloudPBX blog post referenced at the beginning of this post).
Step 21: Press the Home Button and select Messages. 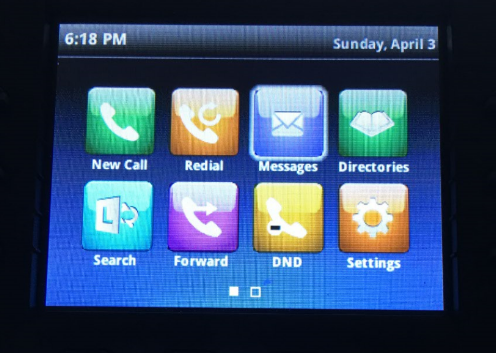
Step 22: These are new voicemail messages. You may play, call back , mark as read and delete among other features when working with voicemail.
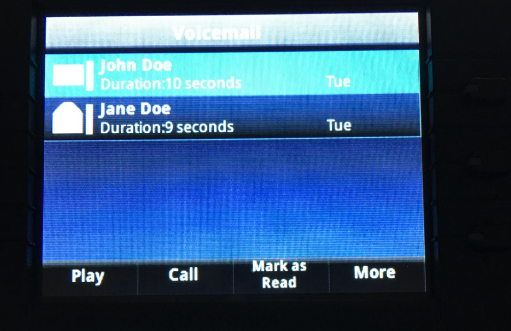
Note: For new voicemail messages, the Message Waiting Indicator lamp (MWI) will light up.
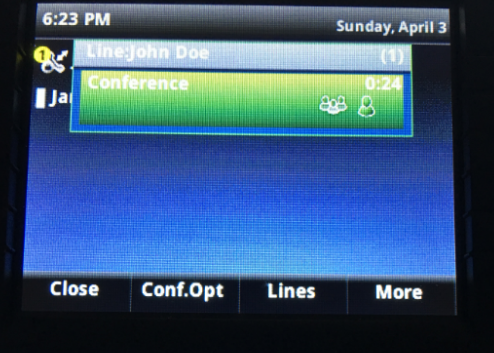
Step 23: An ad-hoc conference call can be started on the phone directly by pressing the Meet Now button (This is the same Meet Now feature available in the Skype for Business client that starts an ad-hoc Skype Online Meeting)
Step 24: Once connected, you may:
- View list of participants
- Invite additional participants
- Mute all participants
- View dial-in phone number and conference ID
- and more!
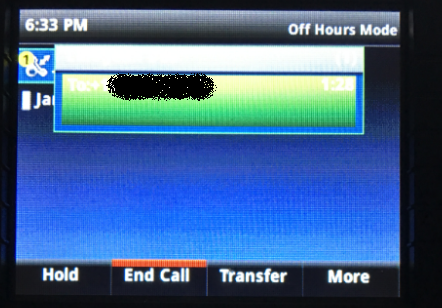
Step 25: End the call. Place an outbound call to your cell phone or other secondary phone used for testing purposes. Answer on the other phone.
Step 26: From the phone, various call control features are available. You may transfer the current call to a new number or contact, place on hold (and Music on Hold will play) or conference in additional participants. These are the same features that are available in the Skype for Business Client. Hang up the call when finished .
Step 27: Your calendar is also visible on the phone. If a Skype Online Meeting is scheduled, you may join directly from your phone without having to enter the dial-in telephone number or conference ID. Press the Home button and select Calendar
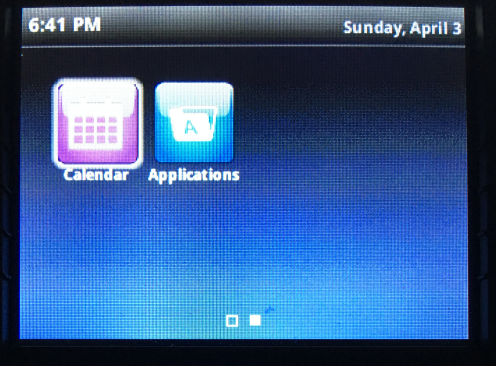
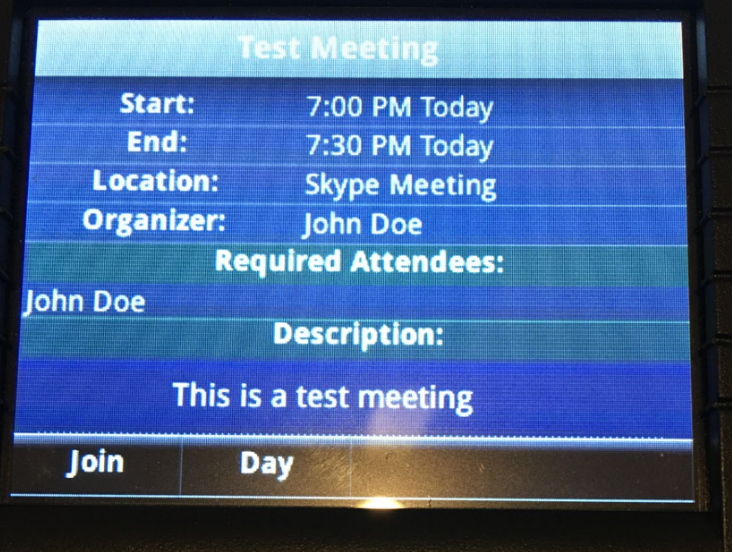
Step 28: Inside the calendar application, select a meeting:

Step 29: Once inside the meeting invitation, click the Join button to join the Skype Online Meeting. Once joined, hang up.
Note: A reminder will be displayed on the phone when the meeting is coming up:

As you can see, there are many features available when a supported 3PIP phone is connected to CloudPBX in Skype for Business Online in Office365. Please feel free to check out my additional blog posts on how to setup and configure CloudPBX, PSTN Conferencing, and Number Porting. Enjoy!