SharePoint Error Messages
Not a new concept here, but I thought I would add this to my blog so I’m not always referencing other blogs for it. Plus I will be referring to this post very soon. :)
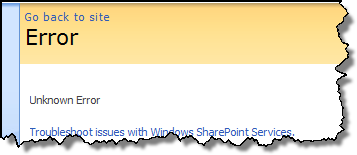
When you get an error in SharePoint, by default it’s not going to be very descriptive. Actually, all it’s going to say is Error.

Luckily for us SharePoint is a .NET application so we can configure how errors are handled. To change the information that is presented to us when an error occurs, we need to make some modifications to the web.config for the application. Below are the steps:
- Log on to the server hosting your SharePoint application
- Browse to web.config on the file system. This will be in the VirtualDirectories folder
- ex: C:\Inetpub\wwwroot\wss\VirtualDirectories\yoursitename
- Right-click on web.config and select Open. You’ll need to use an editor to open the file (I typically just use Notepad).

- Search for CallStack, and change it’s value to true
- <SafeMode MaxControls="200" CallStack="true"
- Search for customErrors, and change it’s value to Off or RemoteOnly
- What’s the difference?
- If you set it to Off, then anyone is going to see the detailed error message.
- If you set it to RemoteOnly, then it will only display the detailed error message if you are browsing the site locally on the server. I recommend RemoteOnly, and viewing the error message on the server – this will keep your end users in the dark… as an admin this is our duty.
- <customErrors mode="Off" />
- <customErrors mode="RemoteOnly" />
- What’s the difference?
- Save web.config (note: this will restart the IIS application automatically)
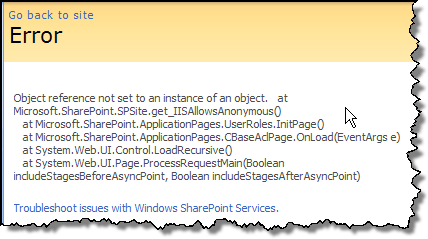
That’s all you have to do. Now go and reproduce the error, and you’ll get a detailed error message. After you have used the information presented to you, be sure to go back and change the web.config back to the original settings because you don’t want to always be displaying the code of errors occurring.
