Configure cross-site publishing in SharePoint Server 2013 Step by Step
In this post I am going to show how to setup a simple Cross-Site Publishing environment.
Step#1
Create an authoring site collection using “Product Catalog” site collection template.
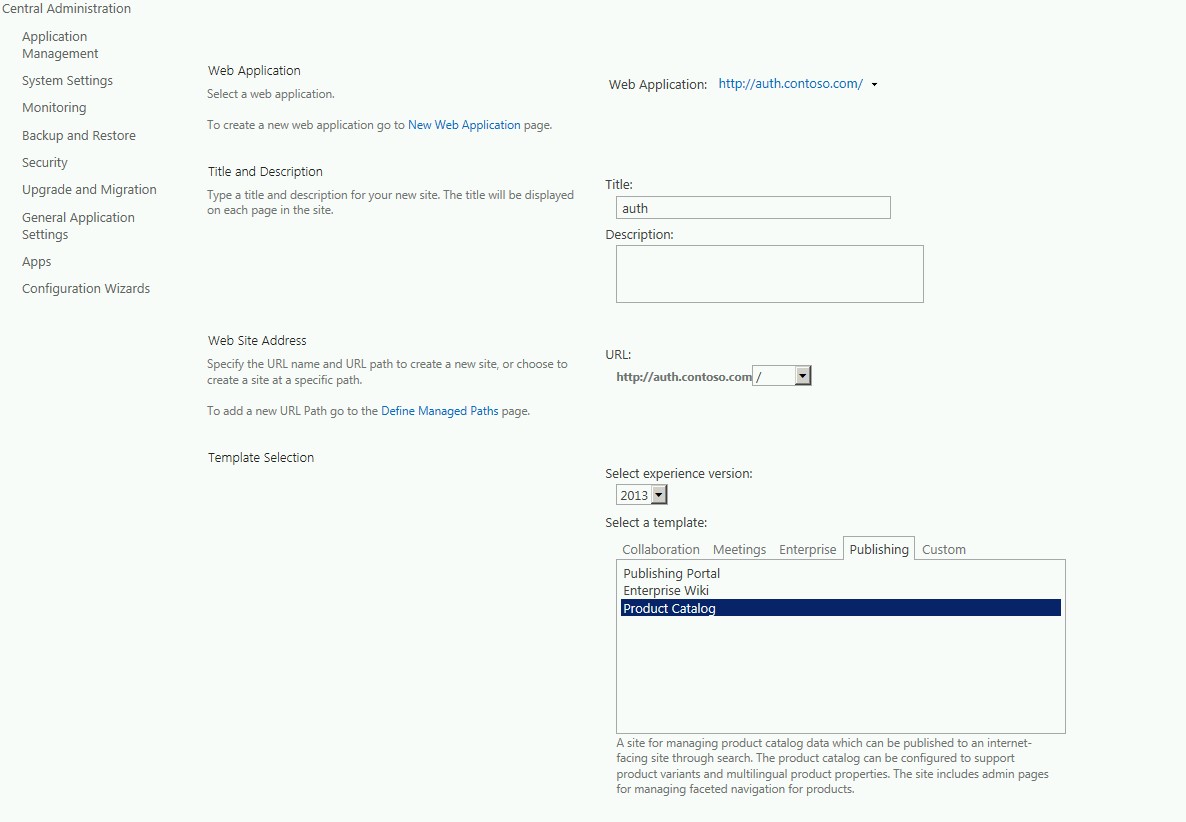
By choosing “Product Catalog” template, SharePoint will create following artifact for site collection:
- Activate Cross Site Publishing Feature
- Create Product List associated with content type Product with Image
- Create two content types, Product and Product with Image
- Create following Site Columns
- Group Number
- Item Category [Managed Meta data column linked to Product Hierarchy term set
- Item Number
- Language Tag
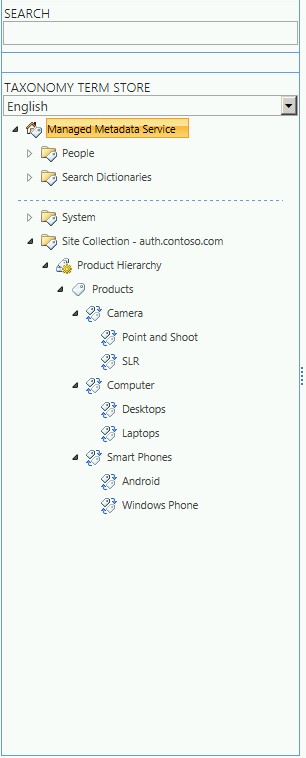
- Create Site Collection Term Set “Product Hierarchy”
Step#2
Populate "Product Hierarchy" Term Set. This term set will be used as tagging term for catalog items.
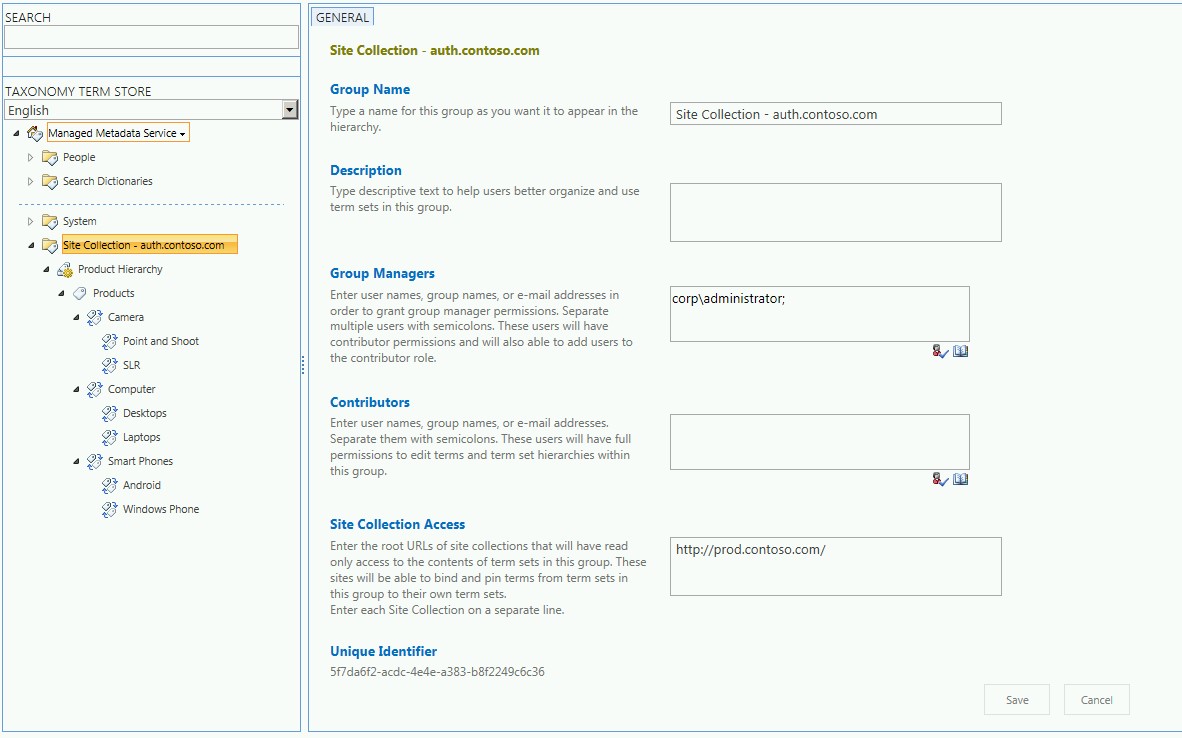
At this step, if you know publishing site collection URL add it to Site Collection Access (In this case it is https://prod.contoso.com).
This will give publishing site read access to contents of term sets in this group.
Step#3
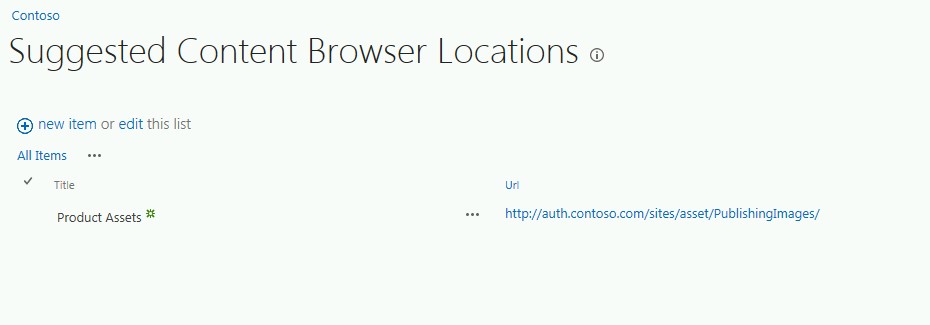
Setup an Asset Library. This can exist anywhere as a container to store site blobs (Pictures, videos, pdfs, etc.) in this case Asset library exists in its own site collection under authoring web application with URL (https://auth.contoso.com/sites/Asset). To conveniently accessing resource from asset library configure it as “Suggested Content Browser Location” under site settings. Make sure asset site is accessible from publishing site collection.
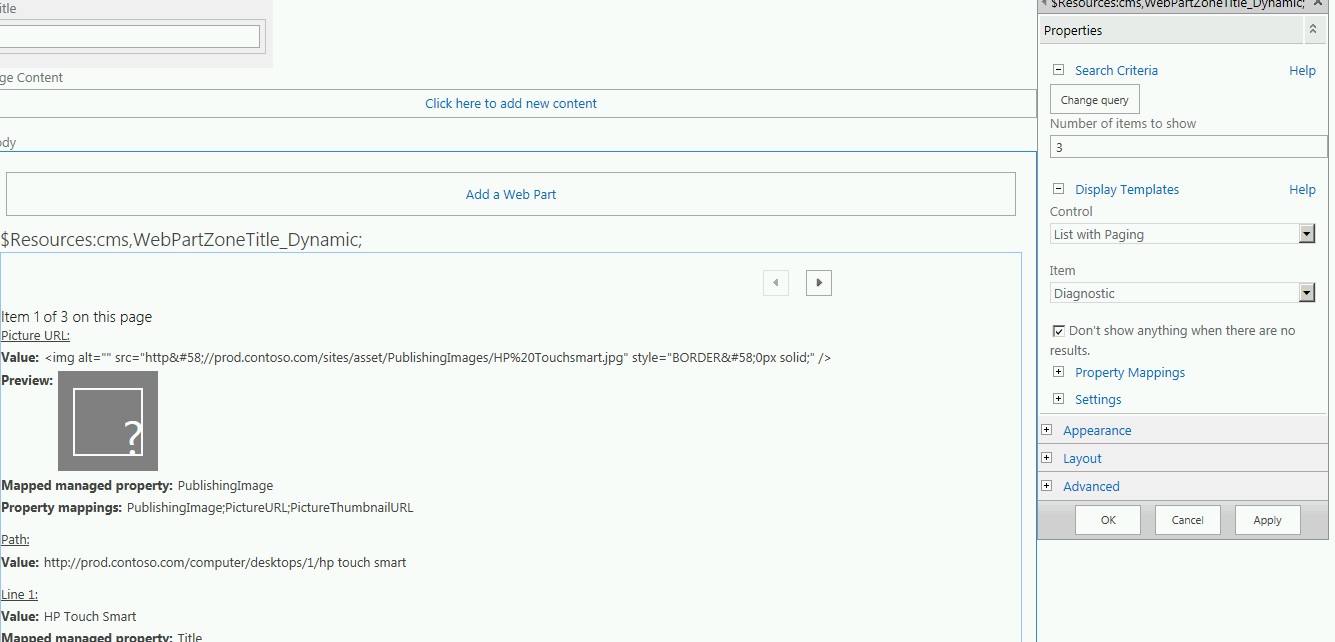
Caveat: While setting this up, I have noticed one caveat when using image from asset site which is under authoring web application, image address uses relative path (/sites/asset/publishingImage/) and same get indexed. when catalog is used on publishing site it will not find asset files because it is relative URL and image will display as "?". As workaround I have create a new web application and site collection for asset files (https://assets.contosot.com) and provided Absolute URL at the time of browsing the image for item, ran full crawl hoping this will fix this issue, however image still didn't displayed on publishing site. To troubleshoot this further, I have edited category page and changed display template for Content By Query Web Part to Diagnostic and that has rendered Raw values. Looking at image source it seems there is some issue with encoding of "https://" and is rendering as "http://" and this was the reason images are not getting displayed. Currently, I am working on Beta bits and hoping this will not be an issue with RTM. To bypass this issue and to see image, I have created asset site on publishing in same structure as on authoring and copied pictures to new asset library and images started to show up!
Following figure illustrate Diagnostic Display Template:
Step#4
Create content on Authoring Site. This example will use SharePoint created List “Products” to create content.
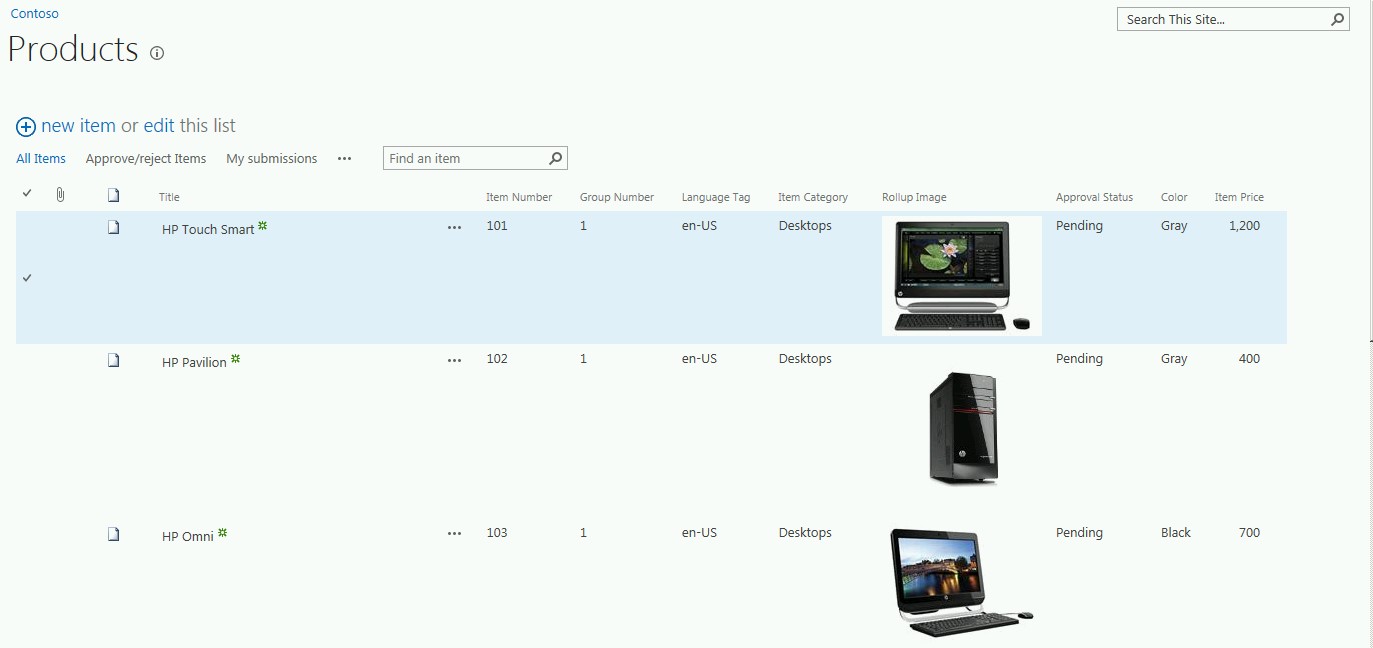
Few things to keep in mind here are, use unique values for "Item Number" column, this is specified as Primary Key when marking this list as catalog and Tag items with appropriate Terms using Item Category column. Once all items are created go to Approve/Rejected Items view and approve all Items.
Step#5
Share Product list as catalog. To Share a list/Library as catalog go to list general settings and click on catalog setting. In this case Item Catalog is enabled for Anonymous access, Item Number is a Primary Key and Navigation will be based on Item Category Managed Metadata Column.
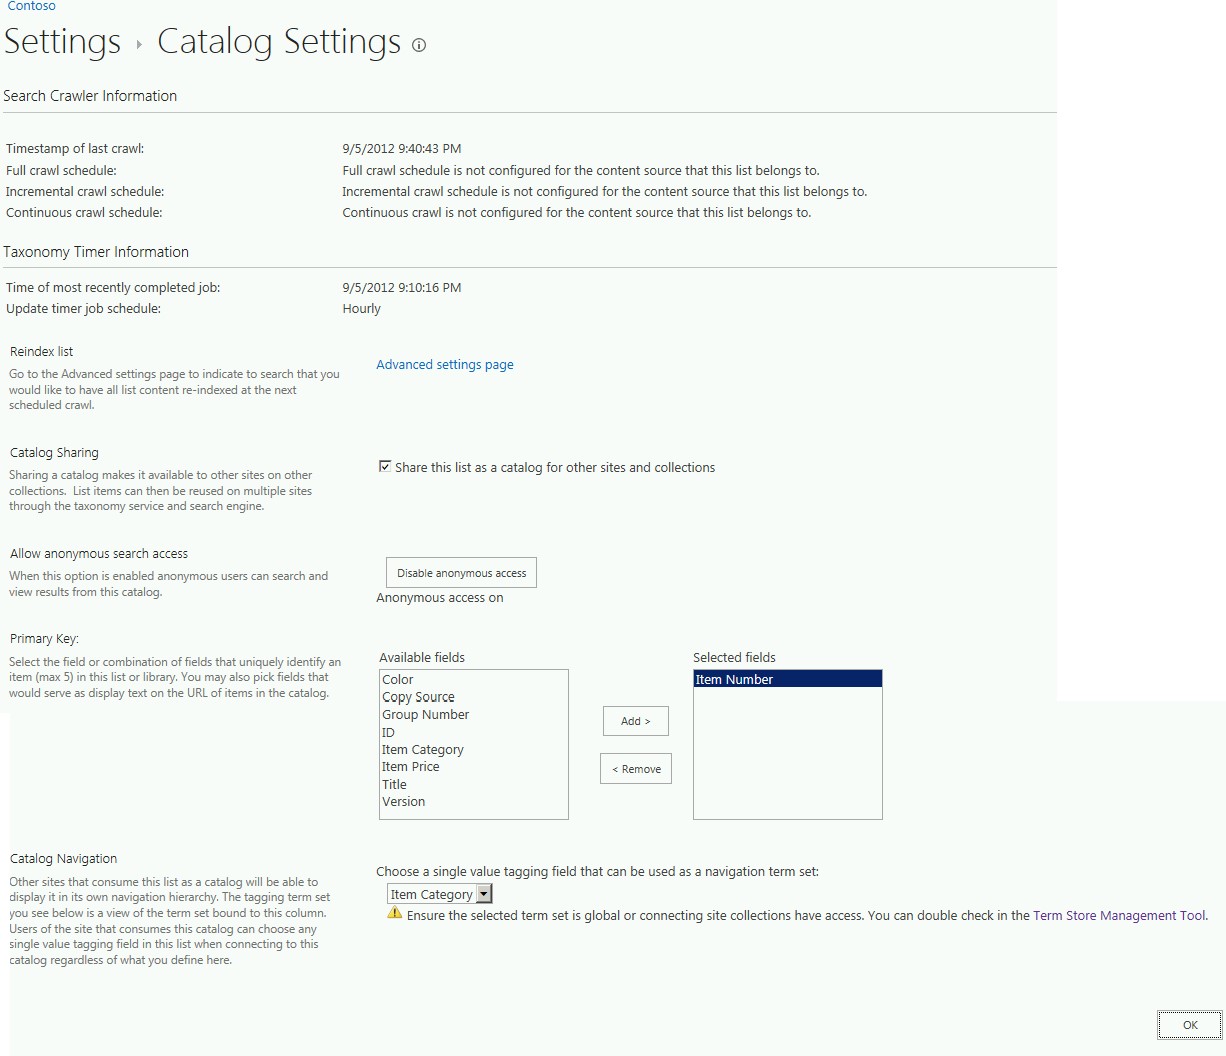
Click OK to Share this list as catalog.
Note: When a List/Library is selected as catalog an indexable property [IndexedRootFolderPropertyKeys : {PublishingCatalogSettings, IsPublishingCatalog} name-value pair is added to List's Property Bag. When a full crawl is completed this property is added and crawl property and also added as Managed Property "IsPublishingCatalog".
Step#6
Crawl this catalog using SharePoint search system. Make sure Search Service Application is configured. In this case I have created a separate content source for authoring site collection and started Full Crawl.
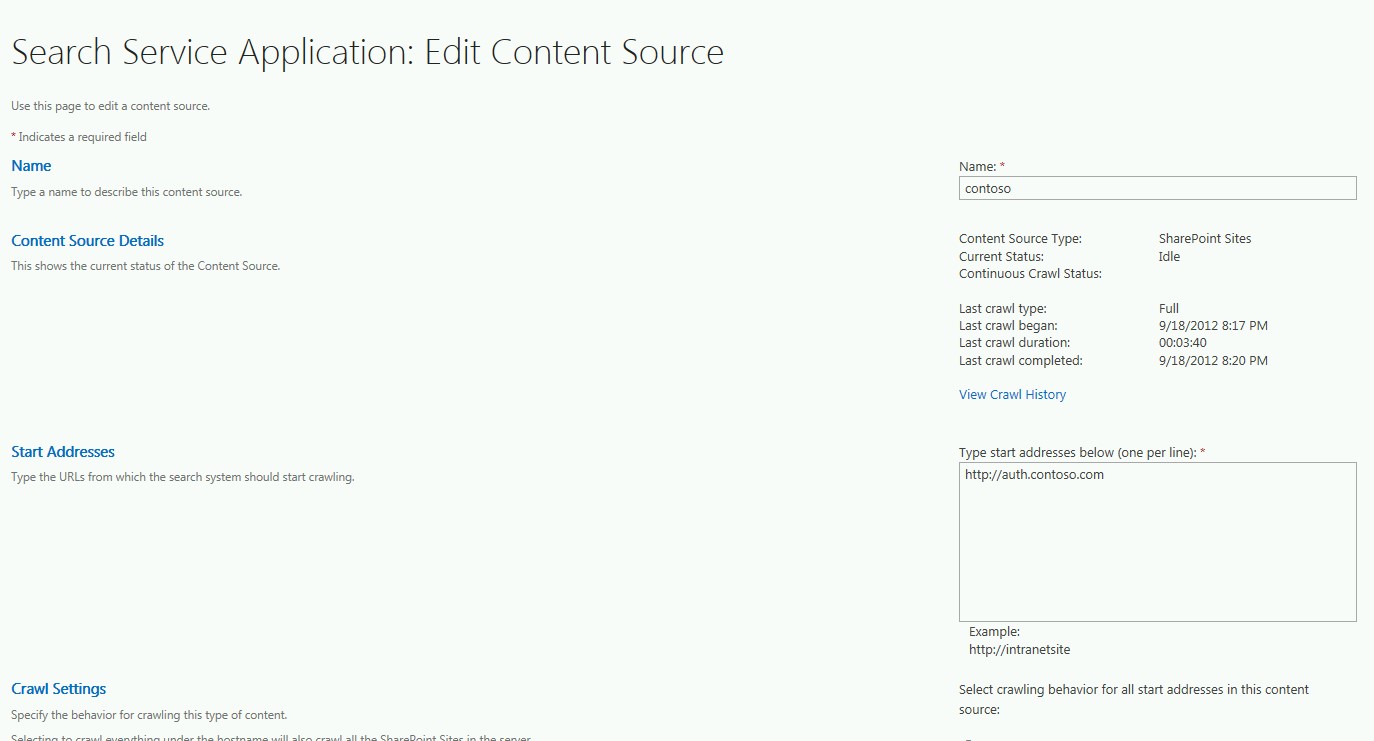
Once Full Crawl is completed successfully, our catalog is ready to share with publishing site collections!
Step#7
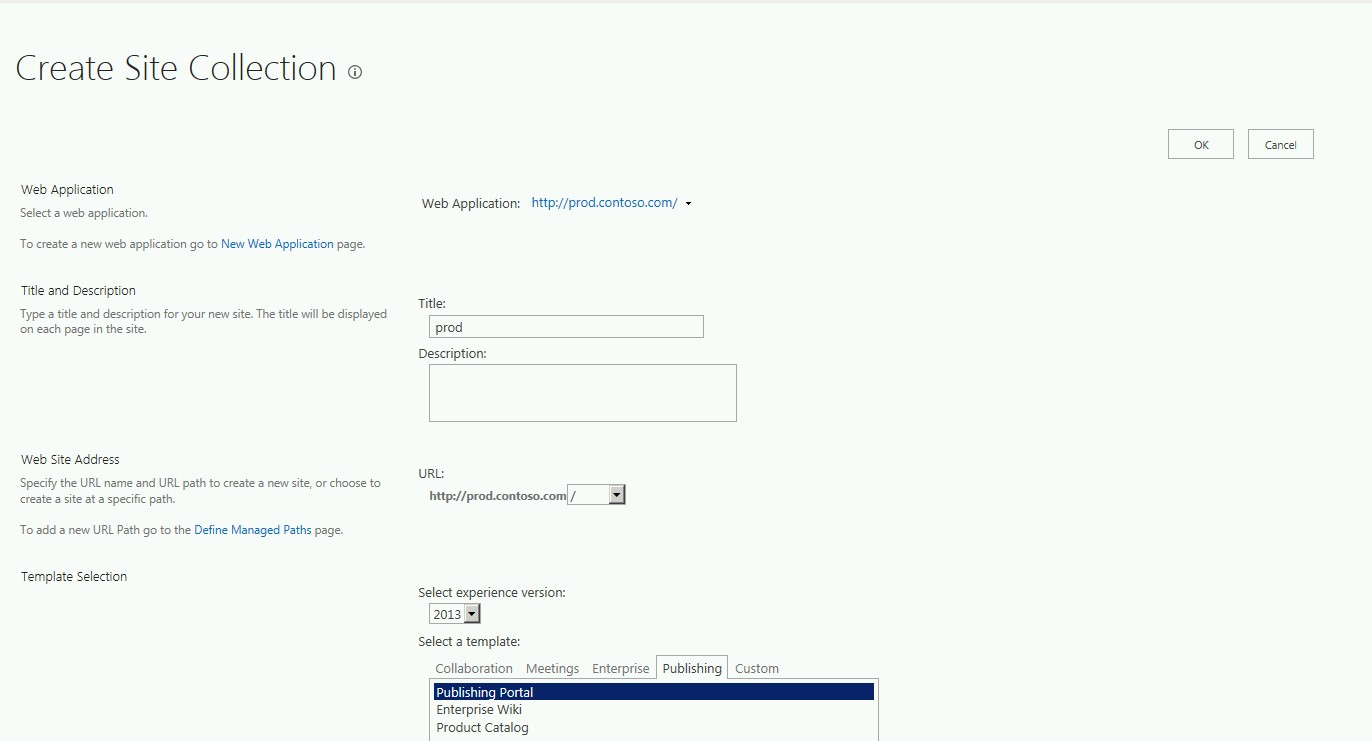
Creating a Publishing Site collection. In this case we will create a publishing site collection in a different web application https://prod.contoso.com.
Step#8
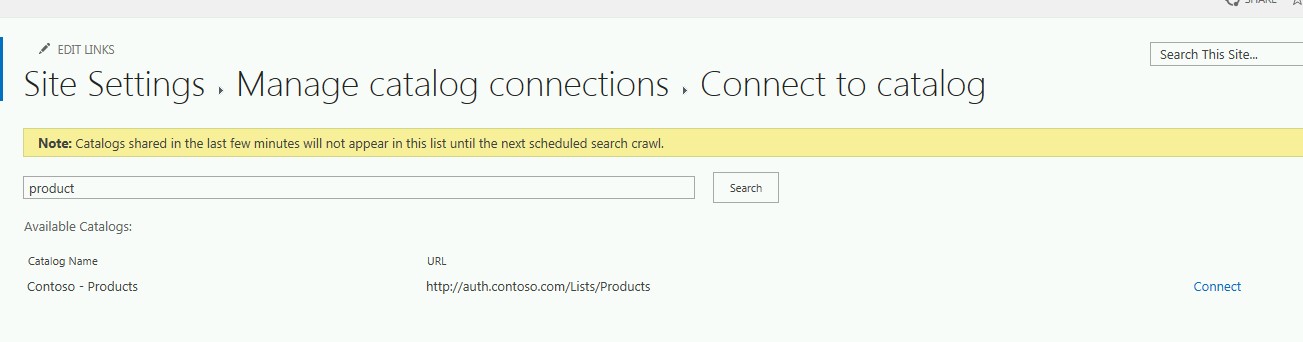
Connect to a product catalog from publishing site collection. To connect to a published catalog go to publishing site settings under site administration click on “Manage Catalog Connections”. Search for catalog name and click connect.
Clicking on connect will open Catalog Source Settings page. On this page change Navigation Hierarchy and select Root term of Hierarchy, in this case choose “Products” as this is our root term.
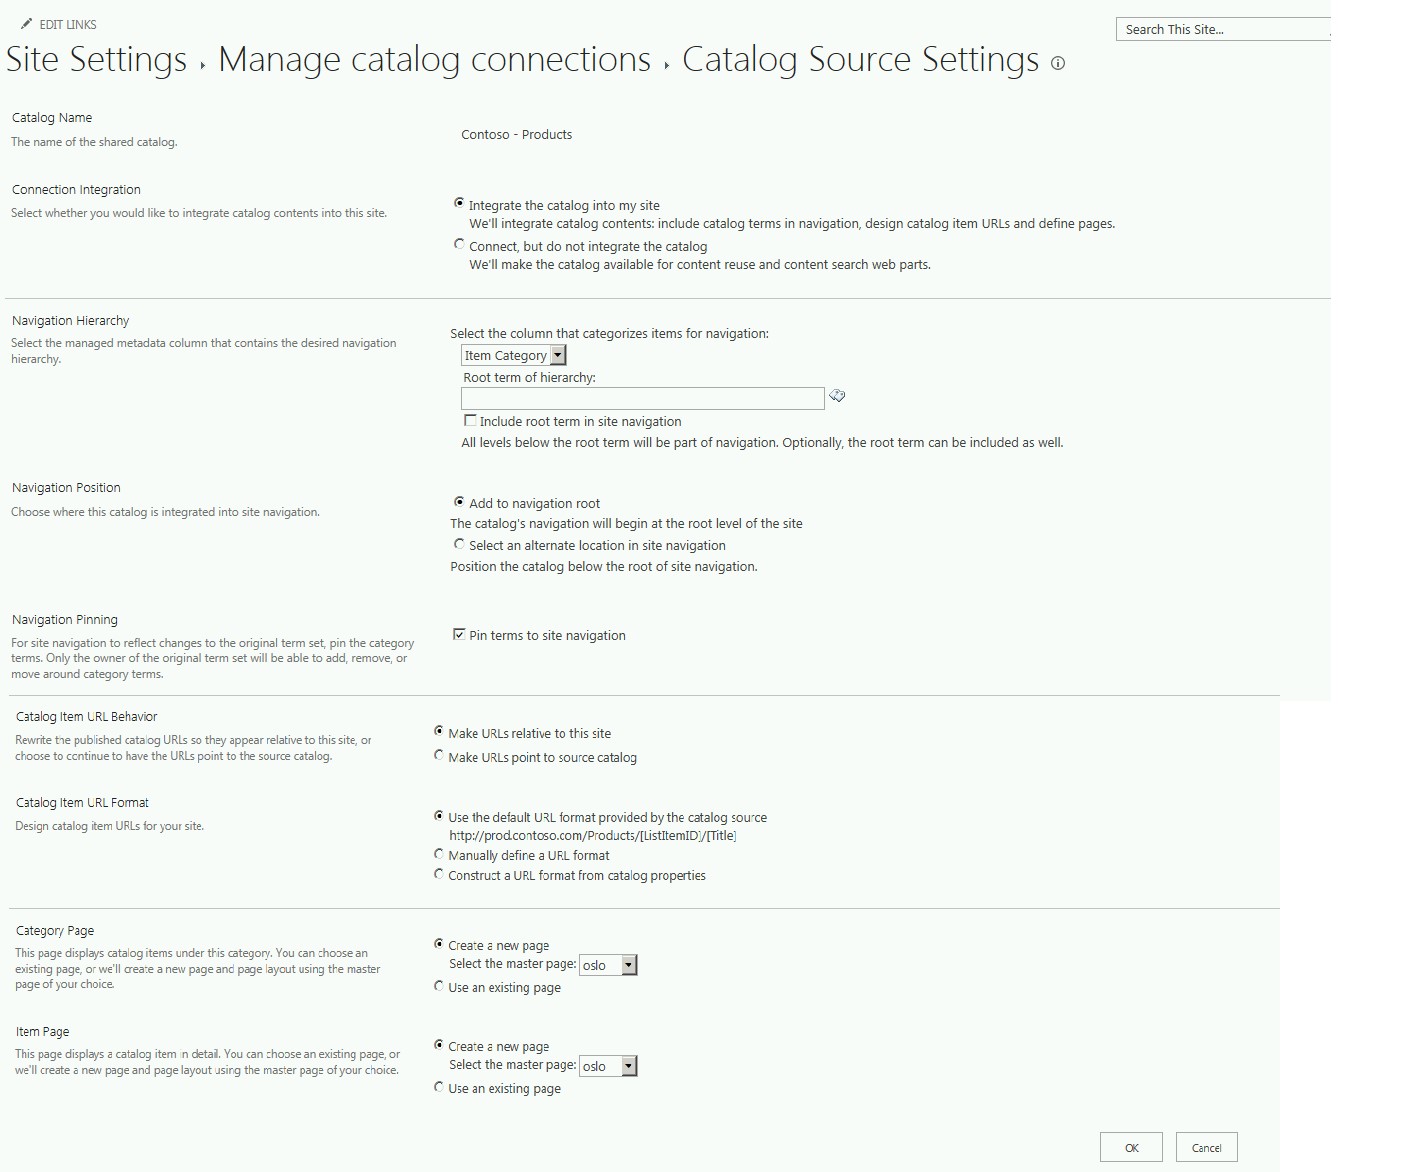
Few points to note here, Catalog Item URL Format, this is using Primary key columns in URL Format and this interface is also creating Category Page and Item Page. Following table describes how site columns and their corresponding values are combined to create friendly URL
| Product title | Item Category | Item Number | Friendly URL |
|---|---|---|---|
HP Pavilion |
Desktops |
2 |
<site>/computes/desktop/2 |
Samsung Series 7 |
Laptops |
6 |
<site>/computes/laptops/6 |
Canon EOS Rebel T3i |
SLR |
13 |
<site>/camera/slr/13 |
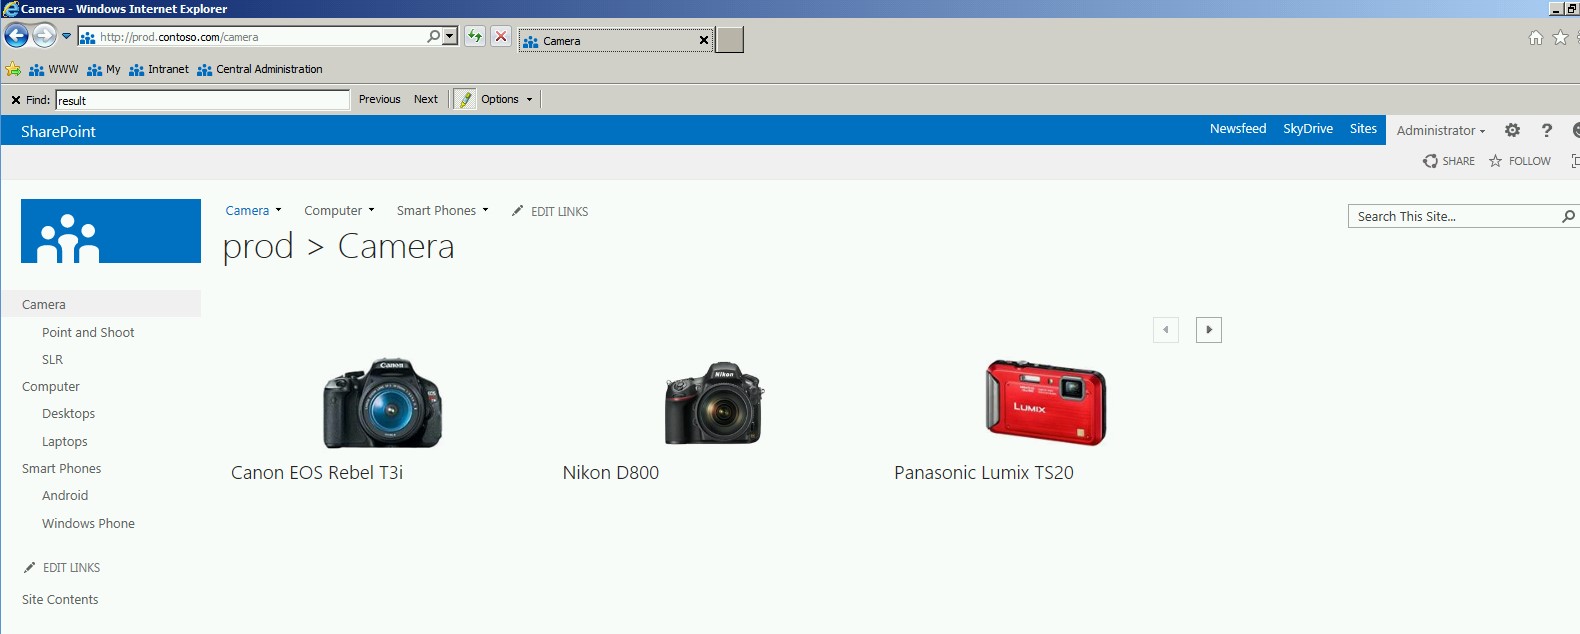
At this point we are almost done with setup and you will have managed navigation showing on pages. Click on any category on navigation link and it will show all products that belong to the selected category!!