Intune: Bulk Enroll Surface Hubs to Microsoft Intune
Today's blog post is about how to bulk Enroll Surface Hubs to Microsoft Intune.
Surface Hub now supports the ability to automatically enroll in Intune by joining the device to Azure Active Directory.
Having said that we can create a Provisioning Package to join the device to Azure AD and let it automatically enroll to Intune.
There are two methods.
- Bulk Enroll the device using Provisioning Package via Settings App after the device is setup.
- Bulk Enroll the device using Provisioning Package at the OOBE phase during initial setup.
Before hand, we need to create provisioning package using WCD (Windows Configuration Designer) which is part of Windows 10 ADK. WCD installation guide can be found here.
Create Provisioning Package for Surface Hub:
Official documentation for creating Surface Hub PPKG can be found here. However this blog will explain step by step to enroll to Intune.
Here are the steps required to create a package to Bulk enroll Surface hubs to Intune.
1.Enable Windows 10 Automatic Enrollment by following the article. Make sure you are using a Windows 10 Device and the account running the WCD has AAD Premium and Intune Subscription assigned.
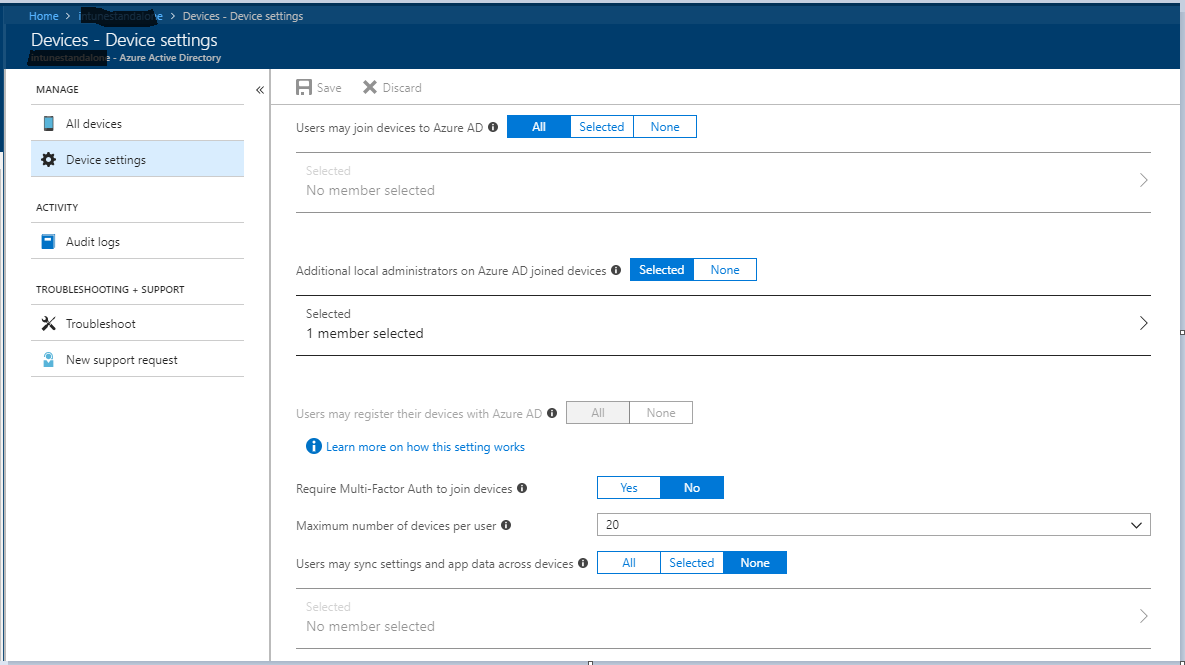
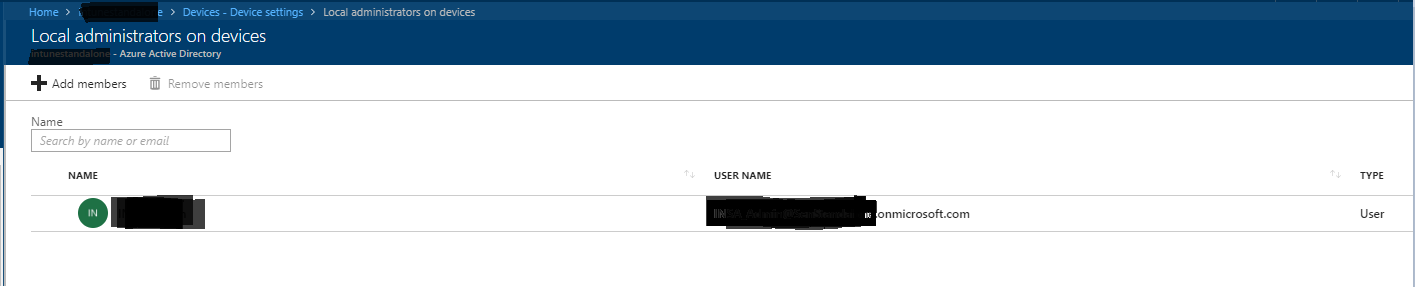
2.Add a user as Local Admin on AAD Joined devices. Navigate to Azure Active Directory -> Devices -> Device Settings -> Additional local administrators on Azure AD Joined devices.
3.Open Windows Configuration Designer from either the Start screen or Start menu search, type 'Windows Imaging and Configuration Designer' and open the application.
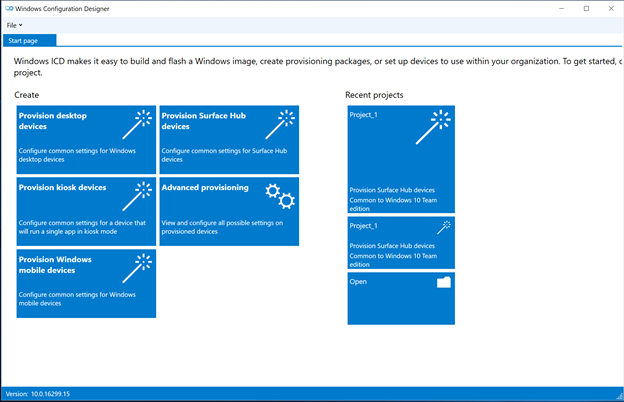
4.Click Provision Surface Hub devices.
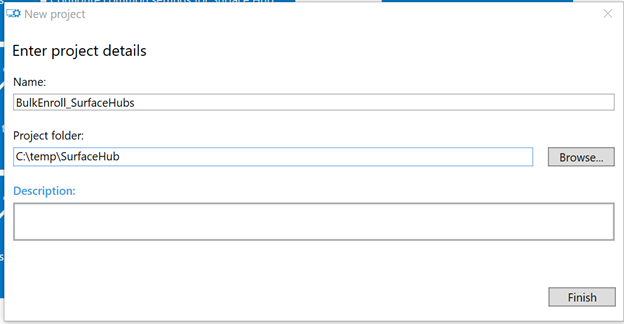
5.Name your project and click Finish.
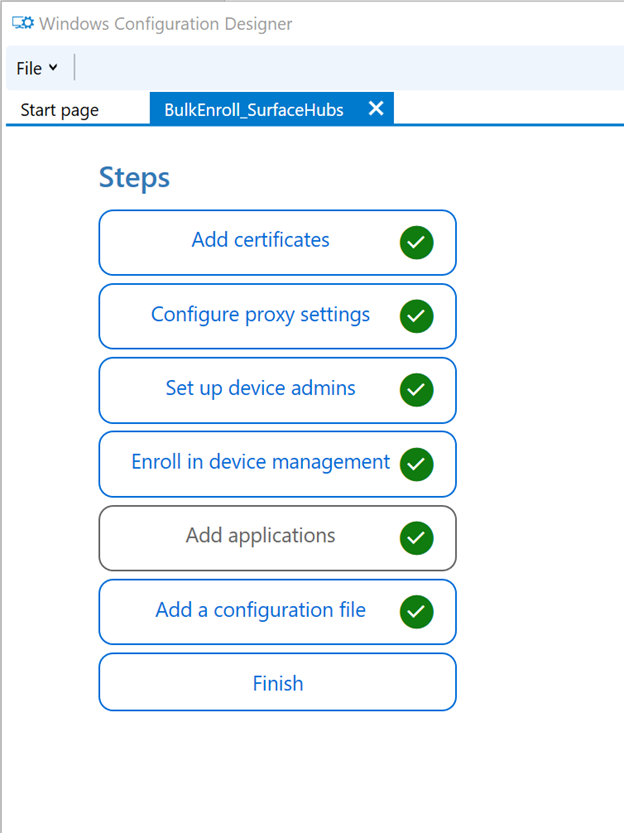
You can add application, certificates, Configure Proxy and a configuration file too. However we are just going to create a provisioning package for enrolling to Intune.
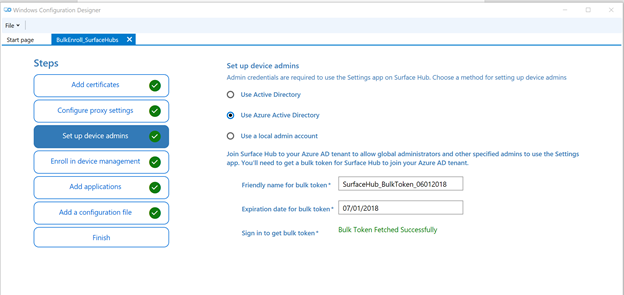
6.Select "Setup Device Admins".
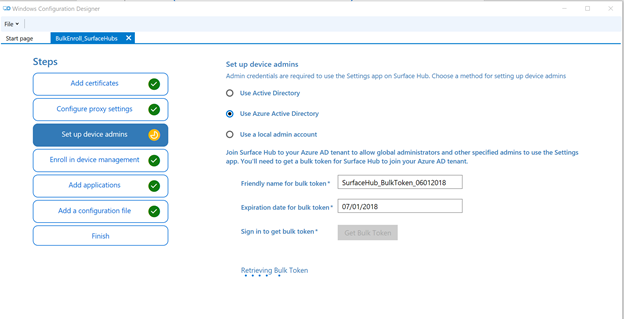
Note: Here we are using Azure Active Directory for setting Device Admins. This gets the bulk token from Azure AD which is valid for maximum of 30 days. (If you try to set a value more than 30 days it will error out)
7.Skip the "Enroll in device management" step, since this method is "currently" not supported with Intune.
8.Finish the wizard. This will create the PPKG file under the Project folder we mentioned in Step 4.
Method 1: Bulk Enroll the device using Provisioning Package via Settings App after the device is setup.
1.Copy the above created PPKG file to a USB Storage Stick and connect the device to the Surface Hub.
2.Open Settings App by navigating Start-> All Apps -> Settings (This will prompt you to enter Device Admin account. This is configured at the time of Initial Device Setup)
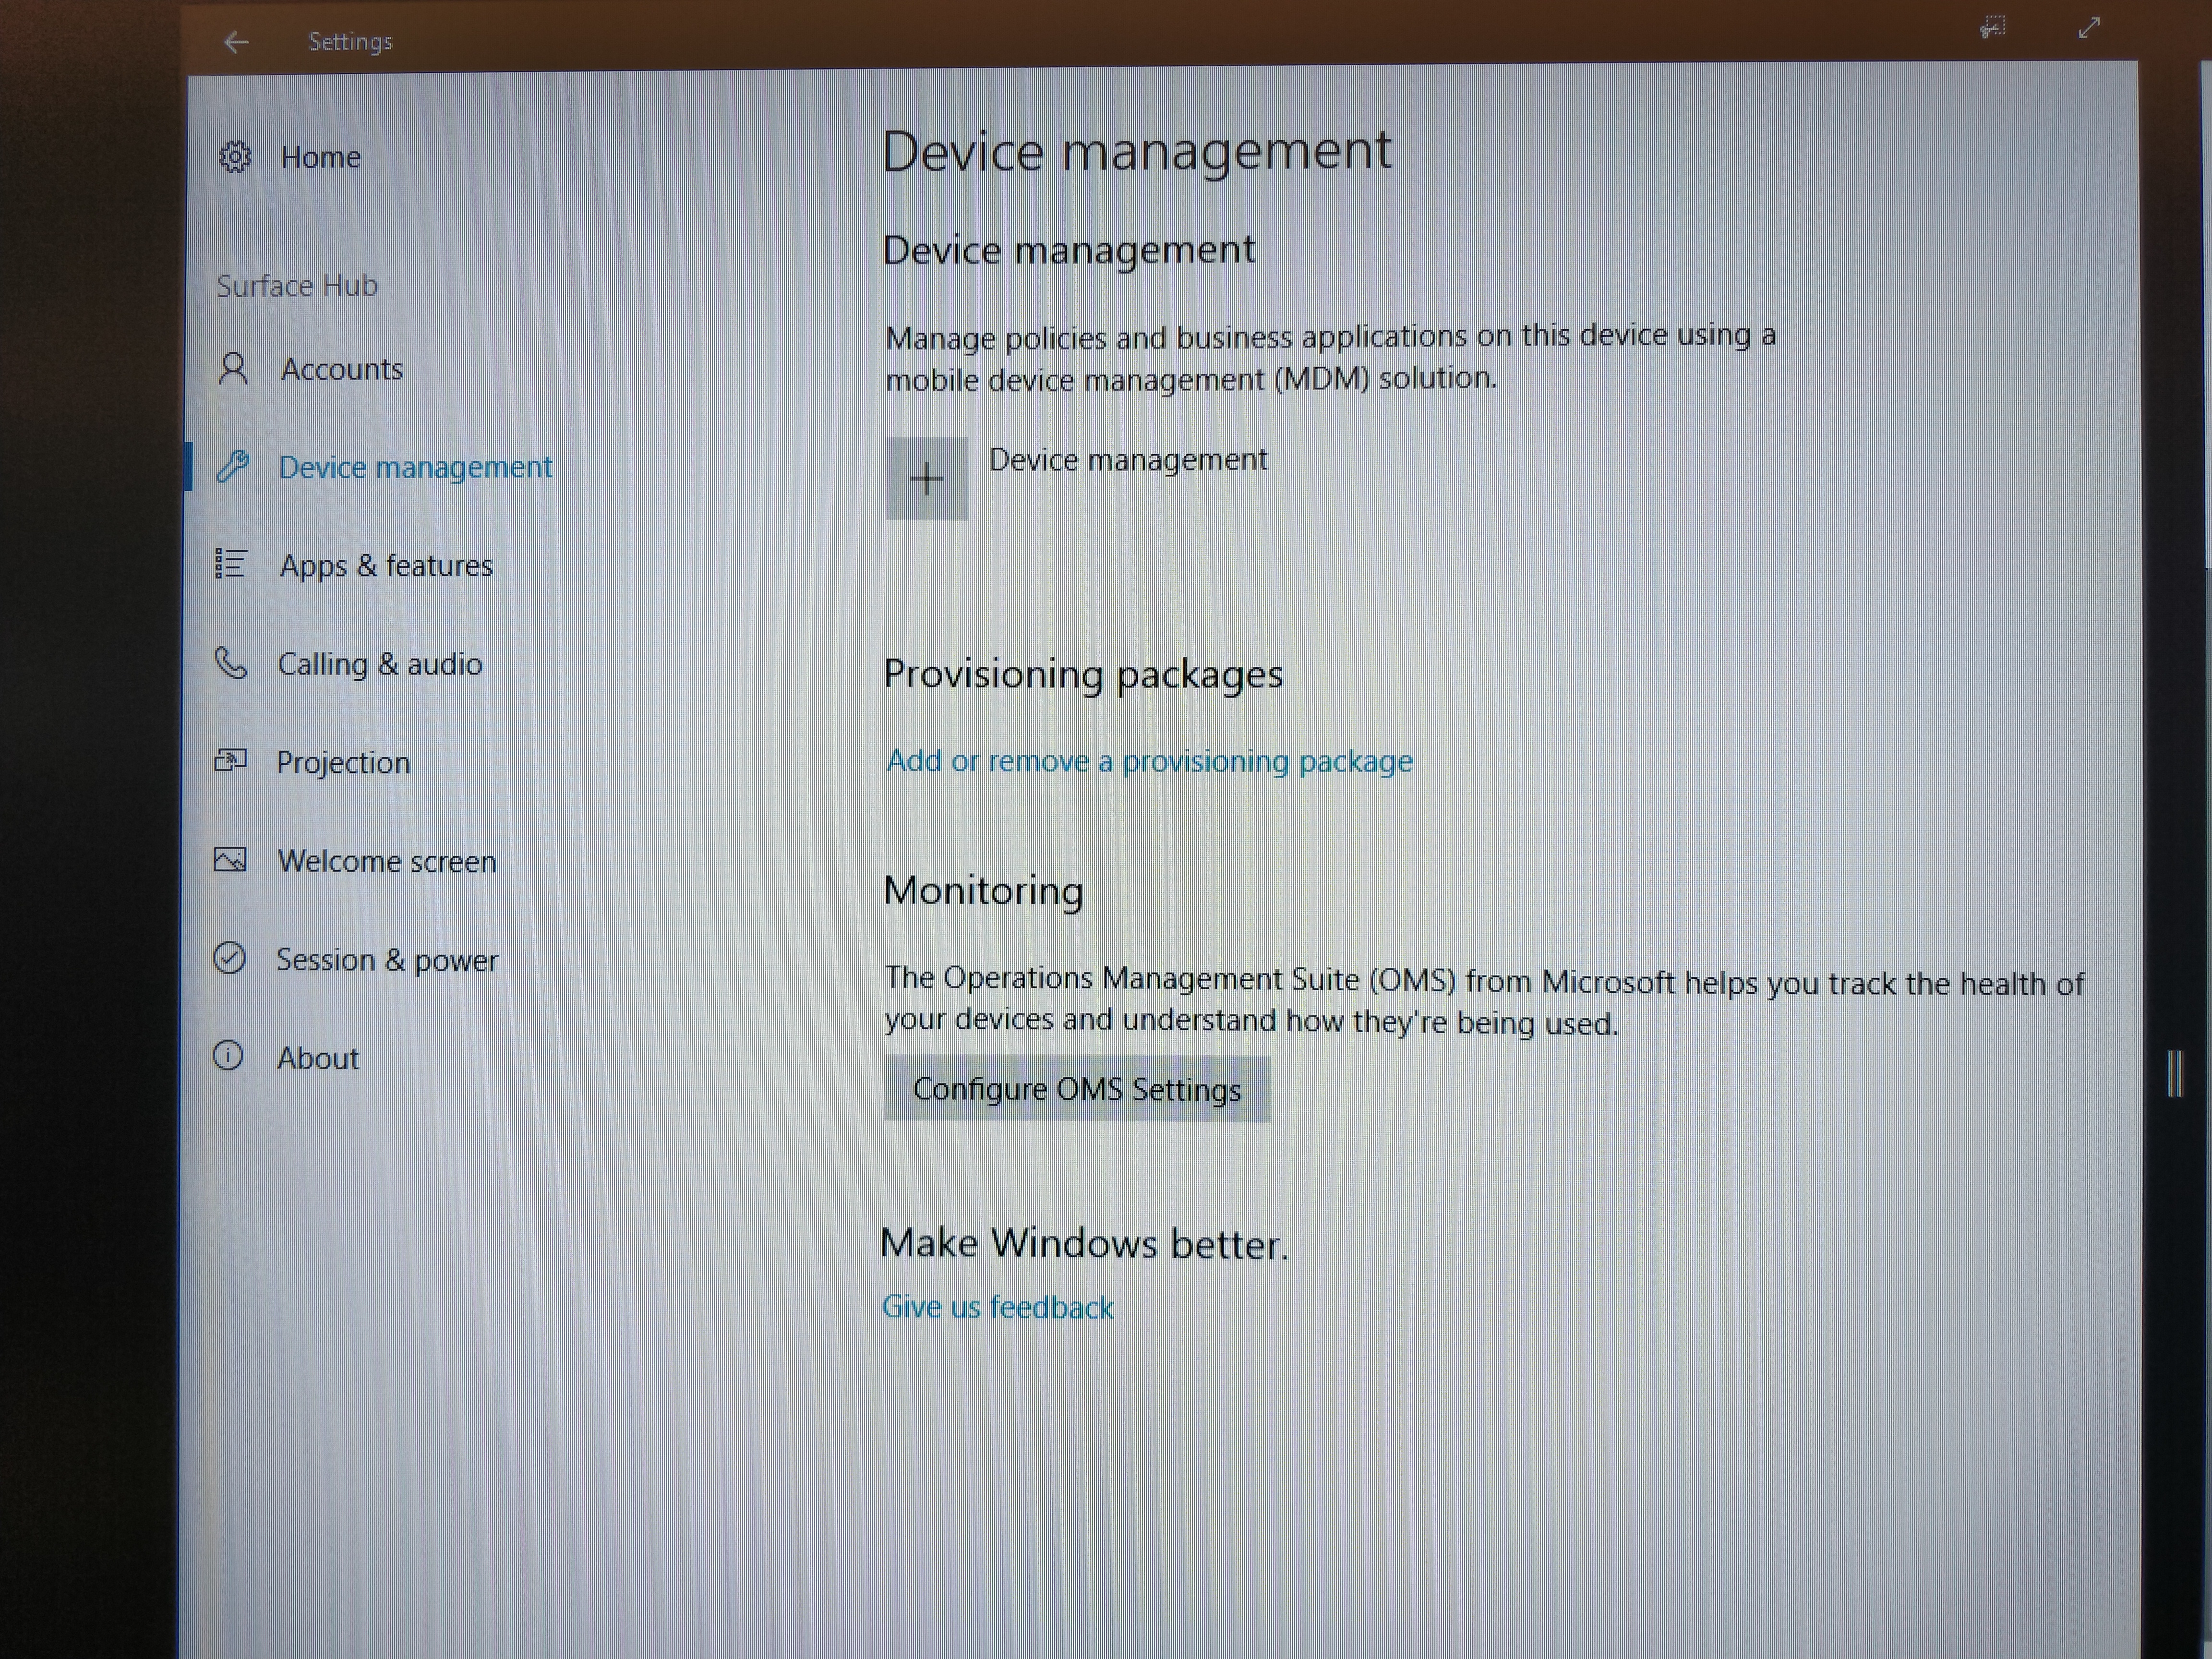
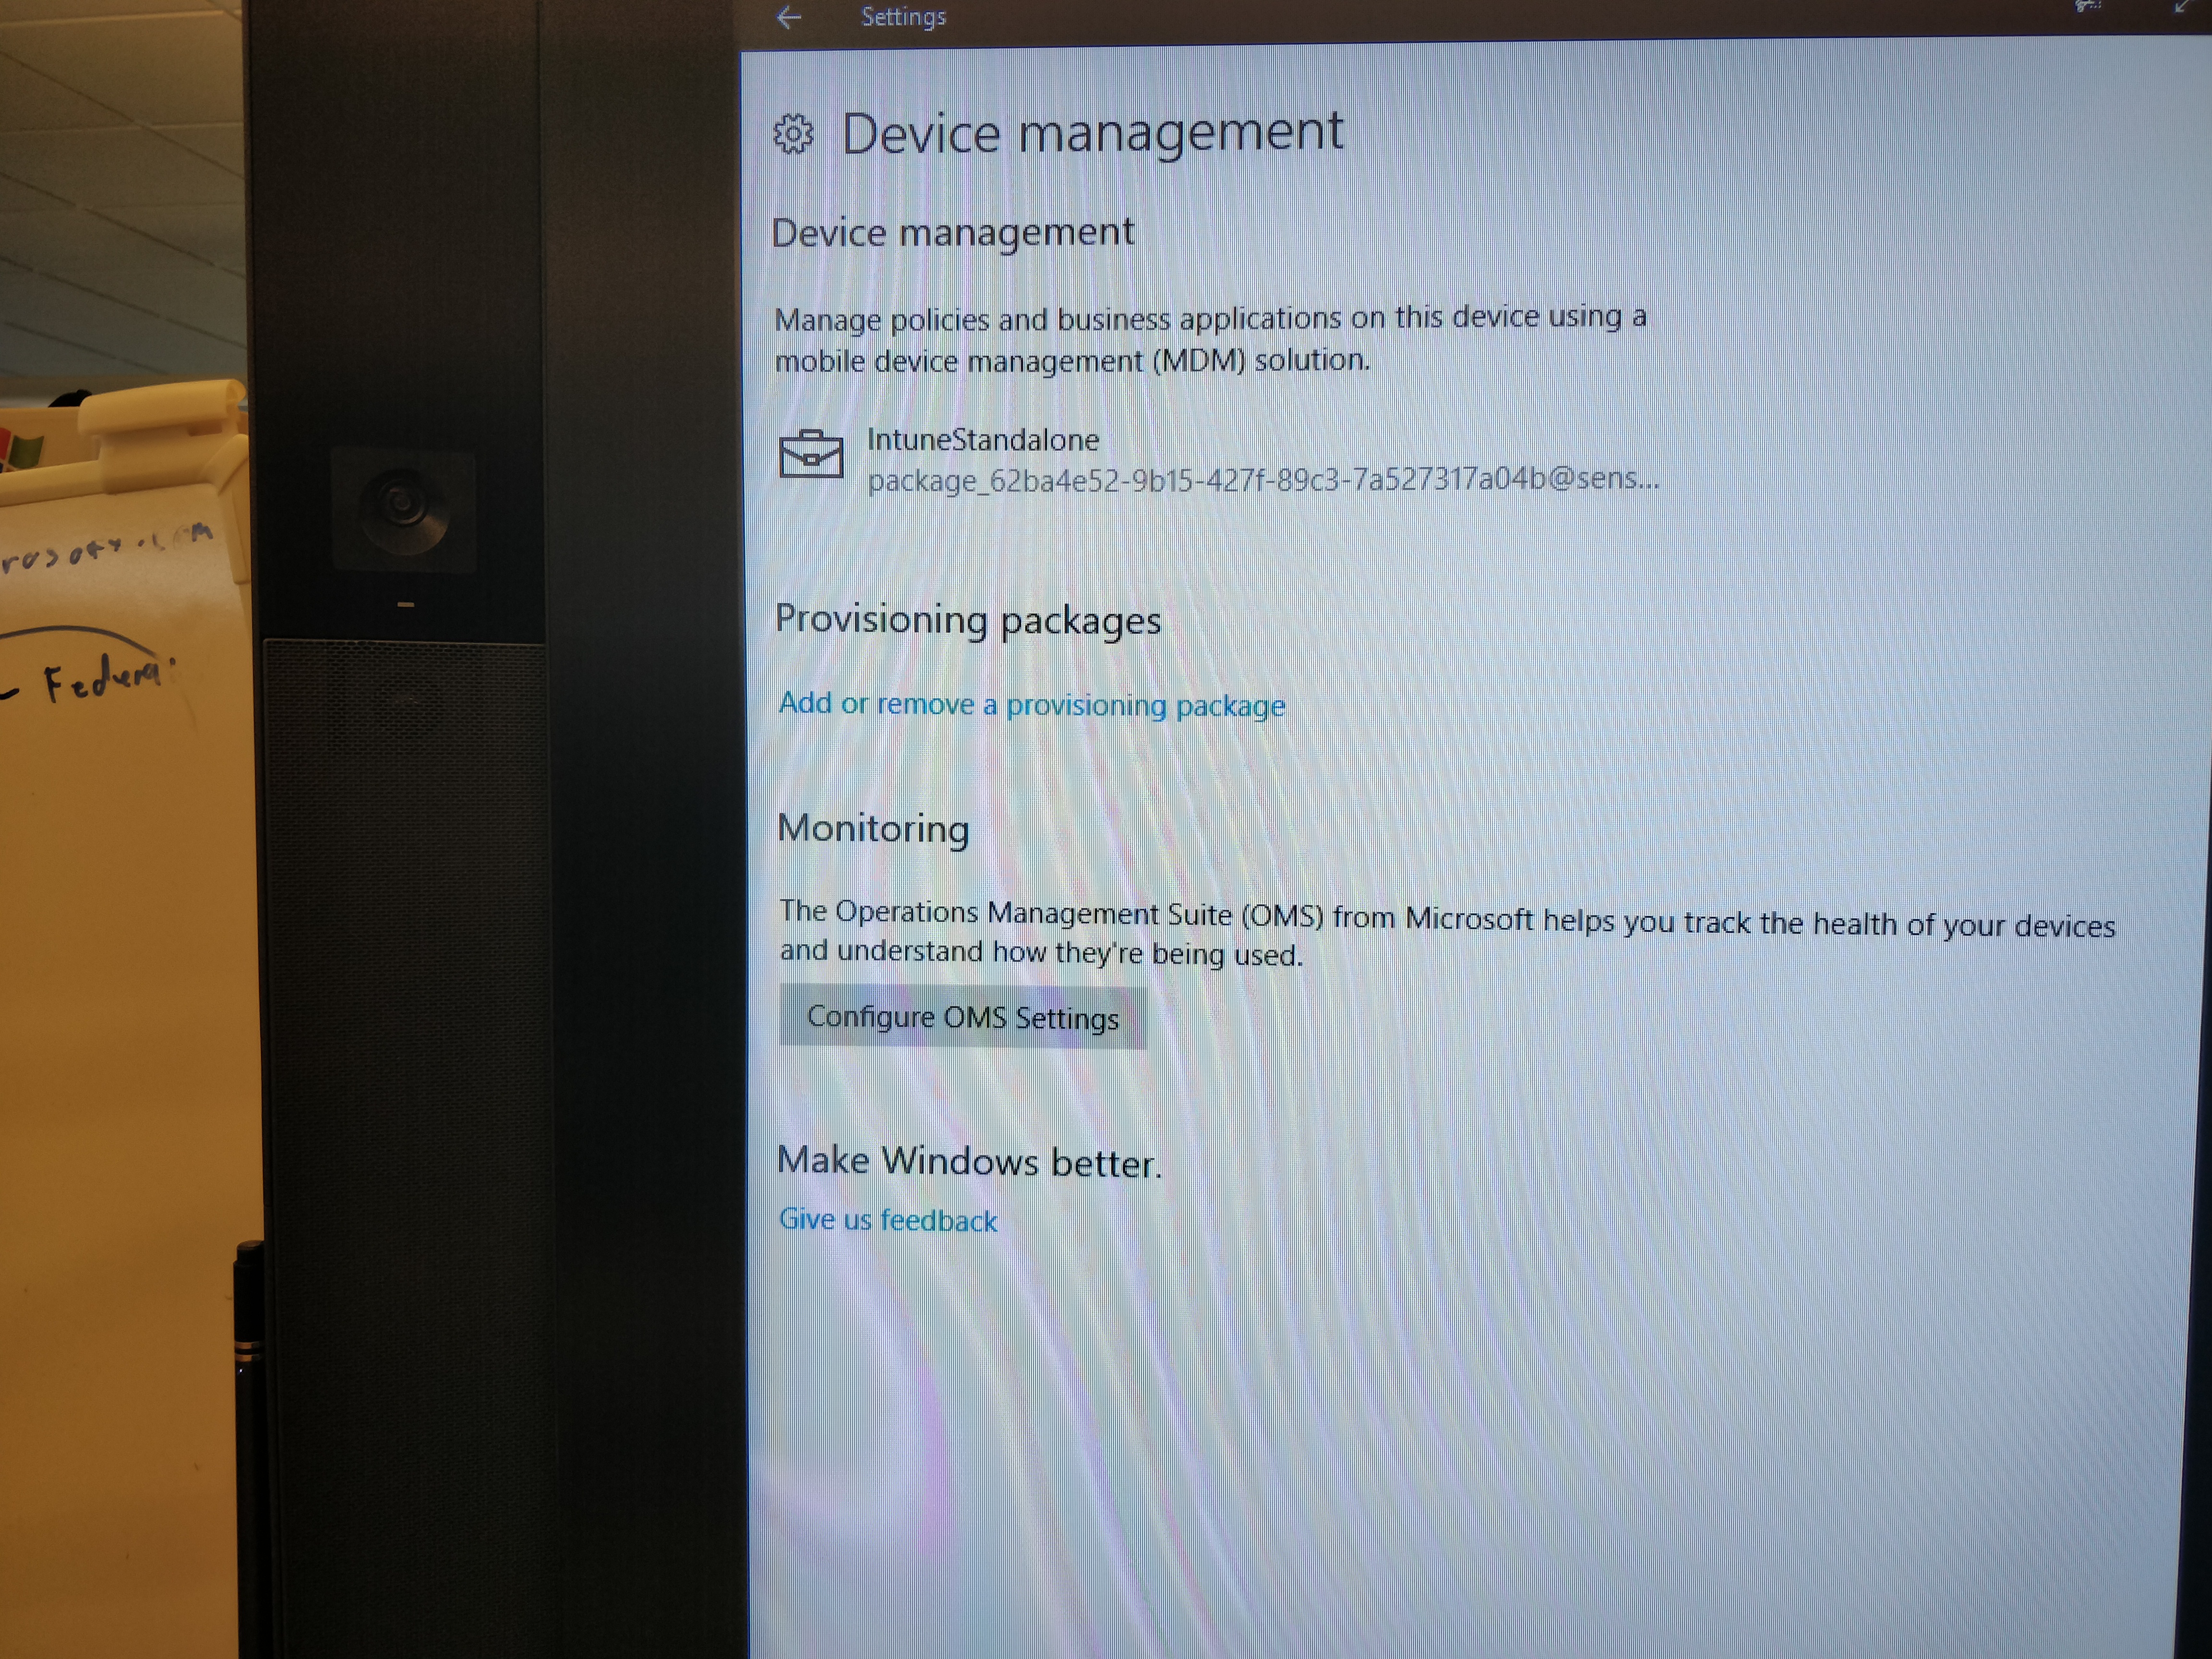
3.Select "Surface Hub" from Settings and then select "Device Management"

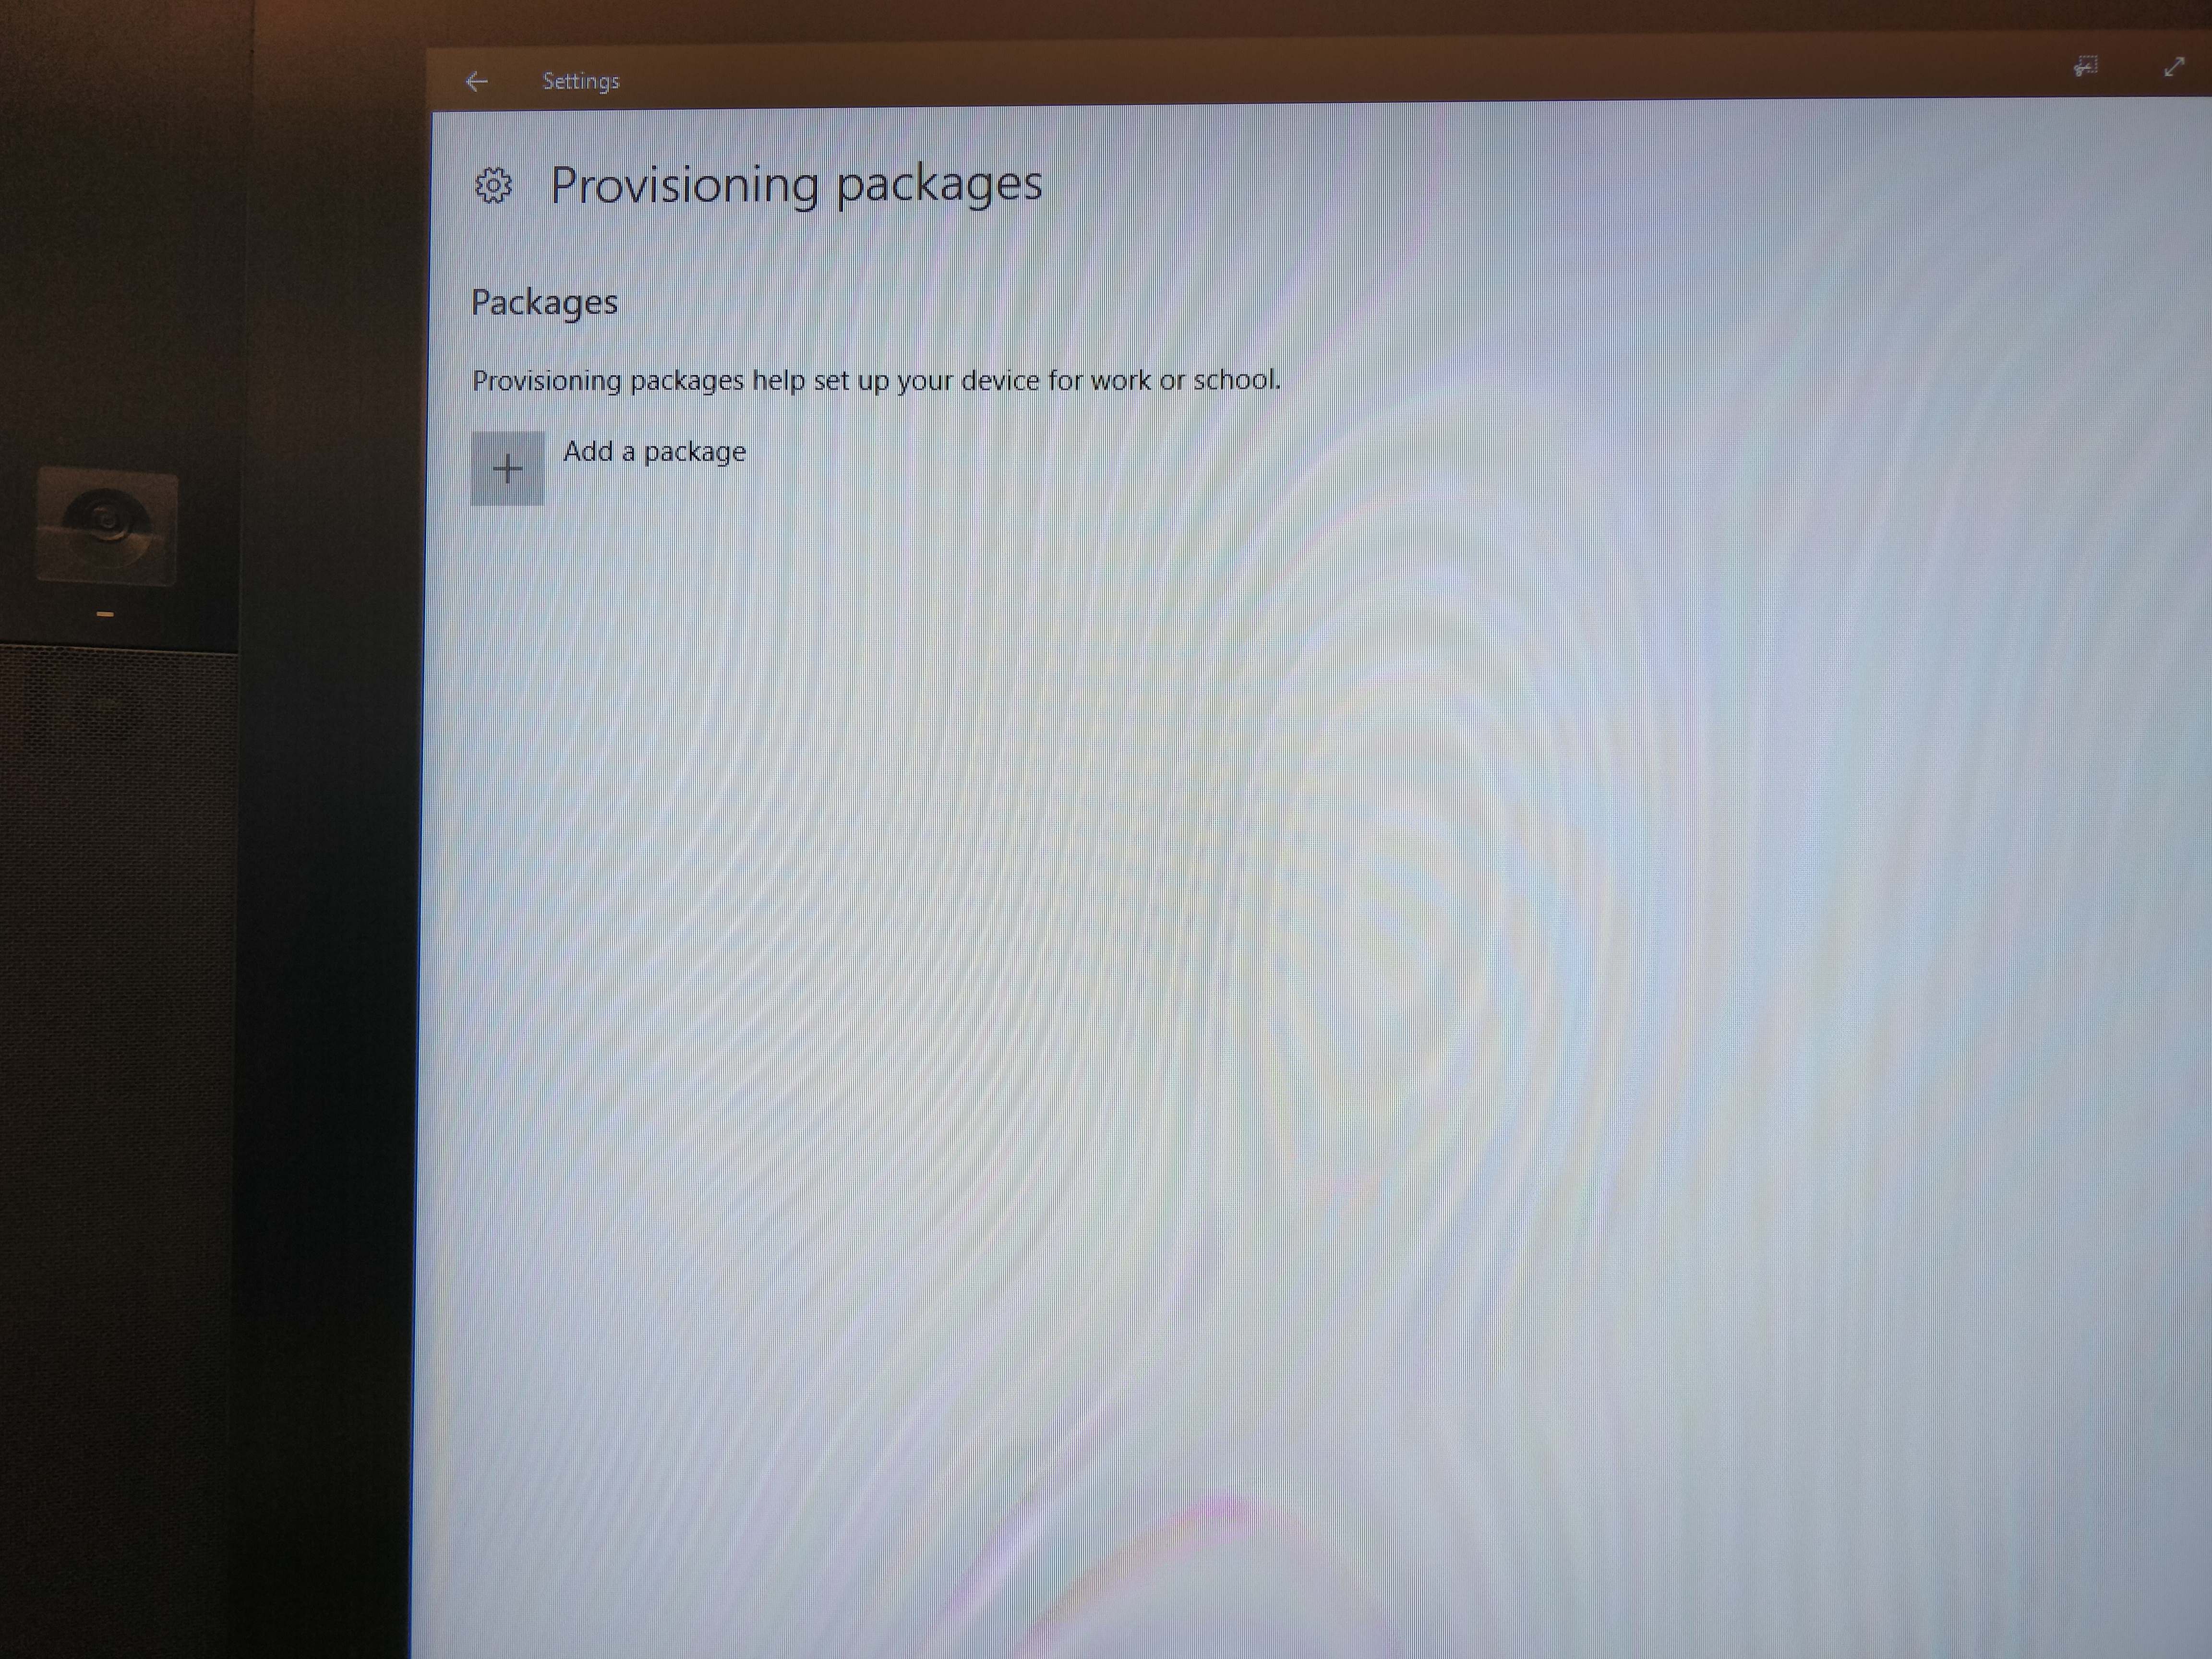
4.Select "Add or Remove a provisioning package" and then choose "Add a package"
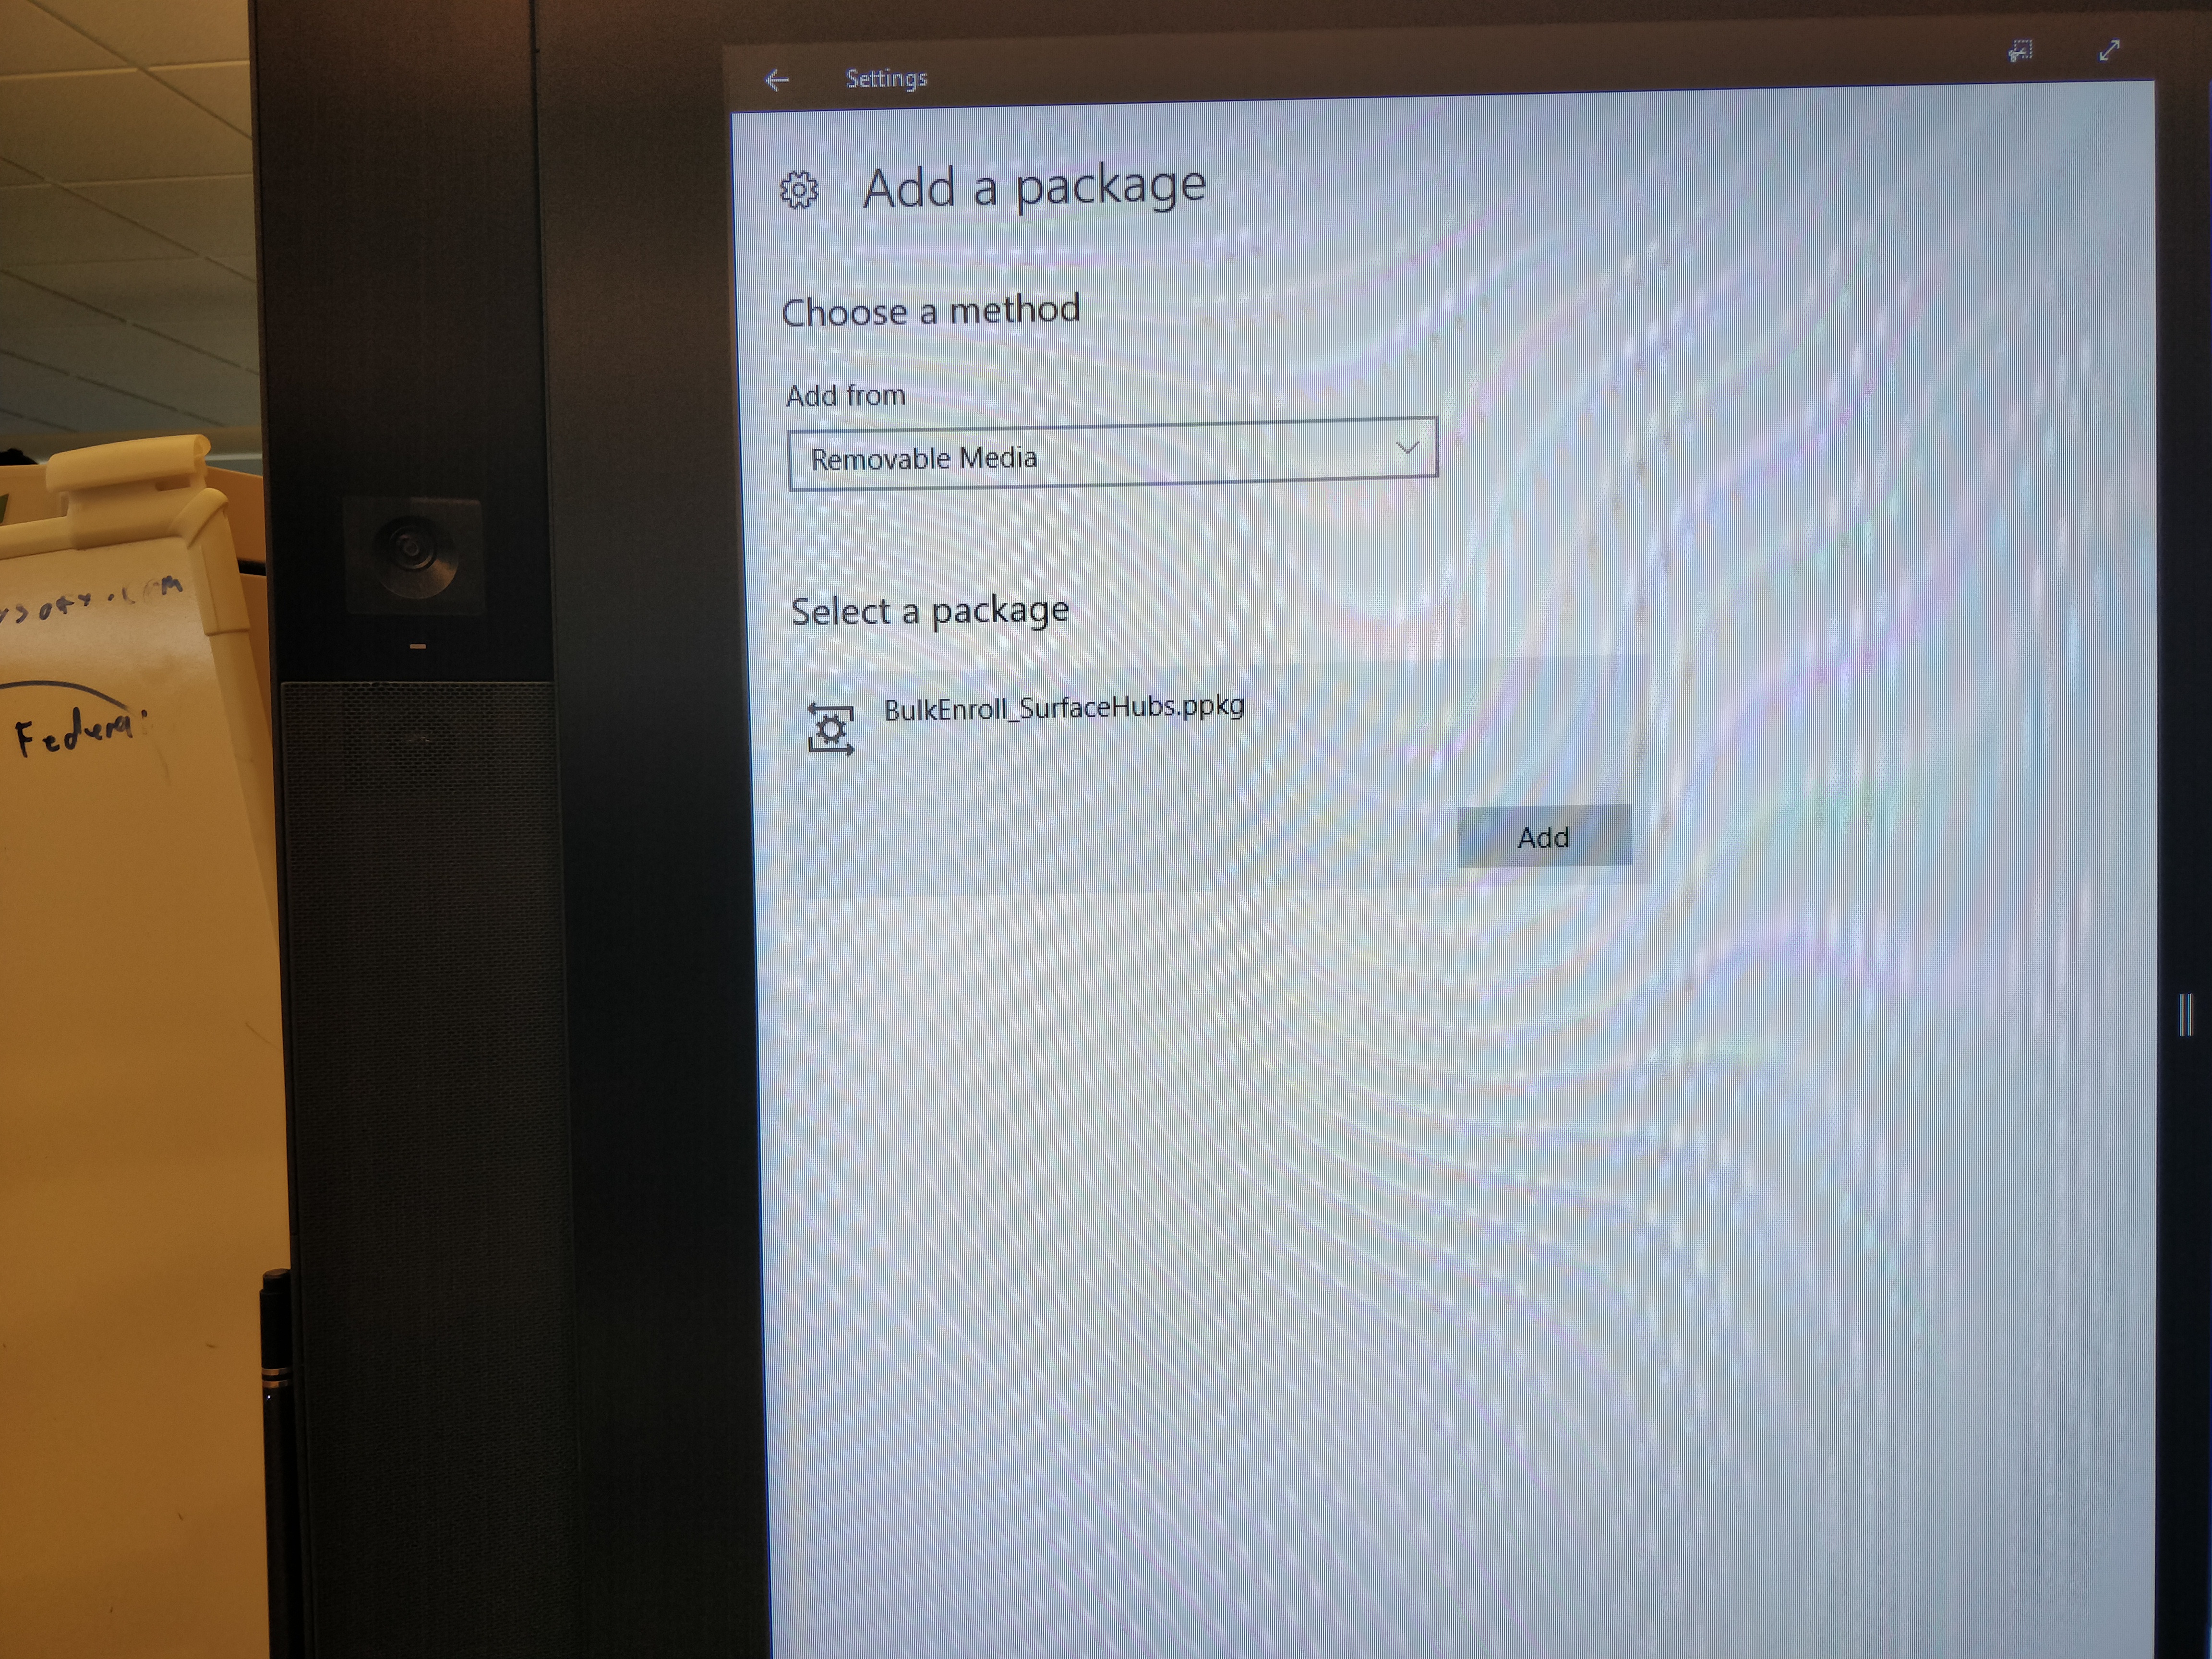
5.You will see the PPKG file you kept in the USB Storage stick. Select that and click "Add". You will get a prompt to enter Device Admin credentials.

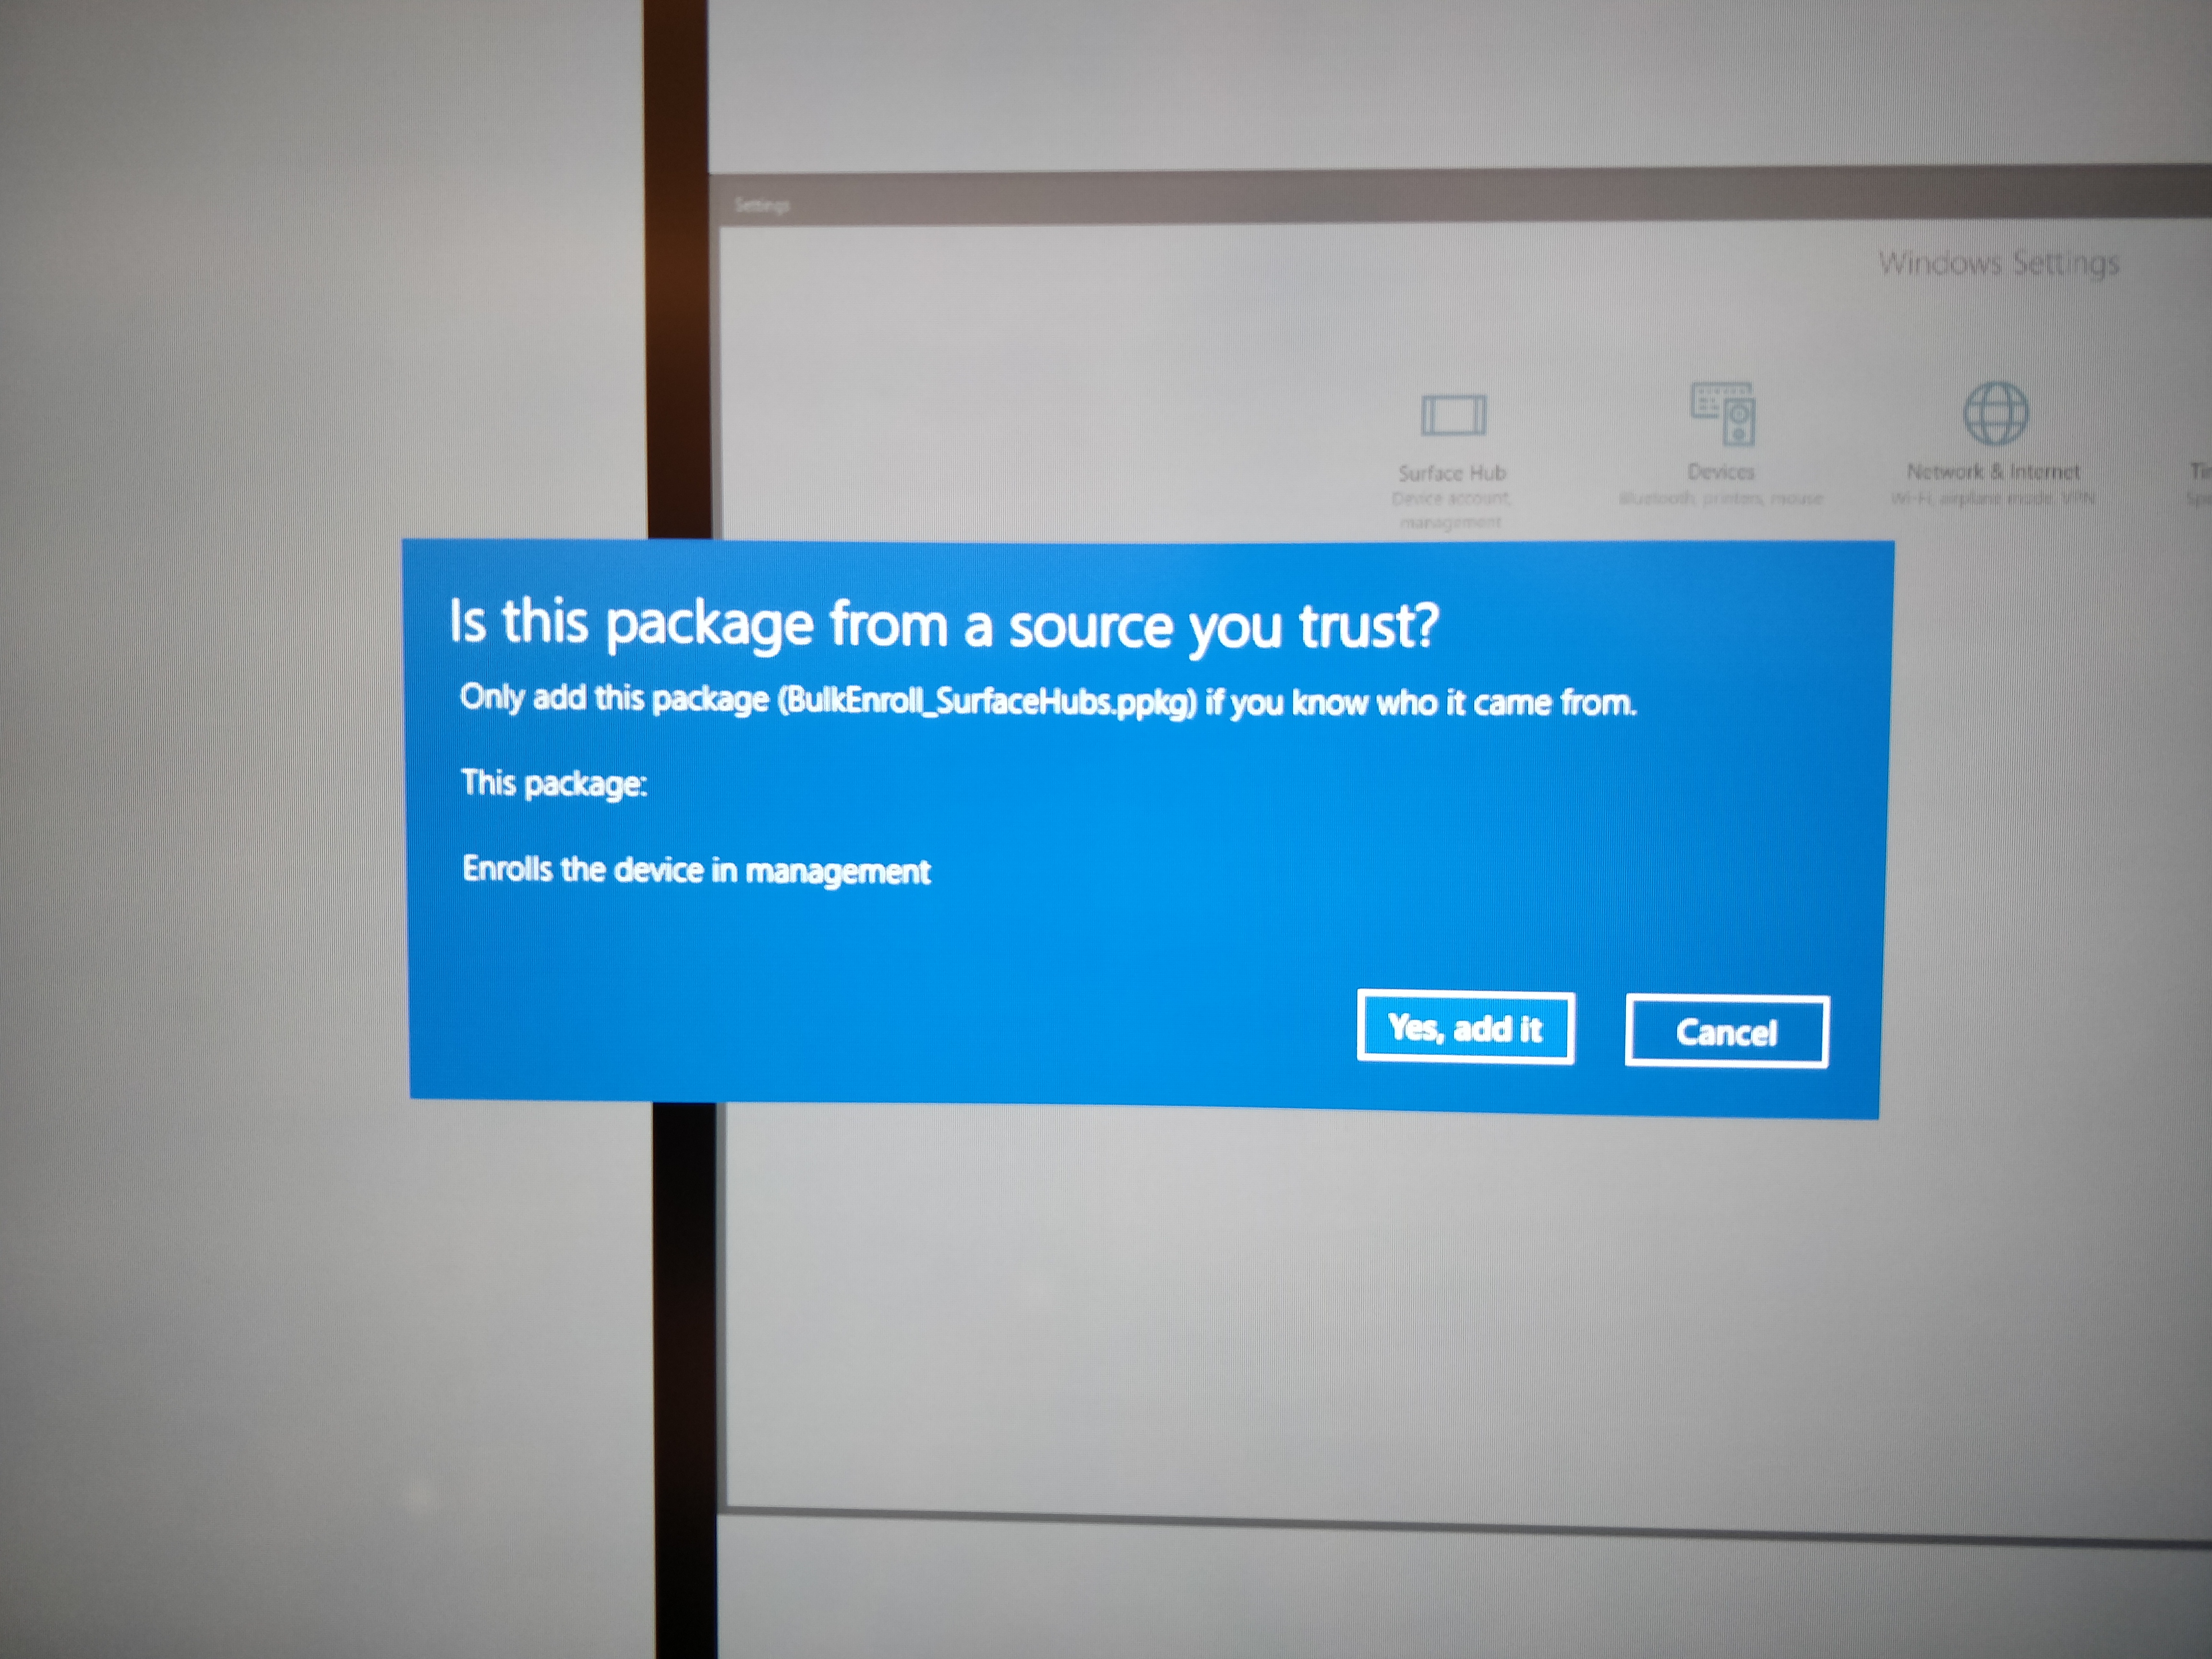
6.Once authorized, it will come up with a banner whether this is ppkg is from trusted source or not. Select "Yes, add it"
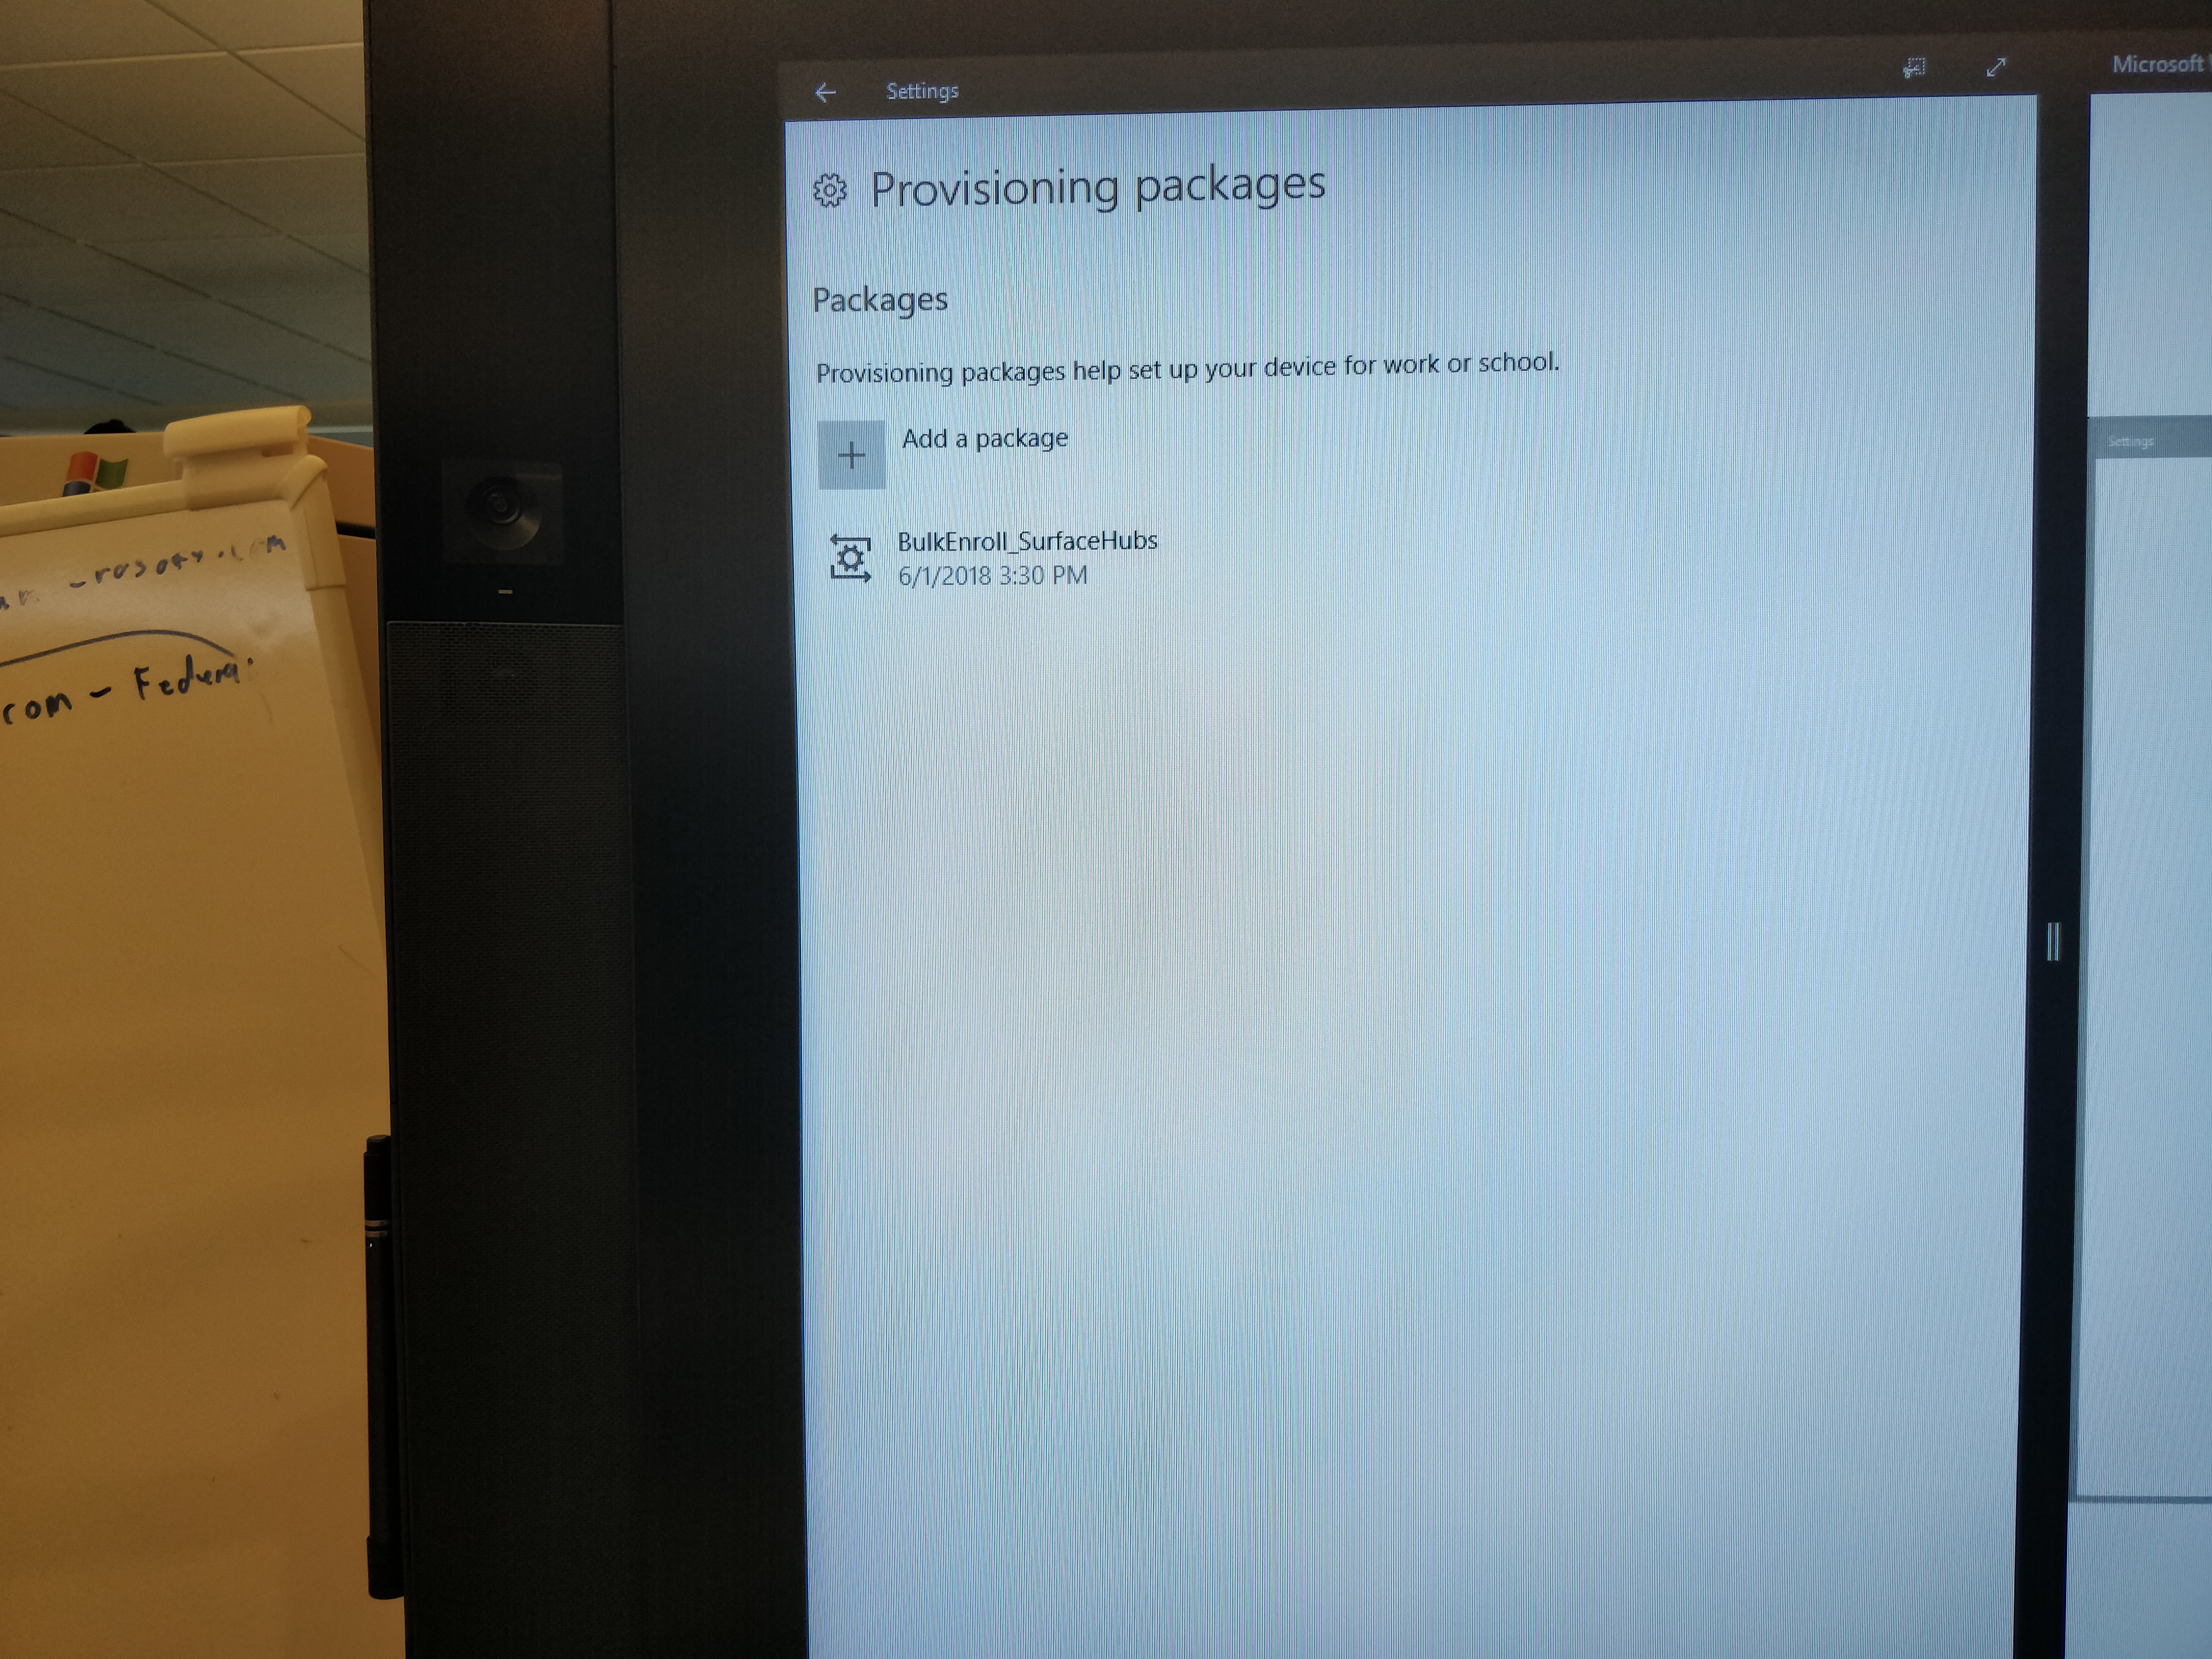
7.Once added, you will see the below under Provisioning packages.
8.Device Management settings page will show the Tenant name and the package ID.
9.To verify whether the device is ADD Joined and MDM enrolled, login to Azure Portal and check as below.
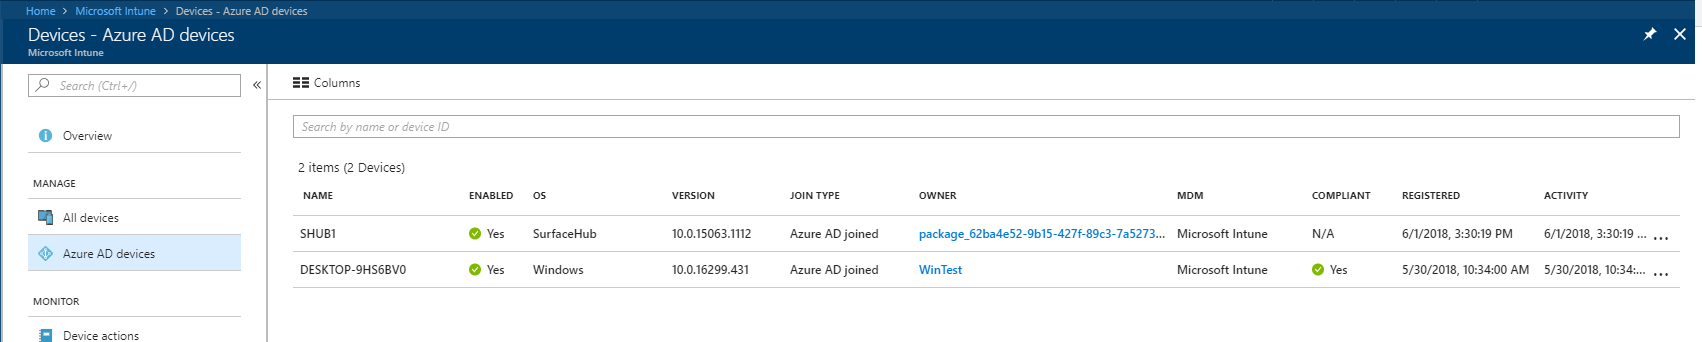
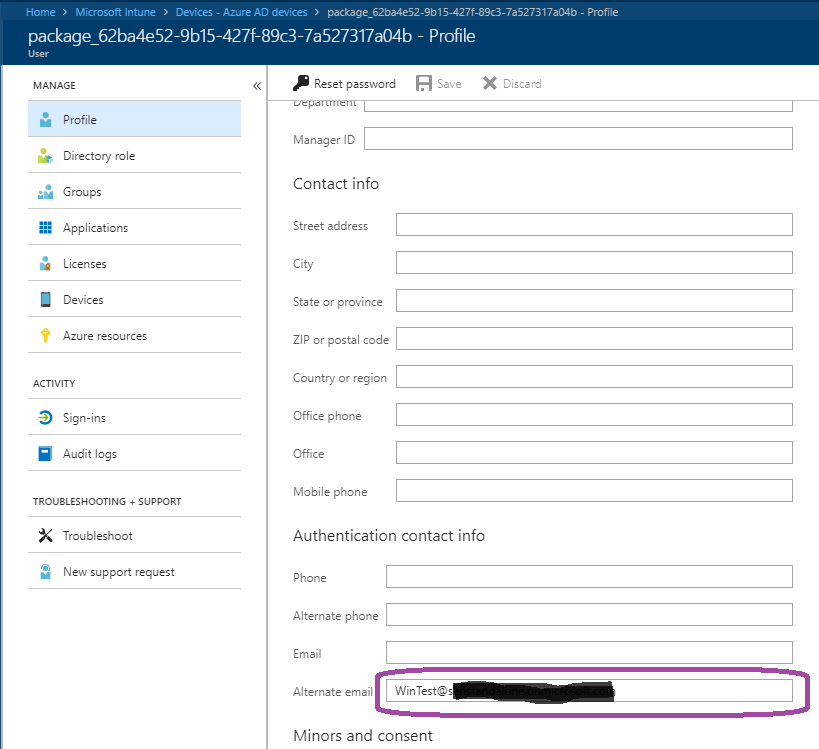
[Note: Since the device is bulk enrolled with a PPKG, the owner of the device will show as the packageID@contoso.onmicrosoft.com. If you select that from Azure Portal it will open the User Profile page and you can see the user who created the package.
Method 2: Bulk Enroll the device using Provisioning Package at the OOBE phase during initial setup.
1.Power on the surface hub and connect the USB Storage stick which contains the PPKG file.

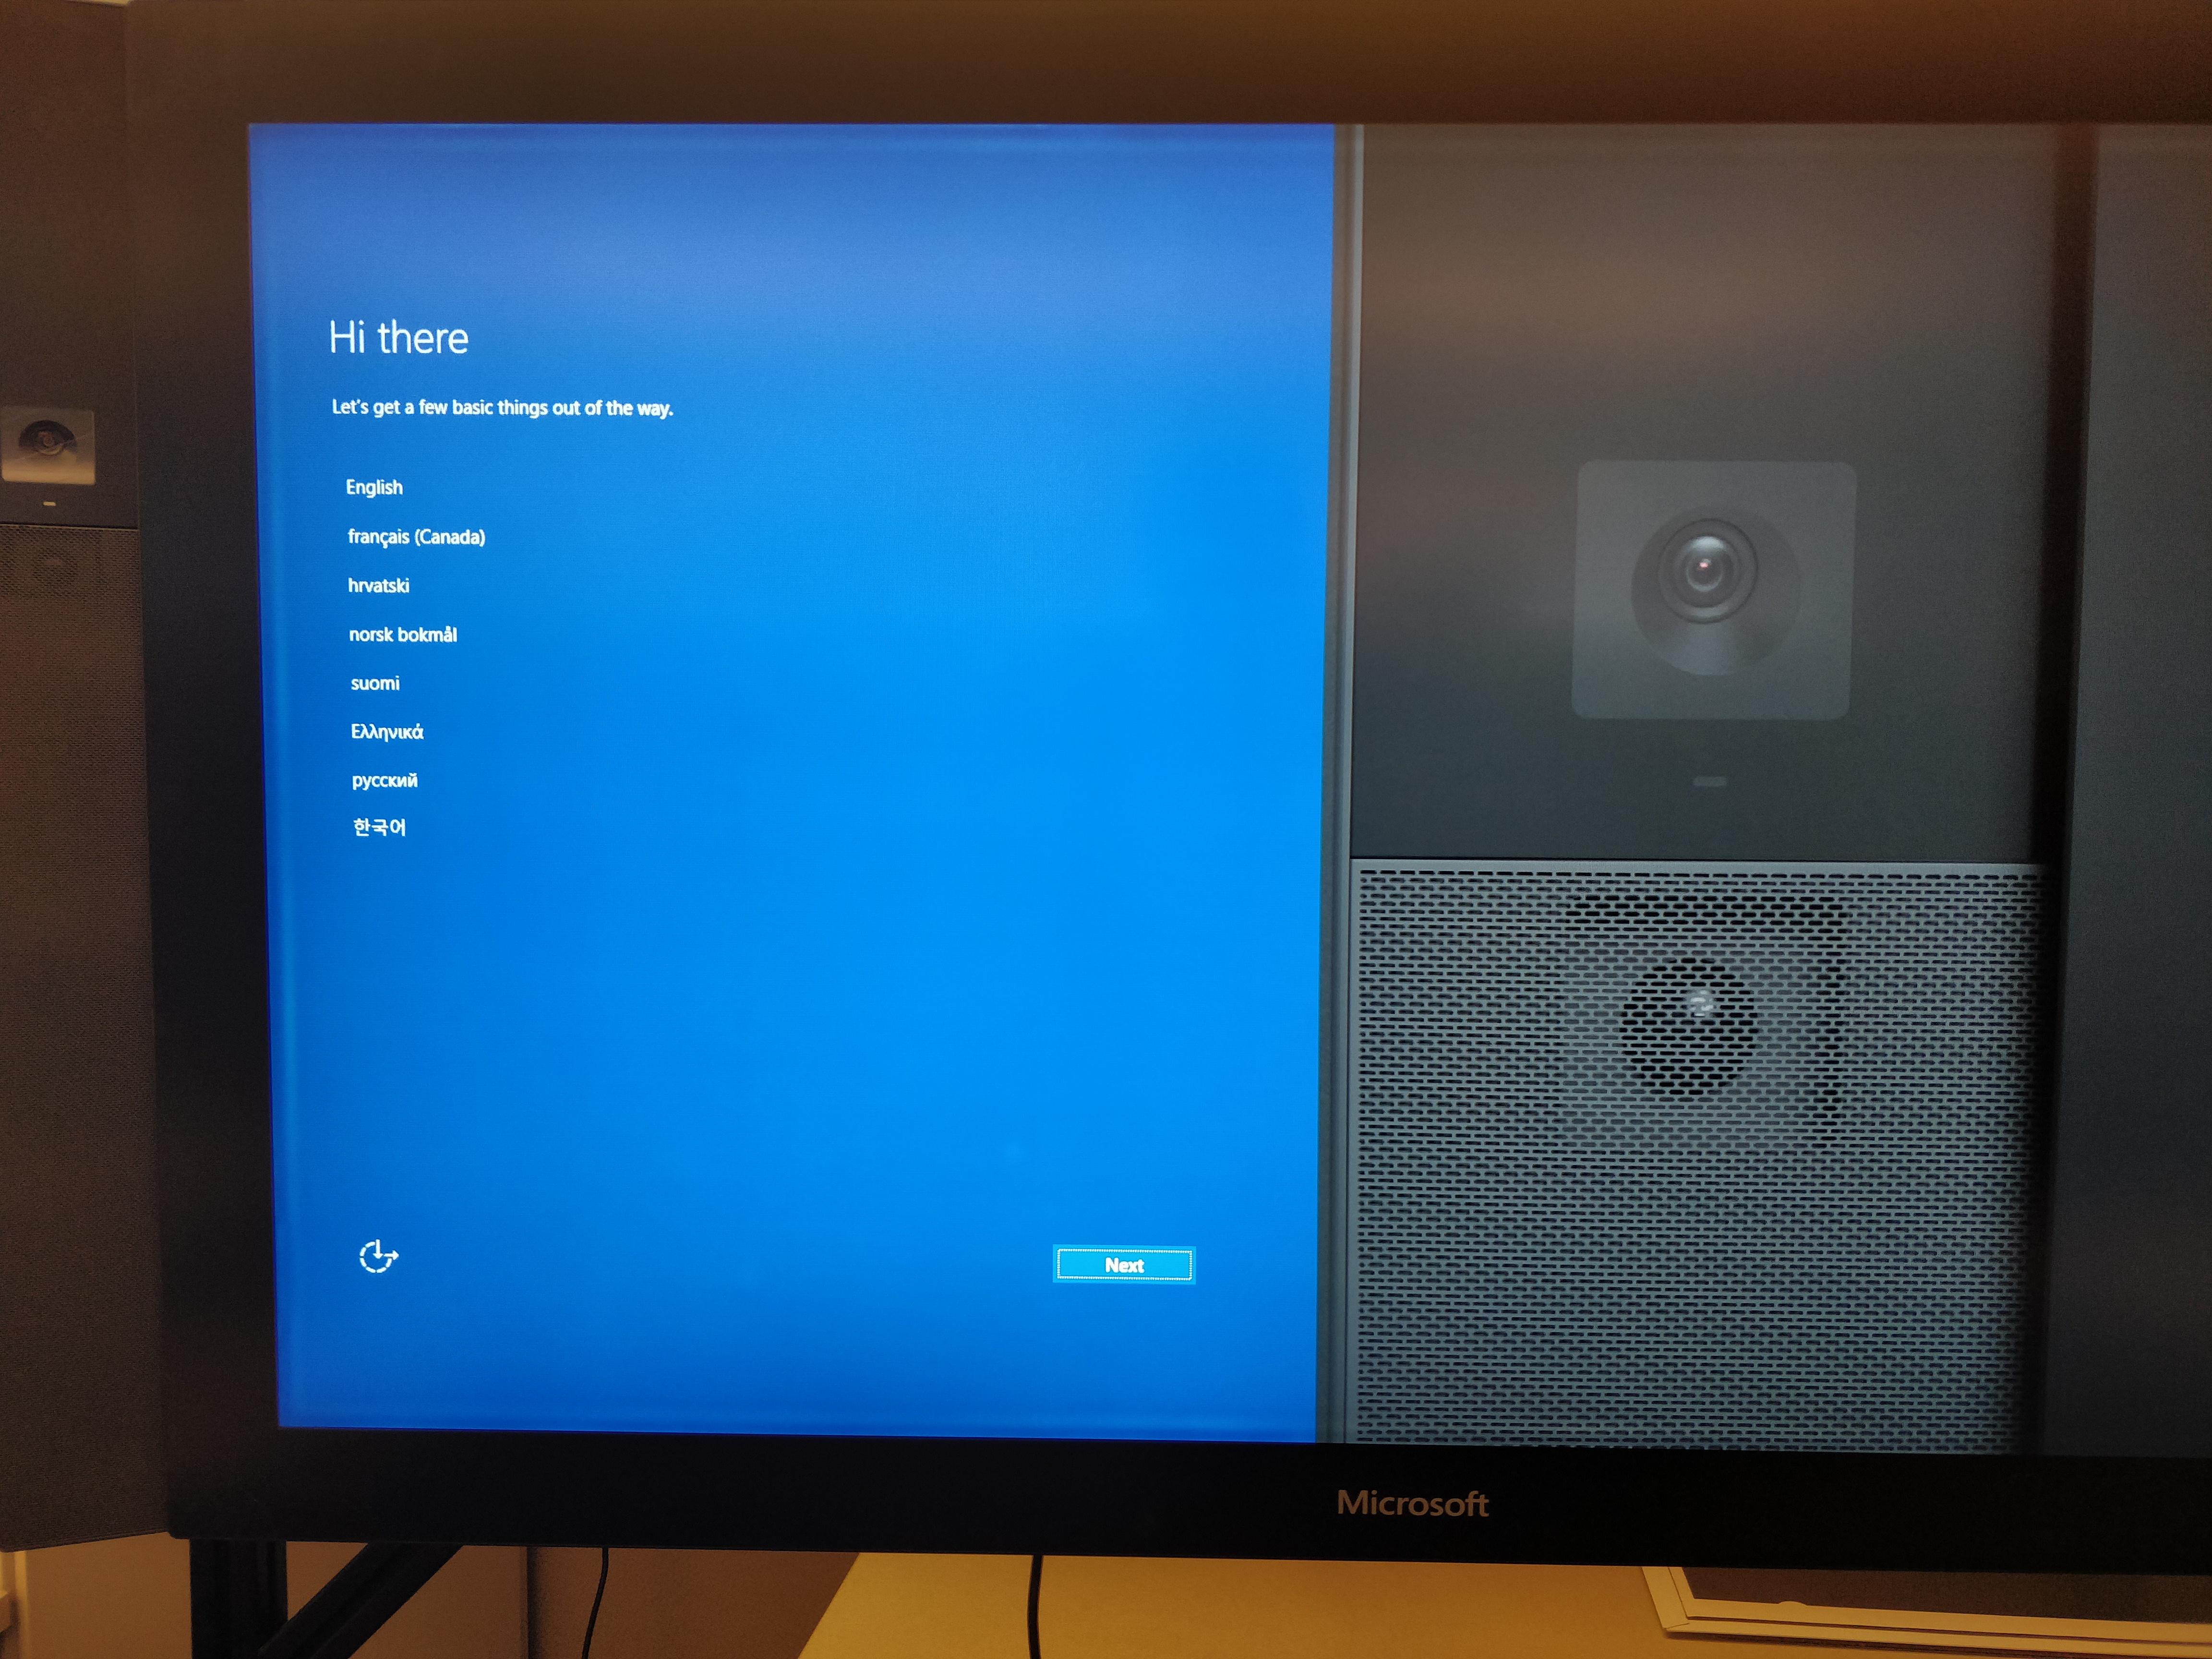
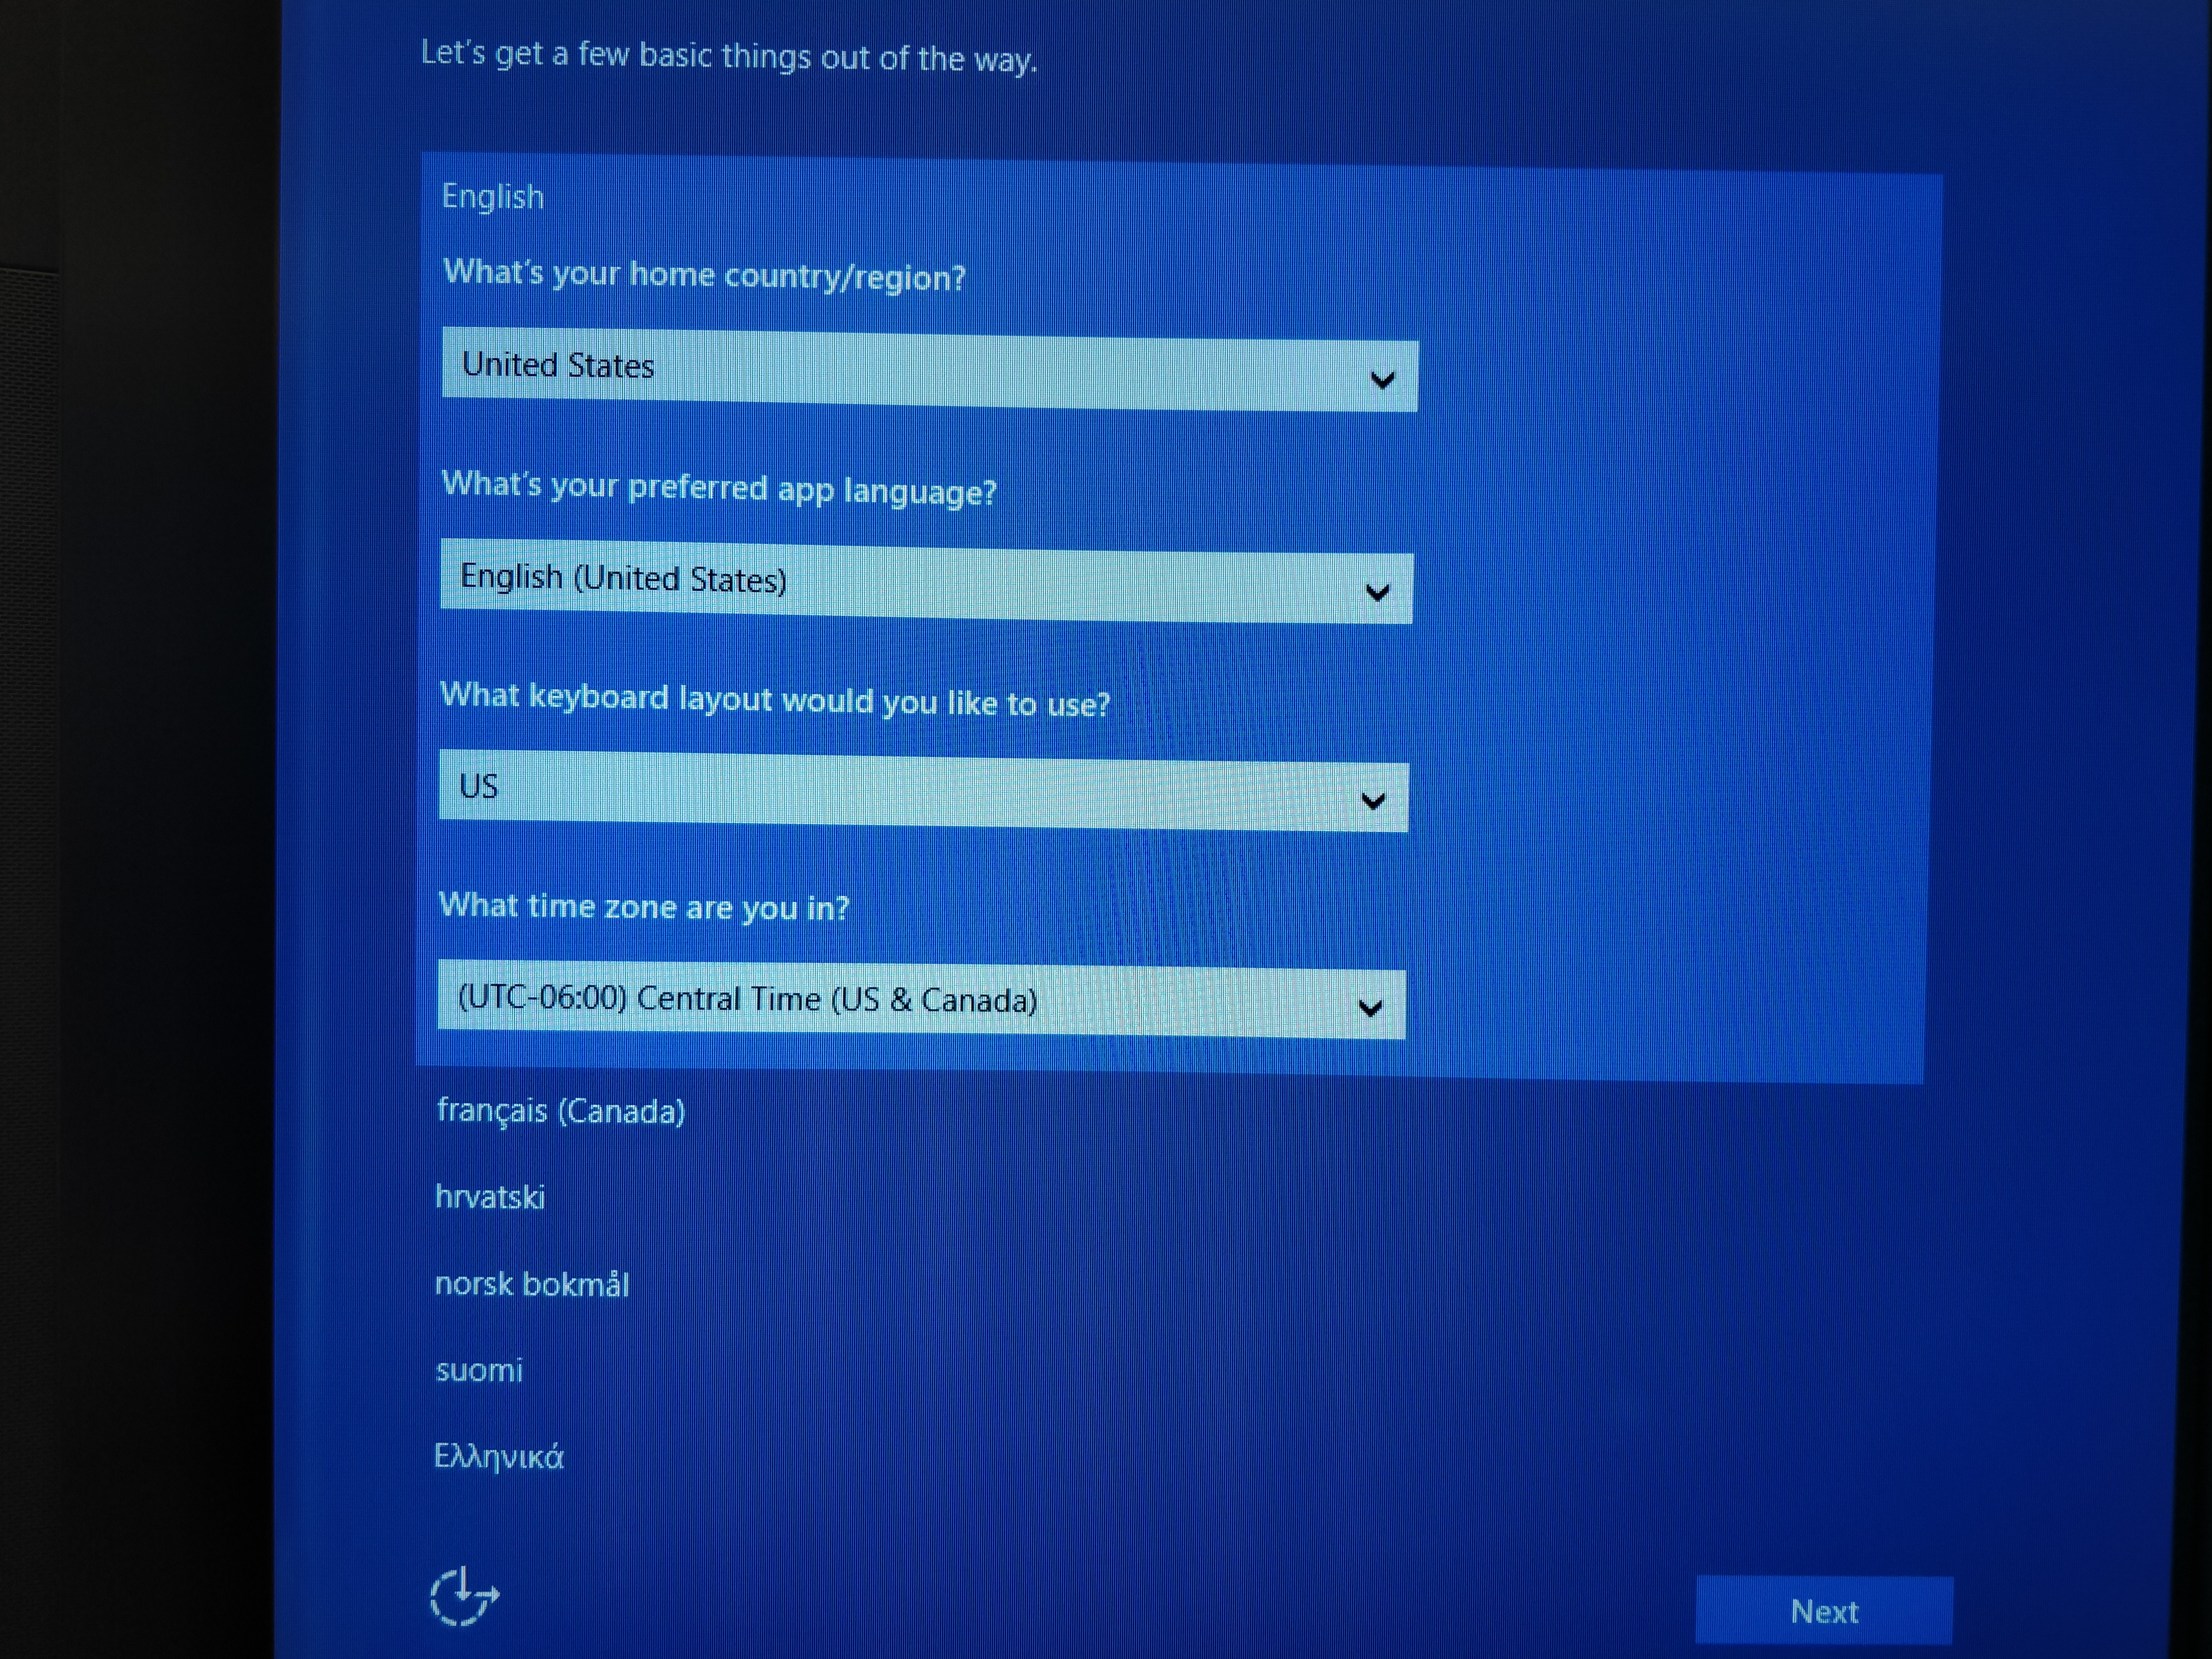
2.You will be greeted with a Language selection page and the Region and Keyboard selection.
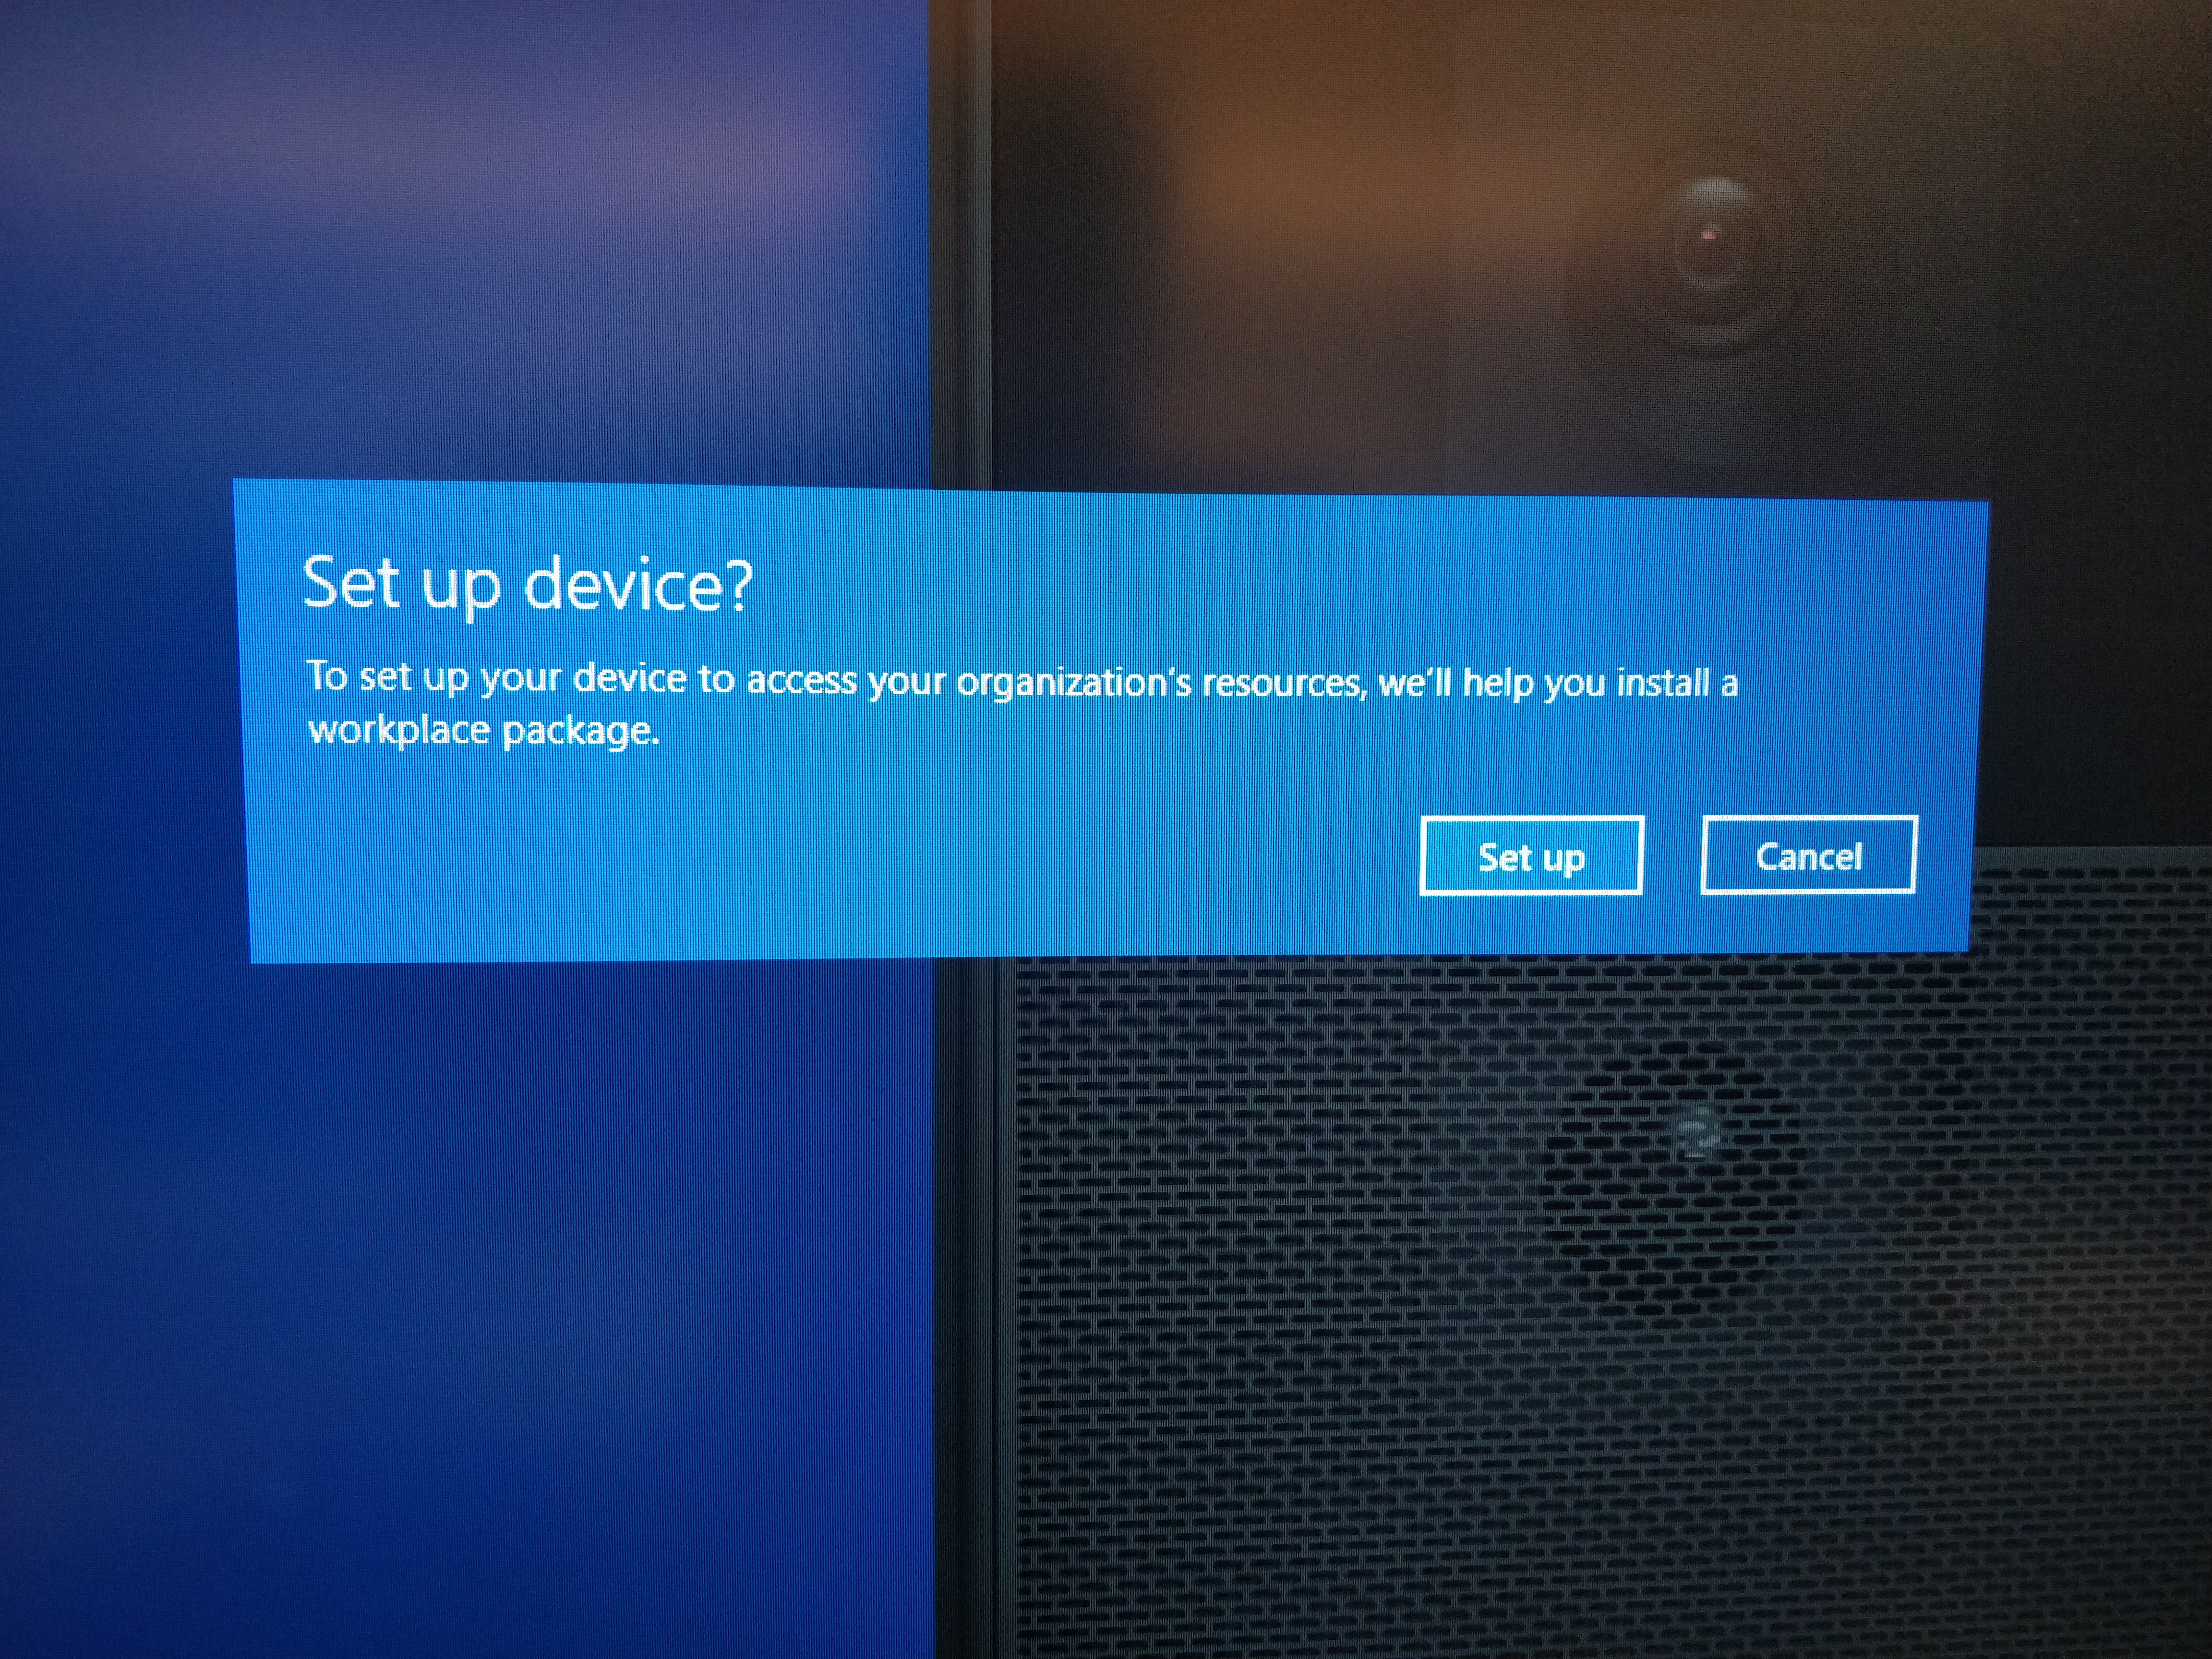
3.Once click next, you will see a banner notification to "Set up device" and select "Set up".
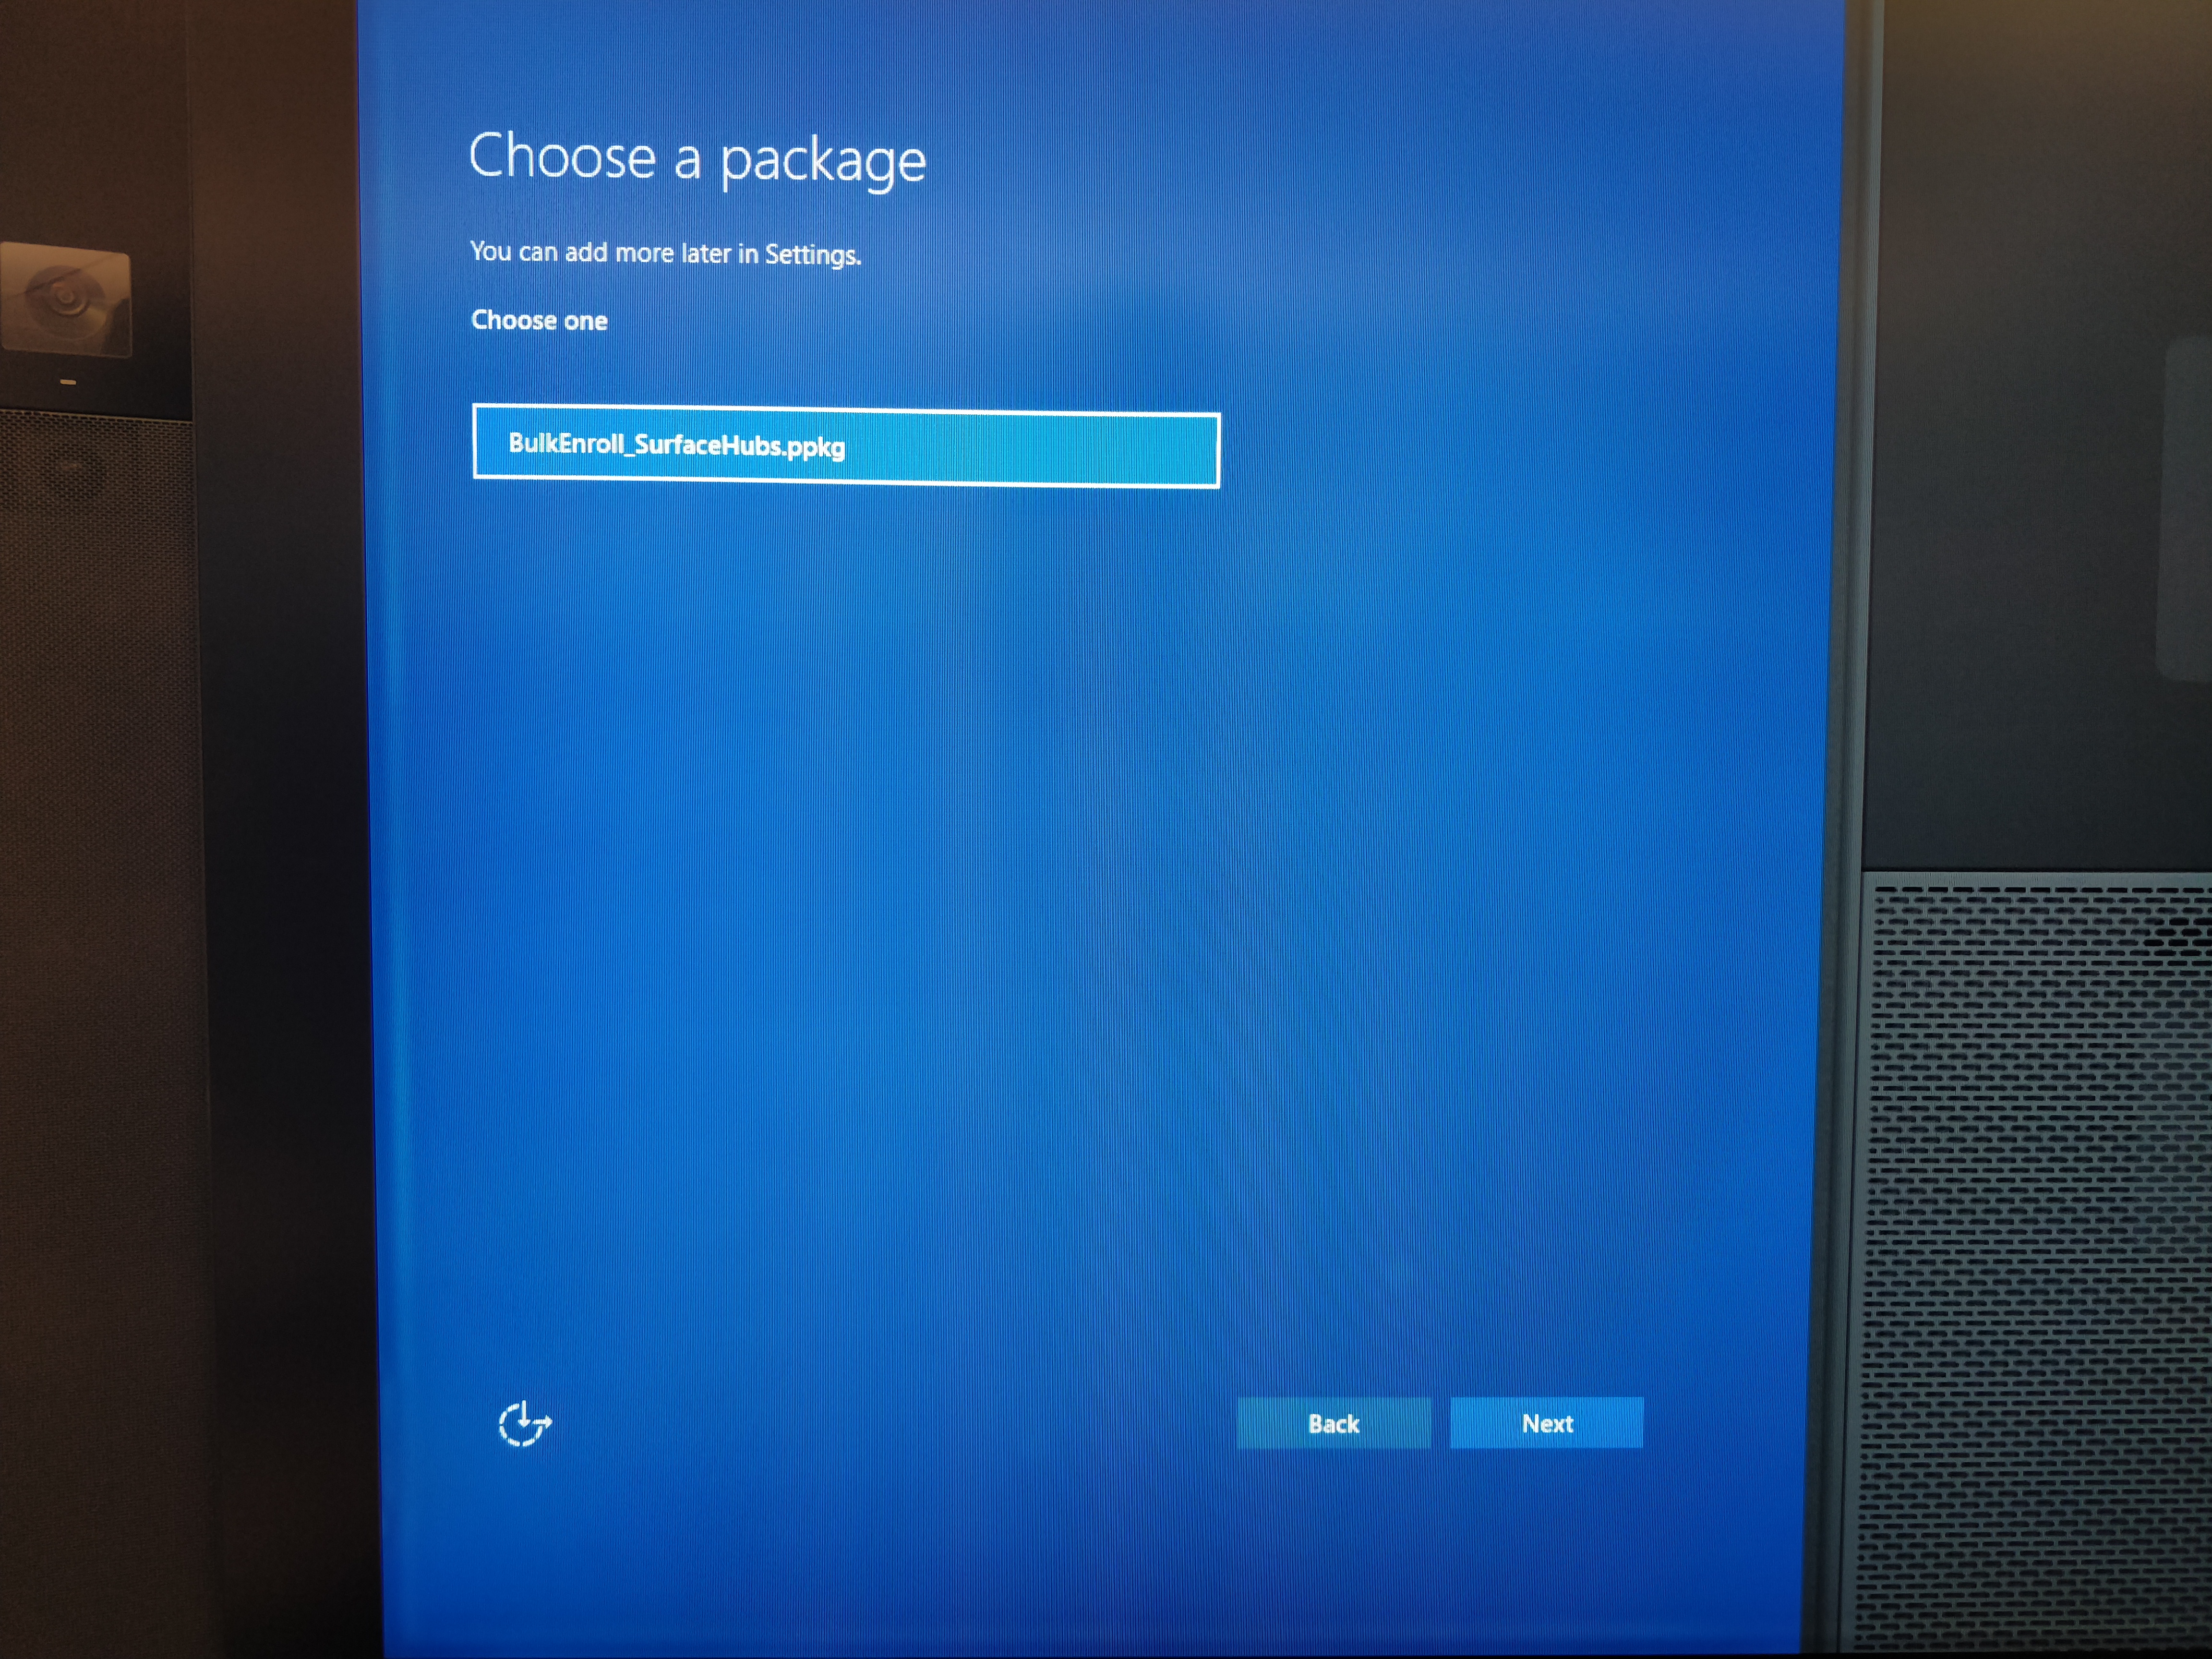
4.The device will reboot and go through the same first page and then you will see a "Provision this device" page. Select Next.
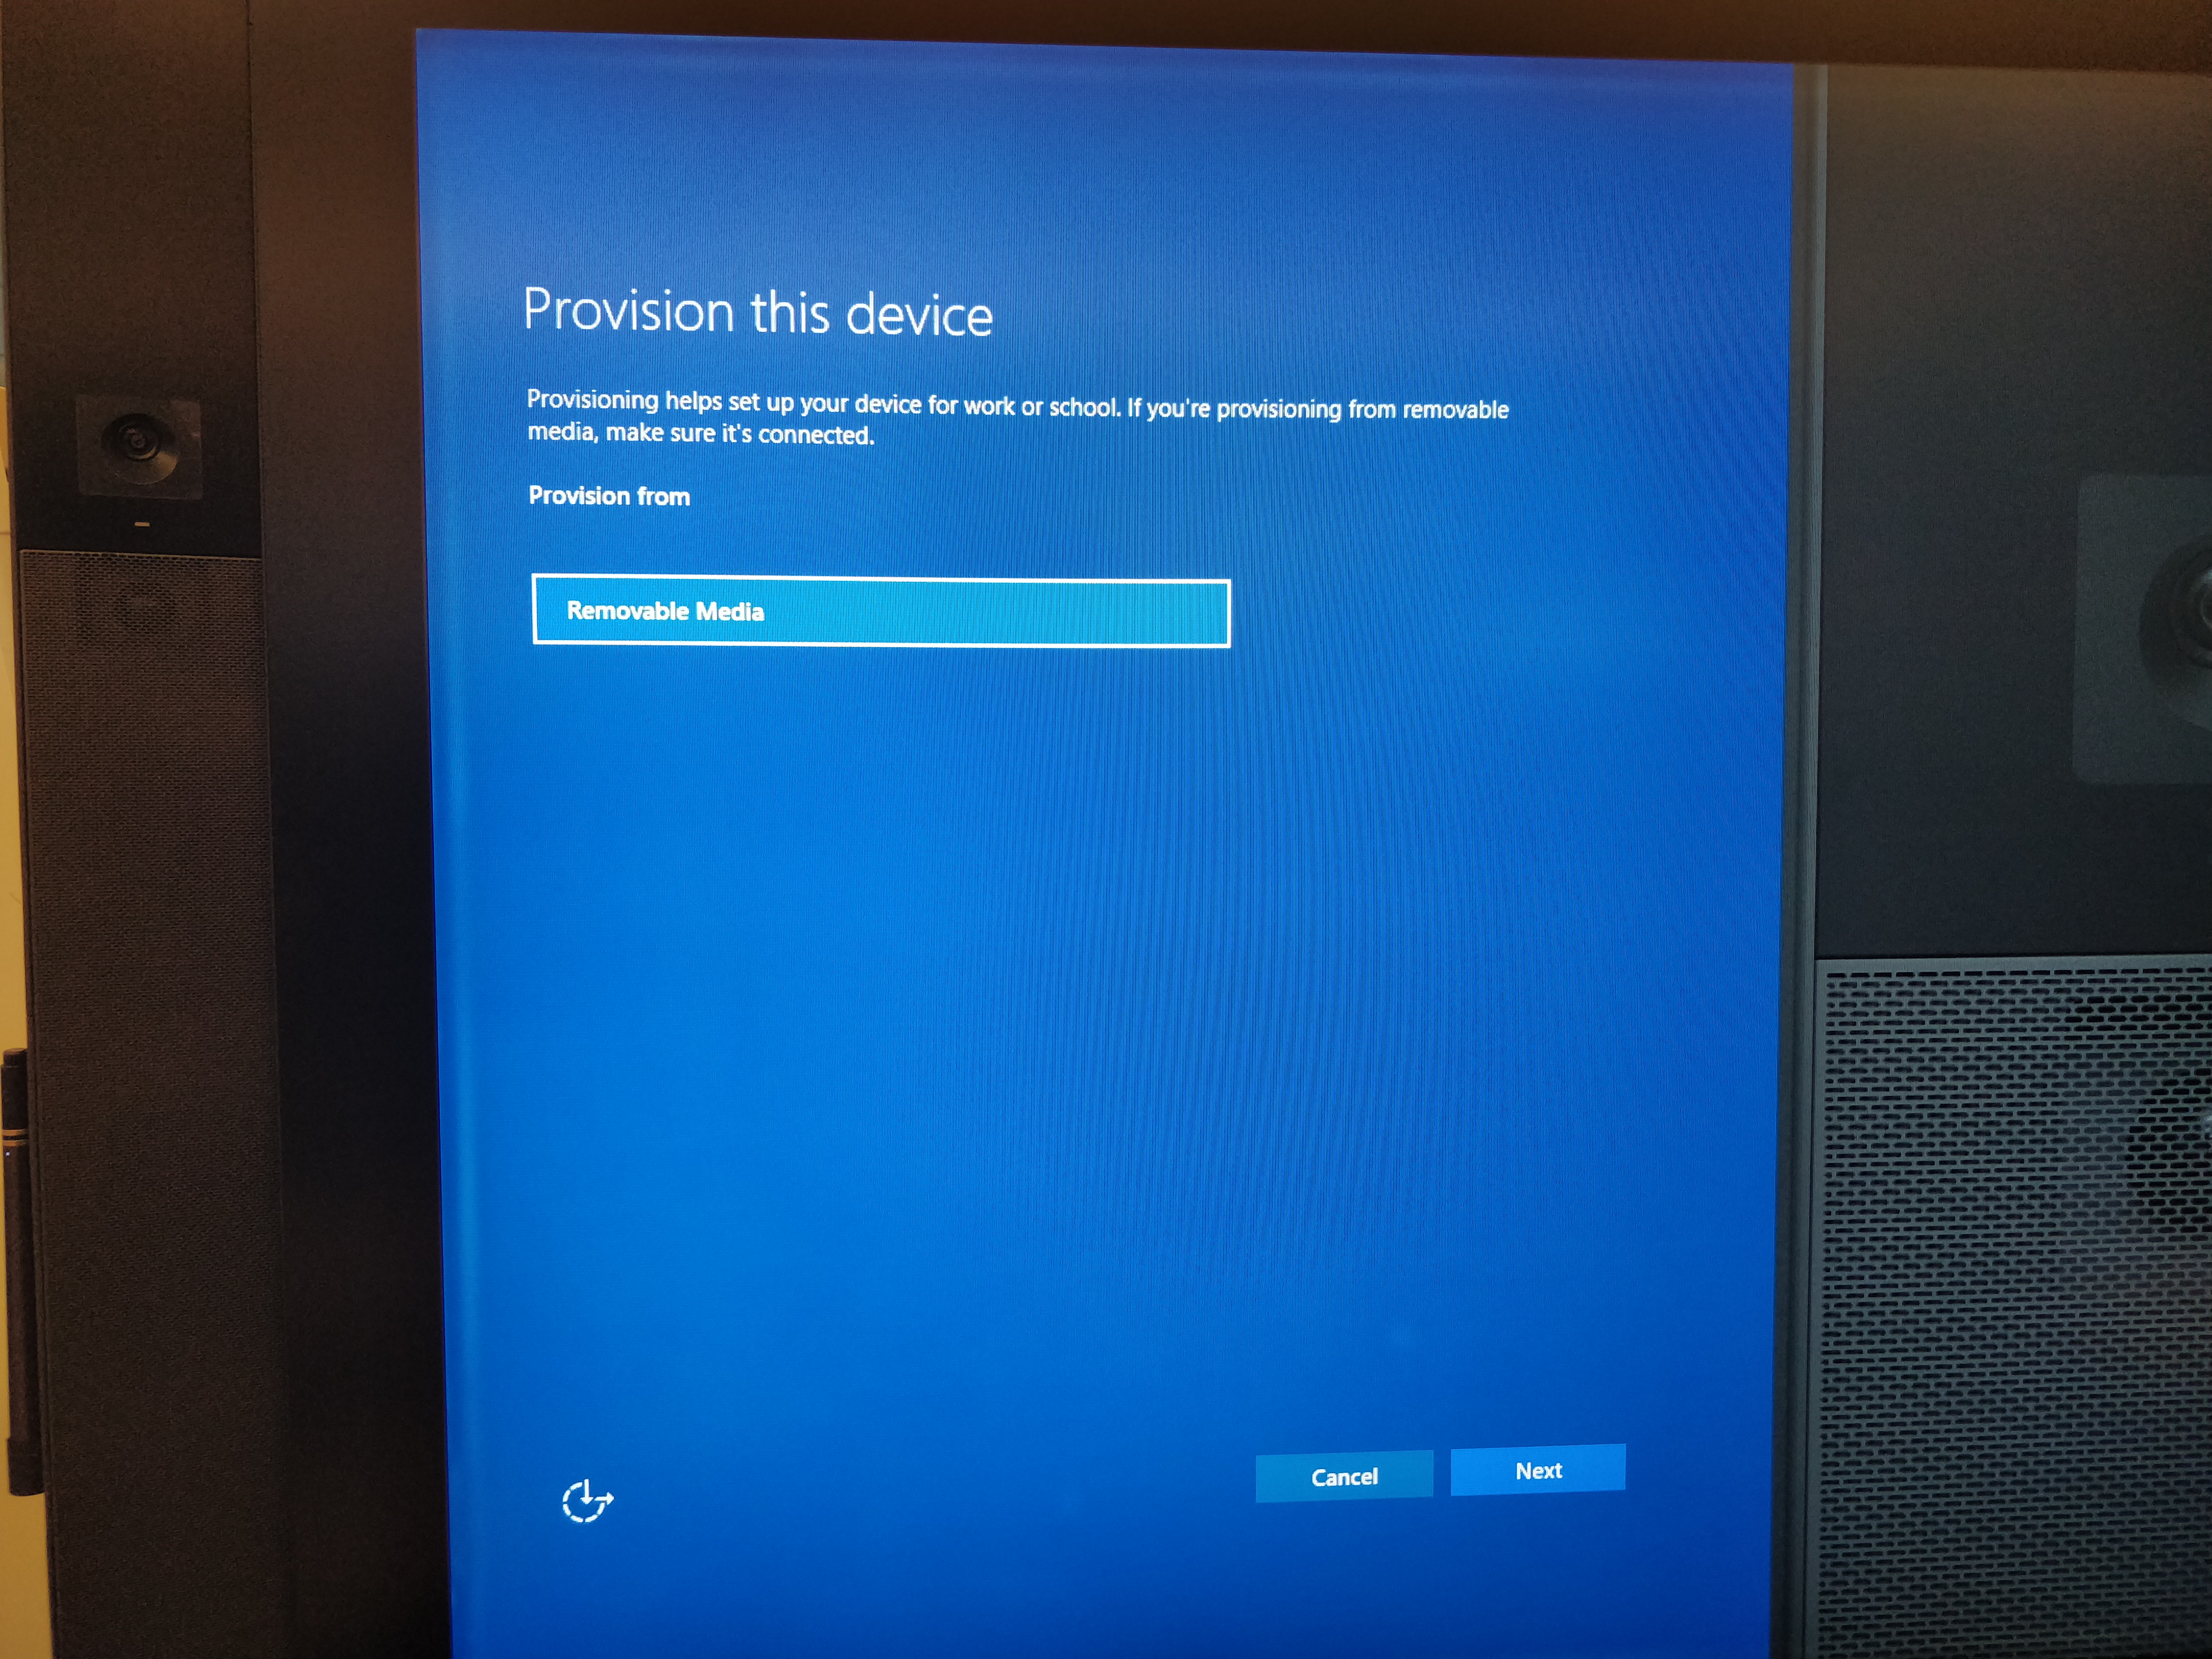
5.Select the PPKG and click Next.
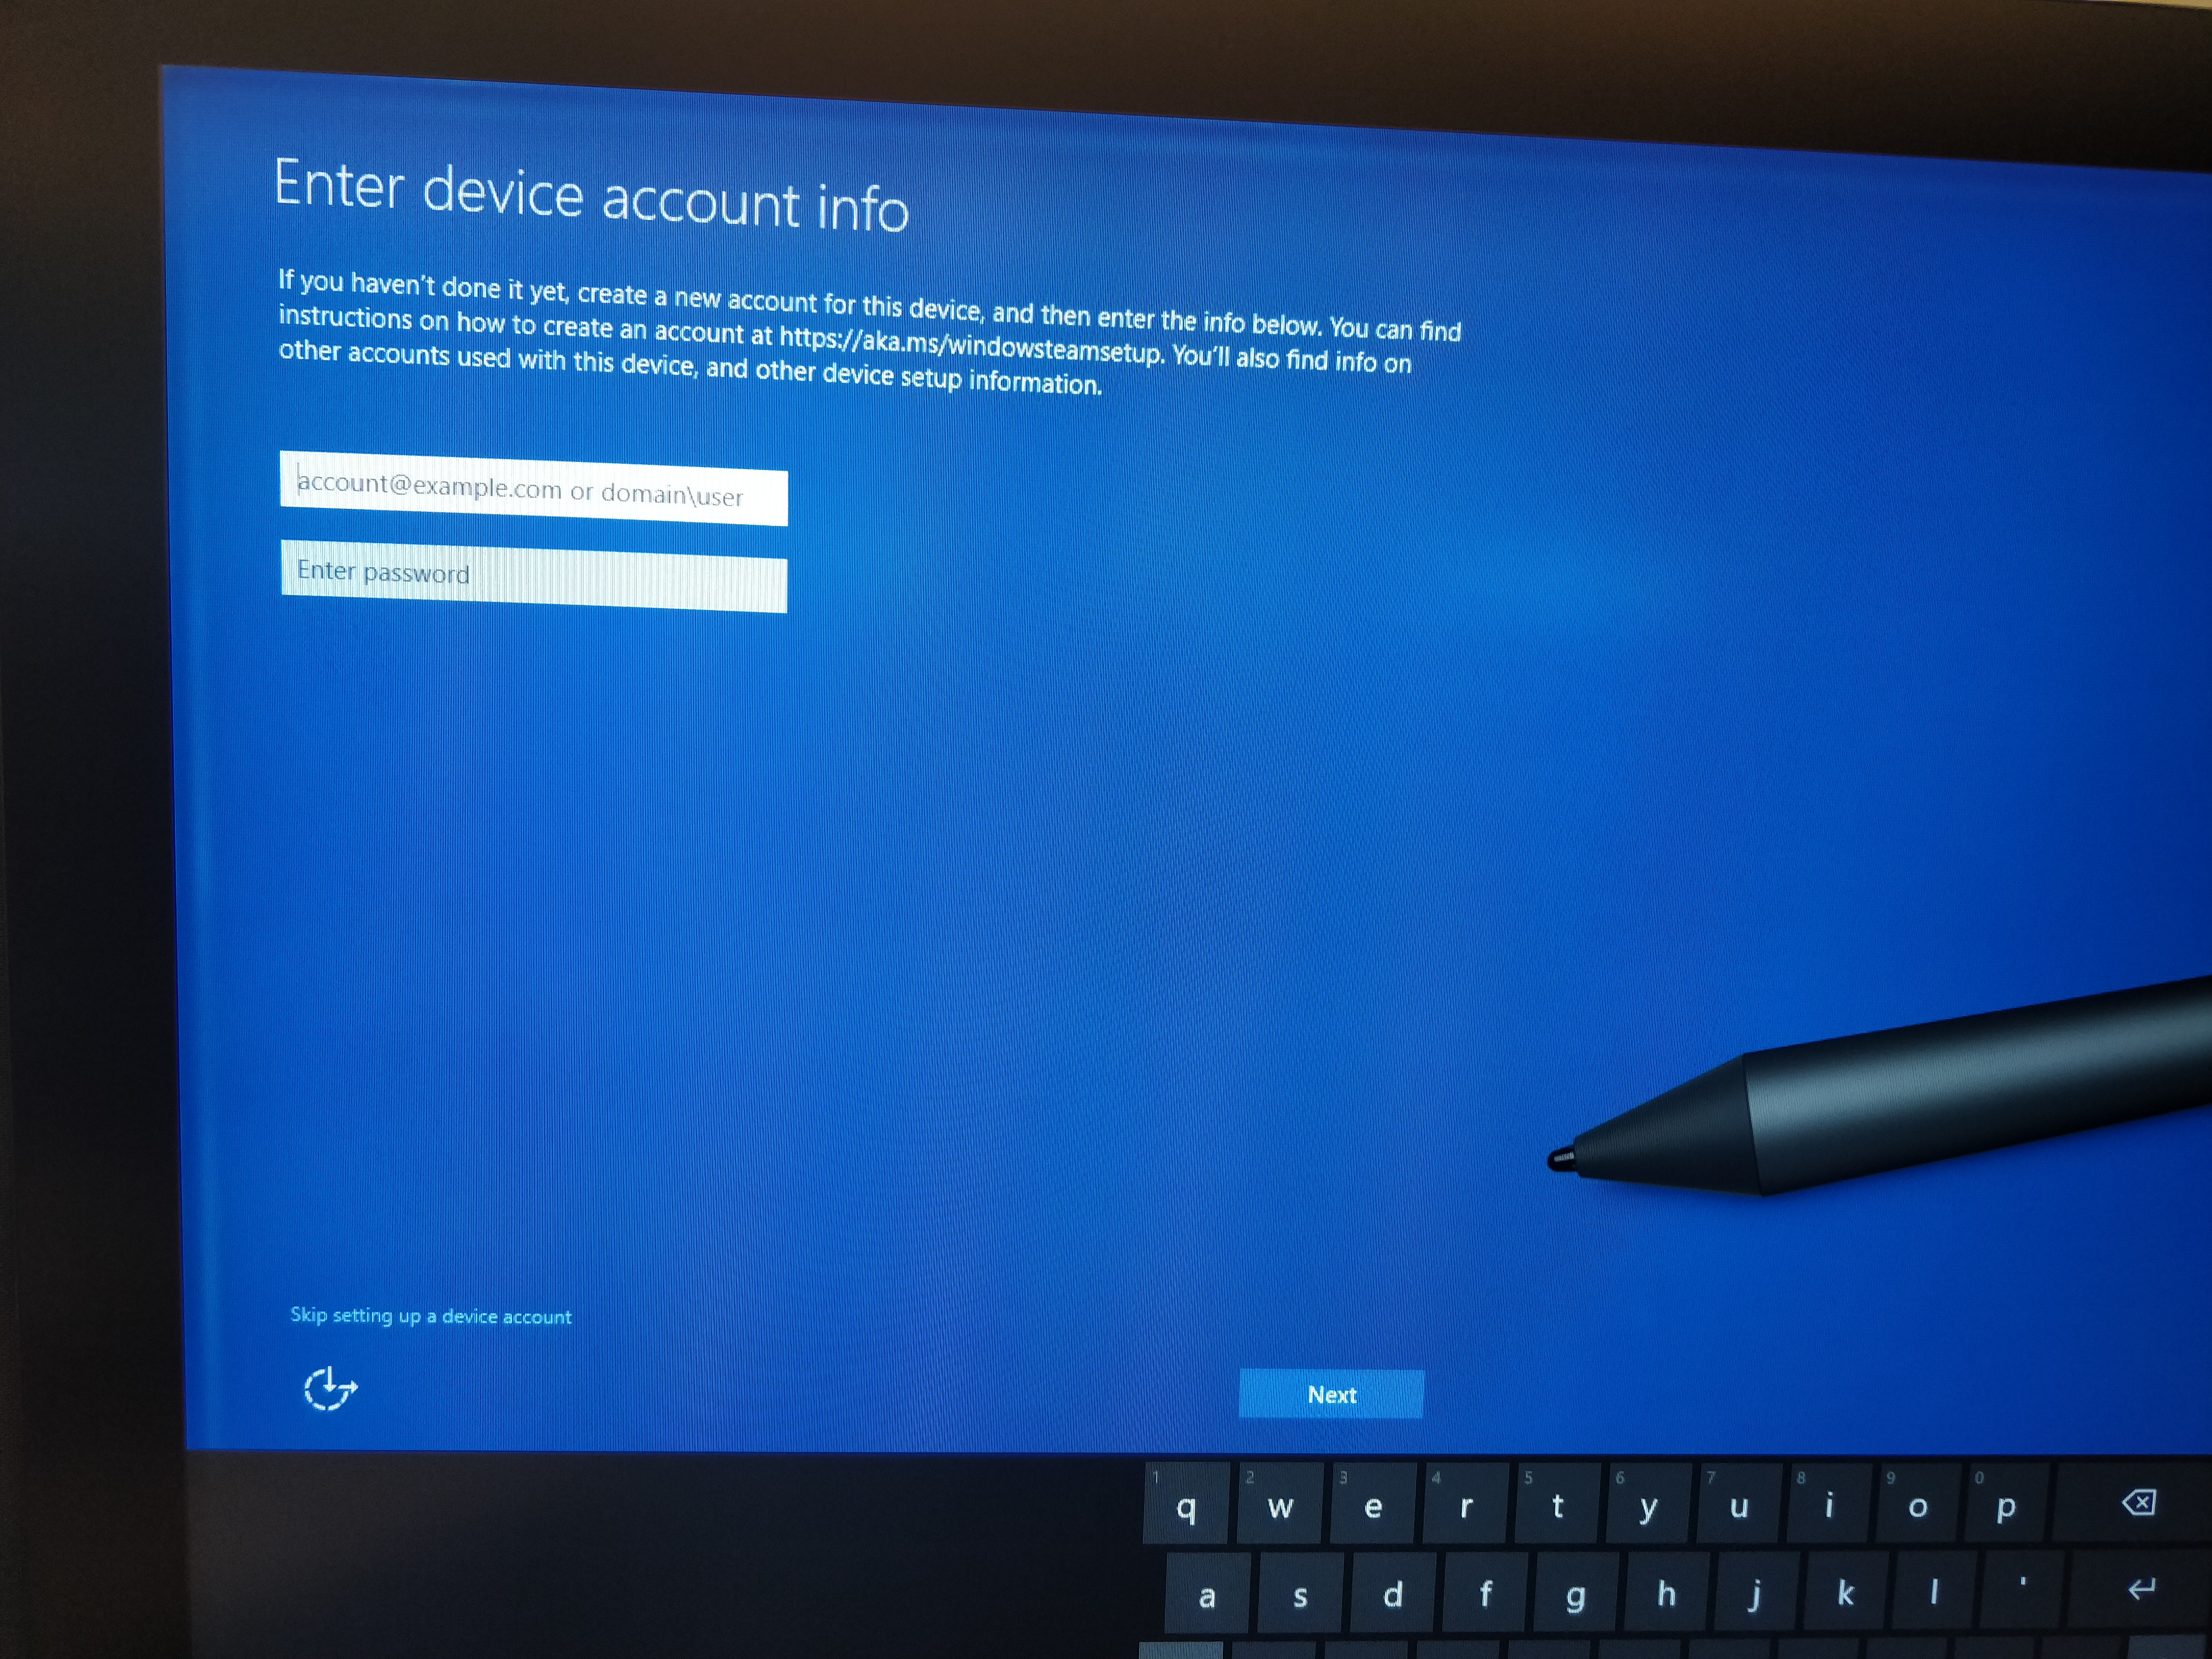
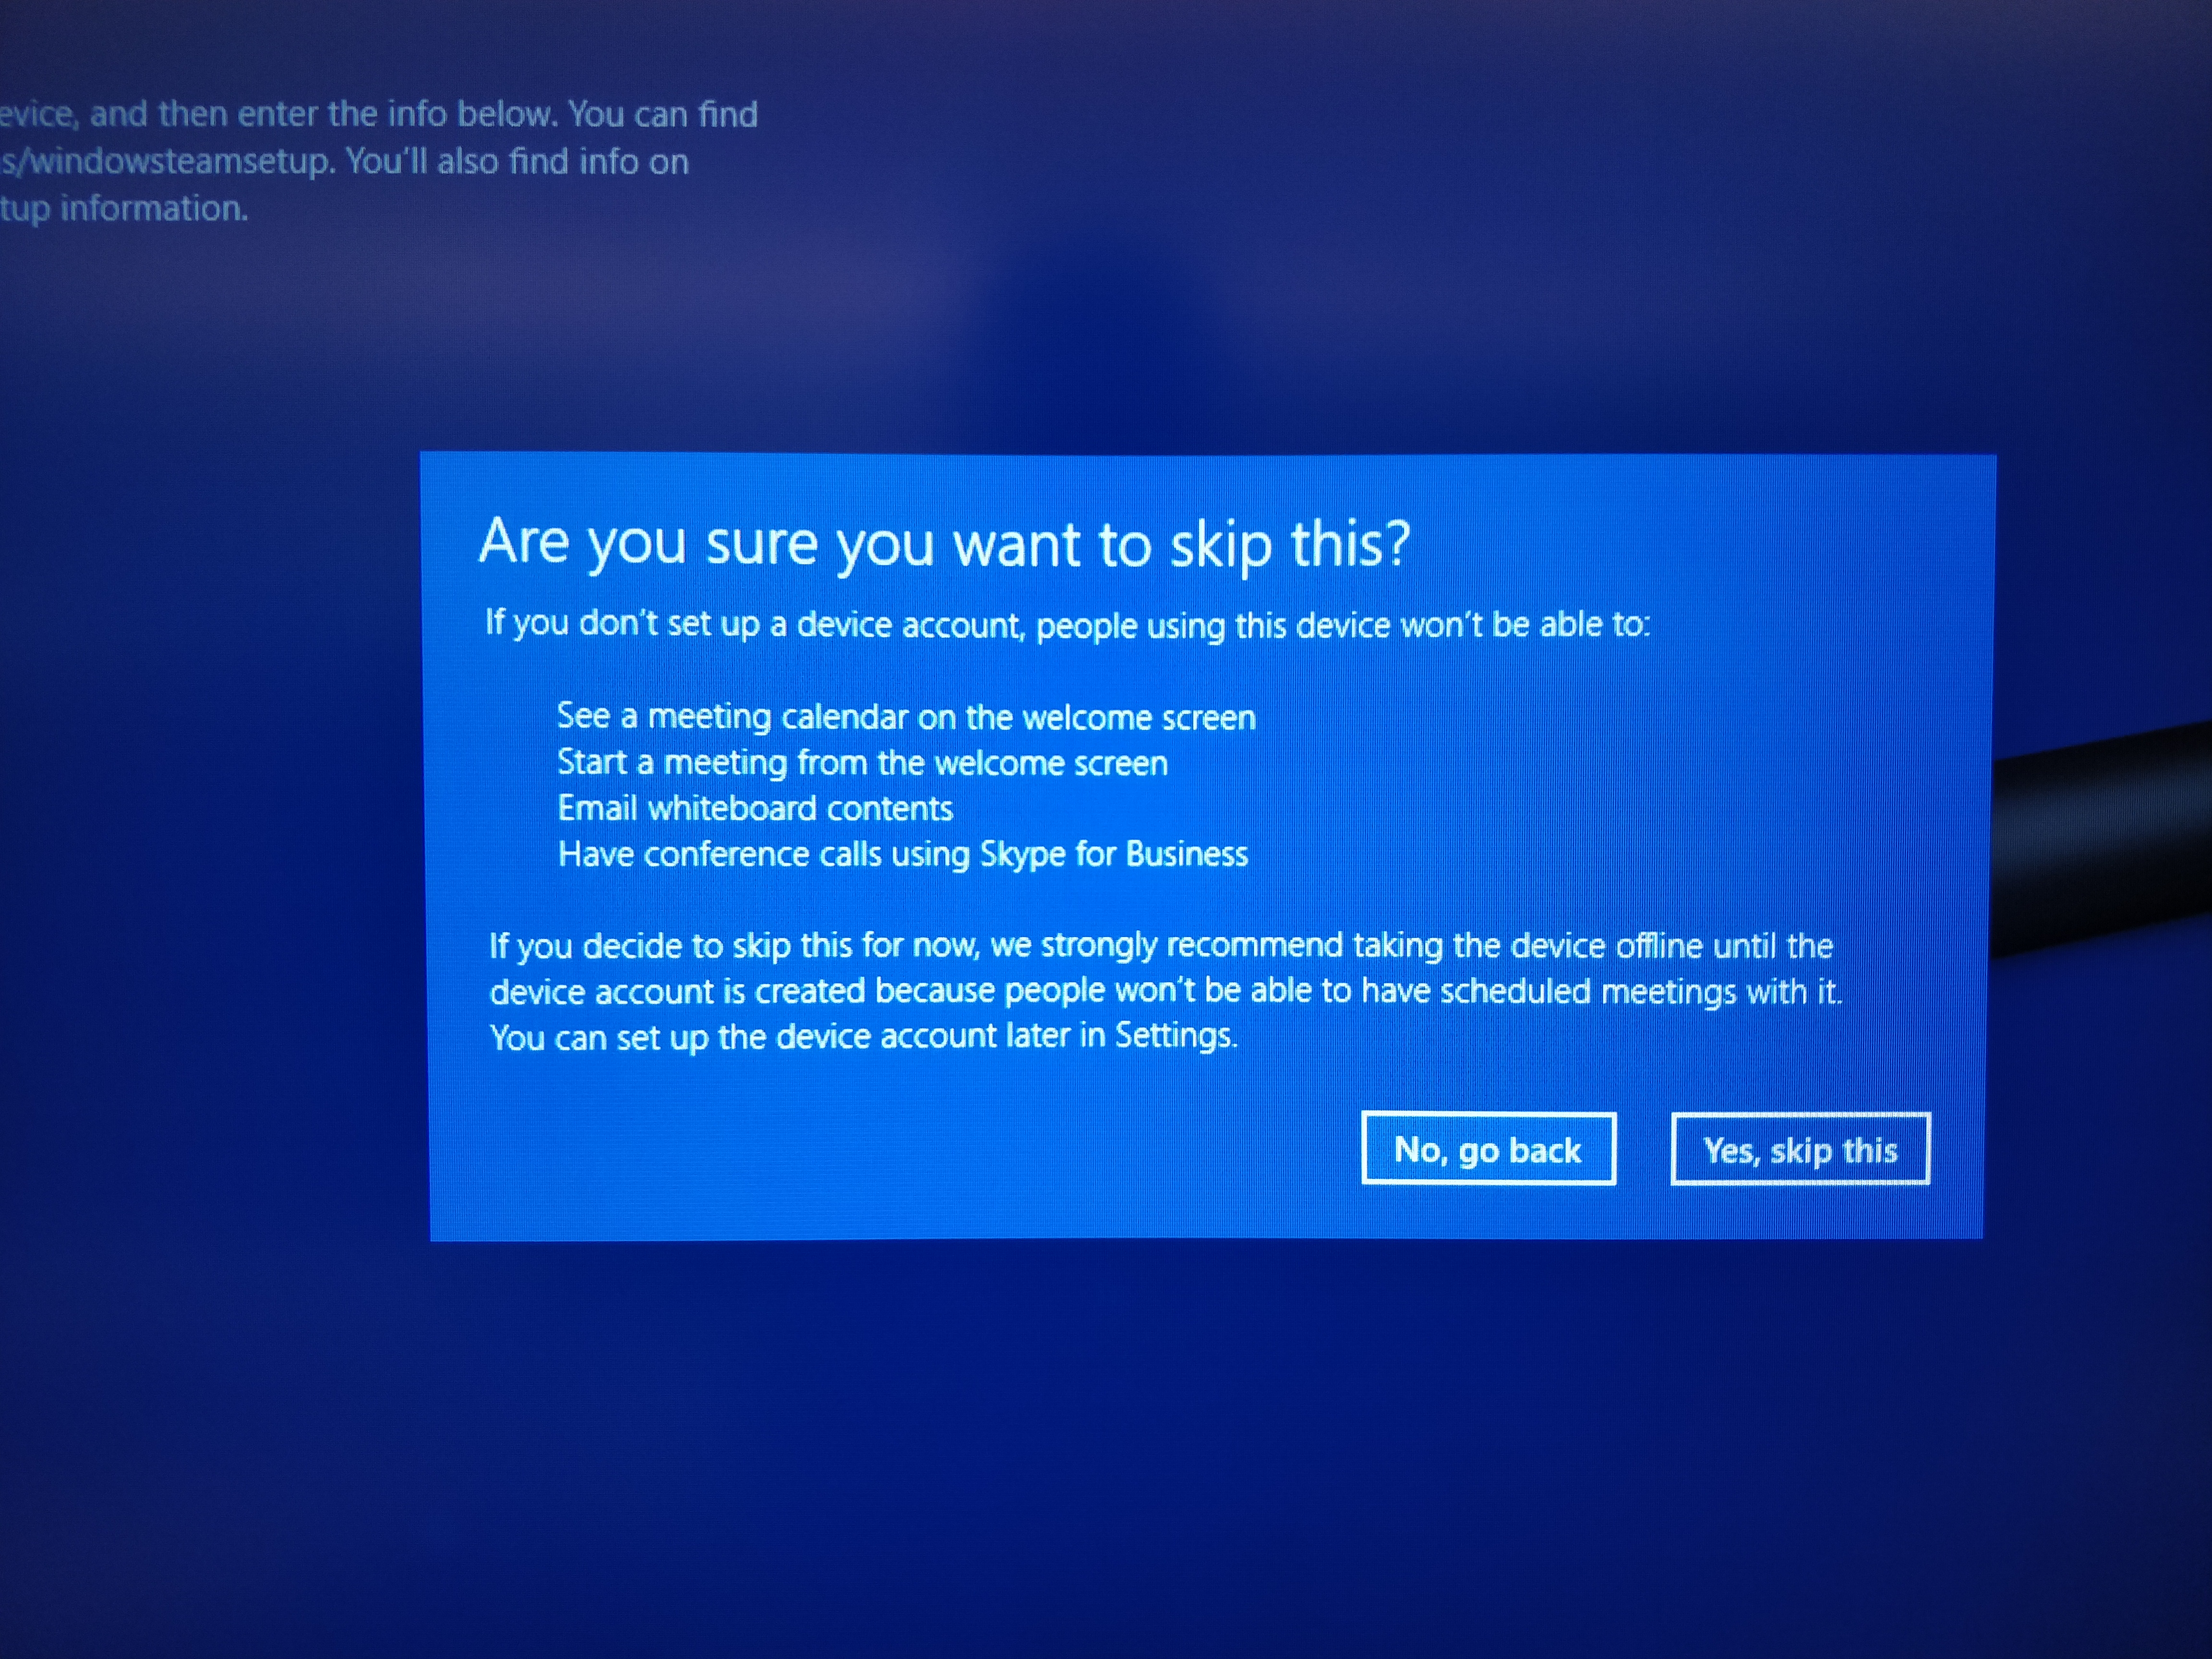
6.Skip this step, since we have selected Azure AD user as Device Admin when created the PPKG.
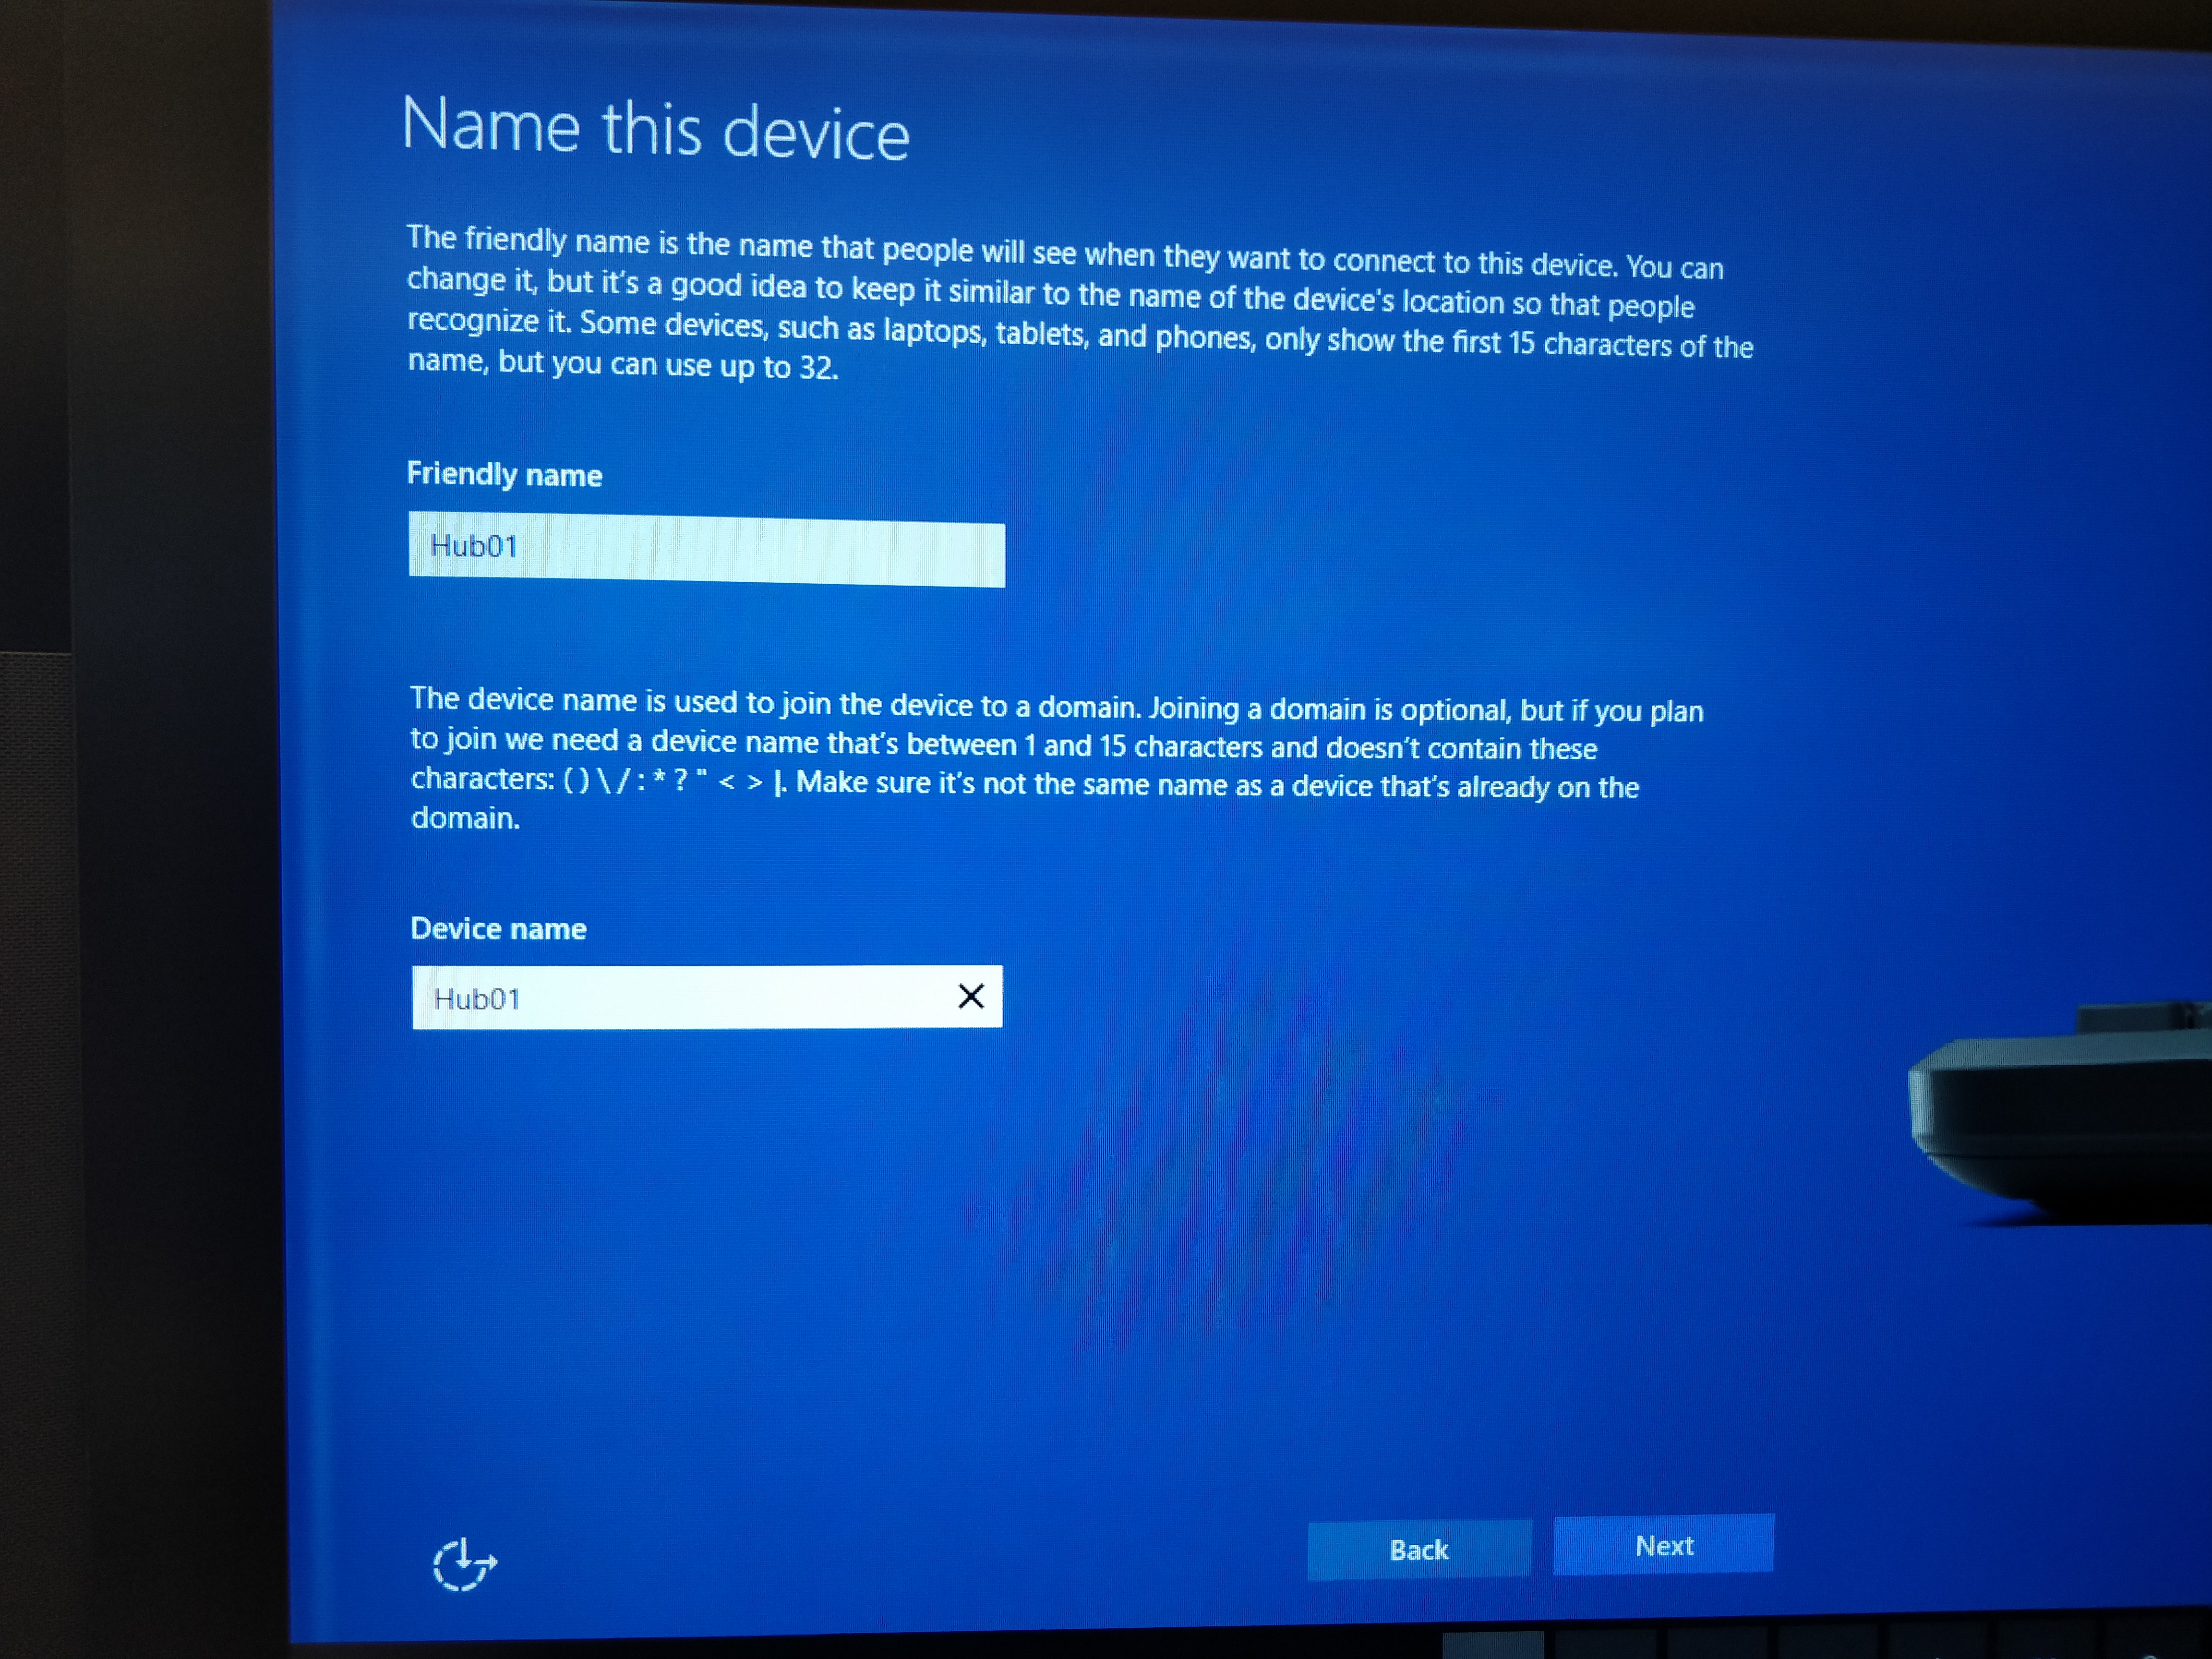
7.Name the device and select next.
8.Device will reboot and completes the AAD Join and Intune Enrollment.

9.To check, open settings App and enter the Azure AD user we added in Step 2 of Creating Provisioning package.
10. In Settings, Select Surface Hub -> Device Management and we can see the Package.
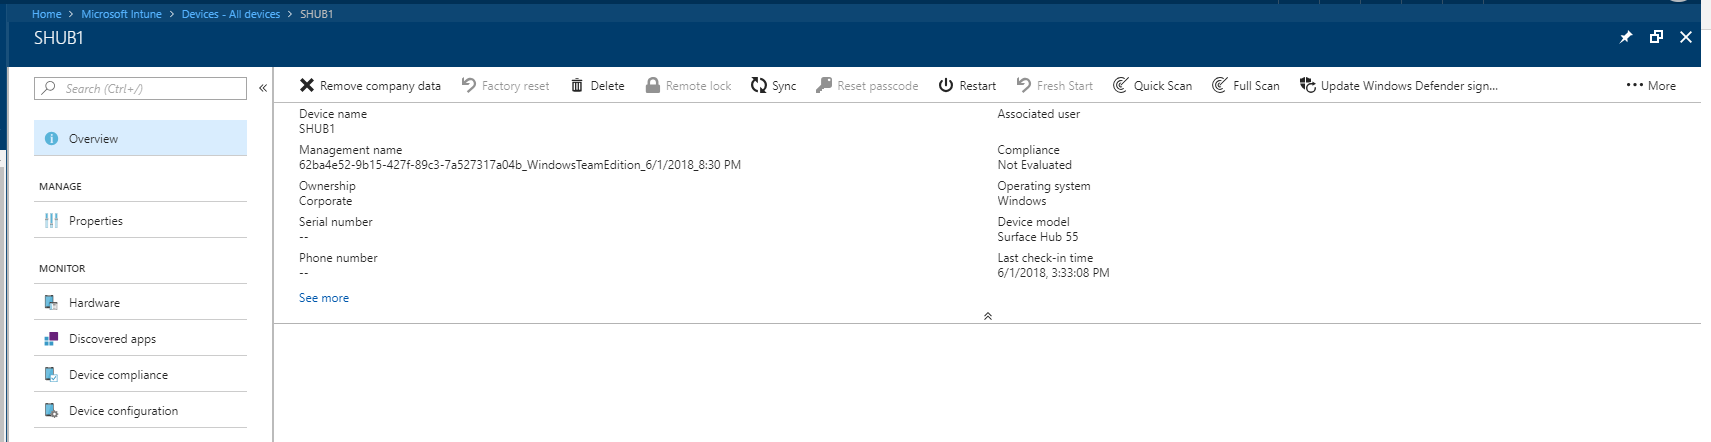
11. To check in Azure Portal, Navigate to Intune -> Devices -> All devices and we can see the device as enrolled.
Senthilkumar Pandurangan
Support Escalation Engineer | Microsoft Intune
Disclaimer: This posting is provided "AS IS" with no warranties and confers no rights