Successful Skype for Business Meetings (Series – Module #4 Broadcast Meetings - part #2)
In Broadcast Meetings Part #1 we showed you all that it takes to create a Broadcast Meeting.
We are now ready to start our meeting. As I stated before, certain steps are assumed known by the reader.
From an attendee standpoint there is not much more to do than join the meeting so we will begin there.
After clicking the link to the meeting (or the join button in the outlook invite)
You will be taken to this page.
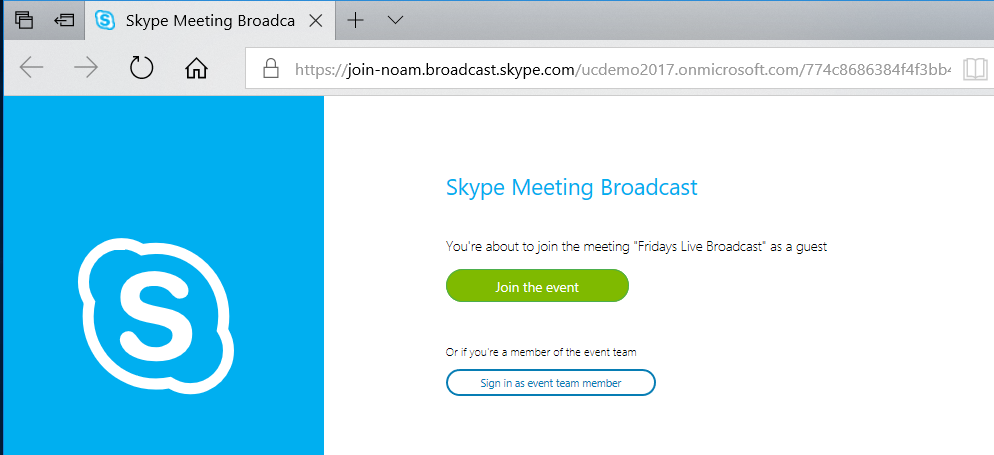
As an attendee you will click the Green “Join the event” button.
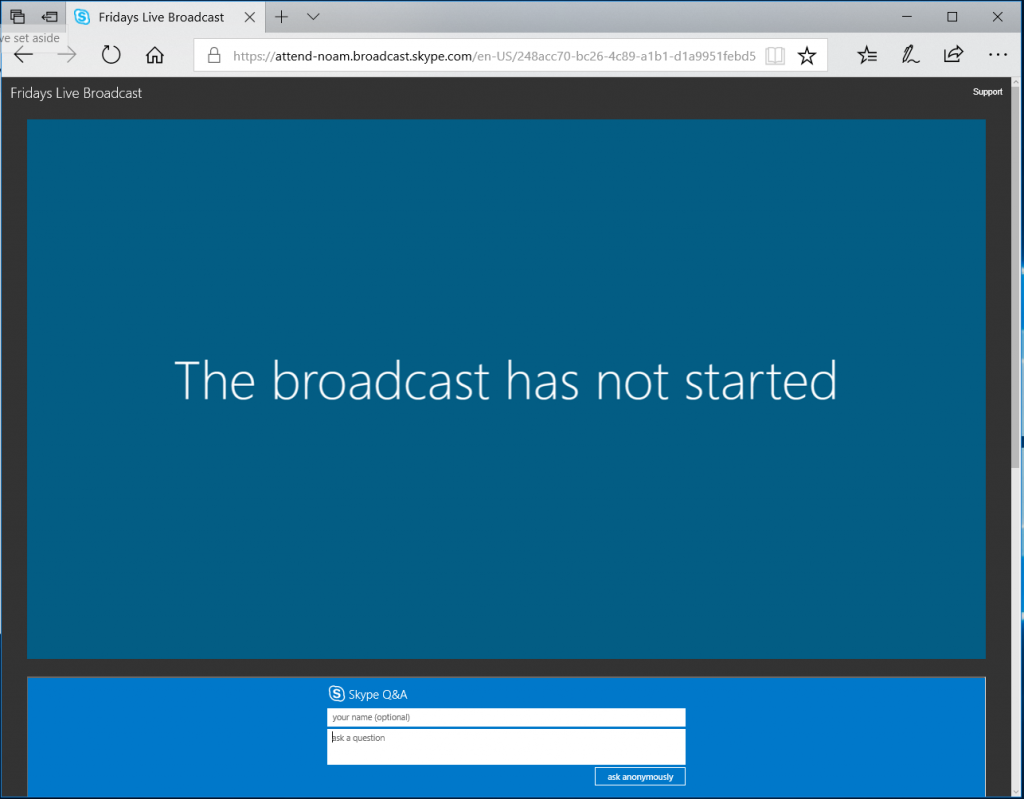
Here you can see that we are now waiting for the event to start. It also seems that this event will allow Q&A since we see the Q&A panel at the bottom. More on this later.
A Presenter will also access the web-join page however they will follow the Team Member login which will then launch the Skype for Business app.
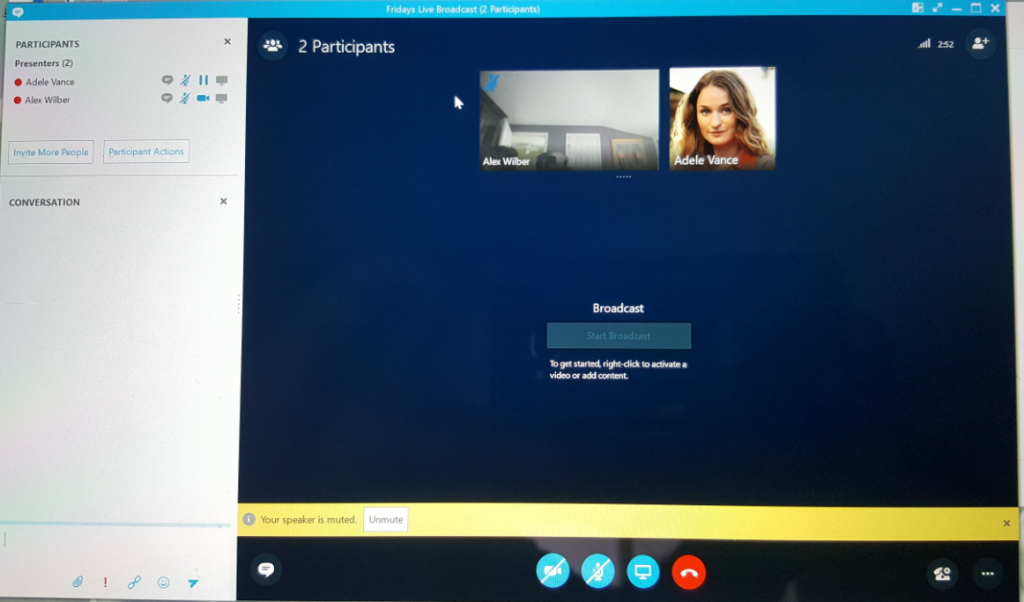
As you can see, both Alex and Adele are in the meeting as Presenters – as we specified previously in the creation example. A couple of things to note. Presenters can be demoted to attendees, but will remain in the “live” portion of the meeting. Meaning they are still considered active participants in the Skype for Business window, but can no longer present content. There is really no benefit in making a Presenter an Attendee while in a Broadcast meeting, but you will have the ability to do so.
You will notice that even though we have Presenters in the meeting, our meeting Broadcast has not yet started. In order to start the meeting, one of the Presenters has to offer content (video or PPT). In this example, Alex has started his video. We will then right click his video and click “Make Video active for Broadcasting". All Presenters can have active audio/video during the meeting, but only one can be active for the broadcast. This makes it easier to switch between video stream as the meeting goes on.
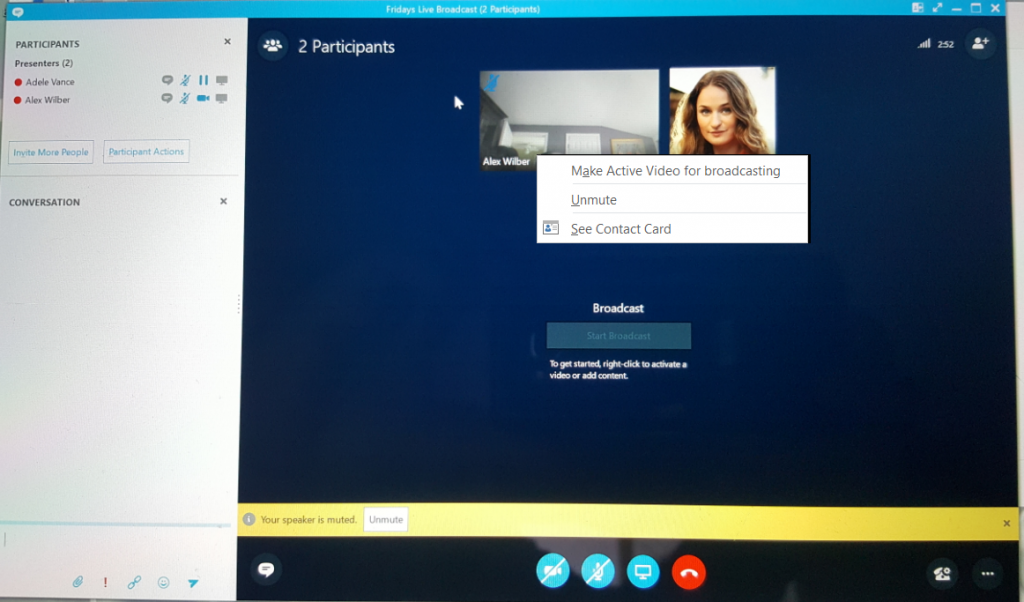
Once you have marked a video window active for broadcast, you will notice that the “Start Broadcast” button is no longer subdued. To begin Broadcasting click the "Start Broadcast" button. 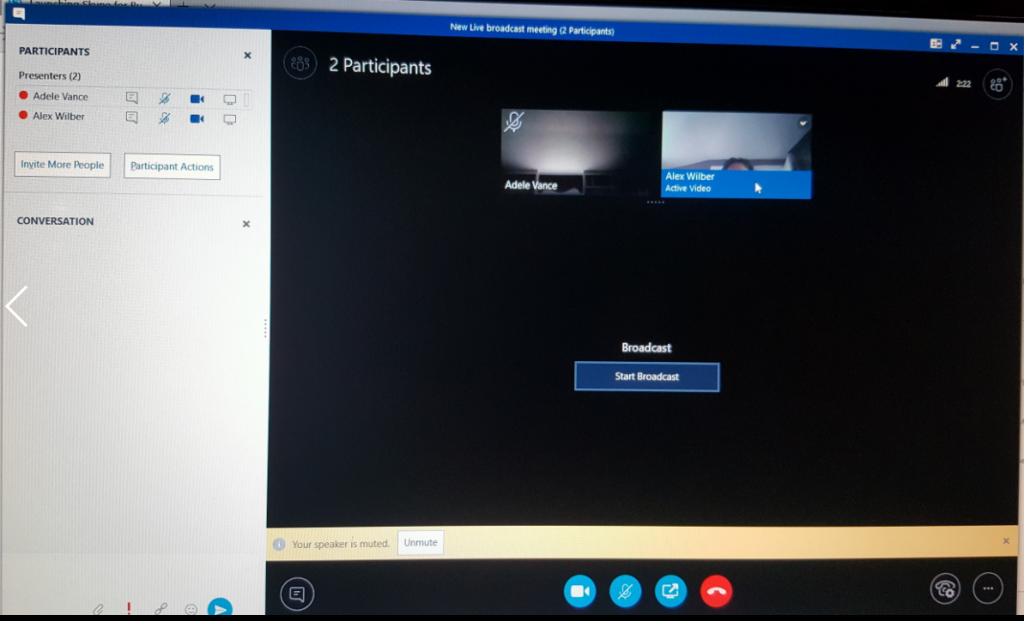
Once you do this, you will receive a msg stating “Ready to start? . The “warning message” is very important as it reminds you that if you, by accident or otherwise, stop broadcasting, the meeting is over. You cannot broadcast any longer in that meeting and the meeting is basically over for the attendees. Should that occur, you will have to create new meeting and send out a new invite.
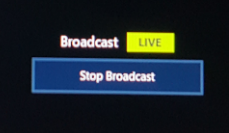
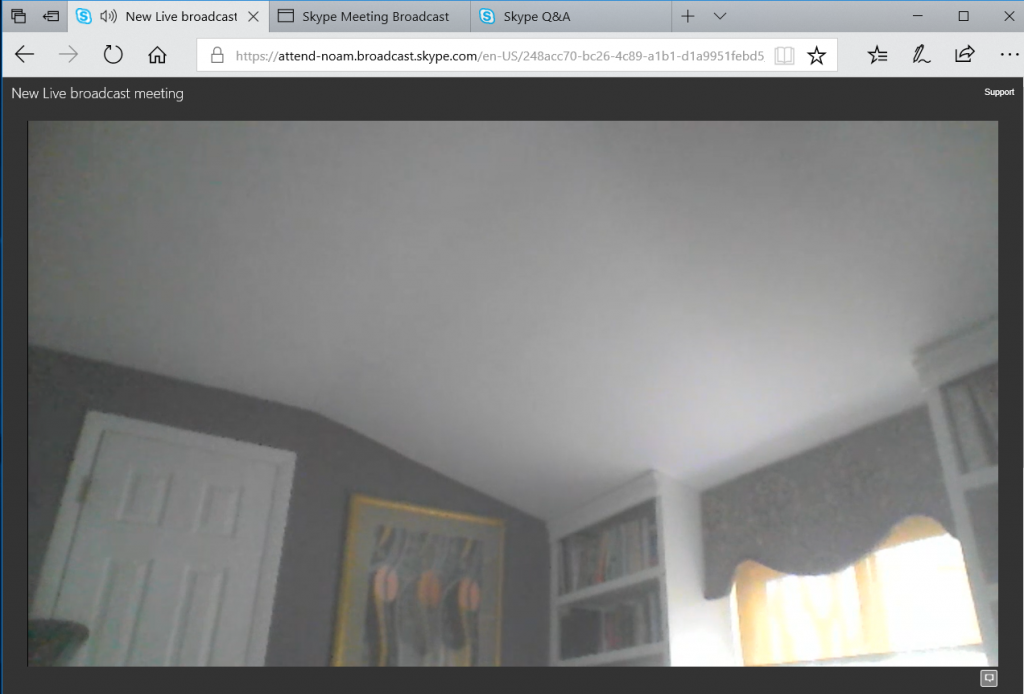
After accepting the "Ready to Start" msg, You will see you are “live” in the Presenter window.
From an attendee standpoint, you can see that the broadcast has started.
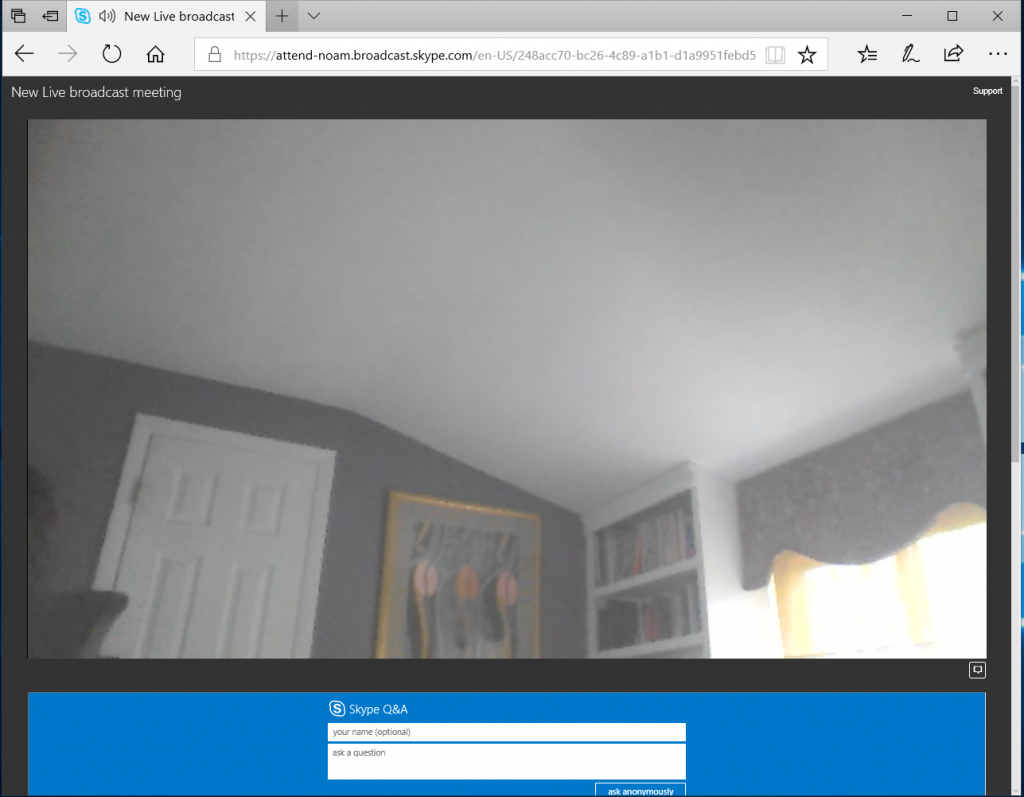
Notice that there is the Q&A panel. Lets ask a question.

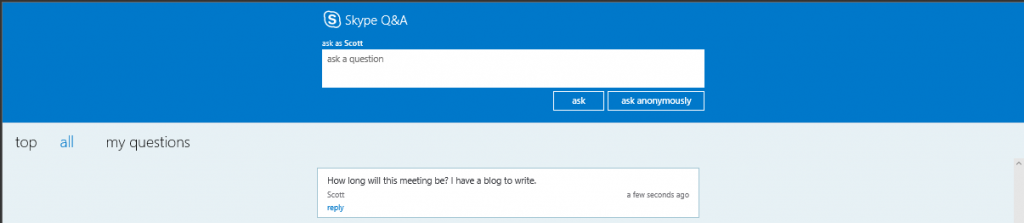
Once we have clicked the ask button our question appears below.
You may remember that I mentioned that someone has to monitor the Q&A when we setup the Q&A.
Once in a meeting a Prensenter will need to go back to the meeting summary page and click the “open Q&A” link to access it. This can be done by the creator or the link can be copied and sent to another Presenter.
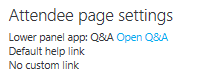
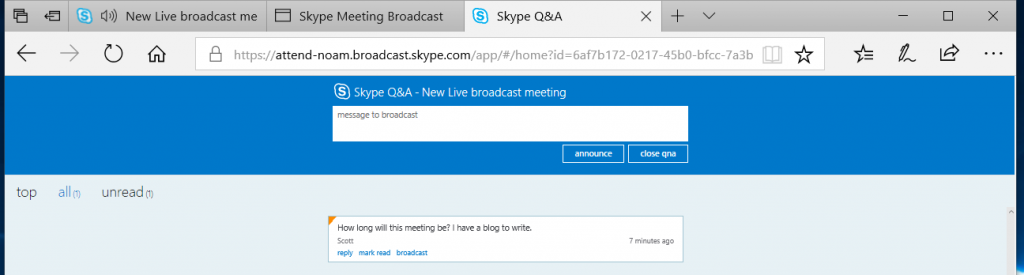
As the Q&A moderator, you can now respond individually, or broadcast the question out for all to see.
The Moderator will see the graphic below. In this case the Moderator choose to broadcast the question.
And the attendees will see…
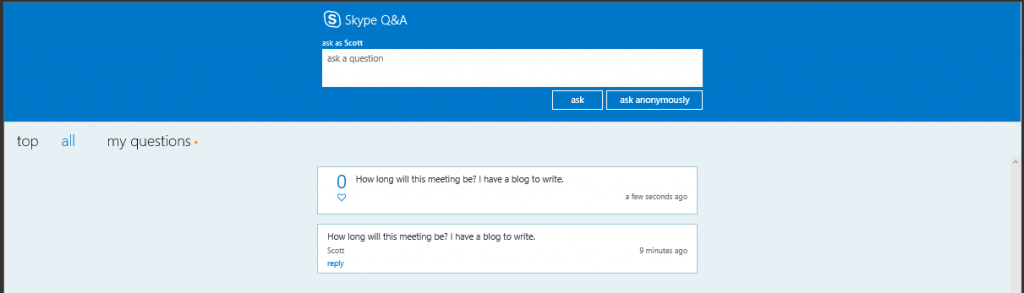
thus verifying that the message was broadcast to all. (notice that you can “like” the comment or question)
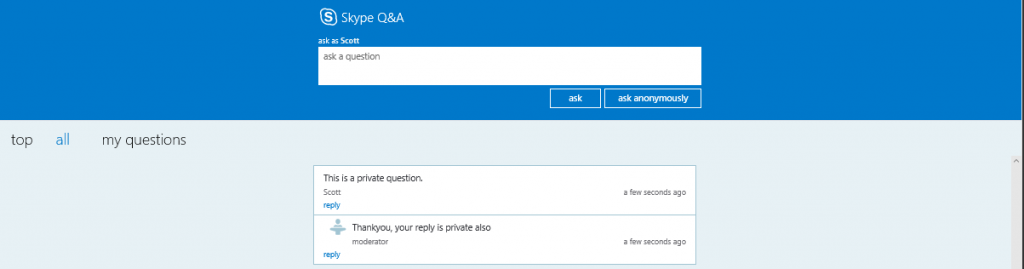
If the question was to remain private, it would look like this.
Finally, from the moderators standpoint, he/she can broadcast a message to the group if needed by once again using the broadcast box.
NOTE: Q&A and Broadcasts messages are live and not delayed. Please keep that in mind during the broadcast. You might actually ask a question that prompts the Presenter to reply verbally which will be delayed up to 60 seconds. It does get a bit confusing if you are not aware of the broadcast delay.
Another feature I mentioned briefly in the meeting setup was that the attendees have the ability to view a live transcript in one of 6 languages chosen by the meeting organizer.
As an attendee you will notice in the bottom right hand corner a little box, by clicking this box you can choose the captioning language allowed for this meeting.
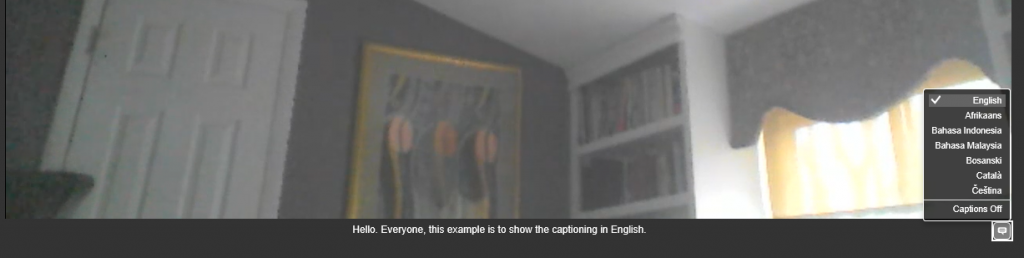
You can also change the caption language as it appears. Here is the same message in a different language.

To re-iterate, only 6 languages can be pre-selected (in addition to the default – English) for captioning (translation) for any meeting.
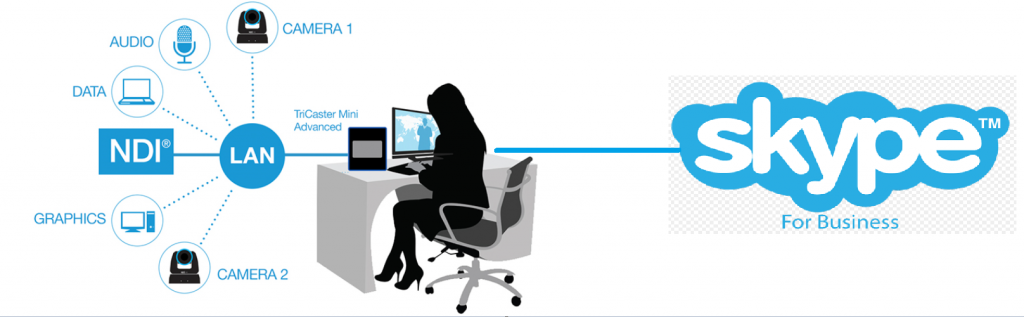
One last point about video, we have all heard that in order to show a video, it must be embedded into Power Point. While this is ONE way, it is not the only way. Using the Newtek TriCaster Mini, you can create virtual sets, share a pc’s desktop or any other feed from either a video camera or PC and broadcast it to the meeting thru a Presenter's Skype for Business client.
The TriCaster’s output along with a client app on a Skype for Business enabled laptop or desktop becomes the Audio and Video feed for the Skype for Business client, therefore if this particular client is a presenter in a Broadcast meeting, whatever output you have from the TriCaster becomes the feed for the Presenter role in the Broadcast. You can read more about the Tricaster series of products from Newtek’s web page.
In my next blog, we will add Power Point to a Broadcast Meeting. Stay tuned.