Introduction to SBS 2008 Reporting
[Today's post comes to us courtesy of Ed Walters]
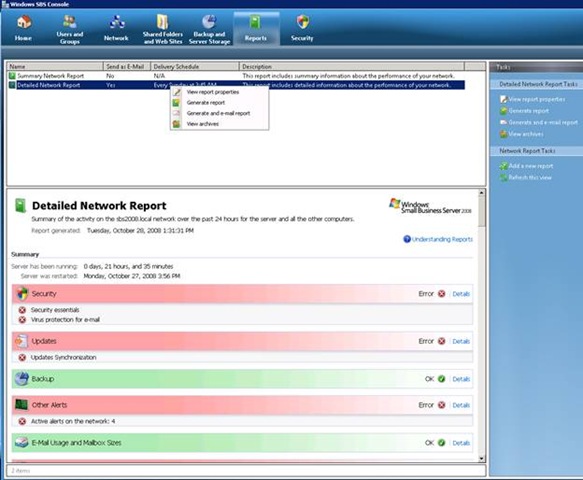
SBS Reports can be found under the “Reports” tab in the Windows SBS console. The information is broken into 3 areas: Reports, Preview and Tasks.
The reports window shows the names of the available reports, if the report is to be sent through e-mail, the current delivery schedule that’s set for that report and a brief description of the report.
The preview window returns a preview of the report that is currently highlighted in the reports window.
The Tasks view allows you to view report properties, generate a report, generate and e-mail a report or view a report’s history. You can also add a new report and refresh the console view if needed. Tasks can also be accessed by right-clicking on a report listed in the reports window.
By default SBS 2008 comes with two core reports that cannot be deleted but can be modified.
Summary Network Report – Shows a summary of the activity on the SBS network over the past 24 hours. This includes both server and computers.
Detailed Network Report – Outlines detailed information concerning the performance of your network.
How do I create a new report?
1. Highlight one of the core reports listed in the window. It doesn’t matter which one you select they both offer the same report options.
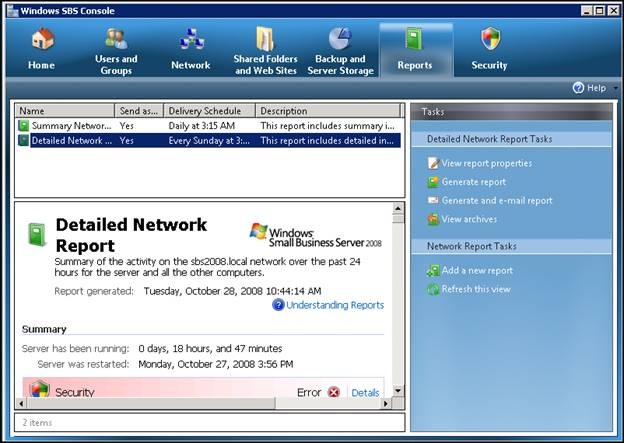
2. Select add a new report from the Tasks Pane.
3. Enter a name for the new report. You can also add a meaningful description to the report.
4. Select the content you would like included in the report.
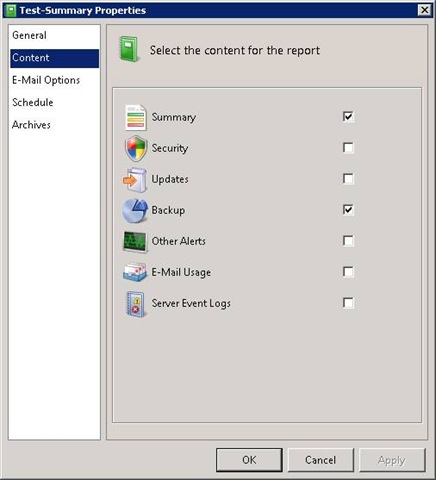
- Summary- Returns a current health status of the subjects listed in the above screenshot in one report. The information returned is brief and does not offer any details on errors found. This can type of view be experienced by selecting the “Summary Network Report”.
- Security – Returns a list of computers with Antivirus, Antispyware and Firewall information. Returns information on Content Filters, Spam Signatures, IP Reputation version numbers and the Firewall state.
- Updates – Returns information on missing, failed or pending updates. Also shows synchronization information and the current Update Policy summary.
- Backup- Shows when the last Backup job completed and when the next job is scheduled.
- Other Alerts – Returns a list of current alerts on the network, the Alert Title, Computer Name that generated the alert, Last Occurrence and the Total Number of Occurrences for the event.
- E-mail Usage – Returns a list of current mailboxes, total e-mail sent, total e-mail received current mailbox size and any mailbox quotas that are in place.
- Server Event logs – Returns a list of critical errors in the server’s event logs. Lists the Event Source, Event ID, Last Occurrence, and the total number of occurrences for that particular event.
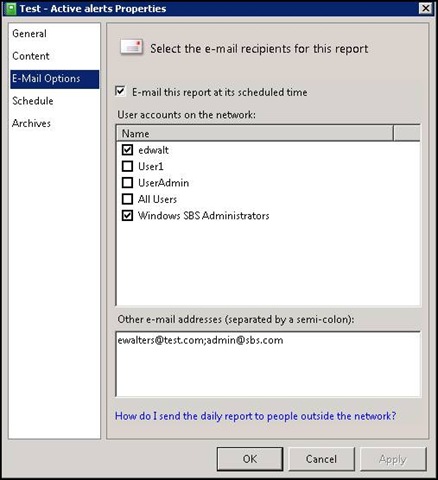
5. Select the e-mail recipients for the report.
- If you do not want to e-mail the report, leave the ”E-mail this report at its scheduled time” check box blank.
- If you need to forward the report to someone outside of your network, enter their e-mail address in the “Other e-mail addresses” box.
6. Schedule how often you would like the report to be generated and e-mailed.
- Recurrence can be set to either Daily or Weekly.
- Time can be set in 15 minute increments.
- If you need to generate and e-mail a report immediately use the “Generate and E-mail report” option under tasks in the Windows SBS Console
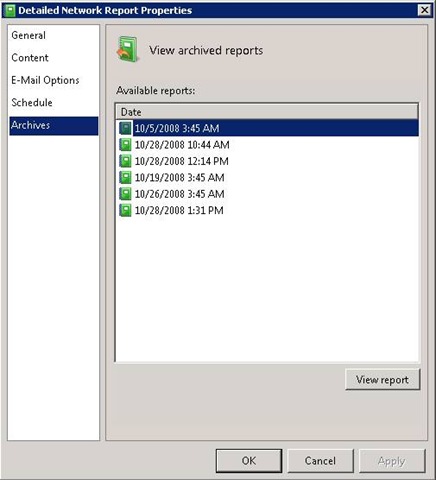
7. Archives return a list of previous generations of this report along with their run dates. You can simply highlight one of the reports returned in the “Available Reports” list and select “View Report” to see the old report. You can also reach this section on existing reports by opening the report’s properties or using the “view archives” task for an existing report.
Once the report is created it will appear in the list with other reports in the Windows SBS Console. You will not be able to preview this report until it has been run for the first time. You can either wait until the next scheduled run or generate is immediately by:
- Highlight the new report in the list.
- Select “Generate Report”.