Installing a Self-Signed Certificate as a Trusted Root CA in Windows Vista
[Today's post comes to us courtesy of Wayne McIntyre]
In order for RPC over Http to work you must have a Trusted CA Root Certificate installed and configured. In a situation where you are using a self-signed cert you will need to install the certificate into the Trusted Root Certification Authorities store.
1. Connect to your OWA site by going to https://host.domainname.com/exchange
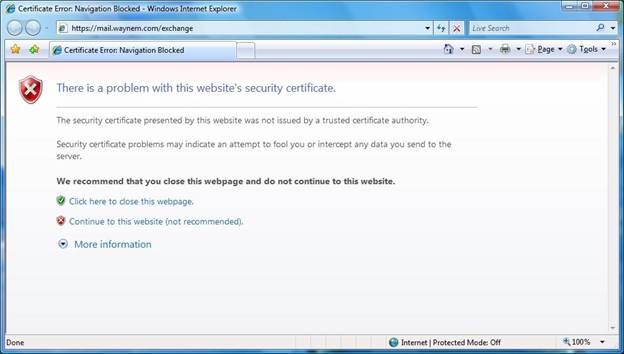
You should see a screen like the above due to the fact that your self-signed cert is not trusted.
2. Choose "Continue to this website (not recommended) ".
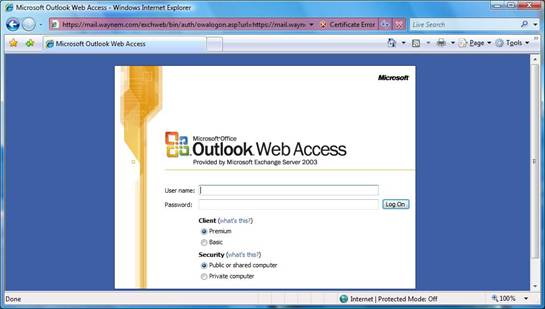
You should then be presented with your OWA logon page.
3. Click on “Certificate Error” beside the address bar and select view certificates.
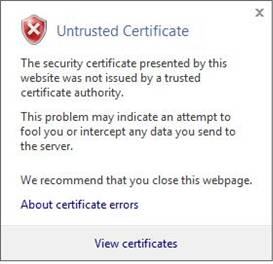
If you do not see the Install Certificate option close IE7 and then right click on IE7 and choose run as administrator and load the page again.
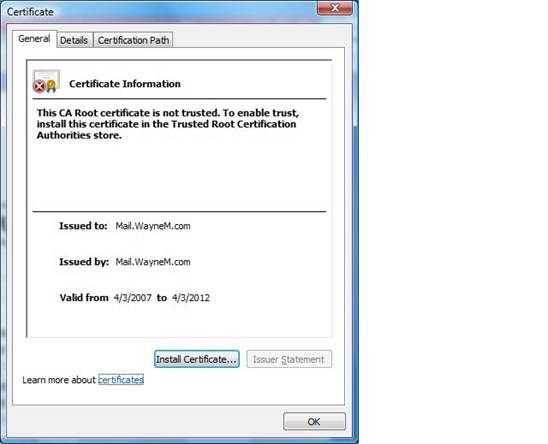
4. Once you have the install certificate button available, select "Install Certificate".
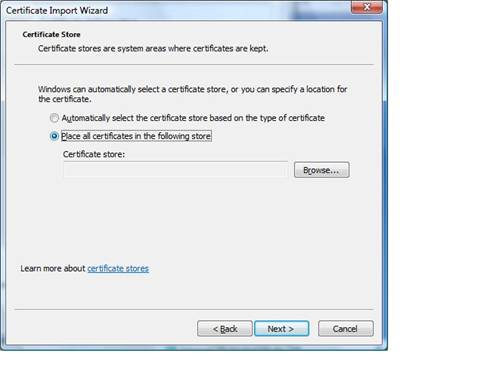
5. This will launch the Certificate Import Wizard. Make sure to Choose the option “Place all certificates in the following store” and select browse.
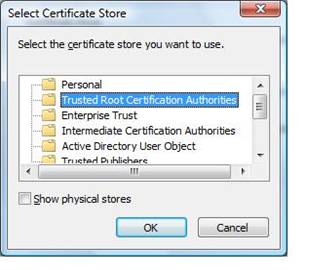
6. Select Trusted Root Certification Authorities and click Ok.
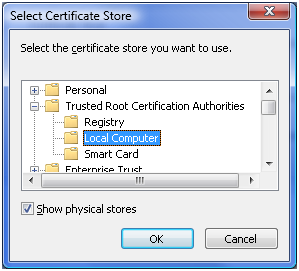
* In some cases you have to check show physical stores, then select “Local Computer” under Trusted Root Certification Authorities.
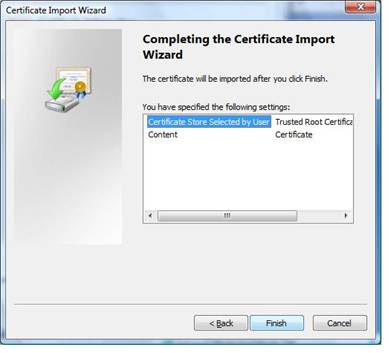
7. Click Finish on Completing the Certificate Import Wizard
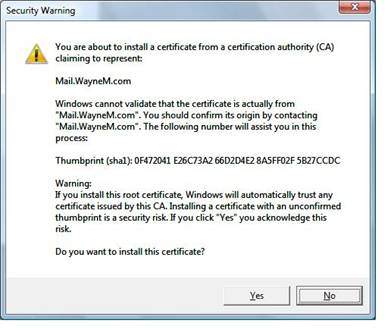
8. Click yes on the security warning to install the certificate
9. If you want to verify the Certificate has been installed you can load the certificates snap in and you should see it under Certificates –Current User-Trusted Root Certification Authorities-Certificates.
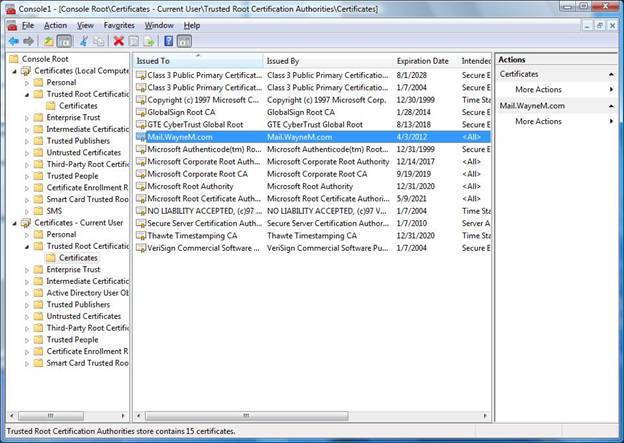
Note: You can also copy it to the local computers certificate store so it applies for all users that use the machine.
If you install the certificate but then cannot see it please read the following KB article: https://support.microsoft.com/default.aspx?scid=kb;EN-US;932156