How to Configure Fax On Windows Vista for an SBS 2003 Environment
[Today's post comes to us courtesy of Roderick White]
Before a user running Windows Vista can send a fax, the user’s fax account must be manually configured.
The first step in configuring fax is to open Server Manager on the SBS2003 server and run the Setup Computer Wizard to create a computer account. By default the fax client is installed from within the Advance Client Computer Settings. After creating the computer account you’ll then need to go to the Vista client and open Internet Explorer and run the Connect Computer wizard (https://servername/connectcomputer ).
To configure fax in Windows Vista:
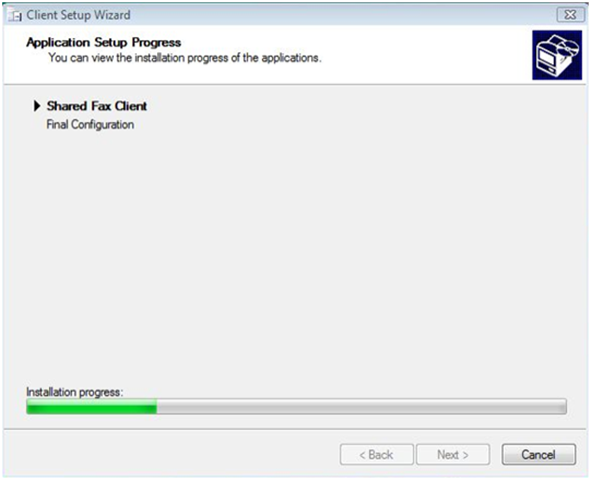
1. Run the Connect Computer wizard and during the Client Setup Wizard you should see the installation of fax.
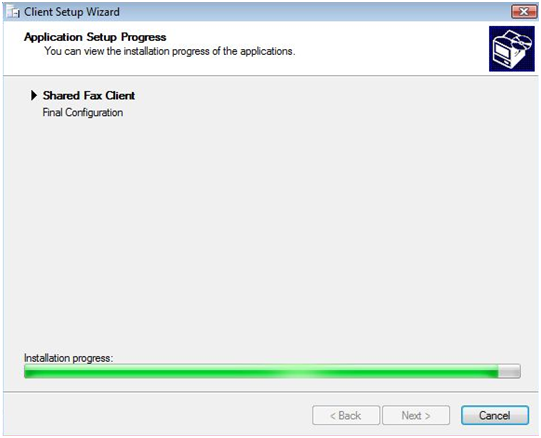
Installation is almost finished.
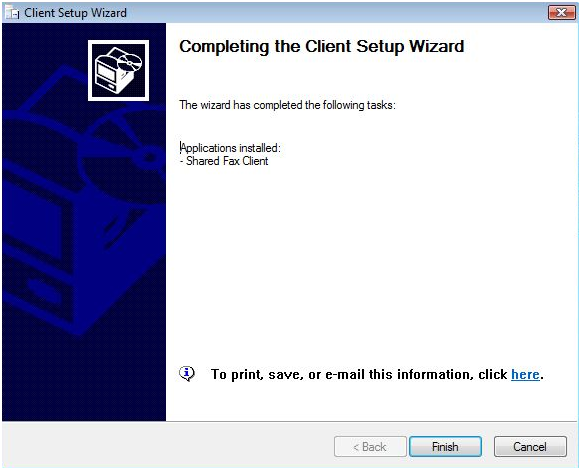
Select Finish
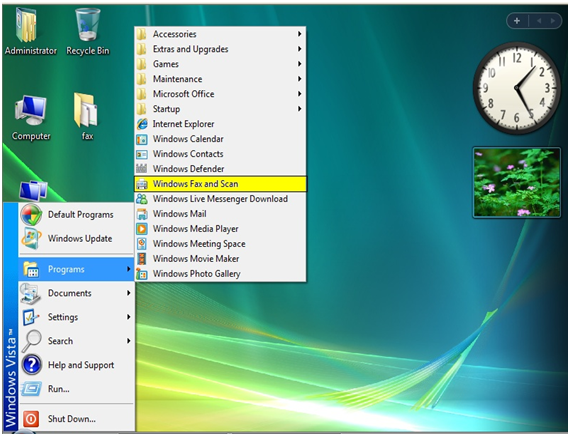
2. Select Start > All Programs > Windows Fax and Scan.
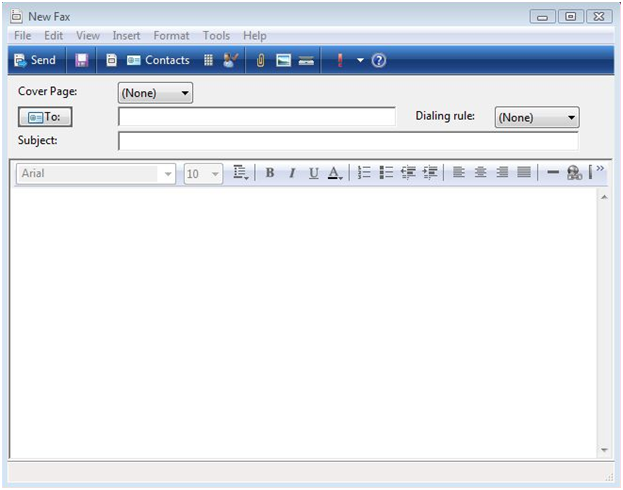
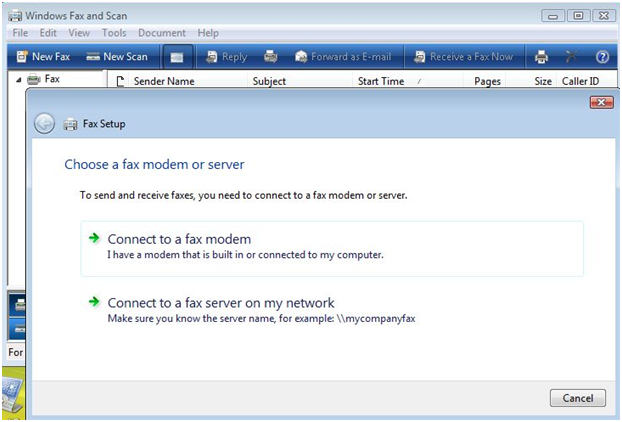
3. Click New Fax

4. Click Connect to a fax server on my network
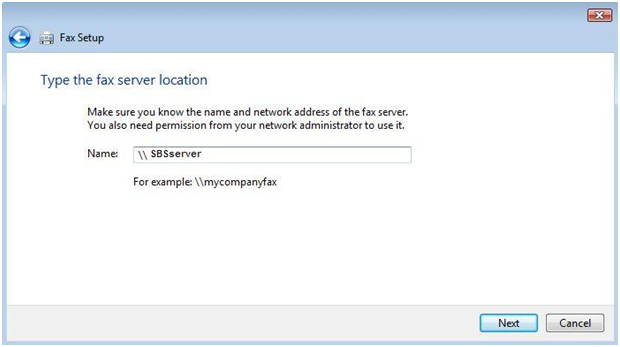
5. Type the name of the server that is running SBS 2003 (In our example the server name is SBSserver)
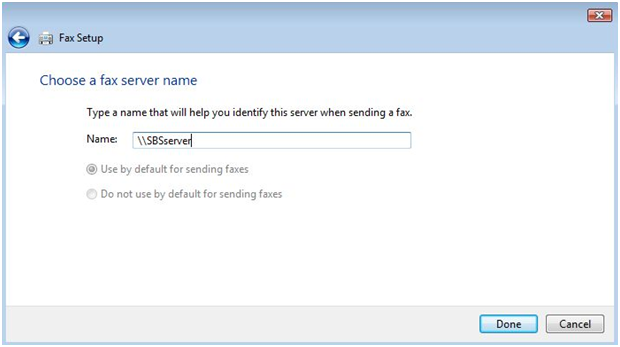
6. Type a name for the fax account, such as \\SBSserver. Select Done
(In our example the server name is SBSserver)
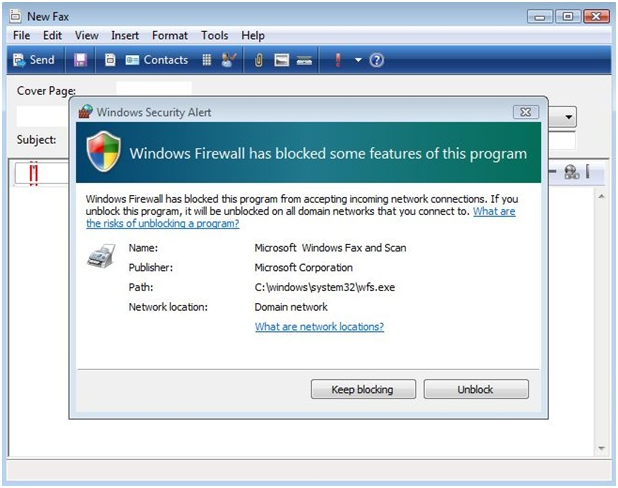
7. If you receive the following Windows Firewall Alert select Unblock.
8. After selecting Unblock you should have a New Fax property page available to send your first fax.