Project Siena : A fast way to build Windows Apps
Project Siena is an App in Windows store which allows you make Windows 8/8.1 application in less than an hour! You do not require any programming skills to build apps using Project Siena.
What do you need to get started?
Get Project Siena from Windows Store. Click this link : https://apps.microsoft.com/windows/en-in/app/5ae47651-e8f3-4e41-aab7-e19ab1b80180
An app Idea.
How to get started?
Launch project Siena. (2 seconds)
Understand Project Siena. (15 Minutes)
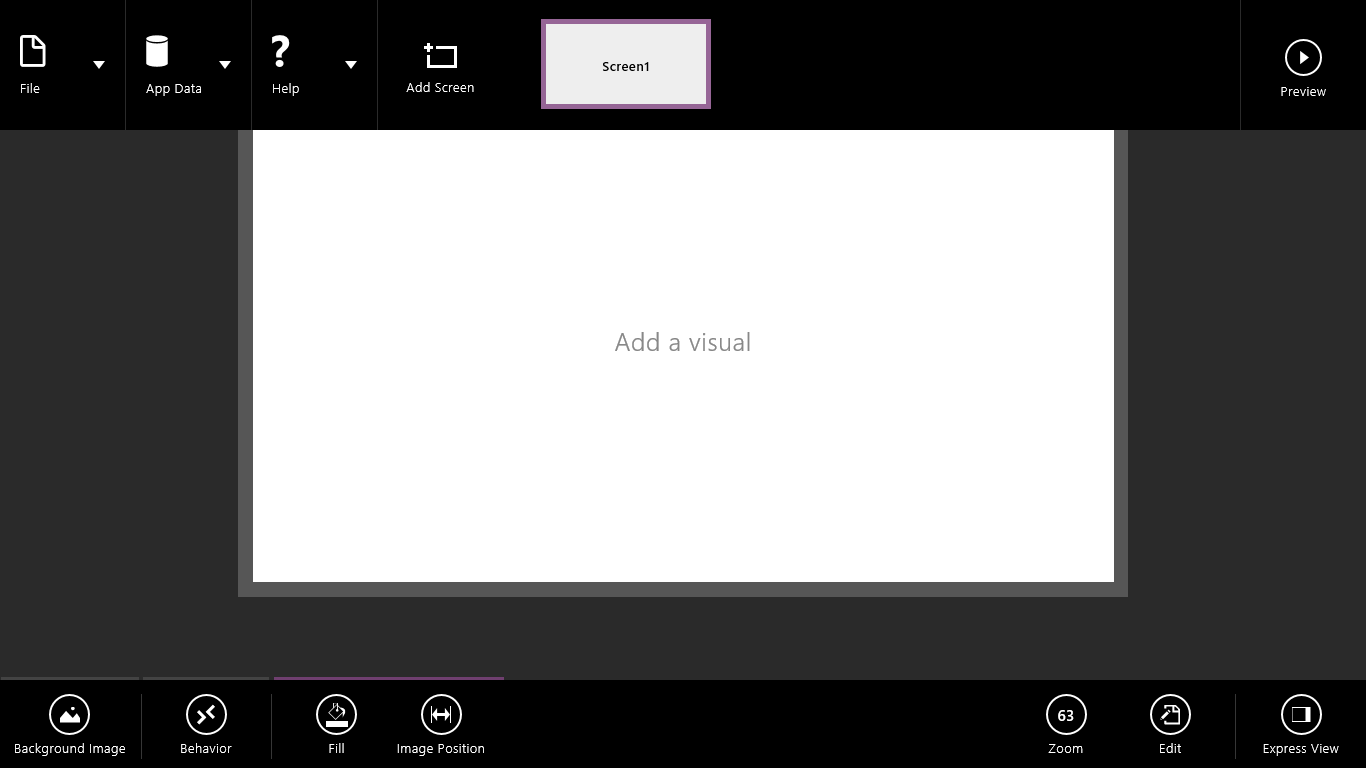
Spend some time to understand all that Project Siena has to offer. Start with the “+” button at the top right corner and go clockwise from there. Play with all the buttons from in the bottom app bar and top app bar. This is something you should do yourself to get a and of what all there is in Project Siena.
Start building your app. (10 minutes)
MY APP IDEA : idea is very simple. App should list down popular TV Shows which the user can click and get more relevant information about that TV Show.
So lets get started!
3.1 Identify the data source. In my case it is going to be excel sheet. Siena accepts input in the table format not excel cell format so don’t forget to convert your excel sheet into table. Put all the data you want to show in your app in the row-column format.

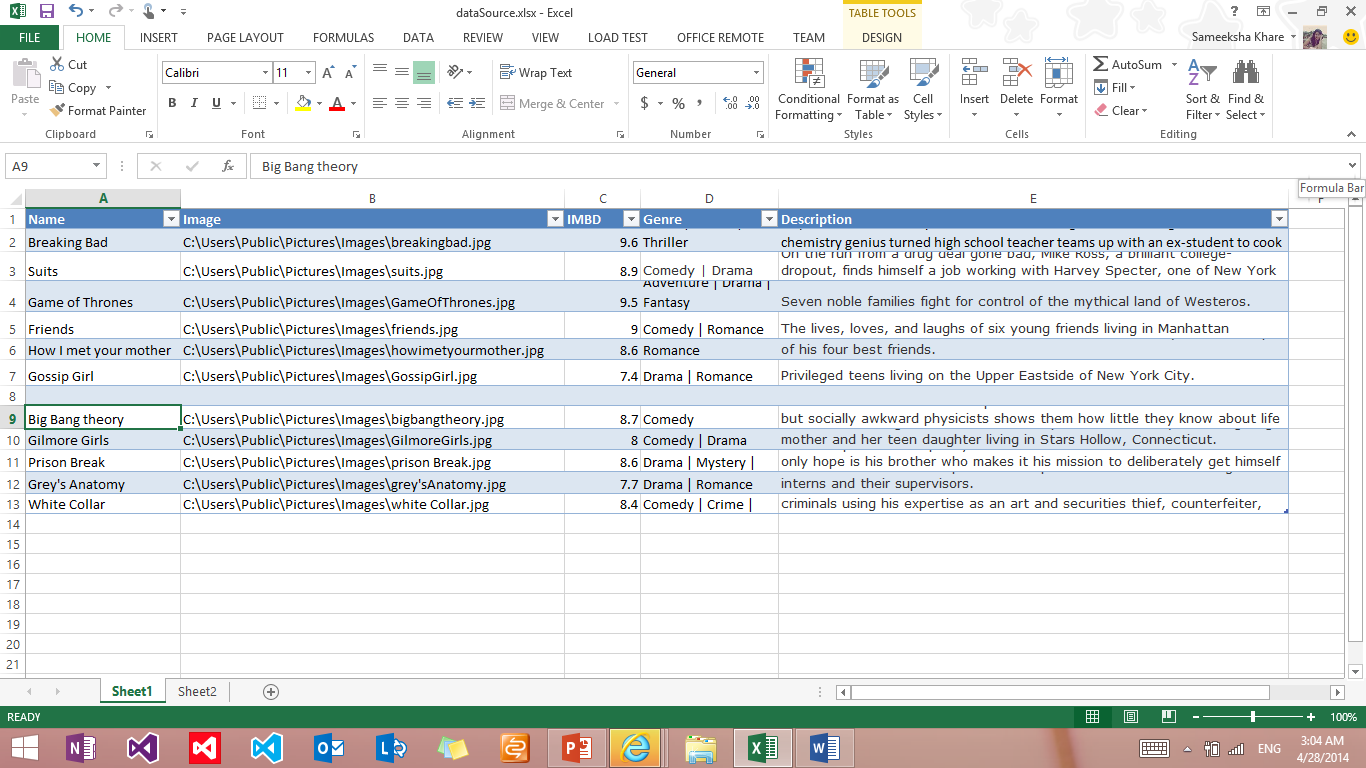
Note : the images that we want to use in the app, put those images in one folder and put that folder into the public pictures folders under users under directory C for Windows 8 and for Windows 8.1 right click on public pictures folder and click on “include in library” and click on “pictures”. Then put the images folder in the public pictures folder. So basically put the image folder in C:\Users\Public\Pictures.
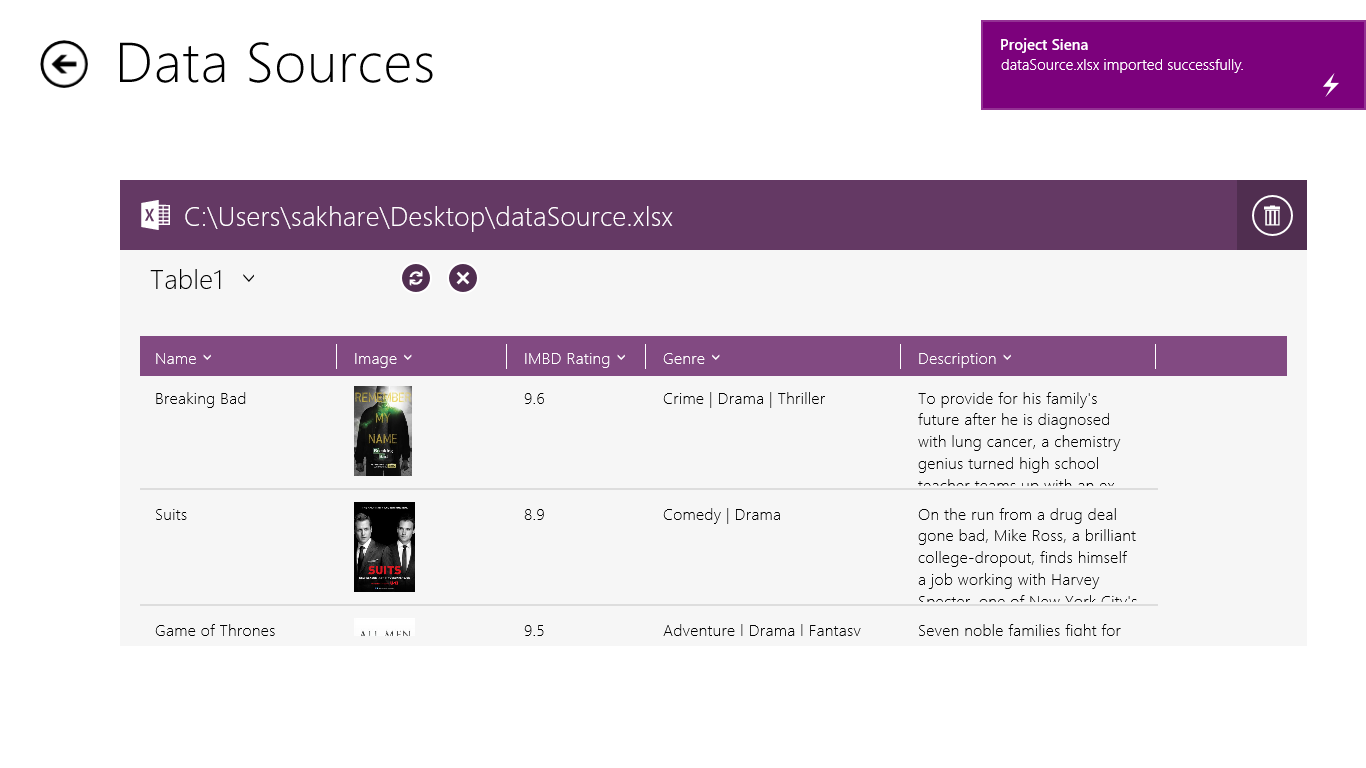
3.2 Once the data source is ready. Launch Project Siena. Let us start with getting the data into the app. so swipe from the top and click on App Data, click on data source, Click on excel, click on the table name and import the data. A toast notification will notify you if your data is successfully imported. (Toast notification is a notification which appears at the top-right corner of Windows 8/8.1 devices in a rectangular format).
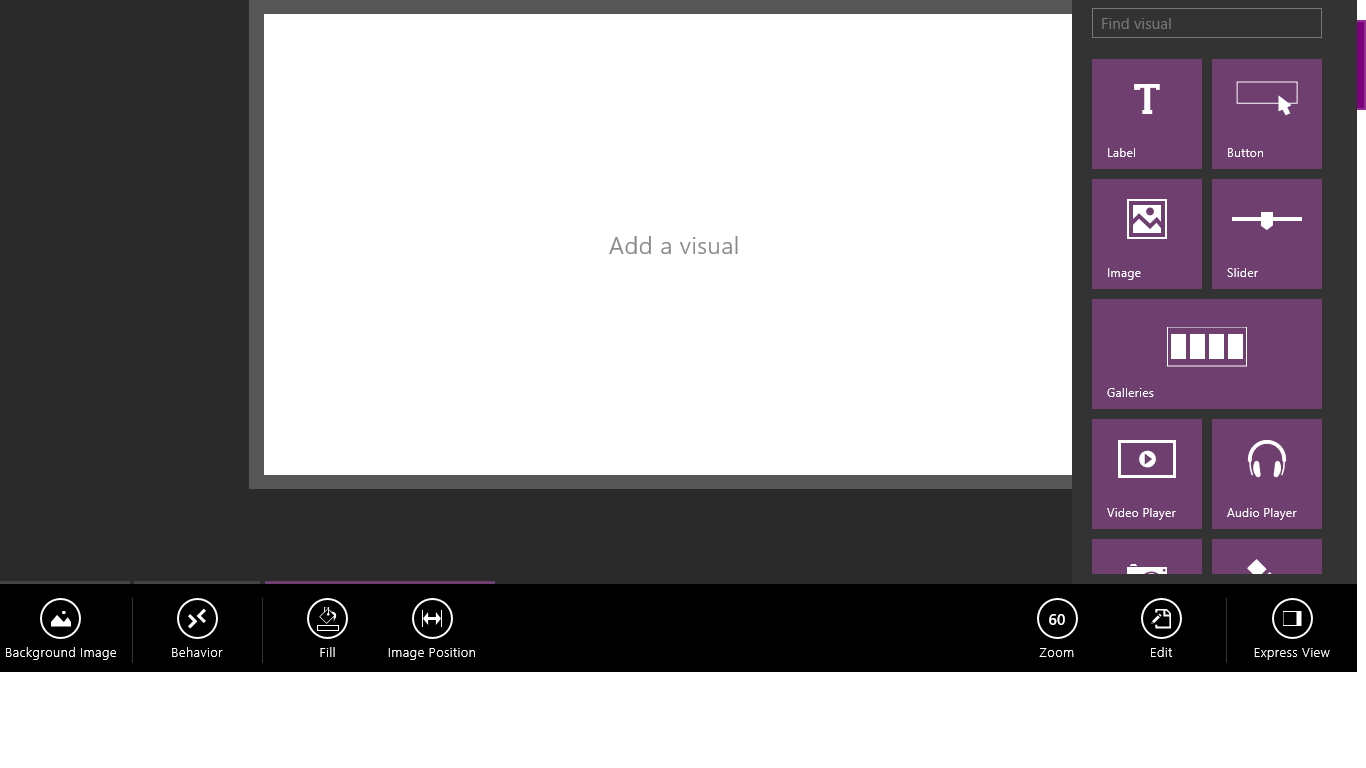
3.3 in the bottom app bar. There you will see your name of the table listed. Click on the name of the table to fetch data in the image gallery
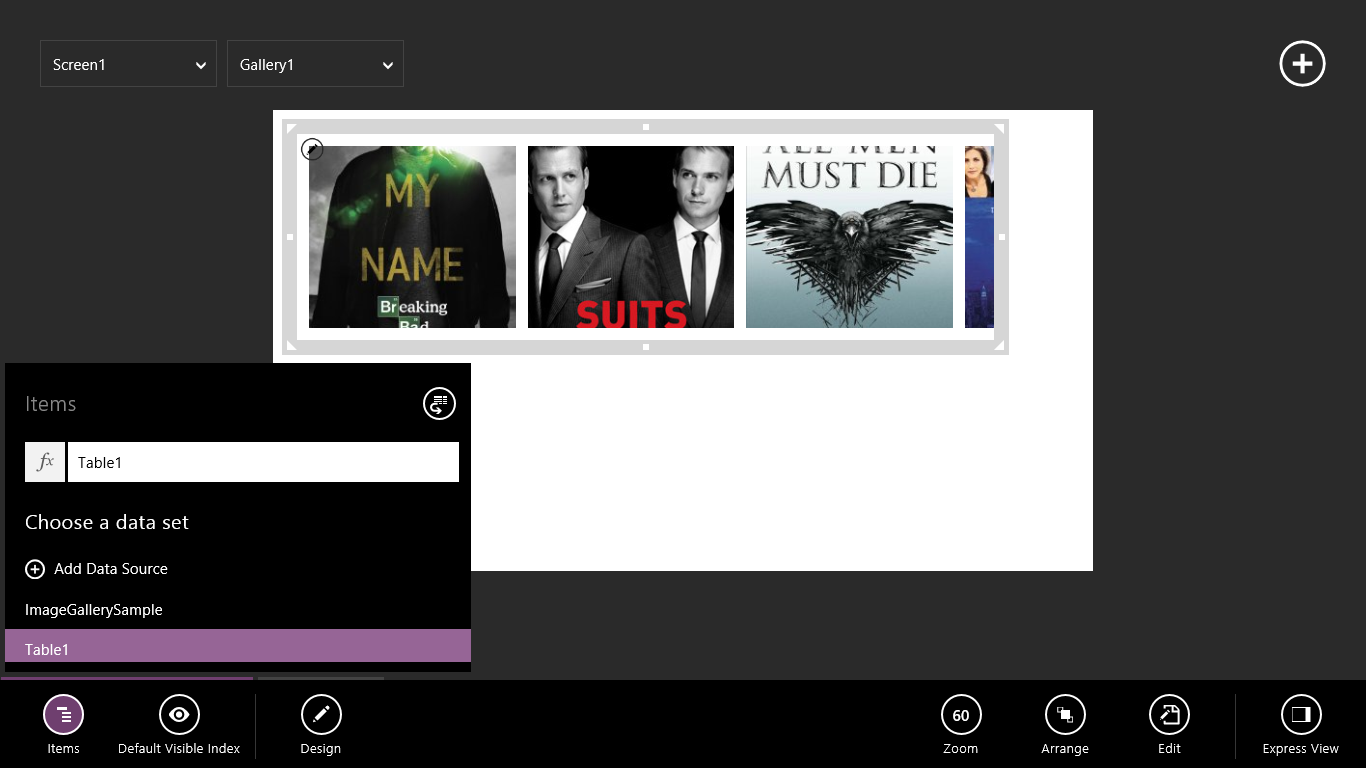
3.4 Place the image gallery where we like and add a “label” (from the list of visuals). Add background if you like.
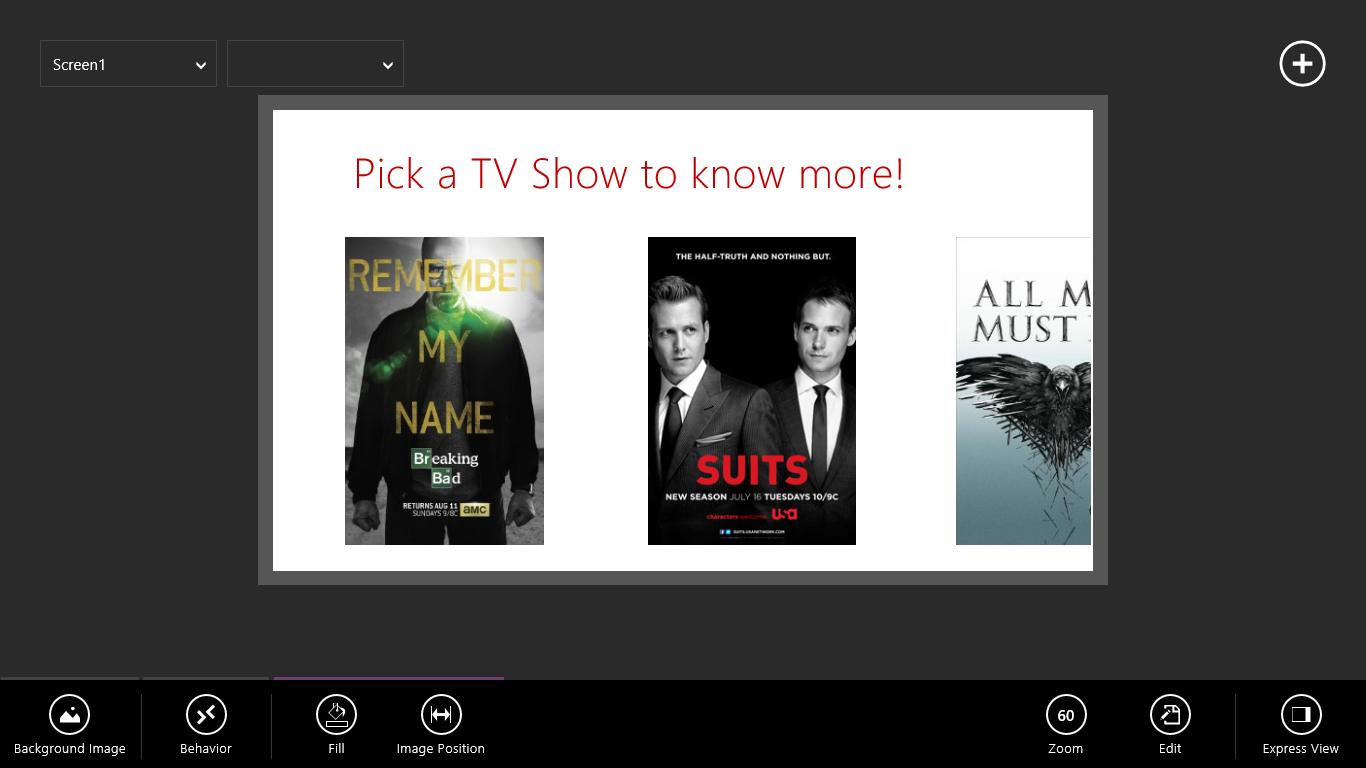
3.5 Swipe from the top and click on “add screen”. This will add another screen in the app. now we have to show data from the remaining columns of our table (excel) viz. genres, IMDB rating and description. For that, goto screen 2, there place an image box and labels and back button according to your choice. Back button can be found in the visuals-> shapes. Here is how screen 2 looks like.

3.6 Now, one important thing to do is to write proper navigation flow from screen1 to screen 2. For this goto screen 1, click on any image from the image gallery. On bottom app bar click on “OnSelect”. Then click on “Navigate”. There on the first drop down, click on screen 2. Similarly goto screen 2. Click on back button and click on “OnSelect” in the bottom app bar. There in the first dropdown select screen1. We are done now!
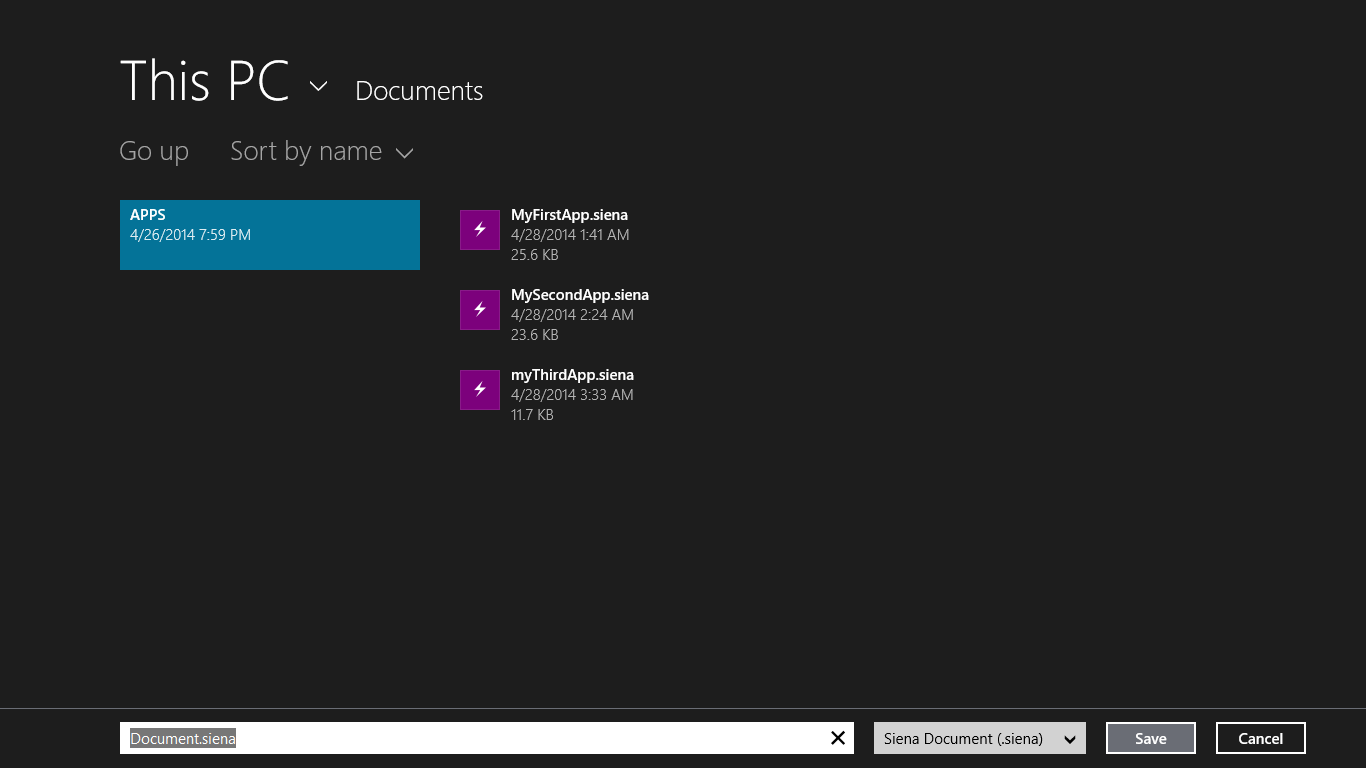
3.7 Swipe from the top and click on preview, see how your app looks like! Swipe from top , click on file and save your work! Congratulations.
Next thing on our mind would be, how to publish these apps, right? Stay tuned will be right back to explain to you, how to publish Project Siena apps.
if you want to read more about Project Siena, check out : https://www.microsoft.com/en-us/projectsiena/default.aspx
Tutorials and Samples : https://technet.microsoft.com/en-us/dn494958
Channel 9 tutorials : https://channel9.msdn.com/Blogs/Microsoft-Project-Siena