Lync 2013 resource forest deployment with manual sync - Part 1
Introduction
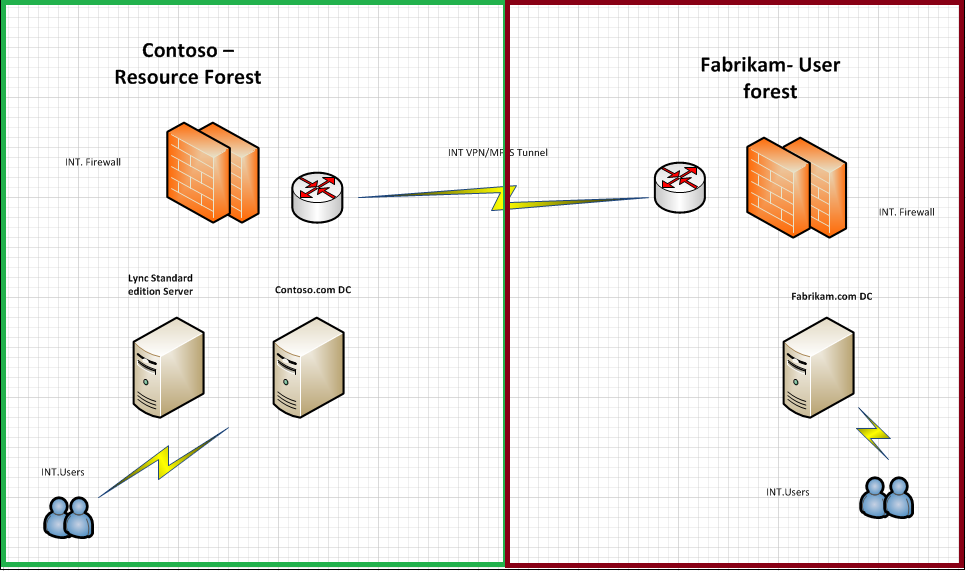
I would like to share detailed information on Lync 2013 resource forest setup with manual sync configuration. Currently, I have two AD forests as seen below. Contoso.com is the resource forest where in Lync server is hosted and fabrikam.com is my user forest. Following steps will help you with Lync resource forest deployment.
Prerequisites For Lync resource forest deployment
A) DNS Zone Creation
We need to create secondary DNS Zone in each forest for DNS resolution. Following steps will help you with DNS configuration.
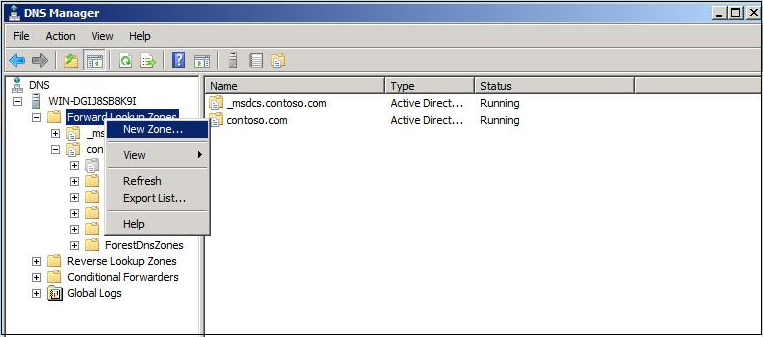
Login to resource forest DNS server and open DNS Manager. Right click on forward look up zone and select new zone;
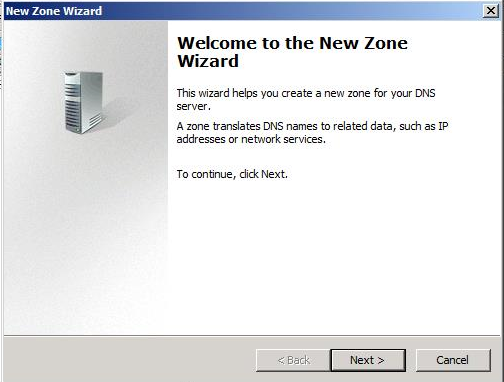
Click next on new DNS zone snap in window ;
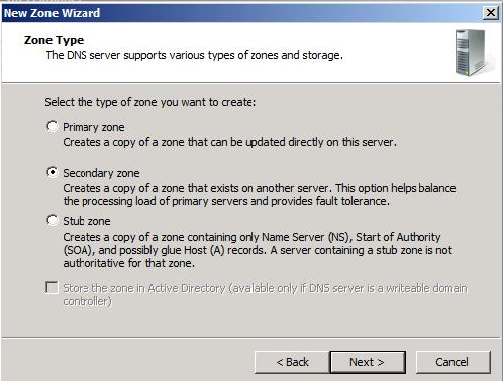
Select secondary zone as below and click next;
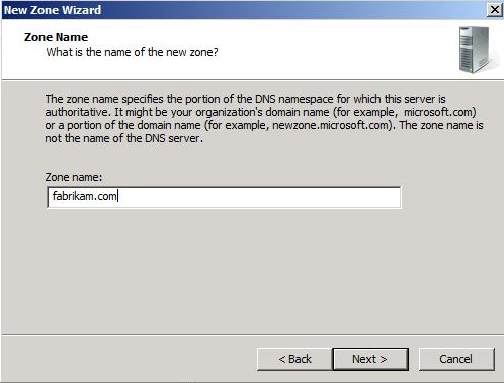
Enter fabrikam.com as secondary DNS zone in resource forest and click next;
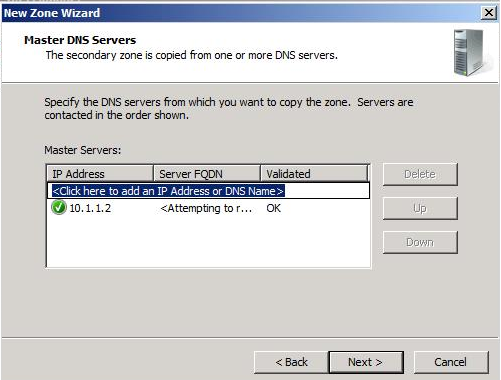
Add master DNS server FQDN/IP address and click next ;
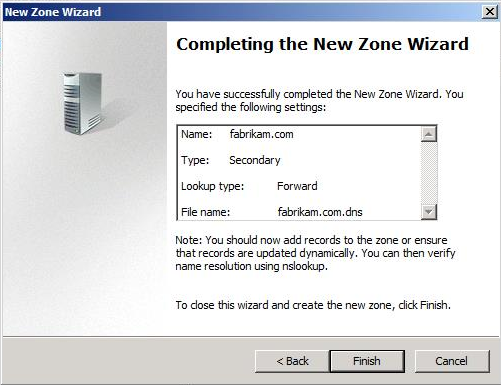
Once zone information has been validated. Click finish and complete the zone creation.
Repeat the same steps for User forest and add contoso.com as secondary DNS zone and complete the configuration.
B) Add Additional SIP domain
If customer wants to use fabrikam.com as default SIP domain for user forest , we should add fabrikam.com as an additional sip domain in Lync topology. This will make sure that fabrikam users can login to Lync client via local domain. Also make sure that Lync pool certificate have all necessary SAN entries added for fabrikam.com. Following screenshot may help you;

Lync 2013 resource forest deployment part-2 is available in following link ; https://blogs.technet.com/b/saleesh_nv/archive/2014/06/04/lync-2013-resource-forest-deployment-with-manual-sync-part-2.aspx