CPAO: Editing the Metadata.xml File
So far everything has been edited in the Content.xml file (located in the \Cal directory after renaming/unzipping the CATX file - see the section on Opening and Saving Template Files) . That is the main file for doing the formatting of a particular template.
The Metadata.xml is good for doing a couple main things:
- Naming the template. What is stored here is what will show in the Calendar Printing Assistant UI.
- Changing the paper size of the template. If you want a 3x5 index card layout, you can set that here so that the template will always load in 3x5 layout. If you need a legal paper size - same thing can be done here.
There are other things that can be formatted here as well - but these are the two main things that I have changed in this file for customization.
Okay - so here is the text in this file for this same Monthly template:
<Metadata xmlns="https://schemas.microsoft.com/2005/xcal" Version="1.0.0">
<Name>#[@TemplateName_Month_StandardMonth01]</Name>
<TimeUnit>Month</TimeUnit>
<PageSizeSelectionIndex>#[@TemplatePageFormat_Normal]</PageSizeSelectionIndex>
<PageHeight>#[@TemplatePageHeight_Normal]</PageHeight>
<PageWidth>#[@TemplatePageWidth_Normal]</PageWidth>
<PageOrientationSelectionIndex>Portrait</PageOrientationSelectionIndex>
<PageRow>1</PageRow>
<PageColumn>1</PageColumn>
<Thumbnail>DefaultPreview.gif</Thumbnail>
<Tasks>true</Tasks>
<Appointments>true</Appointments>
<SideBySide>false</SideBySide>
<PageCount>1</PageCount>
<TemplateId>135</TemplateId>
<CompanyId>1</CompanyId>
</Metadata>
This is everything. The colored areas are where you can change the name and the page size.
You can use straight textto give a unique name for the template.
On the page sizes you can use text to define the paper size, the height, and the width.
I am going to edit this template that I have created in this template editing "how-to" to have a new name and to make it legal sized instead of letter sized:
<Metadata xmlns="https://schemas.microsoft.com/2005/xcal" Version="1.0.0">
<Name>Standard Month Legal</Name>
<TimeUnit>Month</TimeUnit>
<PageSizeSelectionIndex>Legal</PageSizeSelectionIndex>
<PageHeight>14in</PageHeight>
<PageWidth>8.5in</PageWidth>
<PageOrientationSelectionIndex>Portrait</PageOrientationSelectionIndex>
<PageRow>1</PageRow>
<PageColumn>1</PageColumn>
<Thumbnail>DefaultPreview.gif</Thumbnail>
<Tasks>true</Tasks>
<Appointments>true</Appointments>
<SideBySide>false</SideBySide>
<PageCount>1</PageCount>
<TemplateId>135</TemplateId>
<CompanyId>1</CompanyId>
</Metadata>
So you can see these changes here and they are pretty self-explanatory. I packaged up the template files and created a new CATX file called "Month_StandardMonthLegal.catx" and placed it in the Templates directory, then restarted Calendar Printing Assistant so that the new template will be picked up.
After the restart - here is what is seen in the UI:
This is in the Month Templates area in the right pane.
So I clicked this new entry to load the template, and here is the template view based on this CPAO Editing series:
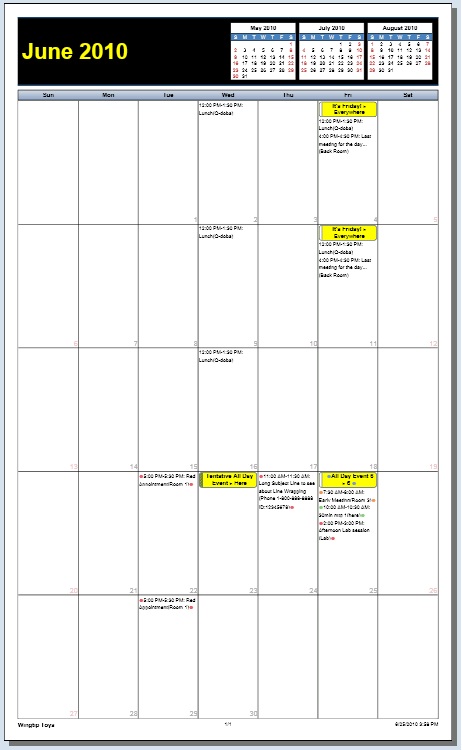
With the legal size paper - there is the advantage of getting more appointments to print on each day - and so this has been adopted by a couple customers who have users with busy schedules, etc.
I will place the entire code for this template in my next post.