How to create a Web Performance Test using Visual Studio Ultimate
Let's say that you notice a bad performance on the Project Server during 9AM-12AM Timeframe but since it's the production environment you cannot to much troubleshooting during that period.You have a service window but in that timeframe you have no user load.
All the tasks will be run on the client machine prepared for load testing.
- 1. Start Visual Studio 2010 Ultimate and create a new Testing Project.
- Start Visual Studio as Administrator.
- Go to the Test menu and select New Test.
- From the list of project templates, select the Web Performance Test template

d. Select a name for your test and then press OK.
e. Select a name for the new project that will be created.
2. Using the Web Test Recorder in IE add the new requests to our Web Performance Test.
a. When the project is created a new IE window will open and using a plug-in we can record the session.
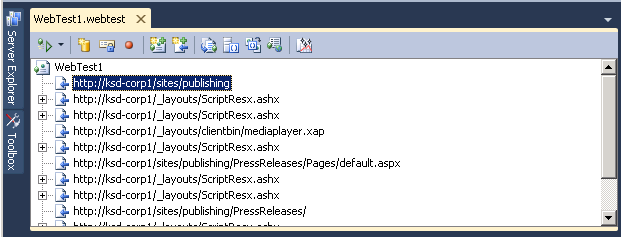
b. Browse a number of pages of the publishing portal and then press the Stop button. While you are browsing, notice how the requests will be listed in the Web Test Recorder plug-in.
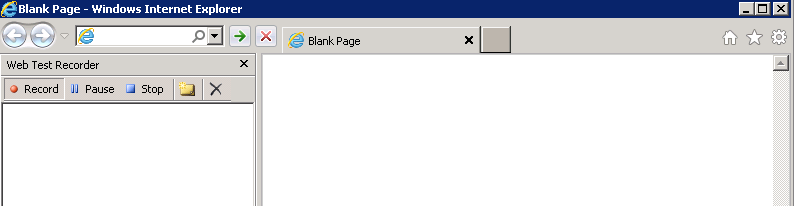
c. Press the Stop button and the requests will be added to your Web Performance Test.
3. Run the Web Performance Test in Visual Studio.
a. Press the Run Test Button in Visual Studio to run the recorded test.
b. Notice how on the lower panel we will see the test now as In Progress.
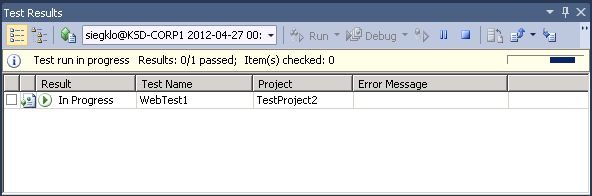
c. Double click the test name to see the details.
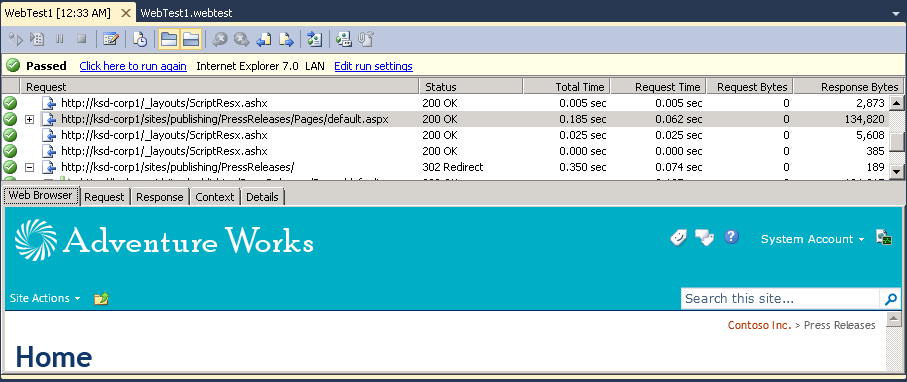
d. We can see different statistics about each page and also notice failed requests.
4. Add a validation rule for our test.
By using validation rules, we can determine what conditions are necessary for a test to pass. For example, we can consider that all requests that take longer than 5000 Milliseconds have failed.
a. In the Web Test Tab right click the Validation Rules and select Add New Validation Rule.

b. Select Maximum Request Time and set the Property to 5000 Milliseconds.
c. Run the test again and see what requests will fail the test.
Special thanks to Daniel Kloyber