Extending Remote Desktop Services via PowerShell – Part 3
(Post courtesy Manoj Ravikumar Nair, who you can follow on his excellent blog at https://www.powershell.ms)
Previous Post: Extending Remote Desktop Services via PowerShell – Part 2
Configuring Remote Desktop Connection Broker
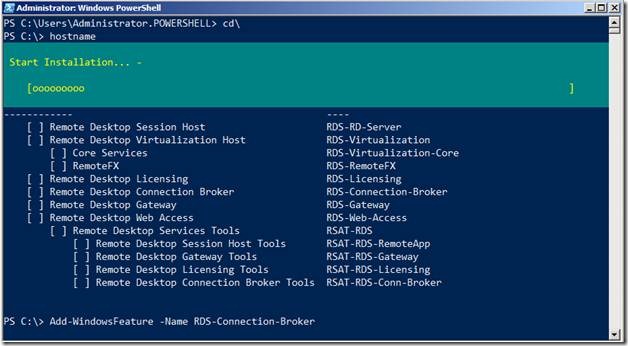
Now that we have our two RD Session Hosts Servers (COLFAX and FUJI) and our Web Access Server (FUJI) up and running properly, let’s go ahead and install the RD Connection Broker Role on the LIBERTY Server
Add-WindowsFeature –Name RDS-Connection-Broker
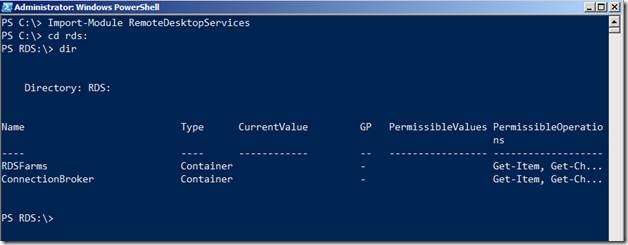
Upon Importing the RemoteDesktopServices Module, we see that there are two top level containers
Import-Module RemoteDesktopServices
CD RDS:
dir
We really don’t have to bother with the RDSFarms container. It will auto populated when we have configured the RDS Farm using the ConnectionBroker Container.
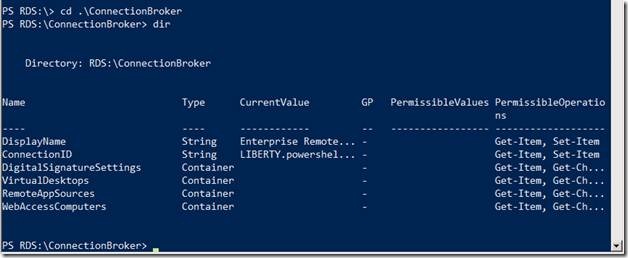
Let’s take a peek at the contents of the ConnectionBroker.
cd .\ConnectionBroker
dir
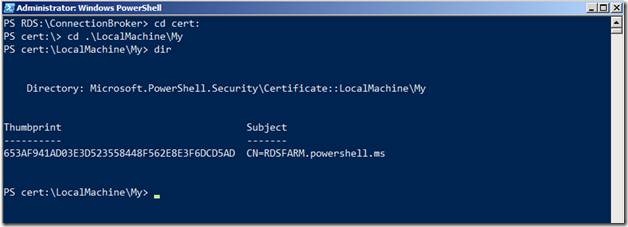
We will first configure certificates for digital signature settings. We will use the same SAN certificate we used for our RD Session Host and RD Web Access
cd cert:
cd .\LocalMachine\My
dir
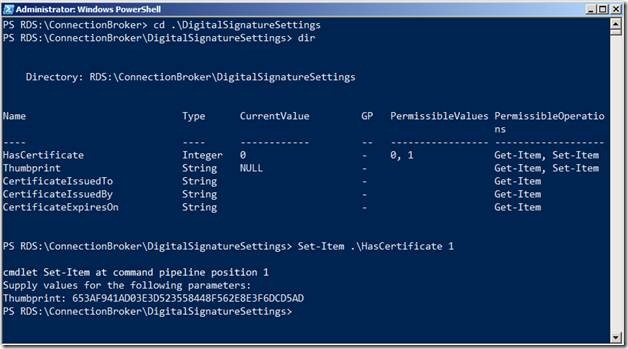
Once we have the Thumbprint available, let’s assign it to the Connection Broker server by navigating to the Digital Signature Settings as shown below:
cd .\DigitalSignatureSettings
dir
Next, we will populate our TS Web Access Computers Group by adding FUJI to it and the Session Broker Computers Group by adding FUJI and COLFAX (Our Session Host Servers) to it.
cd .\WebAccessComputers
New-Item –Name FUJI@POWERSHELL
With Web Access Group Populated, let’s proceed with the population of the Session Broker Computers Group.
Here, we will again use the Microsoft.TerminalServices.PSEngine.UserGroupHelper Runtime.
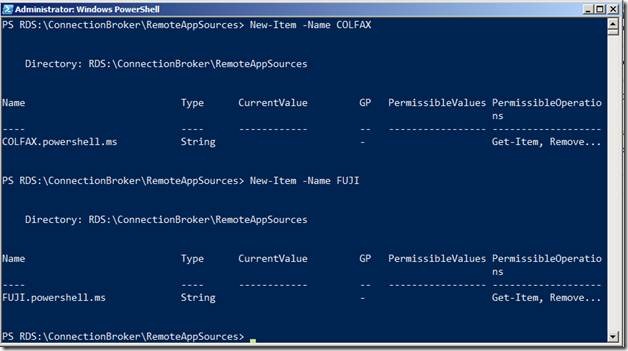
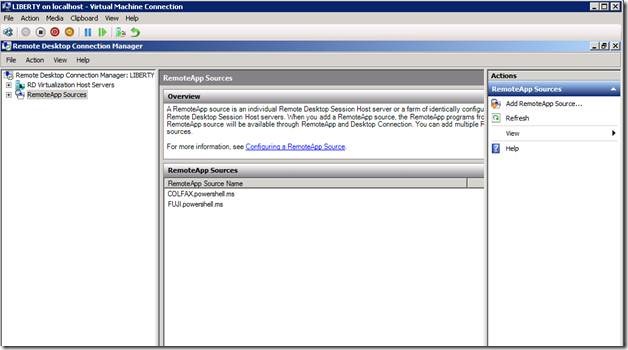
Next, let’s populate the RemoteApp Sources by browsing to the RemoteAppSources Container and adding our session host computers there.
Note that while adding the RemoteApp Sources we just gave the NetBIOS names of the Session Host Computers (unlike the way we specified earlier with the @ symbol). I know its strange and you might be tempted to use the FUJI@POWERSHELL way to add a computer account but this might result in an error.
So while adding RemoteApp Sources, just follow the syntax below:
New-Item –Name <NetBIOS name of the Session Host Server>
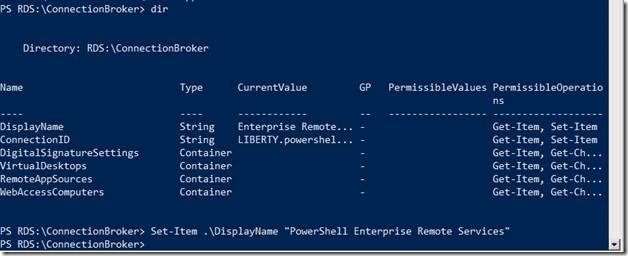
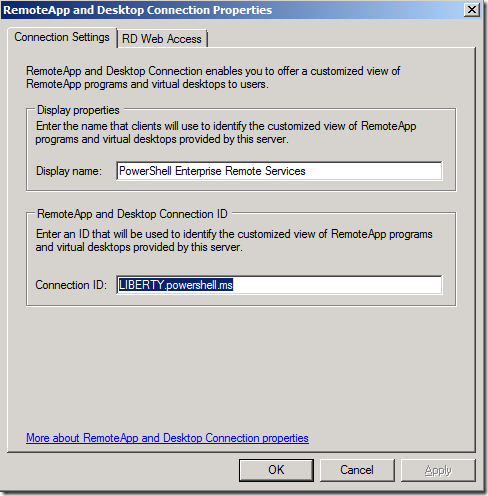
To give our RDS a more personal look, let’s change the display name by setting the string value of the DisplayName setting within the ConnectionBroker Container as shown below:
In a similar way, we can configure the other settings like RD Virtualization Hosts etc. using the ConnectionBroker Container.
Next Post: Extending Remote Desktop Services via PowerShell – Part 4
