Setting up Windows Azure Active Directory ACS to provide identities to Windows Azure Pack
Authentication in Windows Azure Pack follows Claims-based principles and works with a customized ASP.Net Membership provider based Tenant Authentication Site for Tenants and a Windows Authentication Site for Administrators out of the box. You can also integrate the stack with Active Directory using Active Directory Federation Services (ADFS). This has been discussed in detail in an earlier blog series. If the requirement is to use other identity providers to provide identities to WAP, it is strongly recommended to federate them with ADFS to allow users to sign in to WAP. This provides advantages such as being able to keep your authentication mechanism on-premises and having full control over your ADFS farm.
Apart from these options, you can also integrate other Security Token Services (STS) that are capable of communicating via the WS-Federation protocol to provide identities to WAP. One such example is Windows Azure Access Control Services (ACS). You can leverage Azure Access Control Services and Azure Active Directory/ Office 365/ Org ID accounts to provide your cloud-based identities to Windows Azure Pack directly. If you are already an Azure Active Directory customer who has your on premise Active Directory based identities sync to Windows Azure, you can leverage this post to use ACS as your Identity Provider directly, without ADFS in the middle.
This post is also meant to give you an idea of how you can federate other similar Identity Providers with WAP. At the end of this exercise, your environment will look something like the diagram below:

Use Cases
- Enterprises with on premise active directory already directory synced with Azure AD or have Office 365 based user accounts and have already federated all of their partners with ACS
- Enterprises who do not want the overhead of deploying and maintaining an ADFS farm
- Infrastructure-free organizations that have all services already hosted in the public cloud and do not want to pursue the option of installing a local AD or AD FS instance.
This post will guide you through the following steps
- Create an Access Control Namespace on Windows Azure
- Add the WAP Tenant Portal as a Relying Party to ACS
- Configure Live (Microsoft) and Google services to act as Identity Providers
- Configure Azure Active Directory to be exposed via the Namespace and provide identities
Prerequisites
- Windows Azure Pack Installation (Express or Distributed)
- Windows Azure Subscription
- Windows Azure Active Directory
Create an Access Control Namespace on Windows Azure
The first step is to create an ACS Namespace. This is your STS that will generate Signed Identity tokens to be consumed by WAP. This will also be the only STS that WAP will trust.
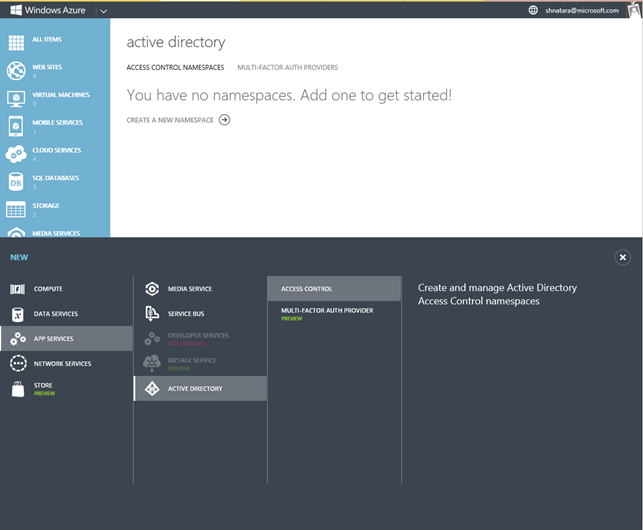
- You can create an Access Control Namespace in Windows Azure by opening the bottom drawer and selecting App Services à Active Directory à Access Control
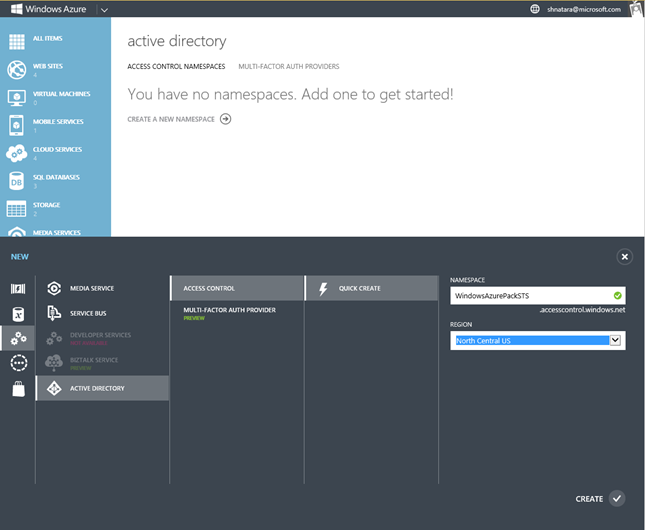
- Click on Quick Create and enter the name of the namespace that you'd like to create. I will call mine 'WindowsAzurePackSTS' for this example and add mine to the North Central US region (it doesn't matter which region you add it to)
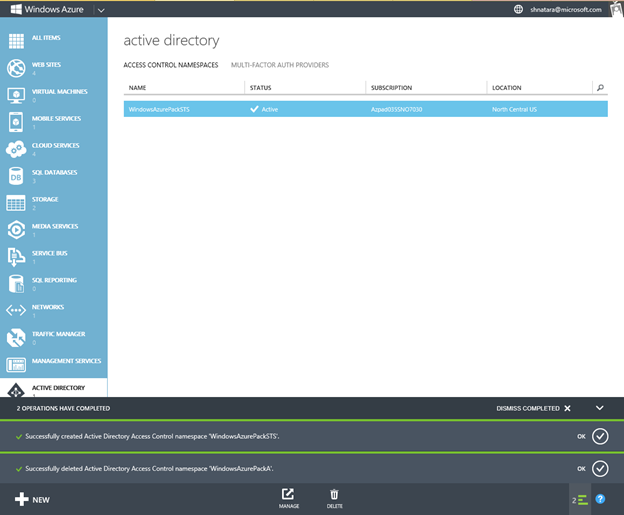
- Once the creation of the namespace completes, click on Manage.
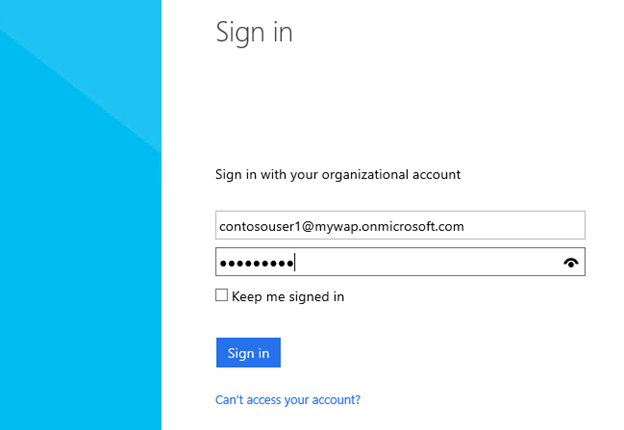
- Sign in with your credentials as appropriate
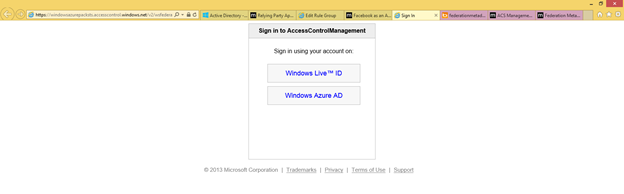
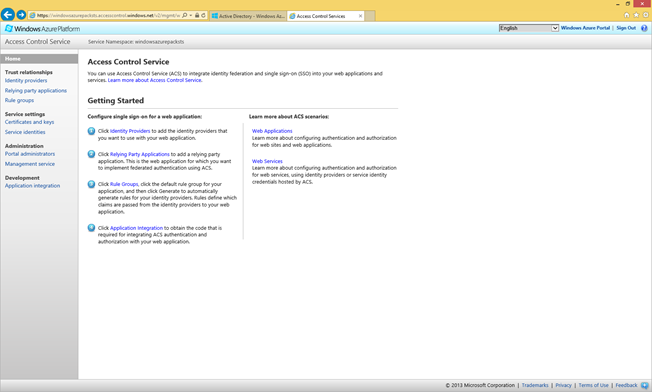
- This should take you back to the Silverlight based Namespace Management Portal.
Add the WAP Tenant Portal as a Relying Party to ACS
Now that the Namespace is created, you will have to tell it about the WAP Portals that is expecting tokens from it. If you are not familiar with Federation principles, the app that is expecting a token from a STS is called a Relying Party. So in this phase, we are going to tell ACS about the WAP tenant portal.
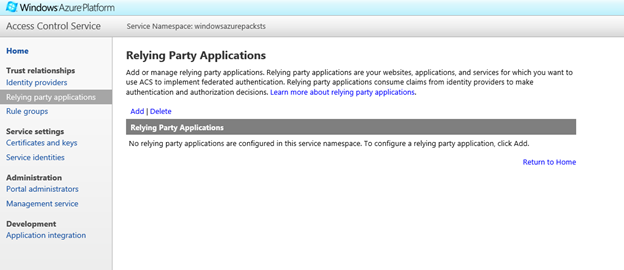
- Click on Relying Party Applications and click on Add to add the Windows Azure Pack tenant Portal as a Relying Party to this namespace. This essentially tells the ACS namespace that the Tenant Portal is expecting it to provide user identities.
- You will now go to the Add Relying Party Application page where you can enter details about the WAP tenant Portal. You can either fill all these steps manually, or provide a Federation metadata file from the tenant portal. A Federation Metadata file contains information such as the address of the Relying Party, the identifier that should be used to identify the relying party etc.

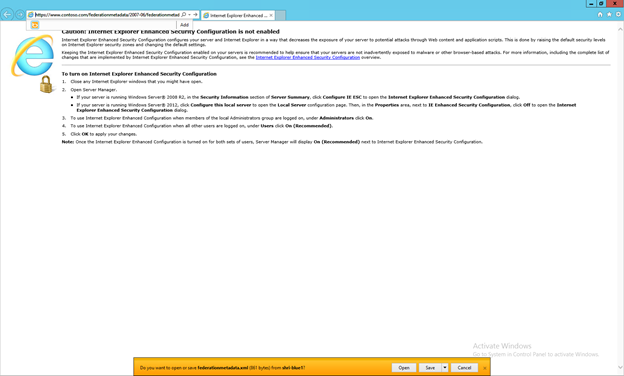
- The easier option is to provide the federation Metadata from the tenant portal. The federation metadata file may be found at https://www.contoso.com/federationmetadata/2007-06/federationmetadata.xml (Replace www.contoso.com with or tenant portal address). Save the XML file locally on your computer
- Now back in the ACS management portal, Upload the federation metadata file and provide a Display Name for the Relying Party. I'm calling mine "Windows Azure Pack Tenant Portal"
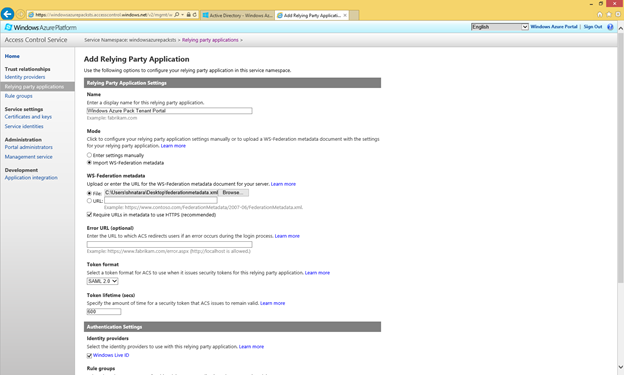
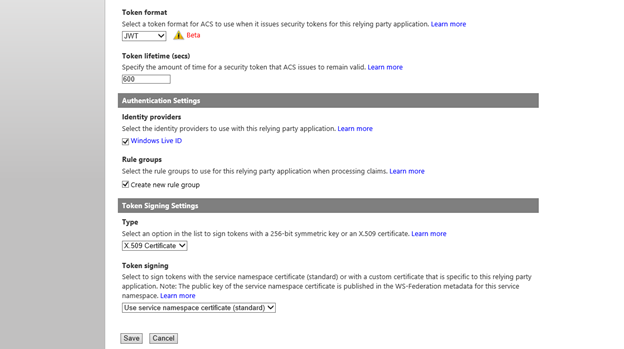
- Scroll Down to the Token Format section and choose the token format to be 'JWT'. By Default, the Windows Live Identity Provider will be selected. Deselect it if you do not want to allow users to sign in using their Live id. Under the Token Signing Settings section, select X.509 Certificate as the Type. Click on Save.
Configure external services to act as Identity Providers
We have our ACS and WAP portals setup. We now have to find a source of Identities that can be flown in to the WAP Portals through ACS. In this section, I will talk about external services like Google and in the next, we will take a look at Azure Active Directory. If you don't want external identities you can skip this section and move to the Configure Azure Active Directory and ACS section.
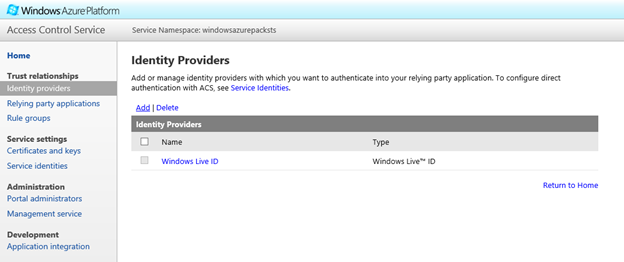
- Next, on to adding another Identity Provider. Windows Live is enabled by default when you use ACS, but you will have to do a little bit of 'Under the hood' tweaking to get more identity Providers in. Go to the Identity Providers section and select Add to add a new Identity Provider.
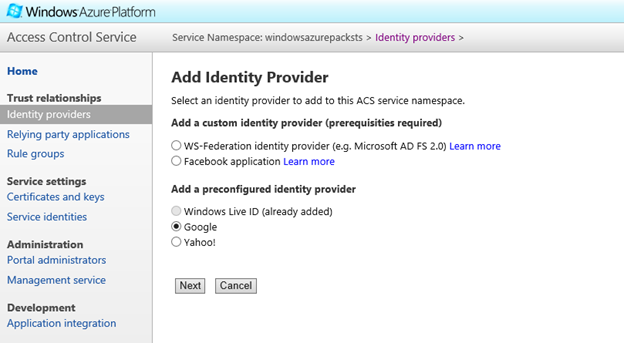
- For the first scenario, let's pick Google. If you would like to federate your Azure Active Directory or your Office 365 account, you can skip this section and move on to the next. Select Google and click Next.
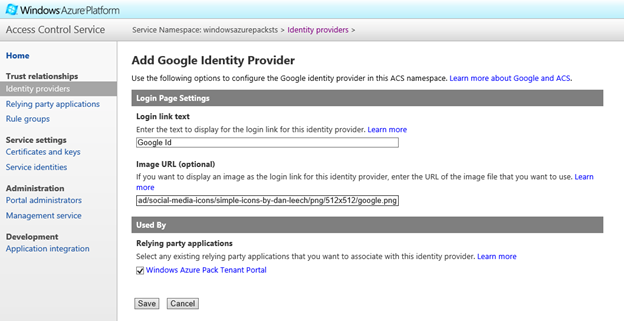
- Fortunately, ACS is well federated with Google right from the get go, so you have very little to do. Just enter the Login Link text and select the Relying Party you just added and hit Save.
Note: When you use Google, I am currently not sure if there is any particular way that to restrict only certain users to get access to the system, as Google simply authenticates any valid user. However, authorization happens inside WAP and you can prevent users from signing up for any resources by creating Private Plans which will restrict usage of the system. One possible way that I can think of is to use a Google Apps account to manage a set of users and separately federate it with your ACS instance. (Something I have not personally validated...or can vouch for, but certainly an avenue to explore). I will keep exploring for a better way to do this form of authentication and will update here once I find it. 
Connecting Azure Active Directory and ACS
Let's go a step further and add your Azure Active Directory to ACS. You can find a detailed tutorial about this at:
If you are looking for guidance on connecting O365 with ACS, here it is:
I will not reiterate all of the content from these blogs and will assume that you have gone through those and at the moment, you have a working installation of Azure Active Directory or Office 365 directory ready and good to go with a bunch of users already in it.
The next couple of sections have been quoted from the blog at:
First up, you need to let your Active directory tenant know about the existence of your ACS namespace. The web SSO (in this case, WS-Federation) endpoints won't issue tokens for any recipient, only the ones represented by a service principal object will be deemed eligible.
As of today, the Windows Azure Active Directory portal does not yet offer commands for creating service principals; so your most straightforward option to get that done is by using the Office365 cmdlets, These can be downloaded from here (please read the instructions carefully, especially for what concerns prerequisites and x86 vs x64 platforms).
Once you have installed the cmdlets, double click on the new PowerShell shortcut on your desktop ("Microsoft Online Services Module for Windows PowerShell") and enter the following (after having substituted 'windowsazurepacksts' with your own ACS namespace)
    1: Connect-MsolService
    2: Import-Module MSOnlineExtended –Force
    3:
    4: $replyUrl = New-MsolServicePrincipalAddresses `
    5: –Address https://windowsazurepacksts.accesscontrol.windows.net/
    6:
    7: New-MsolServicePrincipal –ServicePrincipalNames @("https://windowsazurepacksts.accesscontrol.windows.net/") `
    8: -DisplayName "mywap ACS Namespace" `
    9: -Addresses $replyUrl
Provision Azure Active Directory as an IdP in the ACS namespace
- Go back to the 'Identity providers' section of the ACS management portal and hit Add, choose "WS-Federation identity provider" and click the Next button.
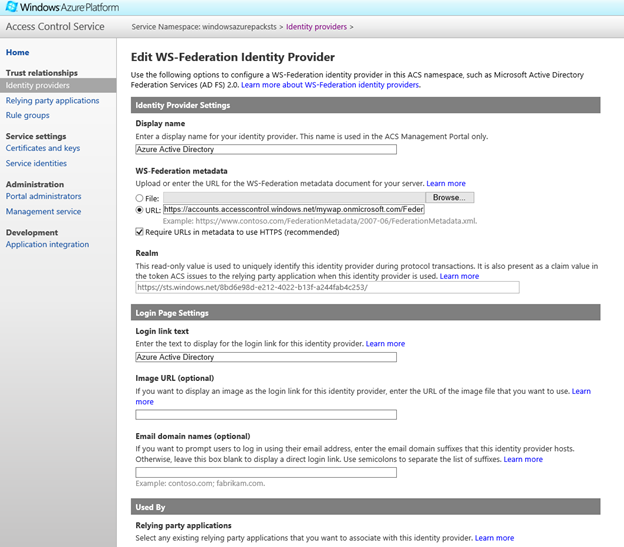
- Type in Display name and Login link text and paste in the URL field of the WS-Federation metadata section the URL of the metadata document of the directory tenant. You can find the federation metadata of your Azure Directory at: https://accounts.accesscontrol.windows.net/mywap.onmicrosoft.com/FederationMetadata/2007-06/FederationMetadata.xml
Replacing the 'mywap' with your Active Directory namespace. Scroll to the bottom of the page, Select the "Windows Azure Pack Tenant Portal" Relying Party
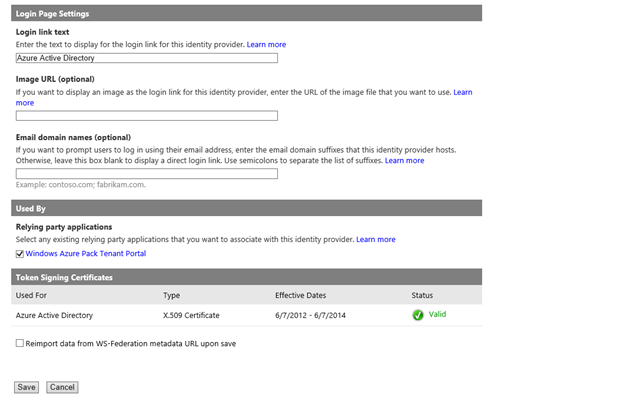
Hit save and you're good to go.
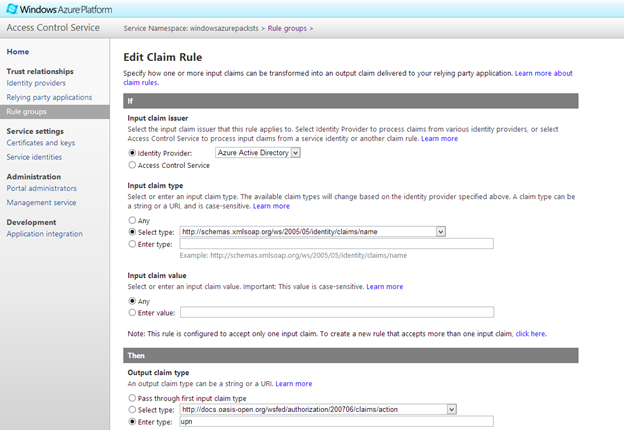
Claims Transformation Rules
We now have our Relying Party and our Identity Providers set up. We should now tell ACS how to transform the incoming Claims from these Identity providers so that the Relying Party can understand it. We do that using Rule Groups which are a set of rules that govern Claim Transformation. Since, we have two identity Providers, we will have to create a rule for each of these.
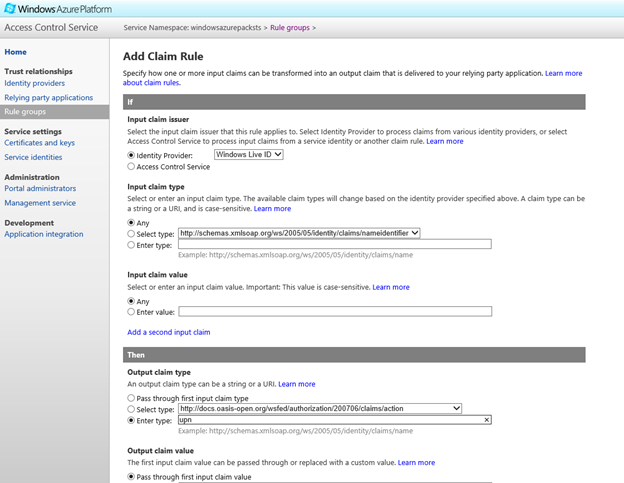
Click on Rule Groups and select the 'Default Rule Group for Windows Azure Pack Tenant Portal'. This rule group is generated automatically when you created the Relying Party above. Click on Add to add a new rule.

First up, Select Windows Live ID as the Identity Provider, select incoming claim as https://schemas.xmlsoap.org/ws/2005/05/claims/nameidentifier. The WAP portals look for a UPN claim. Hence, in the Output Claim type section enter 'upn' in the Enter Type text box and hit Save.
NOTE: Once you begin typing 'upn' you will get suggestions for UPN with fully qualified path. Ignore the suggestions and ensure that the text box has only 'upn'
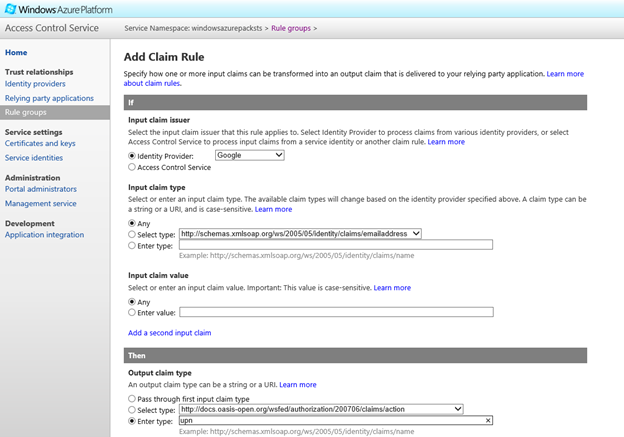
Scroll down to give this rule a Description and hit Save.Repeat the above process again, this time selecting Google as the Identity Provider and https://schemas.xmlsoap.org/ws/2005/05/identity/claims/emailaddress as the incoming claim type and 'upn' as the outgoing type.
Do this again, one more time, for your Azure Active Directory Identity Provider. Select https://schemas.xmlsoap.org/ws/2005/05/identity/claims/name as the incoming claim type and 'upn' as the outgoing type.
Great! Your ACS is fired up and ready to be used with WAP!
Note: You can use this process to federate any WS-Federation based Identity Provider with ACS and use it to provide identities to your WAP installation!
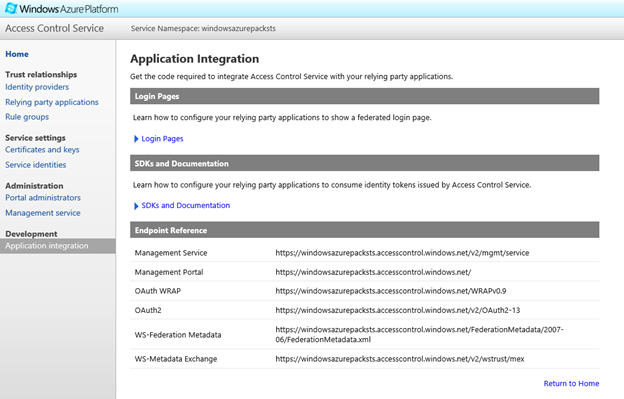
Configure WAP Portals to use ACS
Right now, the ACS side of things have been set up! What's remaining is to let the WAP installation know that you will be providing identities through ACS, that it should look for a specific signed token from ACS and also provide the signing certificate. You do this by providing the WAP portal, the federation metadata of your ACS instance just like you told ACS about WAP through the WAP portals' metadata file.
Select Application Integration from the navigation bar and look for the WS-Federation Metadata under the Endpoint Reference section. The federation metadata file can typically be found at .com.accesscontrol.windows.net/FederationMetadata/2007-06/FederationMetadata.xml">.com.accesscontrol.windows.net/FederationMetadata/2007-06/FederationMetadata.xml">https://<yourservicestsname>.com.accesscontrol.windows.net/FederationMetadata/2007-06/FederationMetadata.xml
Tired of doing UI stuff yet? Time for some PowerShell Action. To onboard the ACS federation metadata file to WAP, you will need the following script. Use the link to the metadata file you obtained from the ACS management console.
Execute the PowerShell below and point the ConnectionStringto your WAP configuration database.1: $dbServer = 'azurepack\sqlexpress' 2: $dbPassword = 'pass@word' 3: $portalConfigStoreConnectionString = [string]::Format('Data Source={0};Initial Catalog=Microsoft.MgmtSvc.PortalConfigStore;User ID=sa;Password={1}', $dbServer, $dbPassword) 4: 5: Set-MgmtSvcRelyingPartySettings -Target @("Tenant") ` 6: -MetadataEndpoint https://windowsazurepacksts.accesscontrol.windows.net/FederationMetadata/2007-06/FederationMetadata.xml ` 7: -ConnectionString $portalConfigStoreConnectionString -DisableCertificateValidationOpen your browser and visit the WAP tenant portal
Notice that you are now being redirected to the ACS sign in page which lists Windows Live, Google and Azure Active Directory options that you just configured
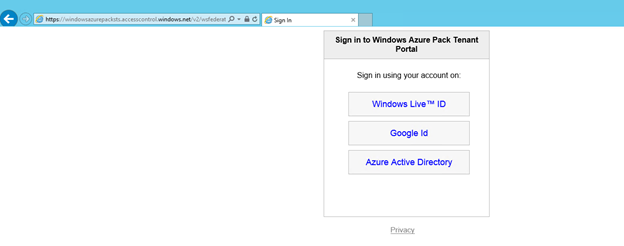
I am going to select Google, and am going to enter my google credentials to login
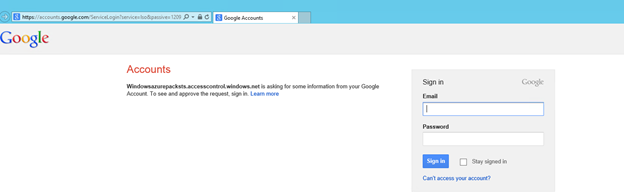
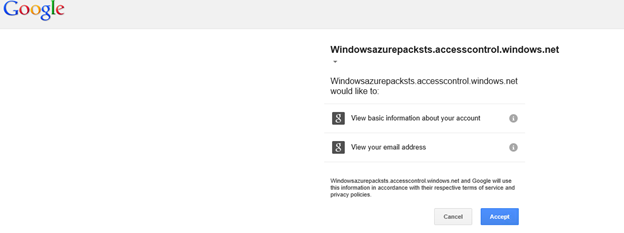
Since this is the first time I am accessing my Google credentials through the WAP portal, Google will ask me if it is okay to trust this application and share your email address and basic info with the application. Select Accept
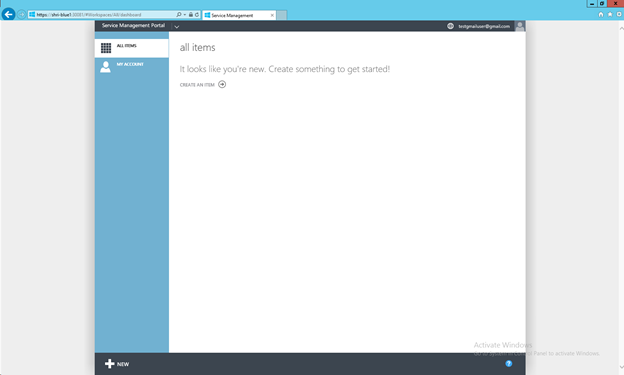
Now a set of redirects will happen where your Identity token will be passed on from Google to ACS to the WAP portal and you will be signed in to WAP with your Google account. Viola!! Now all your customers will be able to log in to WAP using their Google Accounts!
It is really that easy!!
Now go back to your WAP tenant Portal and select the Azure Active Directory option and you will be taken to the appropriate logon page.

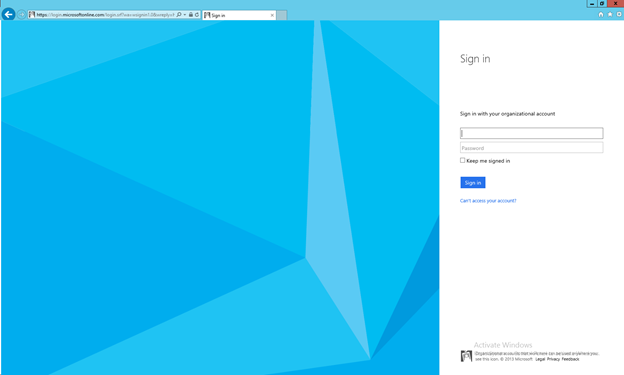
Enter your AAD credentials and watch the redirect magic happen as you are taken back to the WAP portal.
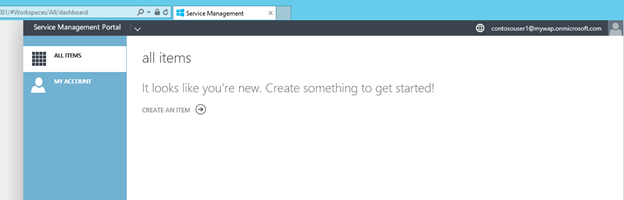
Done! You have now successfully used Azure Active Directory and ACS, Google and Windows Live to provide Identities to WAP!
I mentioned at the start that you can also use this guide to federate other WS-Federation based STS to provide identities to WAP. To do that you will have to perform similar steps on your STS as you did with ACS and execute the "Configure WAP Portals to use ACS" replacing the federation metadata endpoint with that of your STS and you're done.