I have a Surface RT and going away for a few days, now what??? I have a MSDN subscription :-) (Part 2)
In the previous blog post (here) I talked about how you can start using Windows Azure with an MSDN subscription and we did the following:
- Installed App. Controller
- Configured App. Controller to communicate with Windows Azure
- Created our own Windows 2012 image that we want to use in Windows Azure
In this blog post, I will explain how we can upload the self-made image to Windows Azure and create a virtual machine using the uploaded image.
It this blog post we will do the following:
- I need to move my image to Windows Azure from my App. Controller server.
- I need to provision the VM, based on my image in Windows Azure.
- I need to connect to the Windows machine using my Surface RT and start writing a blog post.
Sounds fun, right? Let’s get started.
I need to move my image to windows Azure from my App. Controller server
App. Controller is the component is the System Center suite that enables you to connect to clouds and get one holistic view of all your resources across clouds.
In this example, we will use App. Controller to move the VHD from the App. Controller server to a BLOB created under a Windows Azure subscription.
To do this, follow these steps:
- Logon to the App. Controller server as administrator, start the App. Controller console and login.
- In the left menu select “Library” and under the sub-menu select “Shares”.
- Click the “Add” button to add a share to the App. Controller Library.

- Insert the path to the share created in the last blog post, that contains the image VHD e.g. \\ac01\vhdstore and click “Ok”
- The new share folder will now show under “Shares”, select the folder share and the VHD will show in the main window.

- Below the “Shares” you can see the Windows Azure subscription library called “Windows Azure”, expand the library
- The Windows Azure subscription name created earlier will now show. Under the subscription, you can see all storage accounts created under this Windows Azure account.


Above you can see how the two storage account shows in App. Controller (on the left) and how the same accounts are showing in the Windows Azure portal.
- Go back to the local share (under Shares) created earlier and select the VHD e.g. Windows2012Base.vhd.
- In the ribbon menu, select “Copy”.

- Go back to the Windows Azure Library subscription and expand the storage account where you want to upload the image.
- Under the “Storage Account” select which container you want to use (If no container is available you can create a new container from the ribbon menu) e.g. ravnholtcontainer
- When you select the container all VHD stored in the container will show.
- Click the “Paste” button from the ribbon bar to copy the local image to the Windows Azure container.
- In the lower right side of the screen, you will see a small message telling that the copy is completed.

- You can now see the image has been uploaded to the Windows Azure container.

- Go back to the Windows Azure Subscription under “Library”, expand the subscription name and select “Images”.
- Click “Add” button in the ribbon bar.
- Give the image a name e.g. windows2012base.
- Select “Add from container” and browse the path to the container used to upload the VHD file and select the file.
- Select “Windows” for the operating system and click “Ok”.
- After a few minutes, you will see that a new image has been added to the bottom of the list.

We have now successfully created a template and uploaded a VHD image to Windows Azure.
To verify that the image is in fact showing in the Windows Azure portal do the following:
- Login to Windows Azure Portal
- Select “Virtual Machines” form the menu on the left side.
- Select “Images” from the top menu.
- Verify that the new image is showing in the list of images and the status is “Available”

I need to provision a VM, based on my image in Windows Azure
After the image has been uploaded and a new template has been created in Windows Azure we now need to provision a VM, which utilizes this image.
To do this, follow these steps:
- Login to Windows Azure Portal.
- Select “Virtual Machines” form the menu on the left side.
- Select “+New” from the bottom menu.
- Select “Compute” > “Virtual Machine” > “From Gallery”.

- Scroll down the list and select the image created earlier with App. Controller e.g. Windows2012base and click “Next Arrow”.
- Give the VM a name e.g. Win2012Desktop, Select “Small” for Size and Specify a user name and password and click “Next”.
- Give the VM a dns name e.g. Win2012Desktop and click “Next”.
- Leave the “Availability Set” to “None” and click “Complete”.
The creation of the VM will now start and take a couple of minutes to deploy.
- After the creation is completed click on the virtual machine to configure it.
- Under “quick glance” write down the DNS name e.g. win2012desktop.cloudapp.net.

- Select “Endpoint” from the top menu.
- Verify that “Remote Desktop” is listed and “Private Port” is set to “3389”.
- Write down the “Public Port” e.g. 61455 (this can be changed if needed by selecting “Edit the Endpoint” form the bottom menu).
I need to connect to the Windows machine using Surface RT and start writing a blog post
After completing the above steps, we now have a Windows 2012 Server running in Windows Azure based on our self-created image.
Next step is to test if we can connect to the Windows 2012 Server from a Surface RT.
To do this, follow these steps:
- Start your surface RT.
- Login with a user.
- Press the “Windows Key”.
- Swipe in from the right and select “Search”.
- Type “Remote Desktop” in the search window.
- Click on the Remote Desktop Connection in the result window.
- Write the name for the VM as written down under “quick glance” and add the “Public port” in the following format: <VM Name>:<Public Port> e.g. win2012desktop.cloudapp.net:61455
- Click “Connect”.
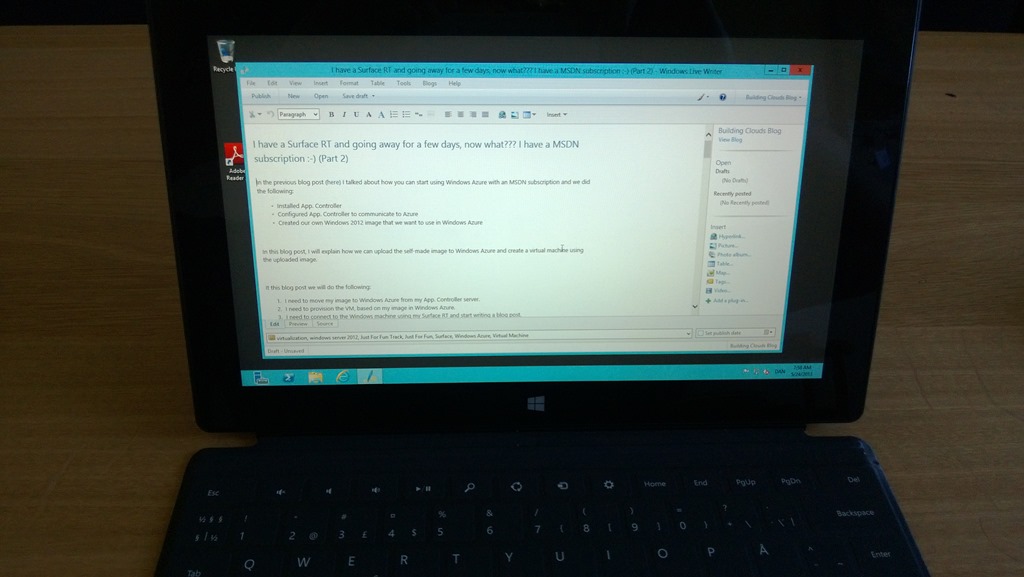
- After login Start “Live writer”.
- Specify your blog account details.
- Blog away.
I have attached two pictures that shows this blog post running on the VM in Windows Azure from my Surface RT.
Not sure it proves anything, but no smoking mirrors is what I’m trying to say. 
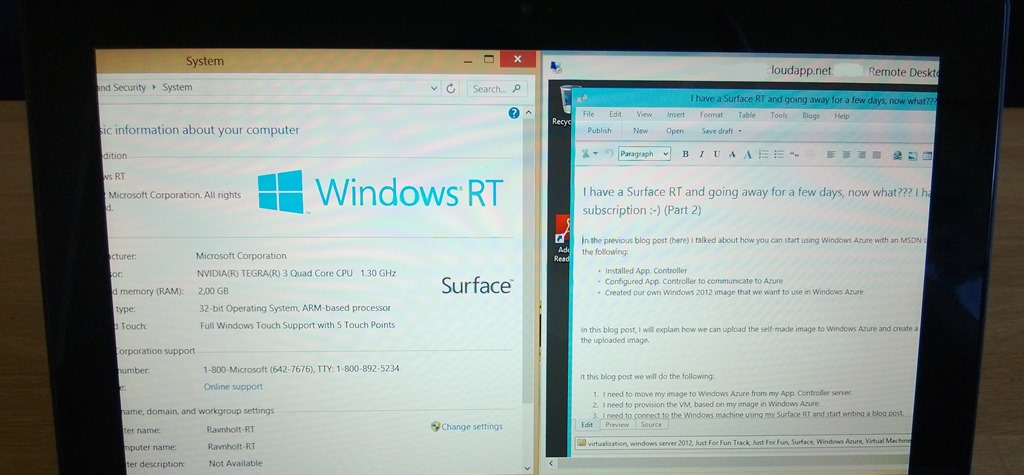
I hope that this gives you some insight into how Windows Azure VMs can be used for running apps that would normally not work on your Surface RT.
Please let me know if you have any ideas or feedback on these two blog posts.
