Use PowerShell and DSAMAIN.exe to Mount a Backup of NTDS.dit
A few weeks back I talked about using PowerShell to create a regular System State backup. Have a look here for more information.
This week, I'd like to talk about using PowerShell and DSAMAIN.exe to have a look at the point-in-time state of the Active Directory data captured in a backup. This could help you ascertain if the System State either has the information you want to restore or, in the highly unlikely event of a forest recovery, doesn't have the information that created the corruption!
In addition to PowerShell and DSAMAIN.exe you'll need to know the location of your backup. Let the ingredients speak for themselves!
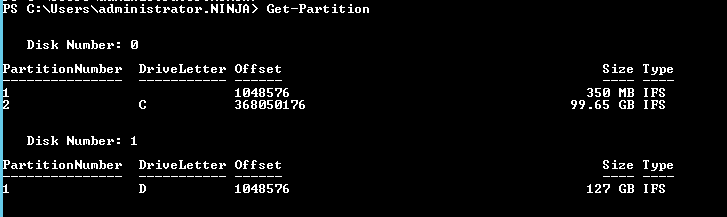
First, take stock of your existing disk setup:
Get-Partition
Now, mount the VHDX disk contained in the remote backup:
Mount-DiskImage –ImagePath "\\NINJALDS01\TEMP\Backup\1502021020\WindowsImageBackup\NINJADC02\Backup 2015-02-02 102022\dcafa9ee-79ef-426b-ba58-806e81f09963.vhdx"
Time to check your disk configuration again:
Get-Partition
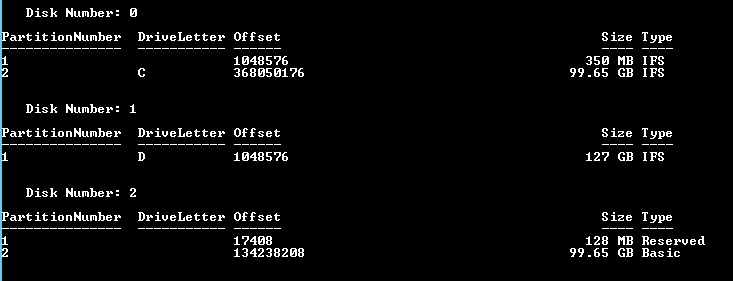
Note the disk number (2) and partition (2) where the backup of NTDS.dit resides. Use this information to assign a drive letter in the operating system:
Set-Partition –DiskNumber 2 -PartitionNumber 2 -NewDriveLetter Z
Finally, use DSAMAIN.exe to mount the backup of Active Directory:
Dsamain –dbpath "Z:\Windows\NTDS\NTDS.dit" -ldapport 5000
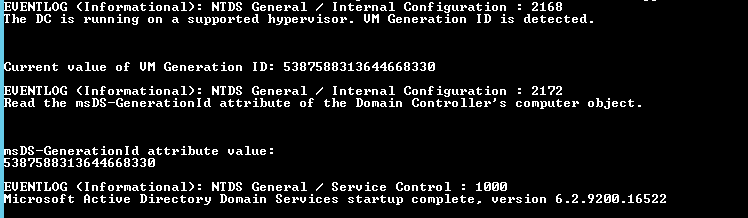
Sweet! Now we can point our existing admin tools at this mounted copy by using the <server>:<port> notation. For example:
Get-ADUser -Identity IanFarr -Properties * -Server NINJADC02:5000
Or...
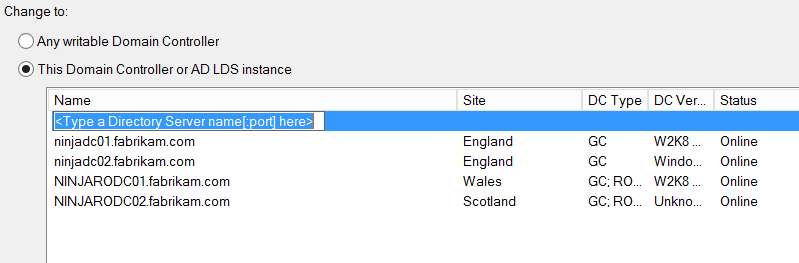
The deleted information (or the absence of corruption) can now be easily and safely corroborated.