Windows Azure Pack Installation
This is the fourth article in a series of blog posts that will guide you through a simple implementation of a self-service private cloud interface using Windows Azure Pack. There are many layers of the application, and the underlying infrastructure, when implementing this solution. As we progress through the series we will lay out a scenario, a set of requirements, and provide guidance on how to implement each of the numerous prerequisites, with the ultimate goal of a self-service portal that your team can use to create and manage their own virtual machines.
This article goes over the Windows Azure Pack installation, as well as the instance specific prerequisites. After installation is completed we will also go over the initial configuration, showing how the architecture that was developed in the previous blog posts is finally connected to Windows Azure Pack.
- Requirements, Architecture, and Prerequisites
- Configuring the VMM Fabric
- Configuring Service Provider Foundation
- Windows Azure Pack Installation (This Article)
- Windows Azure Pack Configuration
- Windows Azure Pack Customization
- Windows Azure Pack Usage
Windows Azure Pack Overview
Windows Azure Pack is a series of websites and APIs that work together using a configuration database to manage a cloud and other services through Service Provider Foundation. There are multiple options for installing WAP, including high-availability distributed solutions and an express installation. For the purposes of our scenario an express install is all that is required, and we will install all of the components (except for the configuration database) on a virtual machine designated for WAP. For directions on how to install a distributed or high-availability WAP configuration, the following TechNet article provides
detailed information:
Install a distributed deployment of Windows Azure Pack
The Web Platform Installer can be used for any installation, from simple to complex. For our scenario the best choice is a Web Platform Installer executable preconfigured for an express installation on a single node, with all the necessary components selected. The installer can be downloaded from the following location:
Windows Azure Pack: Portal and API Express
Note: Do not download and run this installer at this time on existing servers. We will create a new VM to deploy this software later in this procedure.
Windows Azure Pack Prerequisites
Windows Azure Pack has a list of prerequisites that must be installed prior to the other components. The installation of most of these components will occur automatically when the installer is run. For our scenario however, we need to create a Virtual Machine to host the WAP components, as well as create a SQL instance to hold the WAP configuration database.
AD Service Accounts
For this entry in the series, we will need an additional service account to be created to run the WAP SQL instance.
- _wap_sa – Account for running WAP SQL Instance
VM creation
For our express installation of WAP we are going to need a place to host the Windows Azure Pack components. An easy way to manage the resources of WAP is to place it on its own VM, where it is possible to control the resources allocated to the environment.
To create a new VM, from the VMM console select the following:
VMs and Services -> Create Virtual Machine from the ribbon
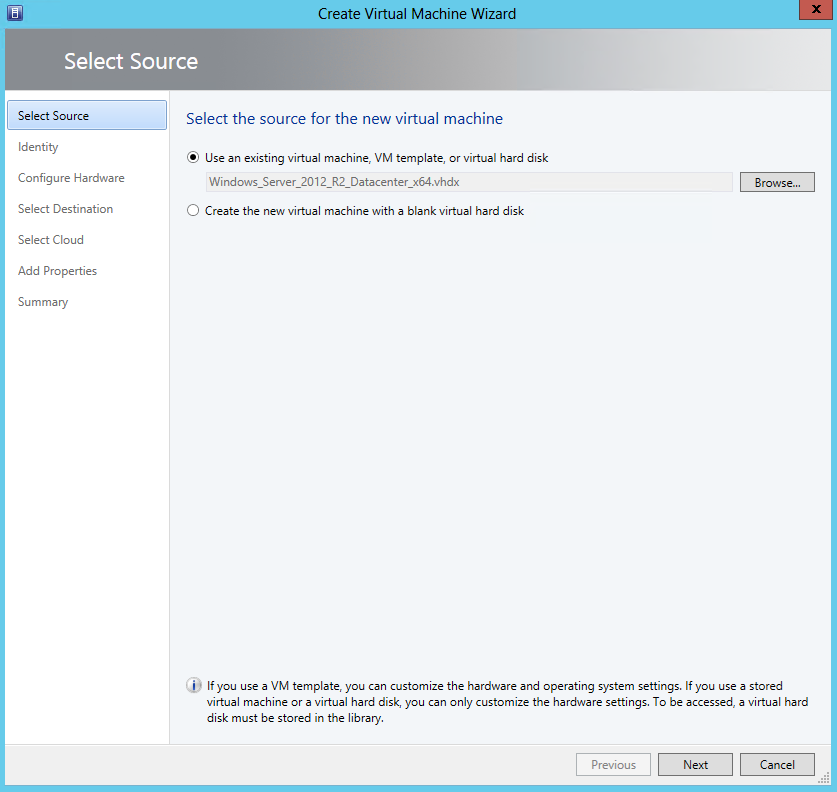
The Virtual Machine Wizard will start up, and allow you to select an existing VHD, or create a brand new one. In our case we have a sysprep’d Windows Server 2012 R2 VHD ready to go. Details on preparing a VHD with sysprep can be found at the following location:
Using Existing Virtual Hard Disks with Hyper-V
In our example, we select our prepared VHD, and click Next.

Here, we are simply naming our VM. In this case, the name corresponds to the hostname that will be used on the machine itself, but this is not required. Select a Virtual machine name, and click Next.
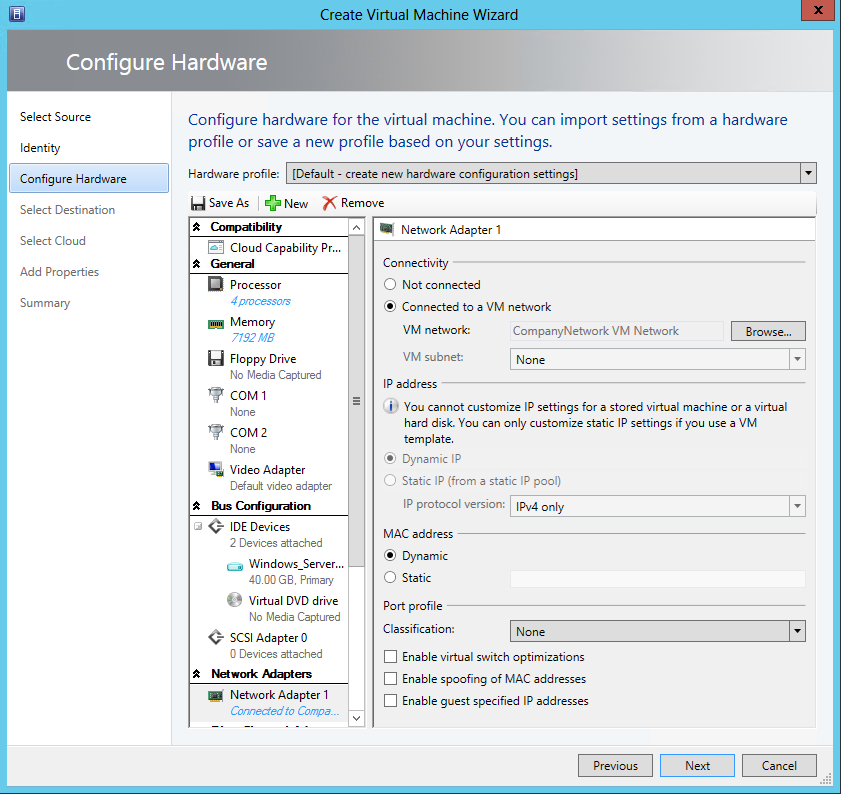
For the virtual hardware, we set appropriate processor cores, and memory, and if creating a VM from a blank disk, ensure to attach an ISO to the Virtual DVD drive as well for OS installation.
For networking, attach the Network Adapter 1 to our VM network that we created in the second post in the series, CompanyNetwork VM Network, and continue by clicking Next.
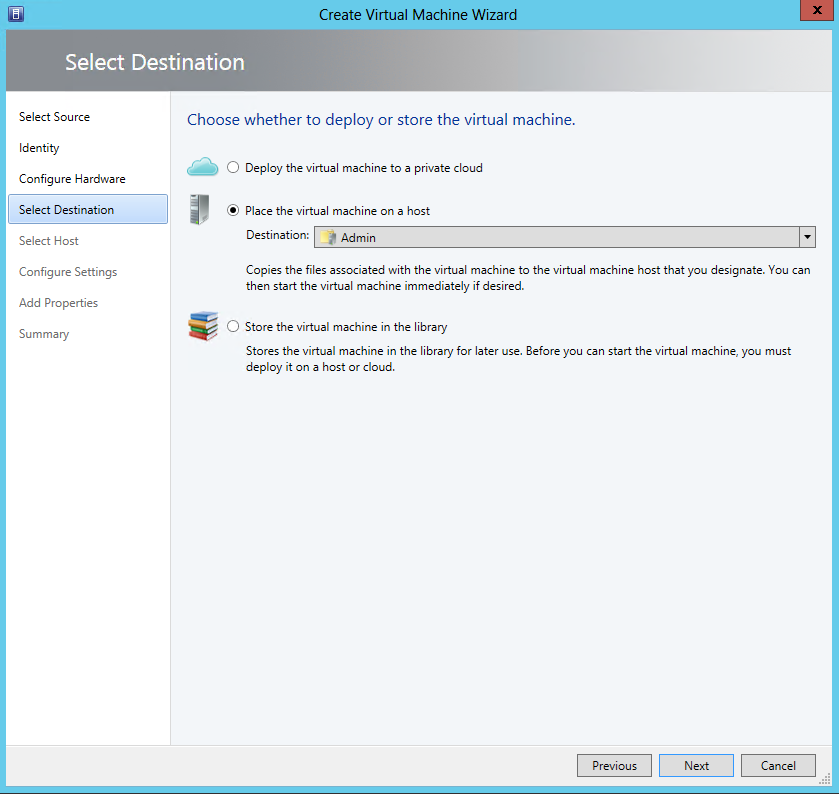
For the destination, we are going to place the new VM on the Admin Host Group that we created. Placing the new VM in this host group ensures that the performance of the portal will not be affected by the users of the cloud, since the Admin hosts are separate from the Cloud Host Group. Click Next to continue.
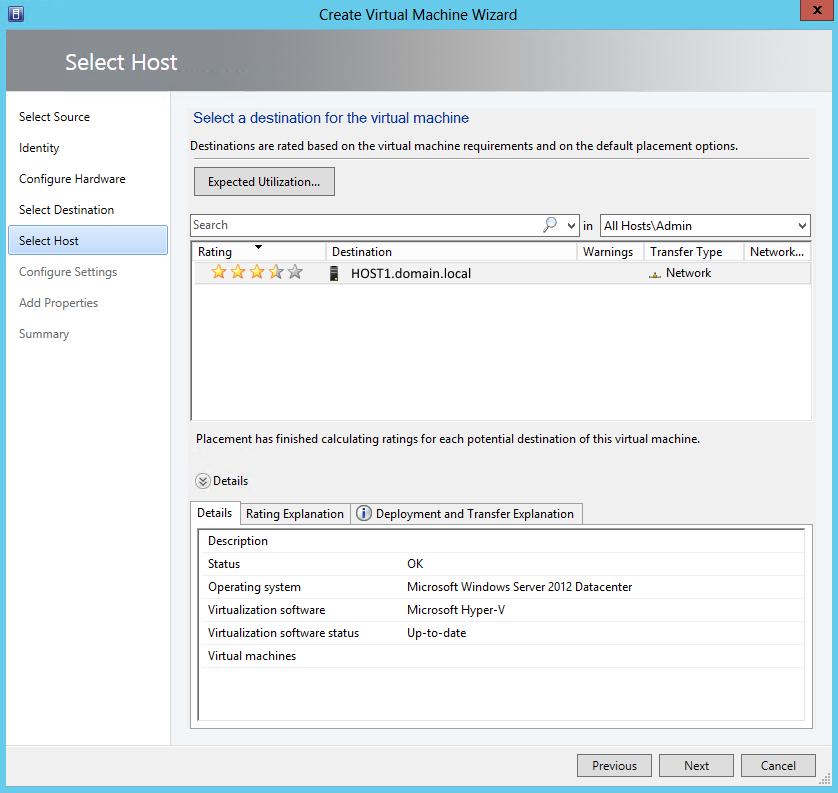
In our scenario, the Admin Host Group only contains one destination host, HOST1.domain.local. Select this destination and click Next.
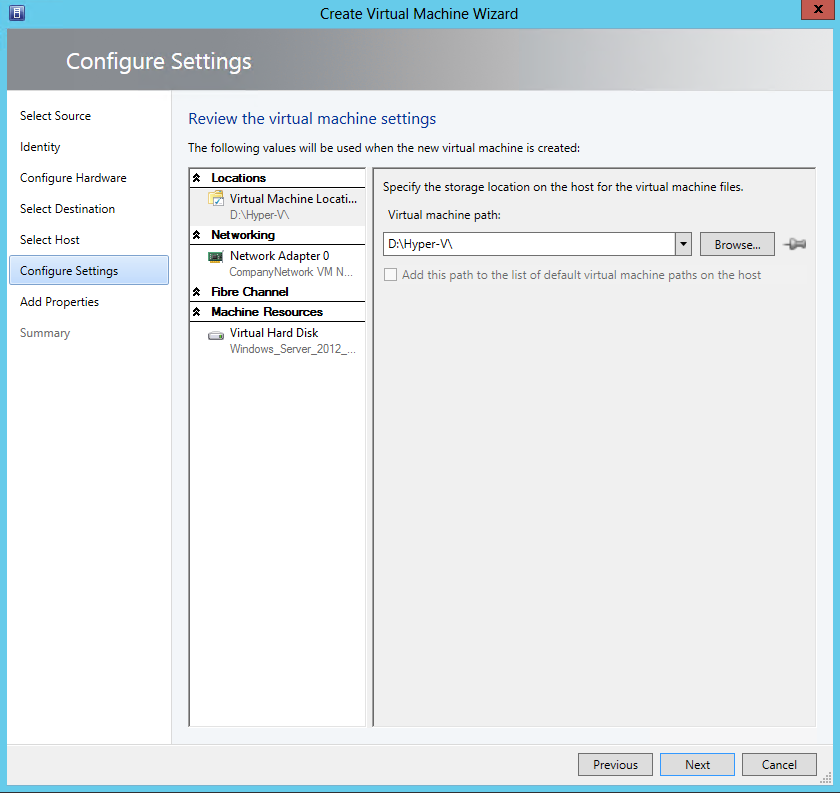
For the Deploy Location, ensure that the path selected has sufficient space to store the VHDs that were specified, in our case the D:\ drive is our large capacity data disk on the physical hosts. Click Next to continue.
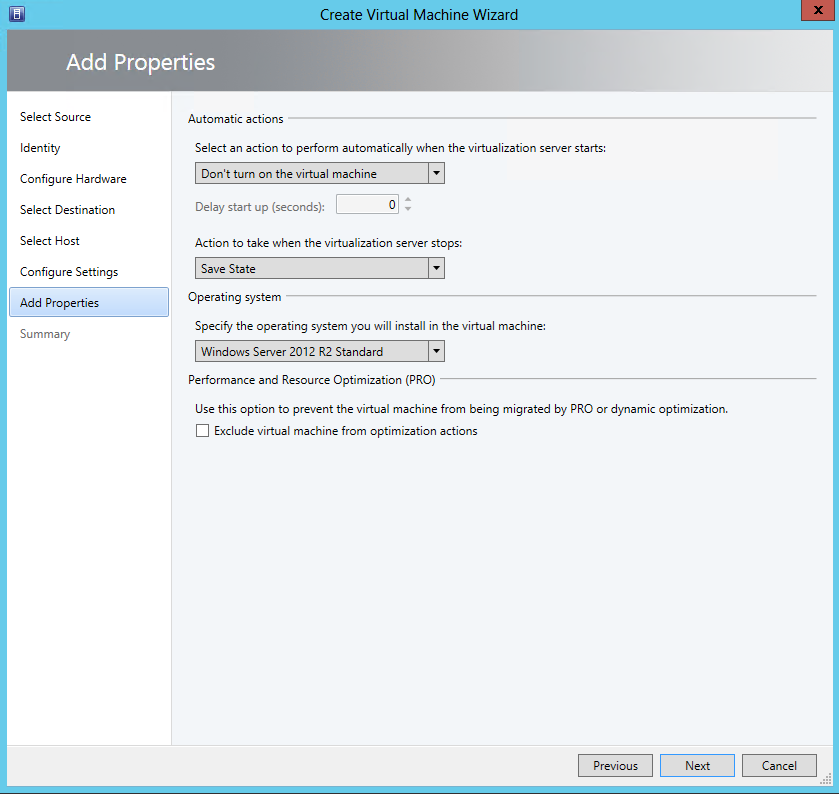
The properties of the VM allow you to select the appropriate actions when the physical host is restarted. For the Automatic actions, it is a good practice to select “Always automatically turn on the virtual machine” and “Save State” to ensure that the portal is accessible if the physical host is restarted. Click Next to continue.
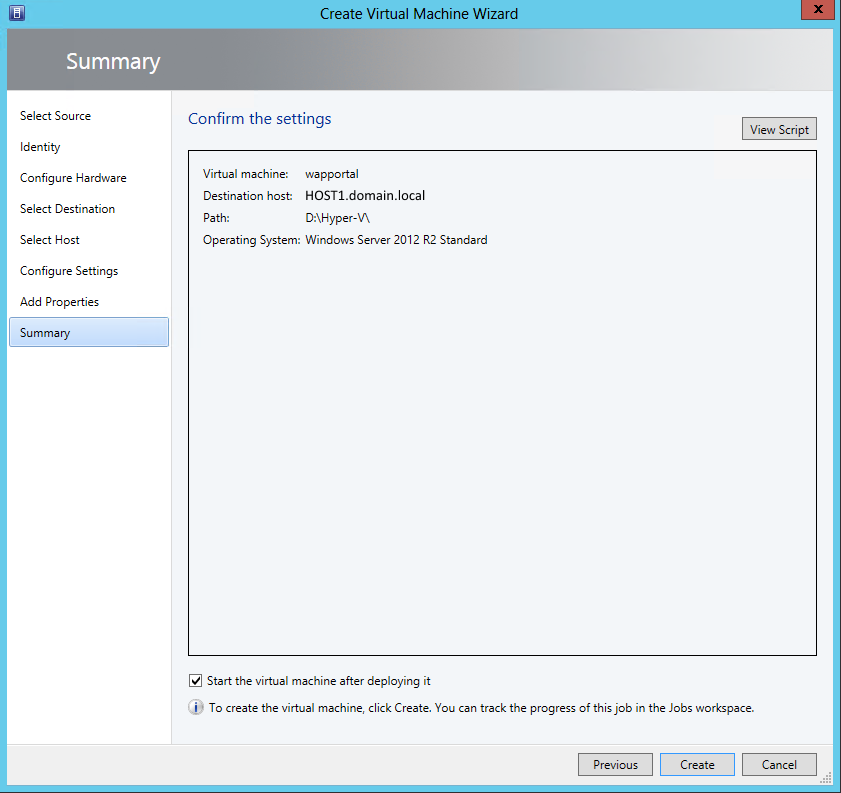
This completes the VM wizard. Verify that the Start the virtual machine.. box is checked, then click the Create button to create the VM.
Note: Some post-creation tasks may need to be performed, including joining the new VM to the Active Directory Domain.
SQL Server Instance
WAP will also require its own SQL database instance. Directions on creating a database instance can be found in the first post in this series:
We are going to install this instance on our VMM server (HOST1), which is where we are already running instances for VMM, and SPF as well. There are two places where we will want to make customizations to the instance, the instance name, and the authentication.
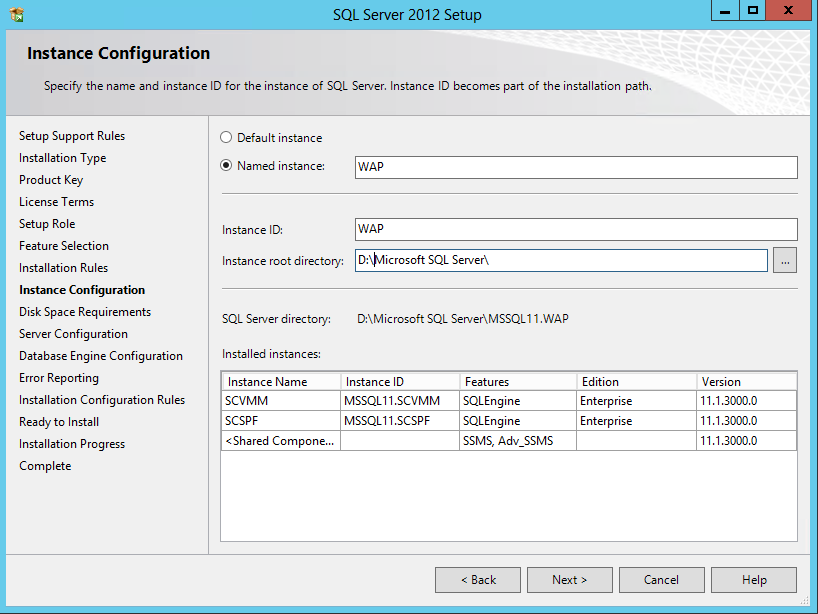
When you reach the Instance Configuration step, create a new Named instance, in our case we are using WAP. This instance will be used to hold the WAP configuration database. Proceed in the wizard until you reach the Server Configuration page.
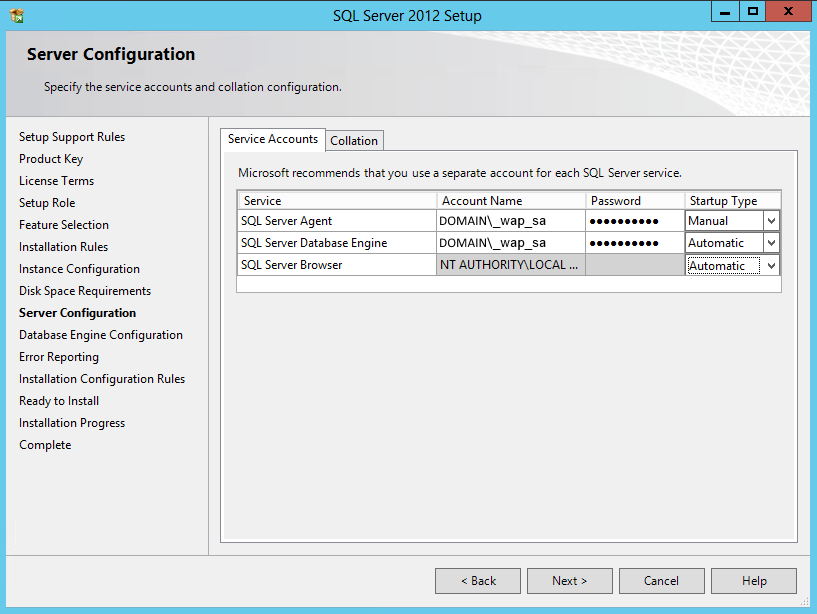
For the Agent, and Database Engine services, select the service account we created earlier(DOMAIN\_wap_sa), and enter the credentials for each. Click Next.
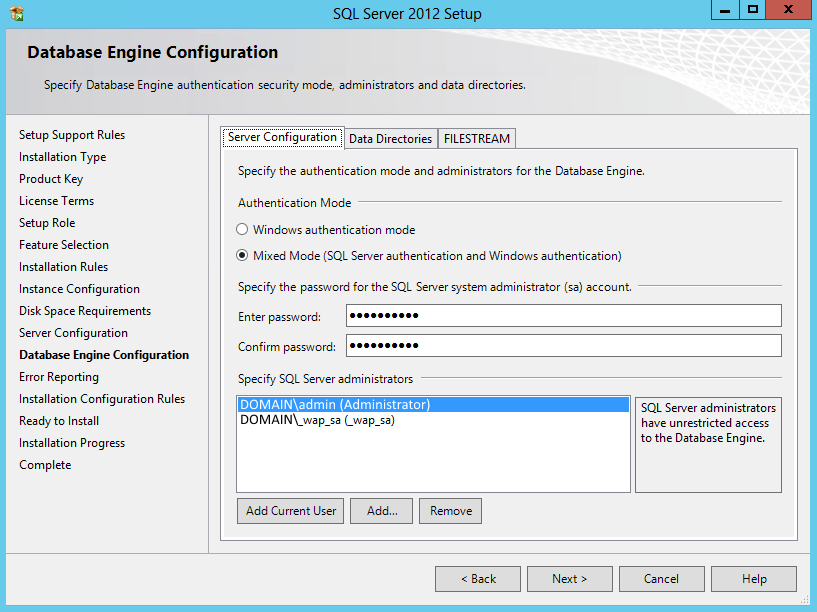
For the authentication, we want to use the Mixed Mode authentication, and specify a password for the ‘sa’ (system administrator) user. The reason for this is because the WAP configuration will automatically attempt to use the current user if using Windows authentication mode, and this is an easy way to ensure that you can specify a specific user. Proceed with the wizard until the new instance install is complete.
SQL Server Firewall Rules
Our new SQL instance will need to be accessible from a remote location, because WAP is going to be installed on our newly created VM and the SQL instance exists on the physical host. In order to accomplish this we will need to make a Windows Firewall exception rule to allow this traffic from the VM to the new instance.
To create this rule we will need to know what port the new instance is running on. To find this information you can follow the same procedure we used when configuring the SPF configuration database in the previous blog entry:
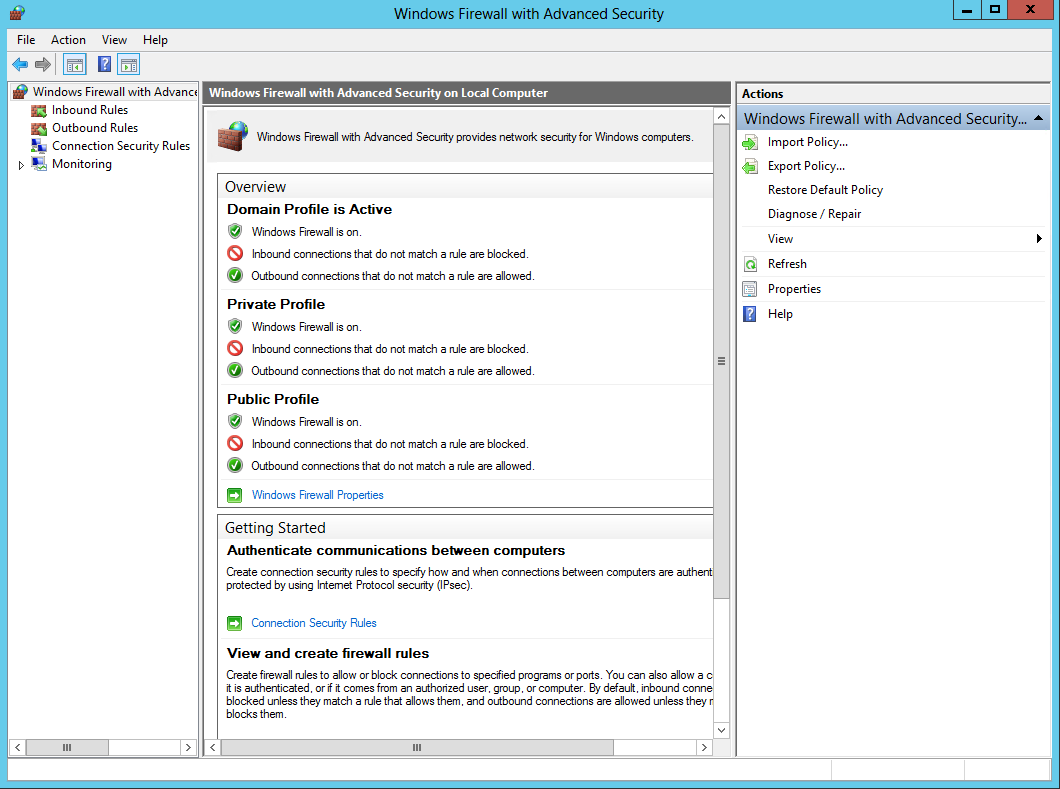
To begin, open the Windows Firewall with Advanced Security, and you will be greeted with the firewall interface, click on Inbound Rules, and click New Rule…
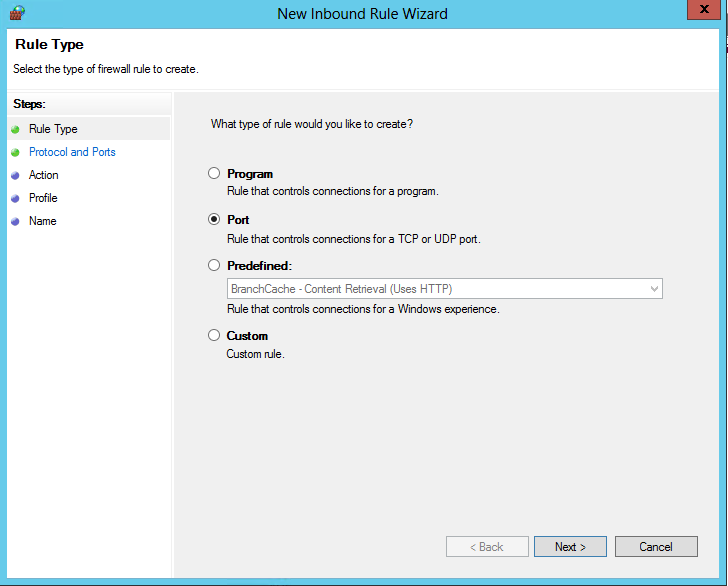
For the Rule Type, select Port and click Next.
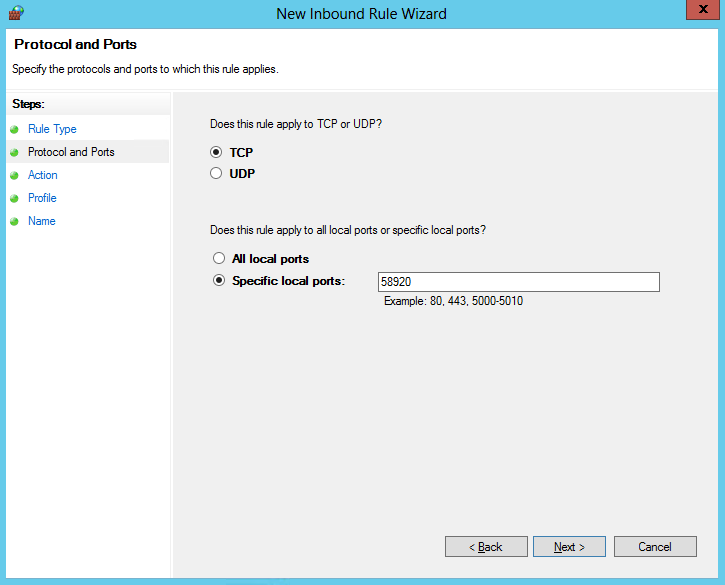
Ensure TCP is selected, and enter the Specific local port that we recorded earlier from the SQL Configuration Manager in this section for our new instance’s dynamic port, and click Next.
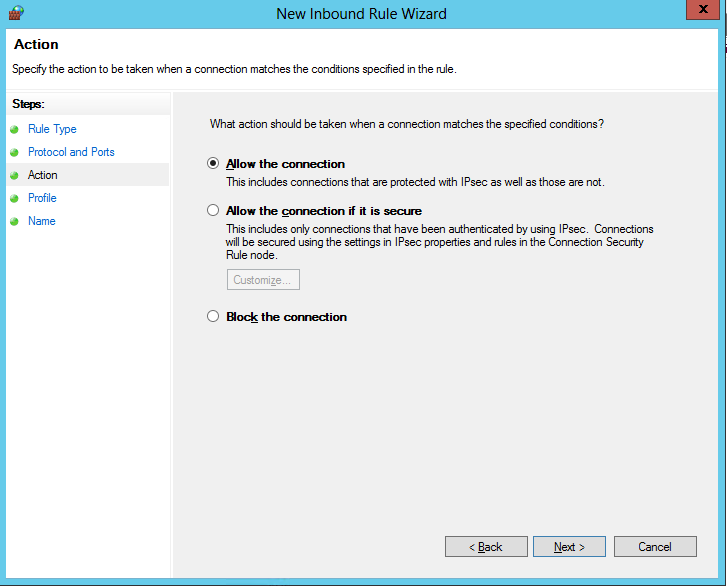
Ensure that Allow the connection is selected, and click Next.
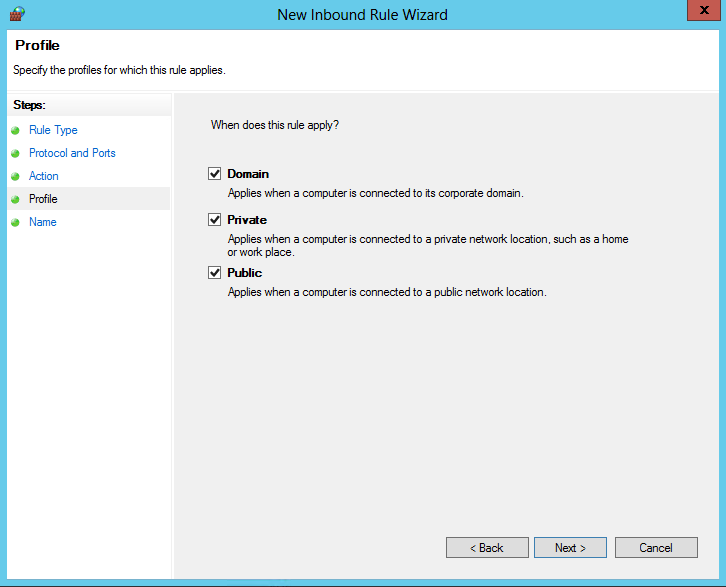
The default settings for the profiles are acceptable for our scenario, as we will only ever be connected to the domain. Click Next to continue.
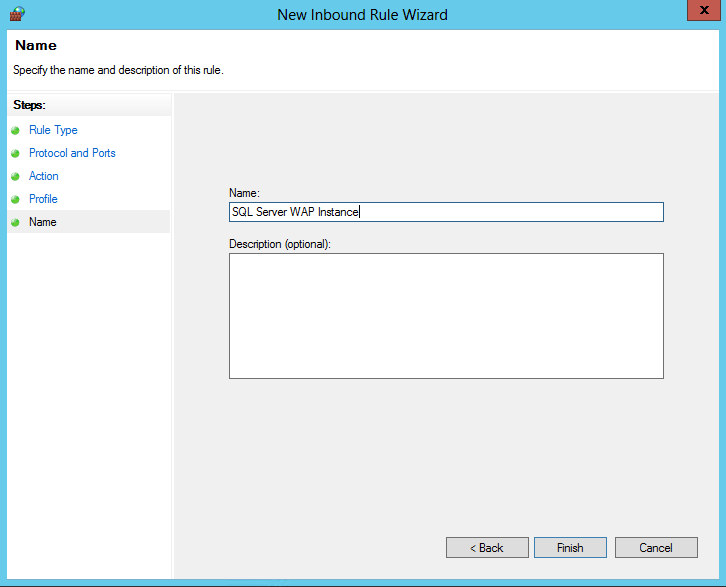
Finally, enter a descriptive Name for our new firewall rule, and click Finish. Our SQL instance should now be accessible remotely using the dynamic port from the SQL Configuration Manager.
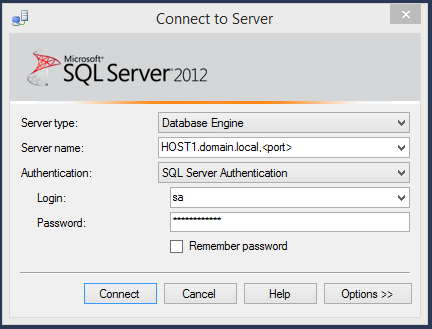
To verify access, from a remote computer, you can attempt to connect using SQL Server Management Studio using <hostname>,<port> for the server name, and SQL Server Authentication with the ‘sa’ credentials setup when creating the new instance. If SQL Server Management Studio is unavailable, a simple telnet request will also work, e.g. > telnet HOST1.domain.local <port>
Windows Azure Pack Installation
All of previous steps in all of the entries in the blog series has finally led to the point of actually installing Windows Azure Pack. The installation for Windows Azure Pack is fairly simple, simply run the Express installer available from the link in the overview above to begin the installation wizard. This wizard should be ran on the new VM we created for WAP earlier, and should be performed after all the post-installation steps (joining domain, etc.) have been completed.
Note: If it is the first time that the web platform installer is run, it may need to install itself, so the installer may need to be run a second time to install the pre-packaged WAP components. Save the installer locally to ensure the download does not need to happen twice because of this.
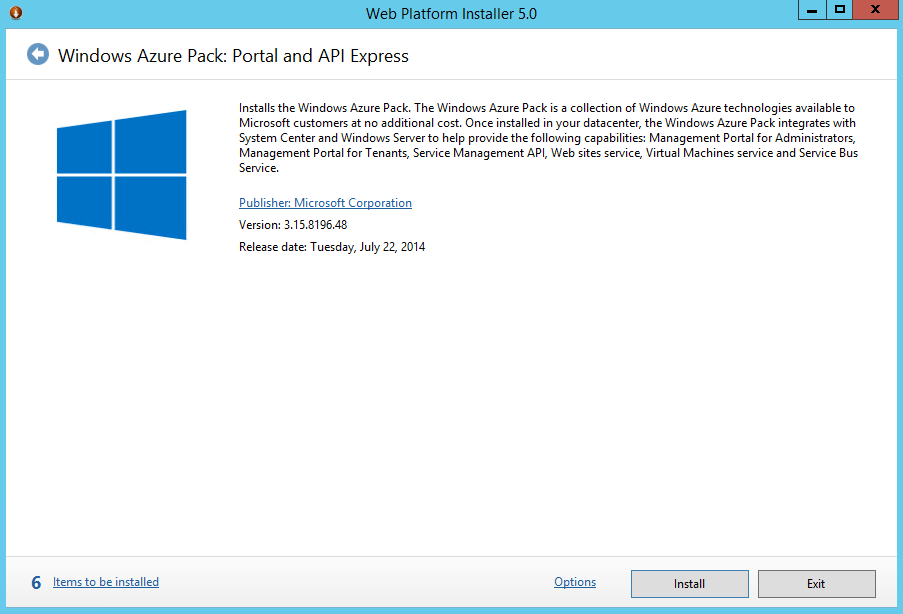
Once the WPI is started, click the Install button to install the WAP Portal and APIs.
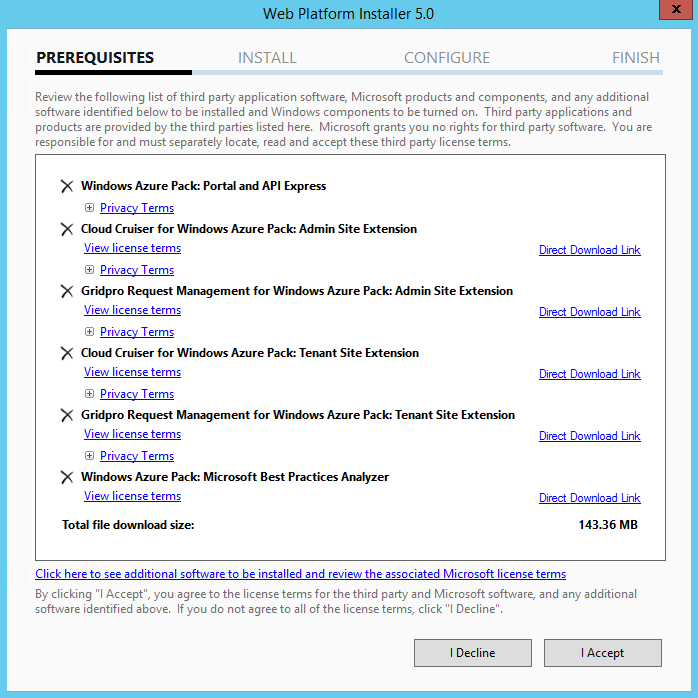
The installer will check for prerequisites, and will download and install them automatically once you click I Accept.
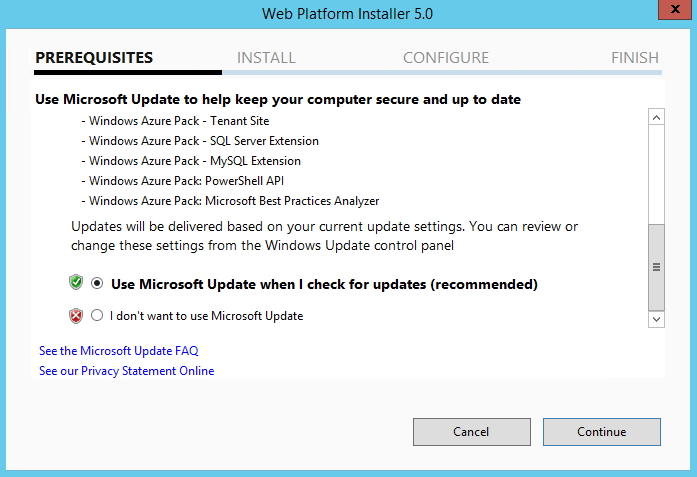
Select an appropriate response for the Windows Update settings, and click Continue.
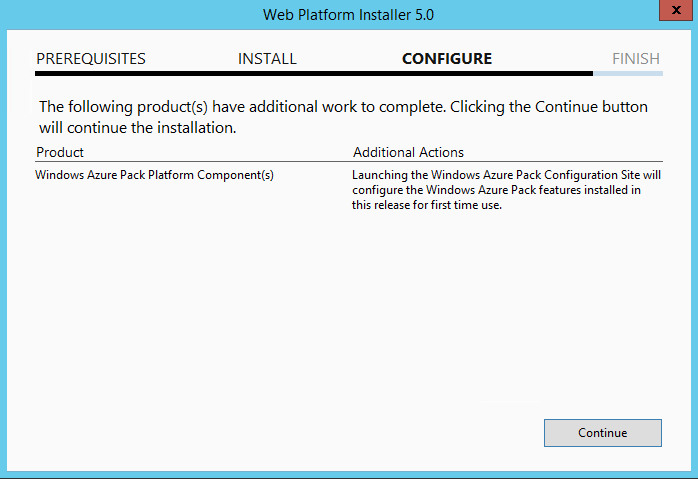
Click Continue to install the components on the system.
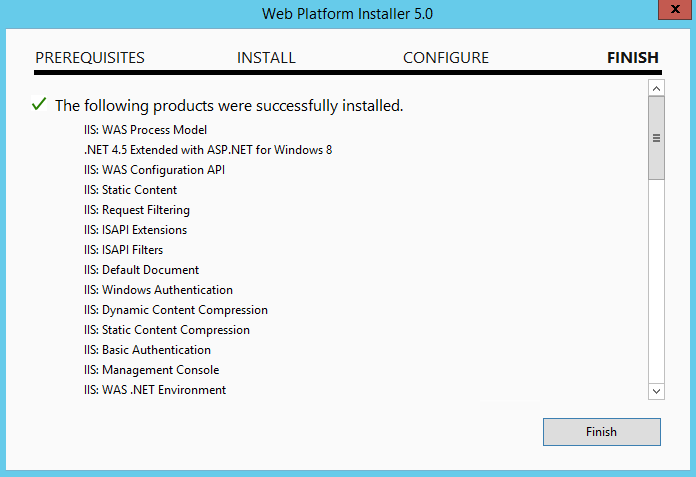
Click Finish to close the installer once installation is complete. The installer will then launch Internet Explorer as an Administrator to the WAP Configuration website, at https://localhost:30101/
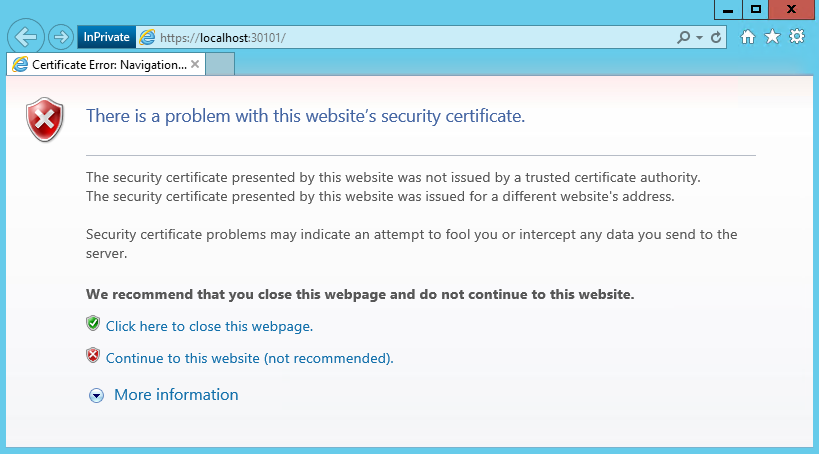
The Configuration site (and all of the other sites as well, tenant, admin, etc) will warn you about the installed self-signed certificate. We will go over how to correct this warning, as well as create friendly names and ports for the portals in a later post in this series. For now, click Continue to this website, against the IE recommendation.
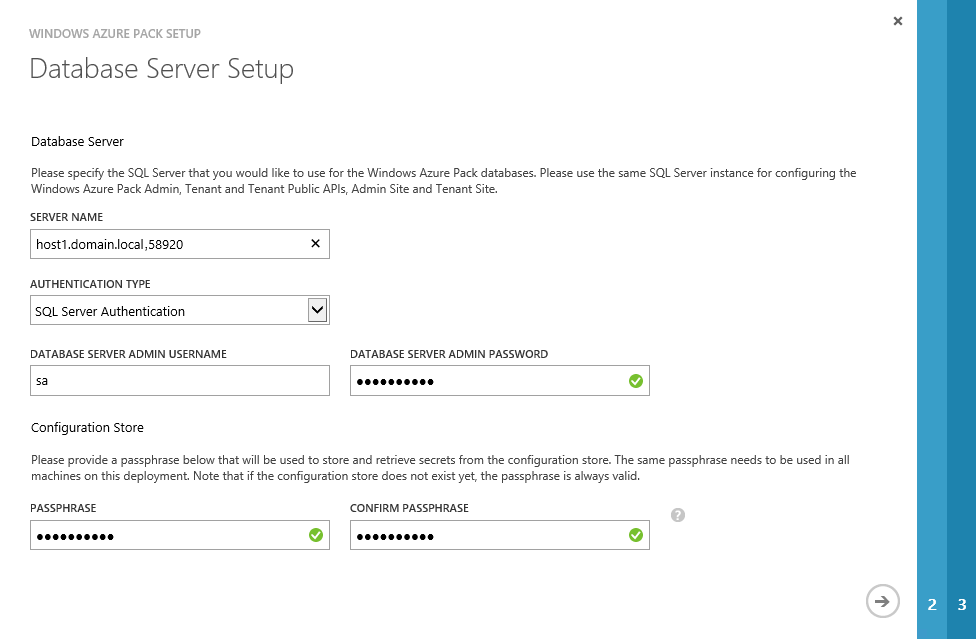
The configuration site will then start up a configuration wizard, enter the hostname and port for the SQL instance, separated by a comma, ex: “host1.domain.local,58920”. For the Authentication type, select SQL Server Authentication, and enter the credentials for the ‘sa’ user that were used when the instance was configured. For the Configuration Store Passphrase, select a passphrase that will be used whenever a new server is added to the WAP configuration. Click the -> button to proceed.
Note: for our scenario, the wapportal server is the only server that will be connected to the configuration database. In a distributed installation, the passphrase is used to authenticate and add new servers to the distributed installation.
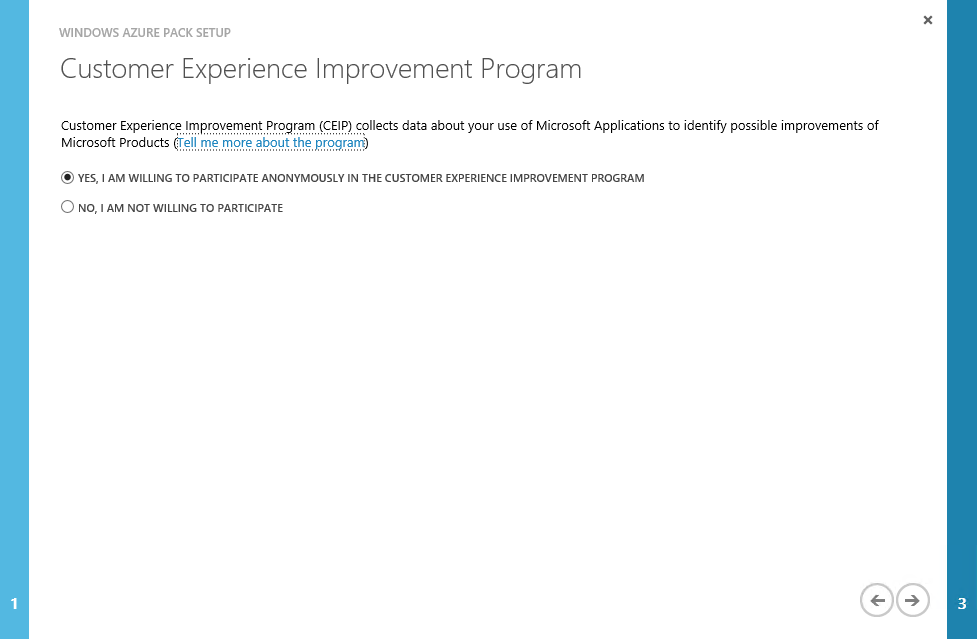
Select an appropriate response to the CE program, and click ->
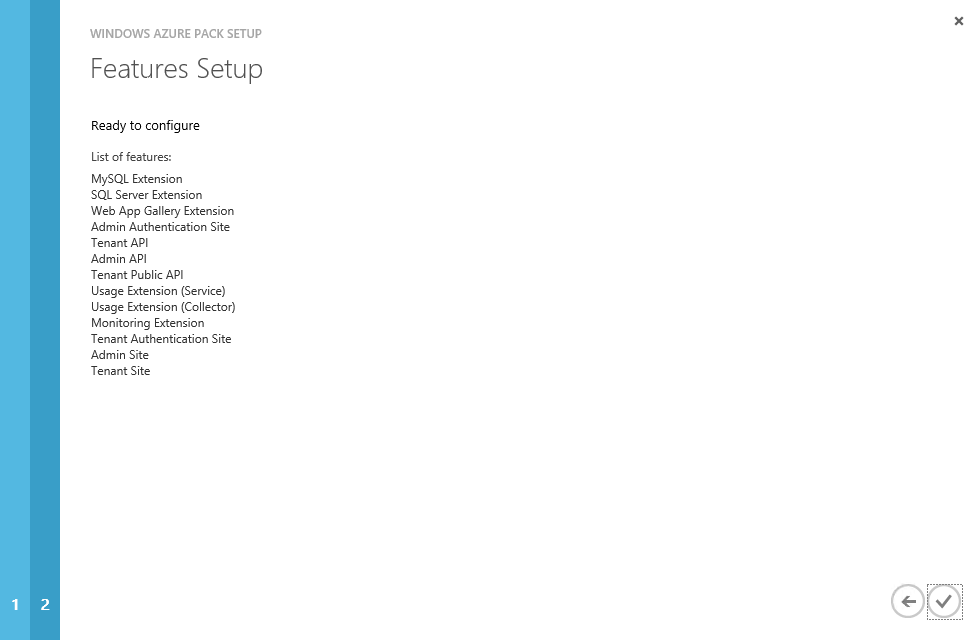
Click the checkmar button to start the configuration.
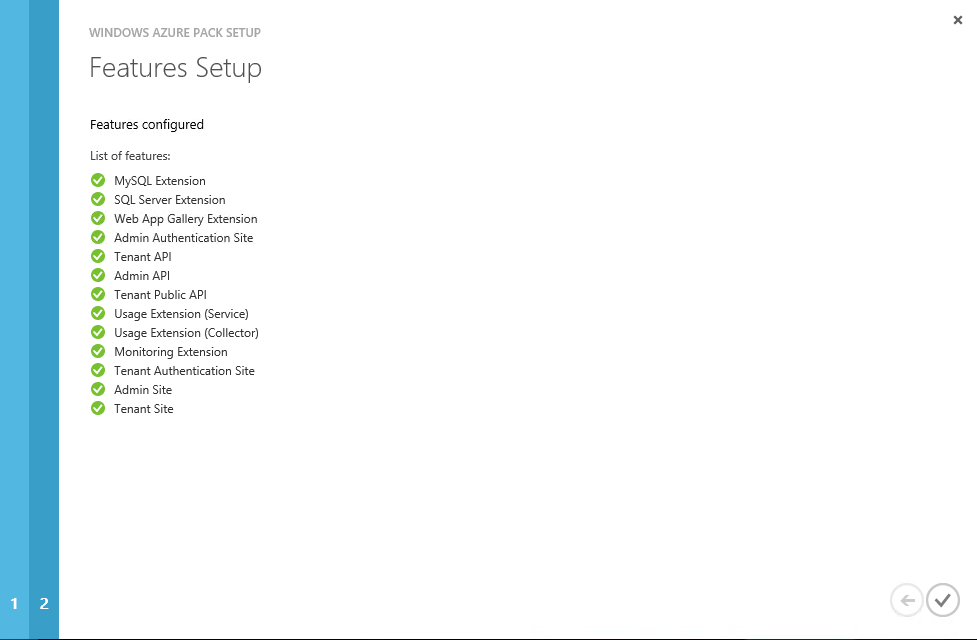
At this point, it should configure each of the features. Click the checkmark button to complete the wizard. At this point, the installation and configuration of the portals are complete. Our next steps will be to log in to the Administrator portal and connect WAP to talk to our VMM cluster using SPF.
Windows Azure Pack Initial Configuration
Before users are able to start using the WAP Tenant Portal to start creating their own VMs, SQL Servers, and other resources, we need to provision the environment with the appropriate plans, and settings to let them do that. We will go over how to configure all of those settings in the next blog post in this series, but before that, we need to connect our WAP service to our VMM. We do this by accessing the Administration portal available at the following location on our wapportal server:
Note: By default, the only user that is allowed on the Administration Portal is the current user, or the user that Internet Explorer was running as when the configuration was completed in the last step. Directions on how to add additional administrators will come in the next post in this series.
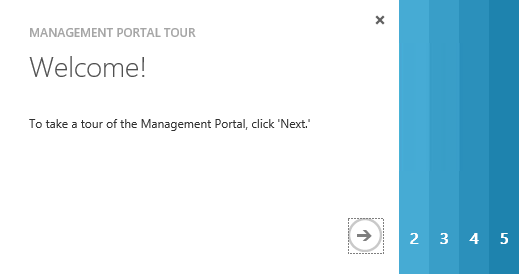
Upon logging into the Administrator Portal for the first time, you are greeted with a wizard that explore the features of the Admin Portal.
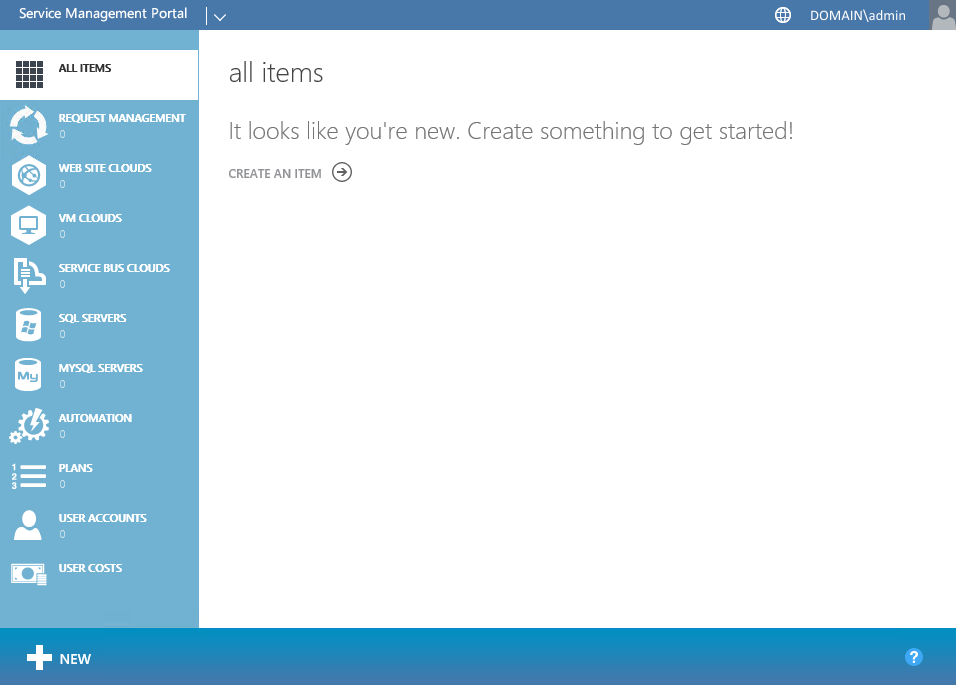
After the wizard, you come to a fresh install of Windows Azure Pack. Currently there are no connected services for the installation. Our next step will be to connect our Service Provider Foundation to our install, which will allow us to connect WAP to the cloud we created in VMM. To begin, click on VM Clouds on the left-hand side of the portal.
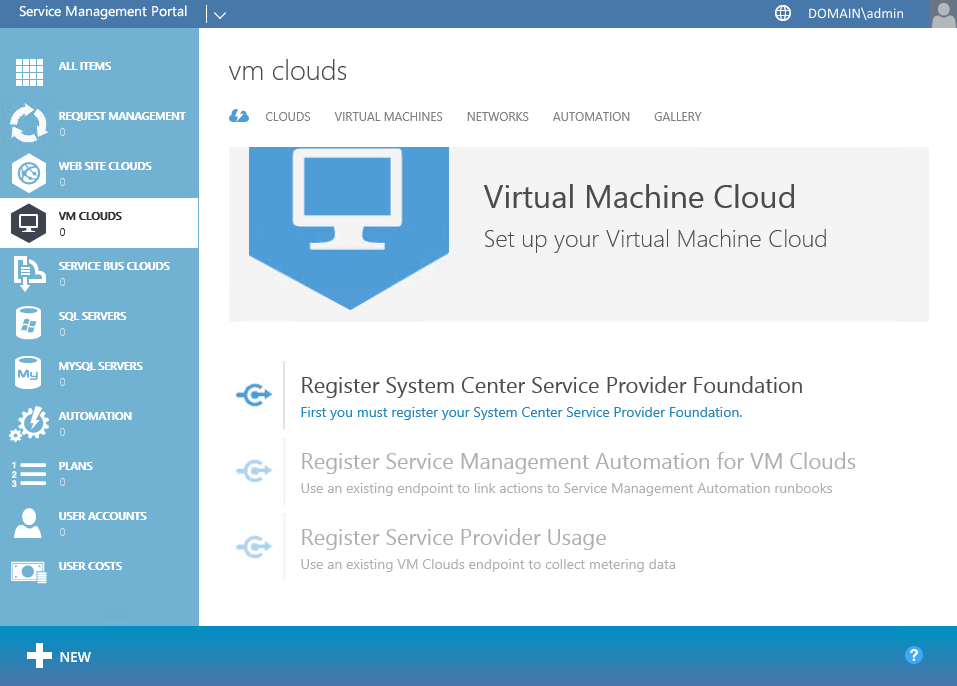
Click on the SPF Registration link to open a dialog for adding our SPF settings.
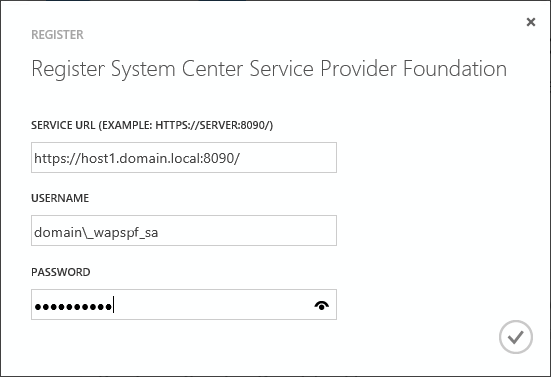
Enter the Service URL for our SPF instance, which we installed on host1, using a default port of 8090, and enter the SPF service account credentials, and click the checkmark button.

The status of adding SPF will show up in the bottom bar of the portal. Click the checkmark button to dismiss the completion message.
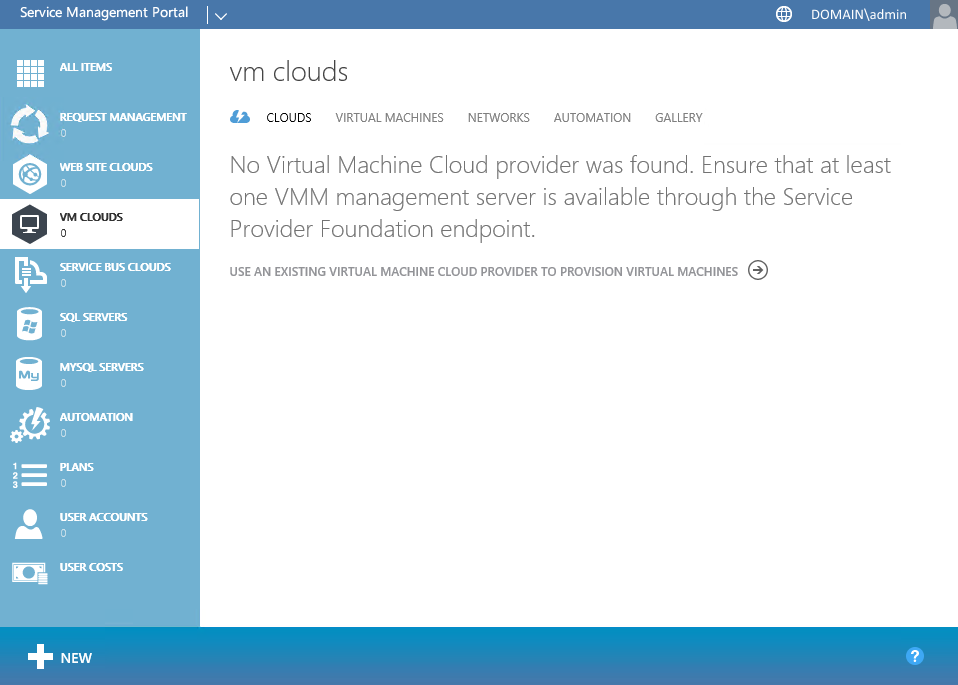
After SPF has been configured, we need to add the Cloud that we created on our VMM instance so we can start configuring access for our users. From the VM Clouds page, click the Clouds tab, and click the -> button to start a short wizard to add the cloud provider.
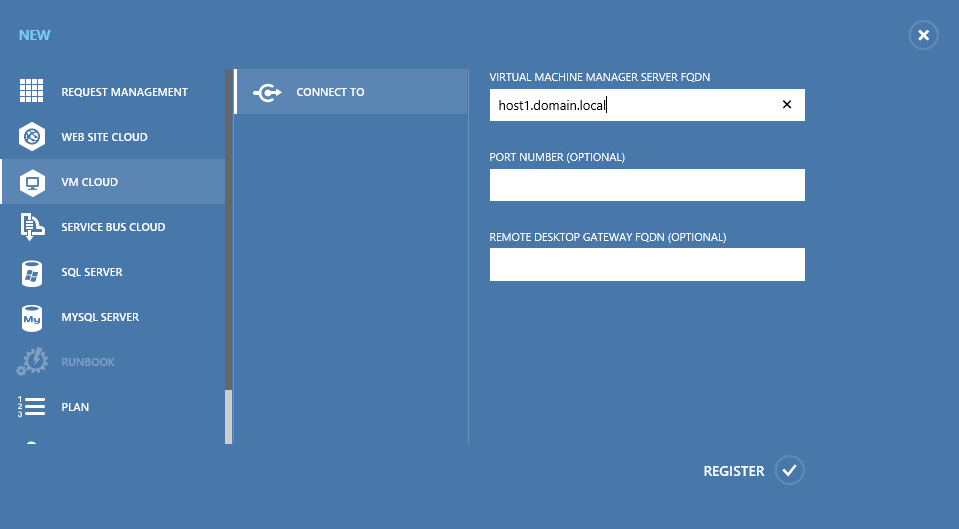
Simply add the FQDN of our VMM server, host1.domain.local, and click the checkmark button to complete the wizard.

At this point, we should have our cloud listed under our VMM server, and we are ready to start setting up the service for our users.
Finishing Up and Next Steps
At this point, we should have a complete Windows Azure Pack installation that is ready to start configuring access for our users. The next entry in the series will review setting up additional services that we can make available to our users, and creating Plans and Plan Add-Ons that can be added to user accounts, giving them access to resources in the new private cloud. Some additional information will also be provided on extending the Administration features of the Administration Portal.
- Requirements, Architecture, and Prerequisites
- Configuring the VMM fabric
- Configuring Service Provider Foundation
- Windows Azure Pack Installation
- Windows Azure Pack Configuration (the next installment)
- Windows Azure Pack Customization
- Windows Azure Pack Usage