Using the Updates folder to deploy software updates during an Office 2010 installation
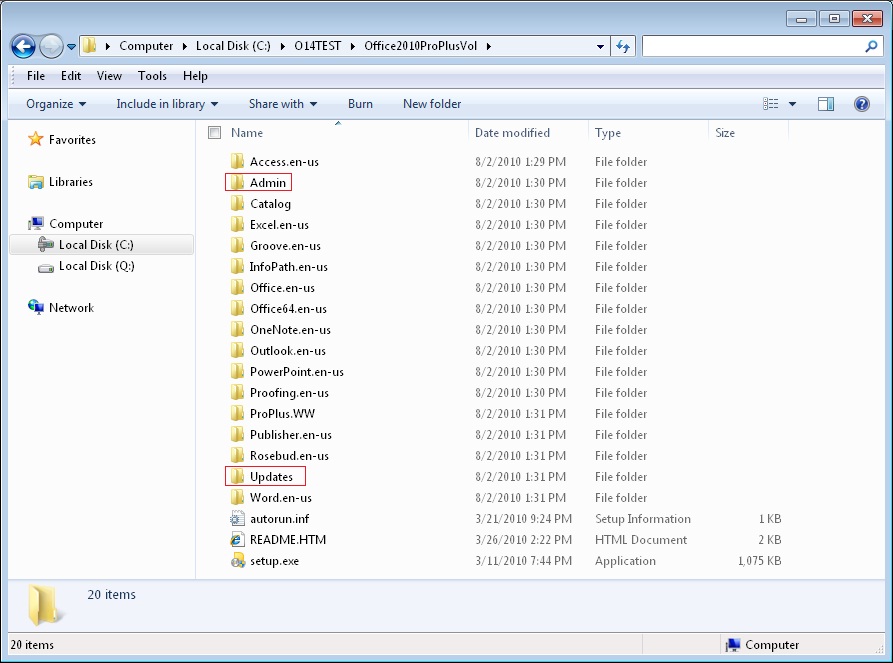
We've had some questions about deploying Office 2010 software updates by using the Updates folder. The Updates folder is used to store Office Customization Tool (OCT) .msp files (setup customization files) and any Office 2010 software updates that you want to deploy together with an initial installation of Office 2010. When you use the OCT to configure an initial installation of Office 2010 (or Office 2007), you save your customizations in a Setup customization .msp file and you place the file in the Updates folder on the network installation point (the network share location that contains the Office 2010 source files). The OCT is included in volume licensed versions of Office 2010 and Office 2007. The OCT files are located in the Admin folder, shown below.
You can download the latest version of the OCT and .opax settings files from the Microsoft Download Center: Office 2010 Administrative Template files (ADM, ADMX/ADML) and Office Customization Tool (https://go.microsoft.com/fwlink/?LinkId=189316). The download package includes an \Admin folder that contains the OCT and OCT files (.opax and .opal files). For the latest information about OCT files, check the Available updates for Office 2010 section of the Office 2010 Resource Kit, which is updated when OCT updates are available.
If you want to install Office 2010 product updates (service packs or hotfixes) during the initial installation of the product, you can place the update (.msp) files in the Updates folder. In this case, Setup will apply the Setup customization .msp file with the initial installation, and the software updates will be installed after the installation is completed. Note that you can use the Updates folder for product updates only during initial installations. You cannot use the Updates folder to deploy product updates after the initial installation of Office.
Note:
If you plan to deploy multiple Setup customization files (.msp files), you can place only one customization .msp file in the Updates folder for each Office 2010 product that you are installing during an initial installation. You must deploy the rest of the customization .msp files for a product after the Office installation is completed. Only one Setup customization file per product in the Updates folder is supported. If you are deploying multiple Office 2010 products, such as Microsoft Office Professional Plus 2010 and Microsoft Visio Professional 2010, you can include one customization .msp file for Office Professional Plus 2010 and one customization .msp file for Visio Professional 2010 in the Updates folder. The customization .msp files that you place in the Updates folder will be deployed first. Therefore, they must include any Setup customizations that cannot be changed after the installation, for example, the installation location.
If you are deploying an initial installation of Office 2010 and you also want to deploy Office 2010 software updates, such as service packs and hotfixes, Setup can apply the product updates as part of the installation process. You can place the Office 2010 product updates in the Updates folder. In scenarios such as this where the Updates folder includes both one Setup customization .msp file and product updates, Setup applies only the Setup customization .msp file with the initial installation and then applies the product updates after the installation is complete.
To deploy updates by using the Updates folder, you must first extract the .msp patches from the Microsoft Self-Extractor file (product update .exe that you download). The following procedure uses the Update for Microsoft Office 2010 (KB2202188) 32-bit Edition as an example.
Note:
Keep in mind that in Office 2010, there are two architecture-specific versions of the OCT, one for 32-bit Office 2010 and one for 64-bit Office 2010. The 64-bit version of the OCT supports 64-bit client editions of Office 2010, and provides the same user interface, capabilities, and configurable settings as the 32-bit version. The OCT files are located in the Admin folder under the x86 (32-bit) and x64 (64-bit) folders (shown below), respectively. See Architecture-specific versions of the Office Customization Tool for more information.
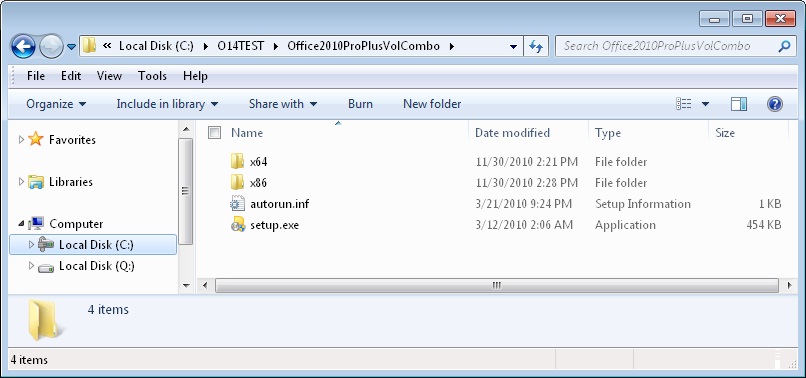
- To run the 32-bit OCT, run the setup.exe /admin command line from the x86 (32-bit) folder, for example: \\server\share\ Office14\x86\setup.exe /admin
- To run the 64-bit OCT, run the setup.exe /admin command line from the x64 (64-bit) folder, for example: \\server\share\ Office14\x64\setup.exe /admin
To install software updates by using the Updates folder:
1. Copy the compressed Office 2010 CD image to the network installation point location. For information, see Create a network installation point for Office 2010.
2. Use the Office Customization Tool to make any necessary modifications to the installation. To run the 32-bit OCT, run the setup.exe /admin command line, for example:
\\server\share\Office14\x86\setup.exe /admin
For information about customizations, see Office Customization Tool in Office 2010 and Customize Office 2010.
3. Configure the customizations you want to apply, and then save the Setup customization .msp file in the Updates folder.
Note:
If you use the OCT to create a Setup customization .msp patch, we recommend that you rename the customization .msp file so that it is installed first. Setup.exe processes only one .msp file during installation. All other .msp files that are contained in the Updates folder are installed at the end of the installation. You can rename the Setup customization .msp file by adding a "1" at the beginning of the file name to ensure that it is processed first (before software updates). This ensures that any customizations such as feature option states and other settings that you specify are established before the product patches are applied.
4. Download the Update for Microsoft Office 2010 (KB2202188) 32-bit Edition (https://go.microsoft.com/fwlink/?LinkId=201488).
5. To extract the .msp patches from the Microsoft Self-Extractor file (office-kb2202188-fullfile-x86-glb.exe in this example), run the .exe file with the /Extract:[extract folder path] switch. For example, type the following at the command prompt:
office-kb2202188-fullfile-x86-glb.exe /extract:"c:\ExtractFiles"
This command begins to extract the .msp files. Prior to beginning the extraction process, Microsoft Software License Terms are displayed. After you accept the license terms, the files are extracted to the location that you specify (C:\ExtractFiles in this example). You do not have to use the quotation marks with the path. However, it does make it easier to read the command line. By using quotation marks, you can also avoid problems with paths that contain spaces.
6. Copy the Windows Installer patch (.msp) files to the Updates folder.
7. Repeat steps 4 - 6 for any other Office 2010 update packages that you want to install. The Windows Installer patch file names are unique. Therefore, there should be no risk of accidentally overwritting a file, which could cause a problem with the installation. If you are deploying the product with additional language packs, the language pack service packs will be added to the Updates folder.
After you complete the previous steps, you can deploy the product.
For information about how to deploy software updates after an initial installation of the Office 2010 by using Microsoft Self-Extractor files, see Deploying all Microsoft Self-Extractor packages in a folder in Distribute product updates for Office 2010.
For more information, see the following resources:
- Deploying software updates with an initial Office 2010 installation (https://technet.microsoft.com/en-us/library/cc178995.aspx\#DeployInitialUpdViaUpdatesFolder) in Distribute product updates for Office 2010 (https://technet.microsoft.com/en-us/library/cc178995.aspx)
- Office Customization Tool in Office 2010 (https://technet.microsoft.com/en-us/library/cc179097.aspx)
- Create a network installation point for Office 2010 (https://technet.microsoft.com/en-us/library/cc179063.aspx)
- Deploy Office 2010 (https://technet.microsoft.com/en-us/library/ee656739.aspx)