Getting started with OMS Automation -- Making the connection
Summary: Learn the basics about how to make a connection to Automation and return connection information.
Good morning everyone, Ed Wilson here, and today I want to talk about how to get started with Automation in Microsoft Azure. Automation (OMS Automation) allows me to use PowerShell scripts and other artifacts in what are called runbooks. This provides a convenient way to run things either on a schedule or on demand. In the past, this was a bit problematic because you had to know the account name, the subscription name, and what seemed like a bunch of other stuff that never hardly worked out right. Now that you can use an Azure Run As Account, this is pretty simple.
First create the Azure Run As account
The first thing I need to do is to create an Azure Run As account. I can do this in the Azure Automation portion of my Microsoft Azure Portal. I find the Automation Accounts section by looking at my Dashboard, using the links in the left pane of my screen, or inspecting Automation Accounts. The Microsoft Azure console is shown here:
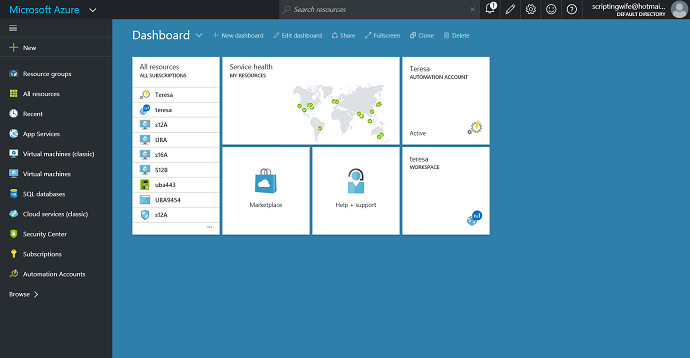
NOTE: Automation Accounts will not be available if you have not created, that is set up, Automation.
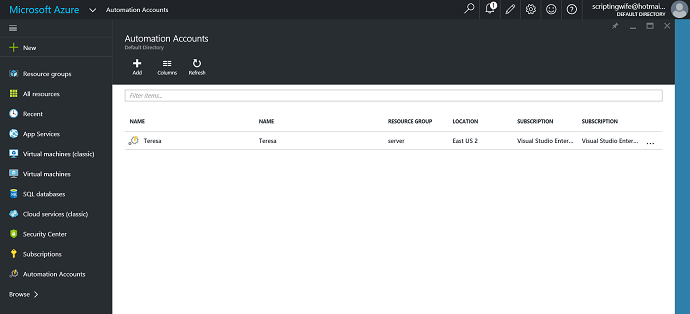
So I go to Automation Accounts, and I choose Add from the action menu. This appears here:
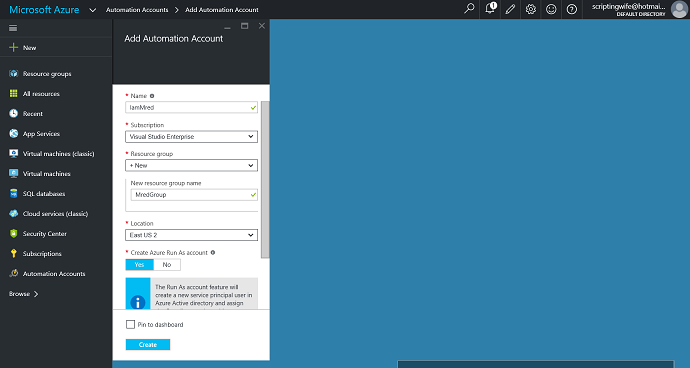
Now I create a new Automation Run As account. I need to specify the name of the account, the subscription, and the resource group. I also need to make sure that Yes is selected in the Create Azure Run As account section. The subscription account and location are automatically filled in with the appropriate information for my account.
What does an Azure Run As account give me?
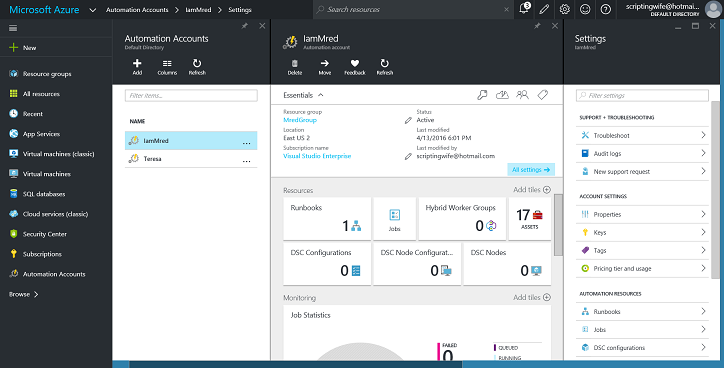
After I create my Azure automation account, I select it, and I am brought into the Automation workspace that’s associated with my newly created account. I set up one runbook that is a demo runbook. My resources are displayed in the Resources area. I have not set up any DSC Configurations, DSC Node Configurations, or Hybrid Worker Groups. There are also no DSC Nodes.
There are three pieces to an Automation Run As Account: a certificate, a connection, and a credential. The certificate and the connection are automatically set up. I have to add my automation credential.
These appear under the Assets as seen here:
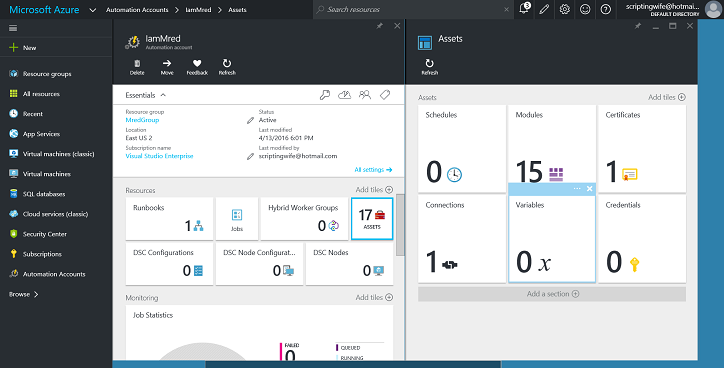
To create the credential, I select Add a credential, and the new Credential form appears. It asks for a name of the credential, a description, user name, password, and password confirmation. After that is done, the credential appears in the Credentials assets.
The connection is called the AzureRunAsConnection, and it is an AzureServicePrincipal type. The Certificate is an AzureRunAsCertificate, and it has an expiration date of one year.
Use the Automation Run As account
To use the Automation Run As account, I need to use the AzureRM cmdlets. I cannot use the older Azure cmdlets.
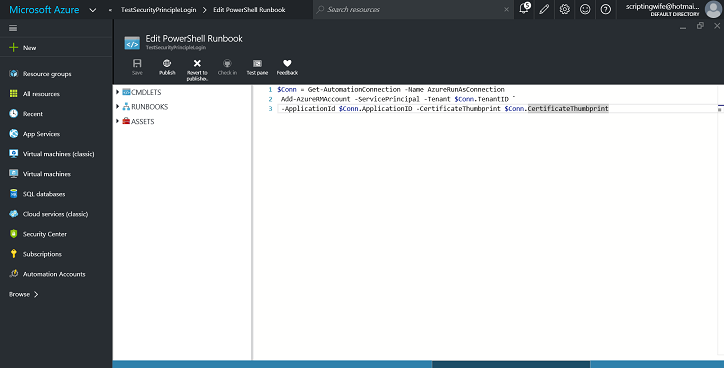
The first step is to use the Get-AutomationConnection cmdlet to get the AzureRunAsConnection resource that was created when I created the Automation Run As account. I store the connection in the $Conn variable. This is shown here:
$Conn = Get-AutomationConnection -Name AzureRunAsConnection
The next thing I do is use an AzureRM cmdlet to add the account so that I can do the automation. Here I use the Add-AzureRMAccount cmdlet (instead of the old Add-AzureAccount cmdlet). I specify that I am using a ServicePrincipal, and I pick up my tenantID, ApplicationID, and CertificateThumbprint from my AzureRunAsConnection. This code is shown here:
Add-AzureRMAccount -ServicePrincipal -Tenant $Conn.TenantID `
-ApplicationId $Conn.ApplicationID -CertificateThumbprint $Conn.CertificateThumbprint
My runbook appears in the Edit PowerShell Runbook pane:
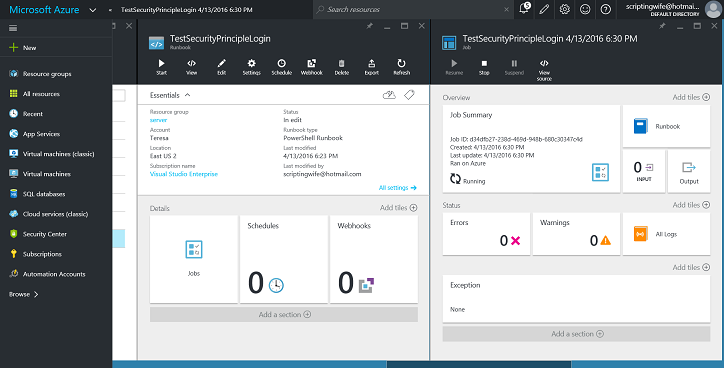
After I run this runbook, I can see the output by selecting the output tile. This Job pane is shown here:
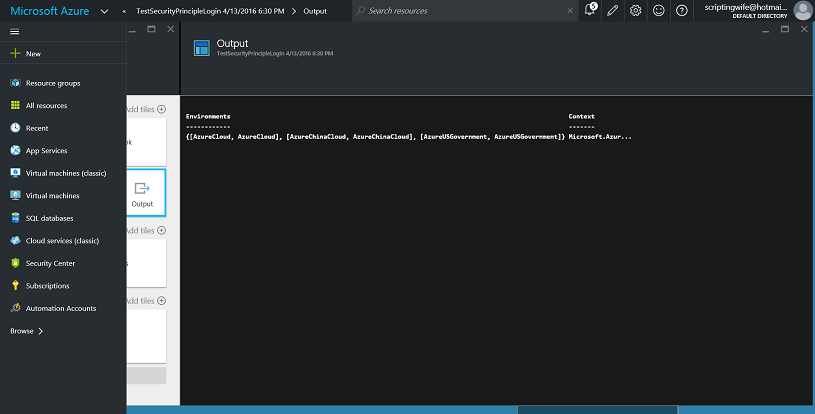
The output pane initially displays “Waiting for the job output”. Later it updates with a listing of environments that are available in the workspace. This is shown here:
Get a free Microsoft Operations Management Suite (#MSOMS) subscription so that you can test the new alerting features. You can also get a free subscription for Microsoft Azure.
That is all I have for you today. Join me tomorrow when I’ll talk about how to create a runbook that will start off my Azure virtual machines (both Windows and Linux).
I invite you to follow me on Twitter and the Microsoft OMS Facebook site. If you want to learn more about Windows PowerShell, visit the Hey, Scripting Guy Blog. If you have any questions, send email to me at scripter@microsoft.com. I wish you a wonderful day, and I’ll see you tomorrow.
Ed Wilson
Microsoft Operations Management Team