Afraid of Windows 10 with Azure AD join? Try it out (part 1)
I’ve been surprised by the number of organizations that have never tried to join a Windows 10 device into Azure Active Directory. So let’s spend some time talking about that.
You’ve been able to join a Windows device to Active Directory domains for as long as there have been Active Directory domains. With Windows 10, there is now the ability to join Azure Active Directory. Azure Active Directory is a multitenant directory, so you aren’t joining a domain, you’re joining a tenant. And most of your organizations already have such a tenant, since it’s used by Office 365, Intune, Azure services, and many other things. More reading if you want to know more:
- What is Azure Active Directory? Summary: It’s a multitenant, cloud-based directory and identity management service.
- Set up Azure AD joined devices. Summary: You can join a device to Azure AD via Settings, but you can also do it via OOBE or via a provisioning package.
- Azure Active Directory Features. Summary: Azure AD has lots of capabilities, well beyond just joining devices and authenticating sign-ins. There are free and paid versions; free is good enough for Azure AD join.
- Integrate your on-premises directories with Azure Active Directory. Summary: You can sync all your AD accounts with Azure AD, with three options for validating passwords: Leave them in AD only and use Windows Servers with ADFS to validate them; leave them in AD only and leverage Azure Active Directory Pass-Through Authentication, or synchronize password hashes between AD and Azure AD. (If you are just starting, Pass-Through is really simple, ADFS provides more advanced capabilities, and password hash synchronization often gives security teams high blood pressure.)
And a couple of things that Azure AD is not:
- It’s not Active Directory running in the cloud. (We do provide a service like that, called Azure Active Directory Domain Services, designed for scenarios where you want to join Azure VMs into an AD domain. It’s not designed for on-prem PCs or servers. And yes, that’s a confusing name.)
- It’s not for device management. (To manage devices joined to Azure AD, you would use Intune or another MDM service, potentially combined with System Center Configuration Manager via co-management.)
To confuse matters a little more, there is one more scenario to discuss called Hybrid Azure Active Directory Join. Why is this confusing? Well, the device is joined to Active Directory (just like most of you do today), so it has access to all the AD features (e.g. GPOs). If you look at the Settings app, you won’t see anything about Azure AD. For all intents and purposes, it behaves just like an AD-joined device (because it is), with a few extra benefits. For the purposes of this blog post, we’ll ignore this scenario because we want to focus on devices that are joined directly to Azure AD, and users who sign on using Azure AD credentials, with no need for any domain controllers or any other on-prem resources.
Setup
Let’s shift focus then to setting all of this up. I performed the following tasks:
- Using my MSDN Azure subscription, I created a new Azure AD tenant called “autopilotrocks.onmicrosoft.com” and added a cloud-only admin account to it, admin@autopilotrocks.onmicrosoft.com (used later).
- Using my GoDaddy account, I created a new “autopilotrocks.com” DNS domain, then added it as a custom domain to the Azure AD tenant. (You don’t have to do this, but it’s much nicer to sign on with @autopilotrocks.com instead of @autopilotrocks.onmicrosoft.com.)
- I created a new Windows Server 2016 domain controller for “autopilotrocks.com” (the AD domain/forest). (I made this a DHCP server on its own private Hyper-V network, and connected it to an RRAS server for routing to the internet. Internet connectivity is needed.) I created a new domain account, Michael, so that I have an account to use later.
- I download, installed and configured AAD Connect to sync my AD domain to AAD, setting up Pass-Through Authentication to make things simple. (Setting up ADFS is a fair amount of work.) The click-by-click:
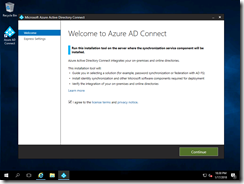
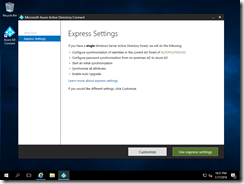
I won’t use express settings because I want to see the options available:
Nothing I want to customize here:
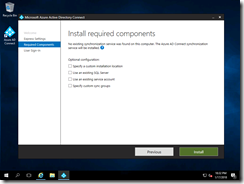
A few pre-reqs get installed:
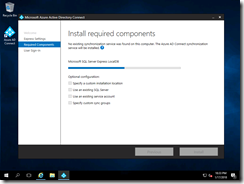
Then other configuration is done:
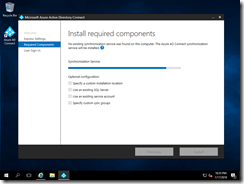
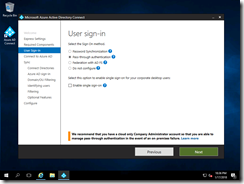
Now I can choose Pass-Through Authentication:
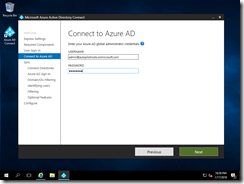
And specify my cloud admin account:
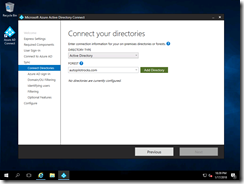
Then I can click to add my AD domain:
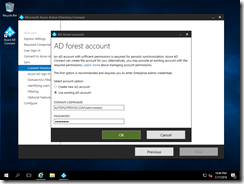
And specify the domain admin details (because I’m too lazy to create a separate account):
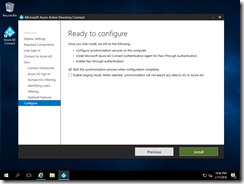
I then clicked “Next” through the remaining screens, and then confirmed on the final screen by clicking Install:
And finally, done:
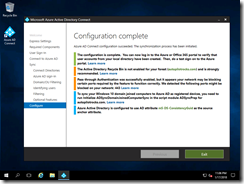
Total elapsed time: about two hours. Total cost: $12.17 to register the new autopilotrocks.com domain name – there are no Azure costs at all.
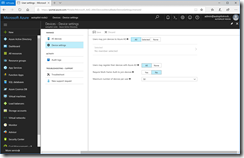
One final piece worth pointing out: By default, all accounts have rights to join devices to Azure AD. That can be changed if you want via the Azure portal (but if you are planning to use Windows AutoPilot, I wouldn’t change the default):
Adding a device
So now on to the next piece: Joining a device into Azure AD. As I mentioned before, there are three ways of doing this. Since you’ve already shown some patience by reading this far, we might as well walk through all three.
1. Join from OOBE
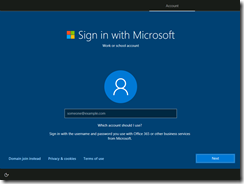
After clicking through the first few screens in OOBE, you are asked to specify Azure AD credentials:
Note that in this case the machine didn’t ask if this was a work or home machine, because I’m using the Enterprise SKU. (It also won’t ask if it finds that this device is registered with AutoPilot. But this device isn’t registered with AutoPilot – at least not yet.)
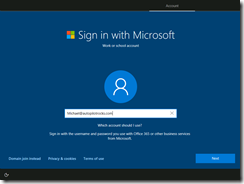
I can type in my Azure AD account that I created earlier in AD and synced with AAD Connect into Azure AD:
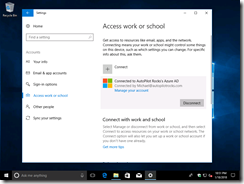
and then I can type in my password, which is automatically validated against my AD domain controller using Azure AD Pass-Through Authentication (woo-hoo, works great). After a few more OOBE screens, the device is joined and the user is automatically signed on. Once at the desktop, you can see in Settings that the device is joined to Azure AD:
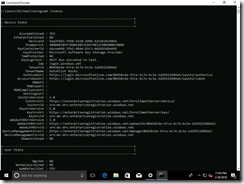
(Notice how there is no “Info” button? That’s a sign that this device isn’t MDM-managed.) It’s also interesting to look at this from a command prompt using “dsregcmd.exe /status”:
2. Join from Settings
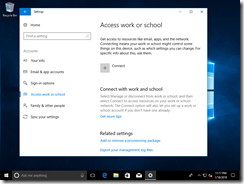
If you have an existing install with a device that’s using a local account in a workgroup, or an MSA, you can join the device to Azure AD through the Settings app. Navigate to Accounts –> Access Work or School and then click the Connect button:
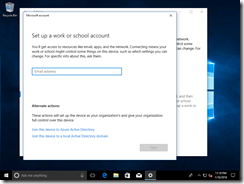
While you might be tempted to type in the user ID (e-mail address), that would just “add a work account” – that’s not the same as Azure AD join. To do the Azure AD join, click the link lower on the wizard pane that says “Join this device to Azure Active Directory”:
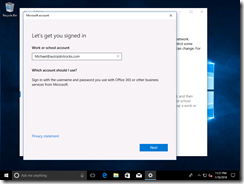
Then type in the user ID (e-mail address):
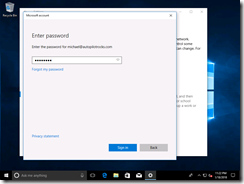
and password:
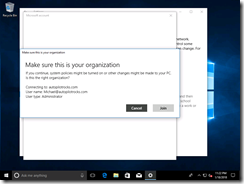
A confirmation is needed:
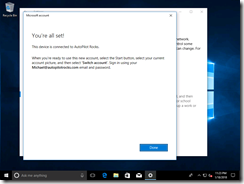
And then we’re done:
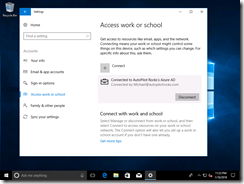
We can see the end result is exactly the same as doing this via OOBE:
3. Join via a Provisioning Package
I’m going to cheat for this one and recycle some older screenshots from Windows Configuration Designer. To create a provisioning package to join Azure AD, you need to choose Azure AD (obviously):
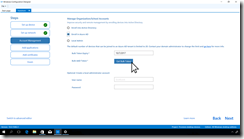
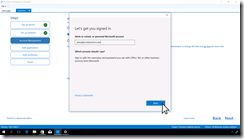
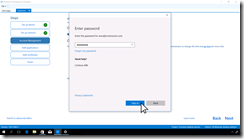
Then you can click “Get Bulk Token” which will ask for Azure AD credentials:
The token (which can be used for up to 30 days to join an unlimited number of devices to Azure AD) is returned from Azure AD and stored in the provisioning package. Install that provisioning package on the device in one of the supported ways:
- Inject it offline using DISM, before the OS boots for the first time.
- On the first OOBE screen, press the Windows key five times (really) and browse to a USB key that contains the provisioning package.
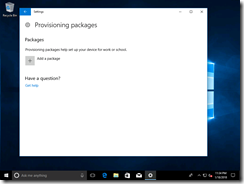
- Manually install the provisioning package via Settings:
- Install the provisioning package using PowerShell (using the Install-ProvisioningPackage cmdlet).
- Install the provisioning package by double-clicking on it and acknowledging the prompts.
Once installed, you can see the same views via Settings or from the DSREGCMD /Status command that we looked at previously.
Limited-Time Offer
Want to try this out yourself? Send me an e-mail at mniehaus@microsoft.com and I’ll send you a user ID and password that you can use to join a device into my Azure AD tenant. (There’s no MDM in place, and I reserve the right to accidentally or purposely remove the device – no a big deal since you probably won’t find a device joined to my tenant to be very useful.)
Summary
Thanks for reading this far. You’re probably thinking “how can there possibly be a part 2” after all of this, but there certainly will be (and needs to be). It might take me a little while to finish the next one, but stay tuned.
