Windows 10, MDT 2013 Update 1, and HideShell
Four blogs in a week. In case you haven’t noticed yet, my team has started blogging to https://blogs.technet.com/WindowsITPro, so be sure to check that location too. (We announced the release of MDOP and MDT last week.)
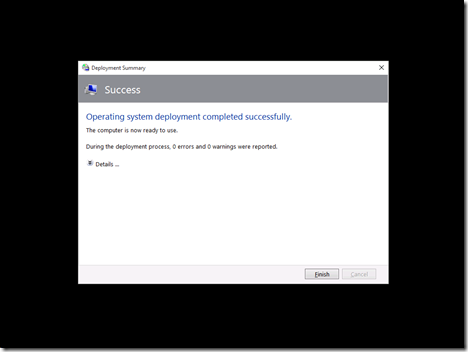
For those using HideShell with Windows 8.1, you can continue to use it with MDT 2013 Update 1 and Windows 10. It will continue to work well, leaving you with the final summary screen, without being able to interact with the shell, once the task sequence completes:
To enable that, just specify “HideShell=YES” in CustomSettings.ini. But it’s important to point out that there is a change in behavior in Windows 10 that requires some undoing to make this work. The default behavior for RunOnce registry entries, which is what MDT uses to implement HideShell, has changed from being synchronous (meaning all must complete before the shell is visible) to asynchronous (the shell shows up before they are done). That change breaks the MDT HideShell behavior. To work around that, we have to change a registry entry to get the RunOnce behavior to revert back. This is done through an entry in the Unattend.xml template provided with MDT:
<RunSynchronousCommand wcm:action="add">
<Description>disable async RunOnce</Description>
<Order>4</Order>
<Path>reg add HKLM\Software\Microsoft\Windows\CurrentVersion\Explorer /v AsyncRunOnce /t REG_DWORD /d 0 /f</Path>
</RunSynchronousCommand>
(If you don’t see that entry in the Unattend.xml associated with your task sequence, maybe you didn’t create a new task sequence after you installed the MDT 2013 Update 1 final release? That would be a bad thing…)
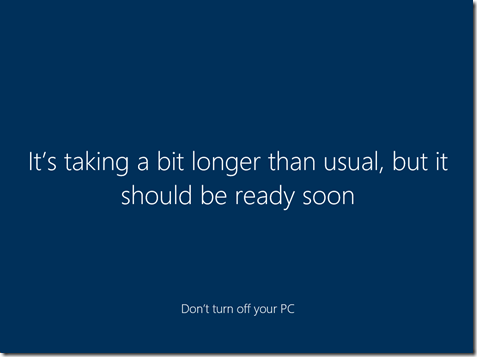
But there’s one other issue that you can run into, especially if your task sequence doesn’t run for very long in the new Windows 10 OS. The initial “first run animation,” which is supposed to display while apps and other “one-time” operations are going on, ends up waiting for the RunOnce entries to finish too – and with HideShell in place, that never happens. Eventually, the animation process gives up, but in the meantime, you have to stare at this screen for a long time:
To fix that, you can disable the first run animation via another registry tweak. Add this to your Unattend.xml right after the command above that disables the async processing:
<RunSynchronousCommand wcm:action="add">
<Description>disable animation</Description>
<Order>5</Order>
<Path>reg add HKLM\SOFTWARE\Microsoft\Windows\CurrentVersion\Policies\System /v EnableFirstLogonAnimation /d 0 /t REG_DWORD /f</Path>
</RunSynchronousCommand>
(Sure, you can use WSIM to do this, but Notepad is easier. If you use Notepad, make sure the “Order” value is unique, e.g. change it to 5 like above.)
With that change in place, you’ll see a different screen:
But sadly, it still takes just as long. So that by itself didn’t accomplish much. But there is one more tweak that can be made:
<RunSynchronousCommand wcm:action="add">
<Description>disable animation</Description>
<Order>6</Order>
<Path>reg add HKLM\SOFTWARE\Microsoft\Windows\CurrentVersion\Policies\System /v DelayedDesktopSwitchTimeout /d 0 /t REG_DWORD /f</Path>
</RunSynchronousCommand>
With that in place, you’ll see Windows switch immediately to the desktop once the local Administrator account signs in, showing the task sequence progress – very quickly. Mission accomplished.
Changing these policies does affect subsequent user logons, so I would suggest running a script later to remove the registry keys added by the commands above. Once they are removed, the typical behavior will return.


