Fast Five (Software) Features for Nonprofits 5/11: Marketing Your Organization
We all know that an organization’s profile is an important element of fundraising success. Why not extend the reach of your organization with some simple DIY tactics? This week’s Fast Five focuses on using Microsoft technology in your daily marketing and communications.
1. Spread the word
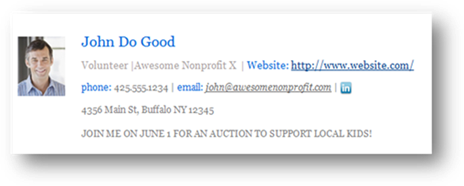
Looking for an easy way to increase awareness of your organization? Have volunteers and supporters with limited time but wide networks? Why not create an email signature to help promote an upcoming fundraiser or event? You can download a variety of Outlook ready options here and then customize and share with your supporters.
2. Bring your mission to life
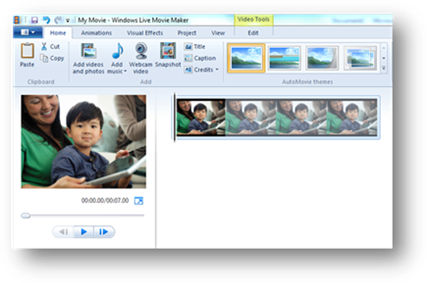
Headed out to speak about your organization to potential funders? Want to provide a Committee with a visual recap of a recent event or program? Nothing communicates your work better than a video. You don’t need a professional production company, just download Windows Live Movie Maker. It’s free. Windows Live Movie Maker makes it easy to combine existing videos and photos with your favorite music to quickly create a compelling presentation. Of course, Windows Live Movie Maker also makes it easy to share your videos, so you can post directly to Facebook and YouTube. Lights, camera, action!
3. Speedy design
You needn’t be a graphic artist or power point extraordinaire to create communications that look slick and professional. Whether you need a newsletter, presentation, or a formal meeting agenda, there are thousands of Microsoft Office templates available.
4. Content Sharing
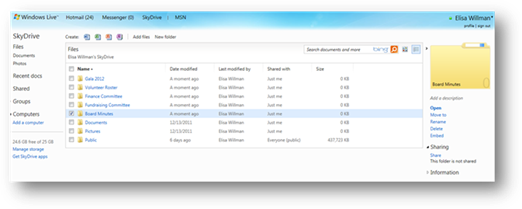
So, you’re creating all this great content, but where can you put it so that others can view and edit it? Windows Live SkyDrive was featured in a previous Fast Five, but I’m including it again this week because it is a Communications professional’s dream. No more worrying about big files bouncing back or saving to a zip drive before handing off files to your agency. With SkyDrive, you can keep all your documents, videos and images organized in one place and then choose who you share with or assign editing privileges to. Setting up a Windows Live account is free and free password protected SkyDrive comes standard.
5. Mailings made easy
Not exactly sexy, but a real part of life in just about any organization- the dreaded mailing label merge. How many label sheets have you wasted in the past trying to get everything to align just right? Well, I for one, was pleased to see that there is step-by-step instructions that should come in handy next time a label merge is required.
The mail merge process entails the following overall steps:
1. Set up the labels. You set up the layout of the labels one time, for all the labels in the mail merge. In a mail merge, the document that you use to do this is called the main document. In the label main document, you can also set up any content that you want repeated on each label, such as a company logo or your return address on shipping labels.
2. Connect the labels to your address list. Your address list is the data source that Microsoft Word uses in the mail merge. It is a file that contains the addresses to be printed on the labels.
3. Refine the list of recipients. Word generates a label for each address in your mailing list. If you want to generate labels for only certain addresses in your mailing list, you can choose which addresses, or records, to include.
4. Add placeholders, called mail merge fields, to the labels. When you perform the mail merge, the mail merge fields are filled with information from your address list.
5. Preview, complete the merge, and print the labels. You can preview each label before you print the whole set.


