How to Successfully Launch Nonprofit Infographics Online
Any new media manager who has ever posted, shared, retweeted, pinned or tumbled an infographic has first-hand experience of how popular and powerful infographics can be online. Communicating your data and calls-to-action in visual format is a smart strategy.
Here are six best practices you can adopt to make sure that your exceptionally well-designed, useful infographics are compatible with social media and are able to gain traction.
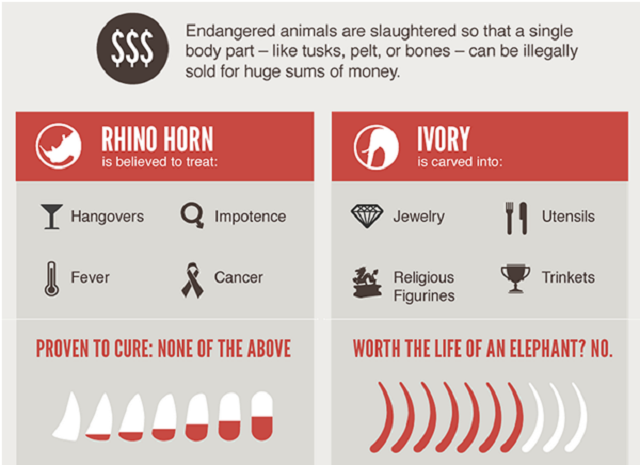
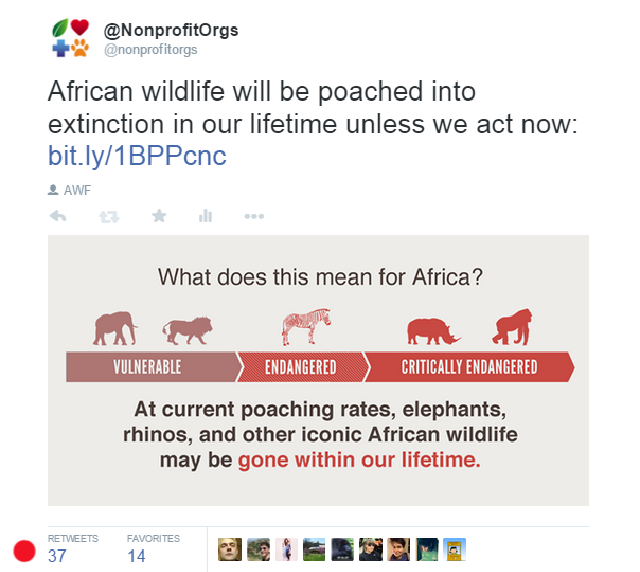
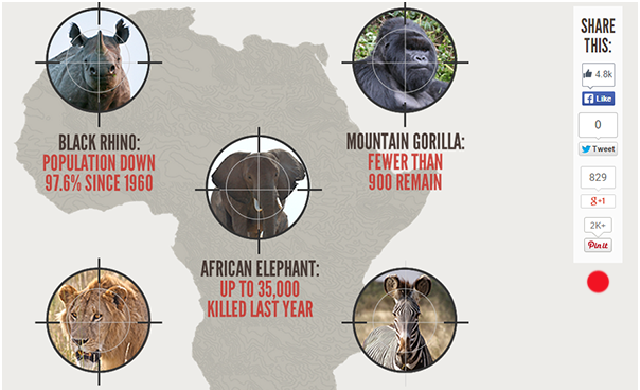
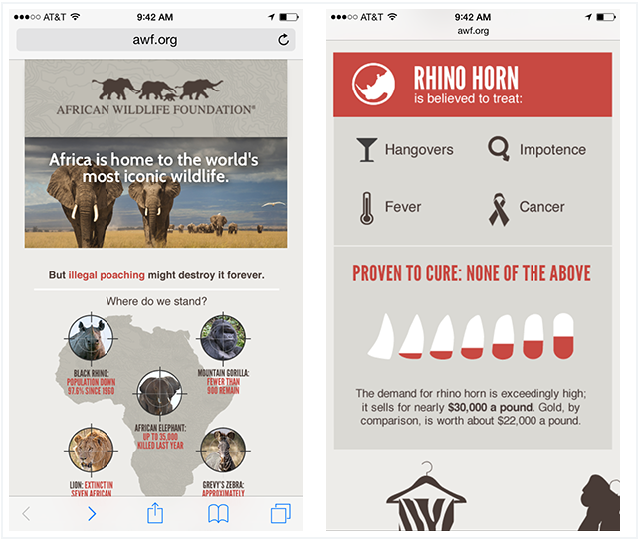
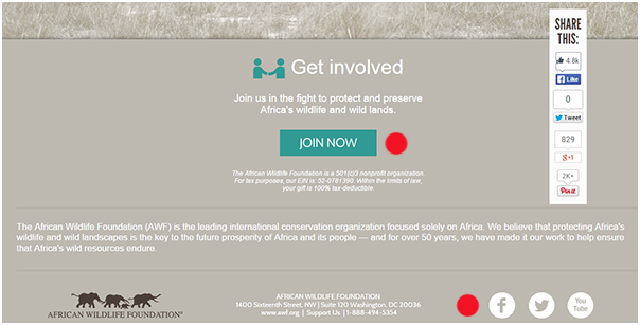
The African Widlife Foundation’s “Africa’s Poaching Crisis” infographic is a great example of one that has been really well designed and optimised for social networks.
1. Upload infographics in full-size as an image (not a PDF) to a landing page
Embed a large version of your infographic (minimum 800 pixels in width) to a visually appealing landing page within your website or blog, so that your supporters can share, pin or tumble it to their friends and followers. Putting your infographic in PDF format will hamper your traffic and exposure.
2. Crop and size sections of your infographic to more effectively promote on social networks
Ideally, your infographic will be designed in blocks of 500 x 500 pixels and 500 x 250 pixels, so that you can easily share different cropped sections to maximize promotion on social networks. This is not necessarily standard practice in infographic design, but doing so will increase retweet, repins and shares, and thus website traffic and the longevity of your infographic.
3. Ensure that your infographic is sharable.
To maximise sharing on social networks, be sure that the landing page prominently features “Share” buttons. When shared on social networks, the web page or blog post should be formatted to generate visually appealing thumbnails and/or a full version of the infographic and a well-written title and summary. Finally, use keywords that describe the infographic and include the word “infographic” in the page or blog title and summary to maximise SEO in Google, Bing, Yahoo and other search engines.
4. Ensure your landing page is mobile responsive
To maximize traffic and social sharing, embed your infographic on a responsively designed landing page to ensure mobile compatibility. This infographic is over a year-old, but it is still getting online traction because of how well it was designed and launched for PCs, tablets and smartphones. Even if your nonprofit only produces one infographic a year, if done right, it can have a life span of months, or even years.
5. Prominently feature calls-to-action on your infographic
Convert infographic viewers into donors, followers, petition signers and e-newsletter subscribers by prominently featuring calls-to-action on the landing page.
6. When promoting your infographic via email, send subscribers to your landing page
Send e-newsletter subscribers to your landing page via an image link where they can easily share your infographic and be prompted to take further action. Similarly, when pitching your infographic to digital media or bloggers via email, include a prominent link to your landing page instead of sharing the infographic via PDF, which is an outdated practice.
Use these tips to ensure your infographics get seen and shared by a larger audience.
Thanks to Heather Mansfield, founder of Nonprofit Tech for Good and author of Social Media for Social Good: A How-To Guide for Nonprofits for providing these tips on launching infographics.